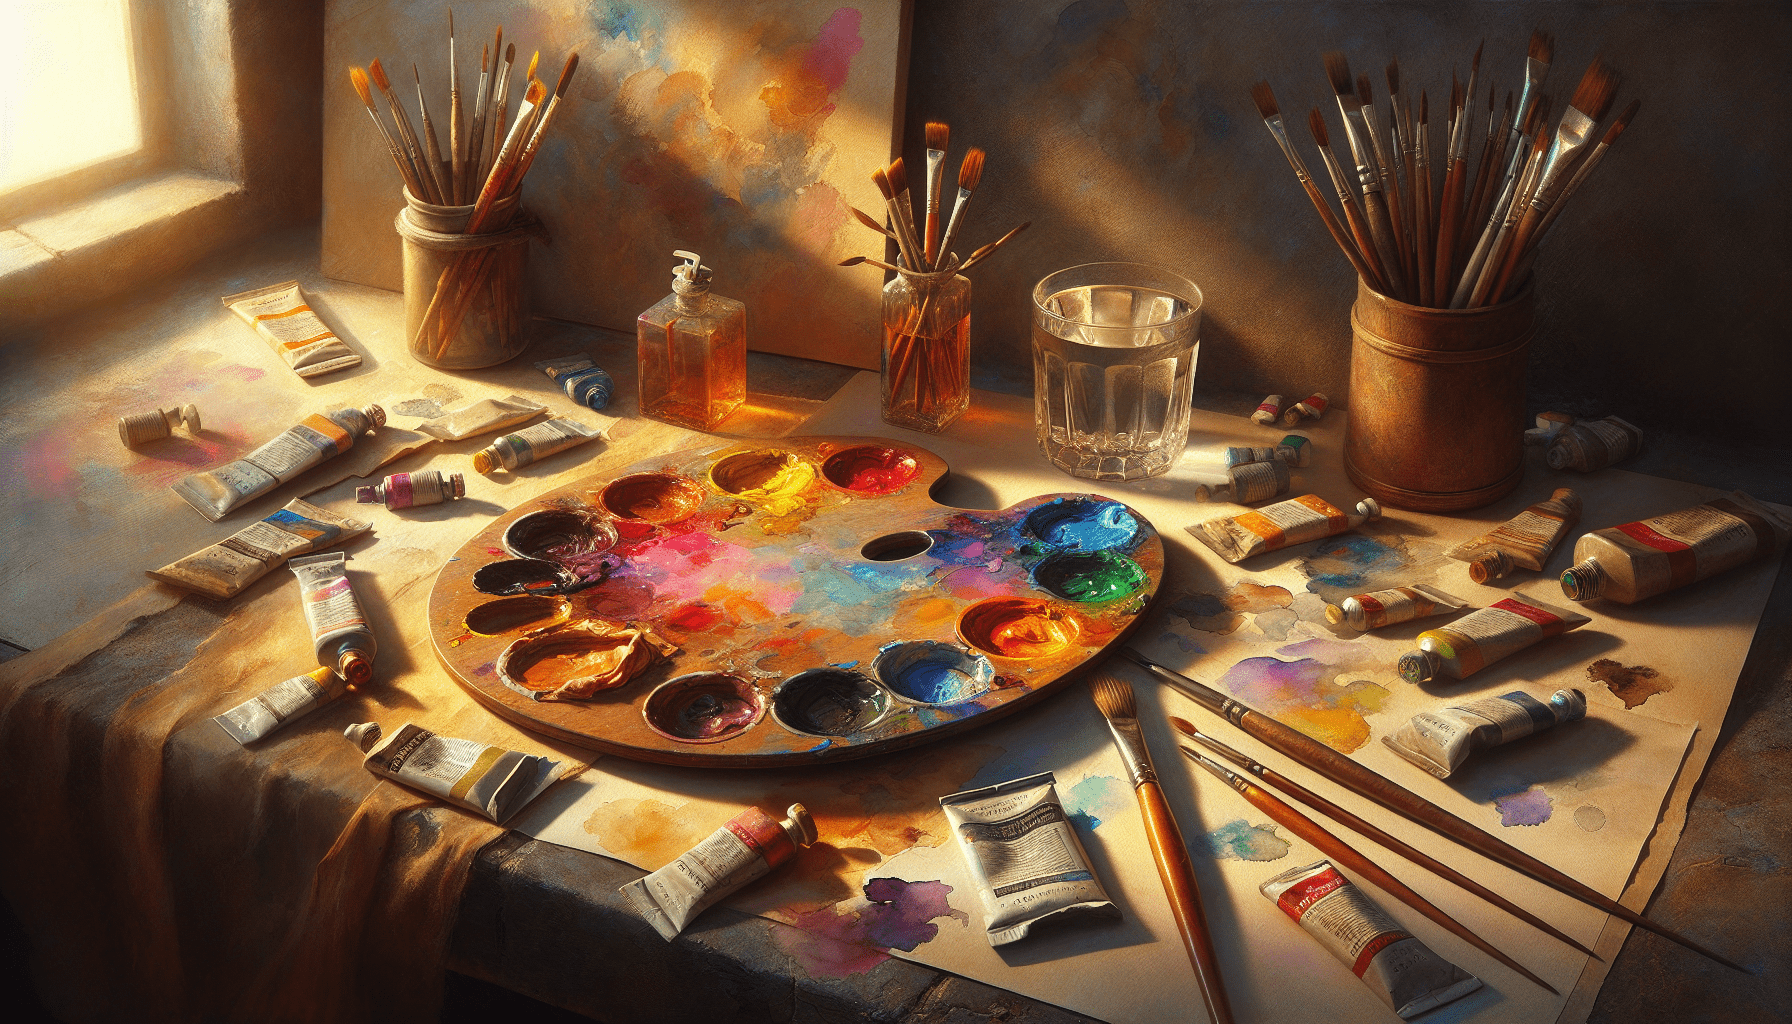
In the article “How To Paint Sky With Watercolor,” you will discover systematic techniques and essential tips for mastering the art of painting skies with watercolors. This comprehensive guide delves into selecting the right tools, understanding color theory, and applying various brushstrokes to achieve realistic and dynamic sky scenes. Through step-by-step instructions, you will gain the confidence to create breathtaking watercolor skies, whether you are aiming for a serene morning atmosphere, a vibrant sunset, or a dramatic stormy backdrop. Have you ever looked up at the sky and felt inspired to capture its beauty on paper? Painting the sky with watercolors can be a profoundly rewarding endeavor. Whether you’re an experienced artist or a beginner, watercolor offers a versatile medium that perfectly blends fluidity and control, enabling you to replicate the delicate nuances of the sky.
Understanding the Basics of Watercolor
What is Watercolor?
Watercolor paints consist of pigments suspended in a water-based solution. These pigments are typically transparent and lend themselves beautifully to layering, allowing you to create stunning gradients and depth.
Essential Supplies
Before you begin, you’ll need to gather some essential supplies:
| **Supply | Purpose** |
|---|---|
| Watercolor Paper | Absorbs water effectively without warping |
| Watercolor Paints | Provide vibrant, easily blendable colors |
| Brushes | Different shapes and sizes for various techniques |
| Water Containers | For cleaning and wetting brushes |
| Palette | For mixing colors |
| Masking Tape | To keep the paper flat while painting |
| Paper Towels | For blotting and correcting mistakes |
Setting Up Your Workspace
Ensure you have a comfortable and well-lit workspace. Organize your supplies within easy reach, and use masking tape to secure your watercolor paper to a flat surface. This prevents the paper from warping as you paint.
Mastering Techniques for Painting the Sky
Wet-on-Wet Technique
The wet-on-wet technique involves applying wet paint onto a wet surface. This method is perfect for creating soft, diffused effects, ideal for skies with subtle transitions.
- Pre-wet the Paper: Use a clean brush to cover the entire sky area with clean water.
- Apply Colors: While the paper is still wet, apply your chosen sky colors. The paint will spread naturally, creating soft gradients.
- Blend: Use a damp brush to blend edges if necessary.
Wet-on-Dry Technique
Conversely, the wet-on-dry technique involves applying wet paint onto dry paper, providing you with more control and sharper lines.
- Apply the Base Color: Start with a light wash of sky color on dry paper.
- Add Details: Once the base is dry, add details like clouds or darker areas. This technique is useful for emphasizing contrasts and highlights.
Layering (Glazing)
Layering, or glazing, involves applying multiple transparent layers of color to build depth and richness.
- Initial Wash: Start with a light wash of your sky color.
- Dry: Allow each layer to dry completely before applying the next.
- Building Depth: Gradually build up layers to deepen colors and add complexity.
Creating Textures
To add texture and interest to your sky, try these techniques:
- Salt: Sprinkle salt on wet paint to create a crystalline effect.
- Sponging: Use a damp sponge to lift off paint and create cloud-like textures.
- Dry Brush: Lightly drag a dry brush across the paper to create wispy cloud effects.

Choosing the Right Colors
Understanding Color Theory
Color theory is crucial for creating realistic and harmonious skies. The sky’s colors change depending on the time of day, weather, and geographical location.
Common Sky Colors
Here’s a general guide to colors needed for different times of the day:
| **Time of Day | Common Colors** |
|---|---|
| Morning | Light blues, pinks, and soft yellows |
| Noon | Bright blues, whites |
| Evening | Deep oranges, pinks, purples |
| Night | Dark blues, blacks, some stars or moon effects |
Mixing Colors
To achieve the perfect sky colors, practice mixing your paints. Start with primary colors (red, yellow, blue) and adjust by adding small amounts of other hues.
Customizing Your Palette
Don’t be afraid to experiment with colors. Each sky is unique, and part of the joy of watercolor is discovering personalized blends that capture the scene perfectly.
Step-by-Step Guide to Painting the Sky
Step 1: Planning Your Composition
Before you start painting, take a moment to plan your composition. Decide the time of day, weather conditions, and general atmosphere you wish to convey. Sketch out a rough outline if needed.
Step 2: Applying a Light Wash
Begin with a light wash of the primary color of your sky. For instance, a morning sky might start with a light blue watered down significantly.
Step 3: Gradual Darkening
Slowly build up the color intensity from top to bottom, as skies tend to be darker near the zenith and lighter near the horizon.
Step 4: Adding Clouds
Use a damp sponge or dry brush technique to lift off paint and create cloud shapes. For more defined clouds, use the wet-on-dry technique to add sharper edges.
Step 5: Details and Depth
Layer additional colors to add depth and detail. For instance, a sunset might need multiple layers of oranges, purples, and pinks.
Step 6: Finishing Touches
Finally, once the sky is fully dry, add any extra details like stars or the moon for a night sky. Use a fine brush or white ink for small, crisp points of light.

Troubleshooting Common Issues
Paint Spreading Uncontrollably
If your paint spreads too much, it may be because the paper is too wet. Let it dry slightly before adding more paint.
Hard Edges and Lines
Unwanted hard edges can occur if the paper dries too quickly. Keep a spray bottle handy to lightly mist the paper and keep it damp.
Muddy Colors
Muddy colors result from over-mixing. Clean your palette and brush regularly. Stick to layering for complex colors, rather than mixing too many hues at once.
Warping Paper
Ensure your paper is securely taped down. If warping occurs, you can flatten the dry painting by placing it under a heavy book.
Practice Exercises and Drills
Practice is key to mastering watercolor skies. Here are some drills to hone your skills:
- Sky Gradients: Practice creating smooth gradients with different sky colors.
- Cloud Techniques: Experiment with various cloud-making techniques, such as lifting, salt, and sponging.
- Layering: Try building depth with multiple thin layers of paint.
Conclusion
Painting the sky with watercolor is an enriching creative endeavor that, with practice, patience, and the right techniques, can yield breathtaking results. By understanding basic watercolor methods, selecting the appropriate colors, and practicing various techniques, you can capture the sky’s ever-changing beauty on paper.
Always remember that art is a journey. Each painting is an opportunity to learn and improve. Enjoy the process, and don’t be afraid to experiment and make mistakes. After all, the sky isn’t always perfect, and neither is art—but both can be incredibly beautiful in their natural imperfection. Happy painting!


