“How To Paint Roses With Watercolor” is a comprehensive guide specifically designed to enhance your artistic abilities and refine your watercolor painting techniques. Within this article, you will discover detailed step-by-step instructions, expert tips, and illustrative examples to effectively capture the delicate beauty of roses. You will learn how to mix colors accurately, apply washes, and master brush strokes to create realistic and stunning floral artworks. By following this guide, you will develop the skills needed to bring your floral compositions to life with confidence and finesse.
How To Paint Roses With Watercolor
Do you find yourself mesmerized by the delicate beauty of roses and wish you could capture their elegance on paper? Painting roses with watercolor can be a rewarding and meditative experience, allowing you to channel your creativity while honing your artistic skills. This comprehensive guide will walk you through the entire process step by step, providing detailed instructions and professional tips to help you master the art of watercolor roses.
Why Choose Watercolor for Painting Roses?
Watercolor is a versatile medium that offers an unmatched ability to capture the subtle variations in color and texture found in roses. It allows artists to create translucent layers and blend colors seamlessly, resulting in lifelike depictions. Additionally, watercolors can produce intricate details as well as broader, more impressionistic strokes, giving your roses a unique and personal touch.
The Appeal of Watercolor
Watercolor paints are prized for their ability to create soft, ethereal looks with rich color blends. These paints also dry quickly and can be reactivated with water, making them a flexible and forgiving medium. With watercolor, you have the capability to imbue your roses with a luminous quality that other mediums might struggle to replicate.
Essential Supplies for Painting Roses with Watercolor
Before you begin, ensure you have all the necessary materials. High-quality supplies can make a significant difference in the outcome of your artwork.
Required Materials
You’ll need the following materials to start painting:
| Material | Description |
|---|---|
| Watercolor Paper | Use high-quality, cold-pressed paper for best results. Aim for 140 lb (300 gsm) weight. |
| Watercolor Paints | Professional-grade paints are recommended for vibrant colors and better blending. |
| Brushes | A variety of brushes, including a round brush (size 4-8) and a fine-tipped brush (size 0 or 1). |
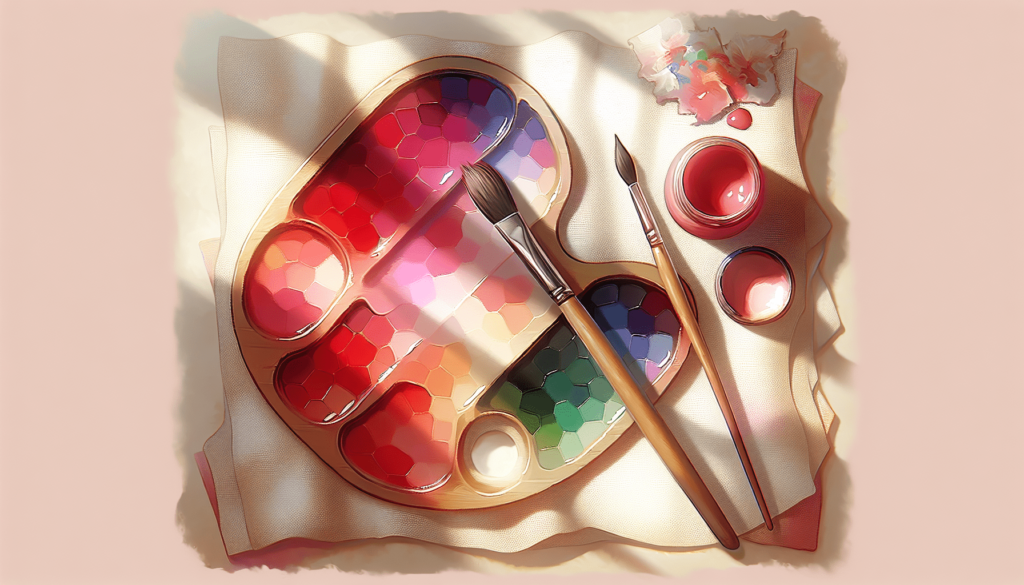
| Palette | Used for mixing colors. |
| Water Container | For rinsing brushes. |
| Paper Towels or Cloth | Useful for dabbing excess water and for correcting mistakes. |
| Pencil and Eraser | For sketching the initial outlines. |
Understanding the Anatomy of a Rose
Before you put brush to paper, it’s essential to understand the form and structure of a rose. This knowledge will guide your painting and improve your accuracy.
Key Elements of a Rose
A rose consists of several key parts that you’ll need to replicate:
| Part | Description |
|---|---|
| Petals | Soft and layered, petals can vary in shape and size but generally have a curved, ruffled appearance. |
| Stem | Typically sturdy and slightly textured, the stem supports the rose and may have thorns. |
| Leaves | Pointed with serrated edges, leaves add balance and context to your rose painting. |
| Calyx | The green outer shell that initially covers the bud. It often peeks through between petals. |
Step-by-Step Guide to Painting Roses with Watercolor
In this step-by-step guide, you will learn the process from initial sketching to adding final details. Take your time with each step to ensure precision and quality.
1. Sketching the Rose
Start with a light pencil sketch to outline the basic shape of your rose and its components. Focus on the overall form rather than details in this stage.
- Draw a simple circle for the rose’s outline.
- Sketch the central bud by drawing a smaller, inner circle.
- Add petals around the central bud, making sure they overlap. Pay attention to the perspective and the natural, spiral-like formation.
2. Mixing Your Colors
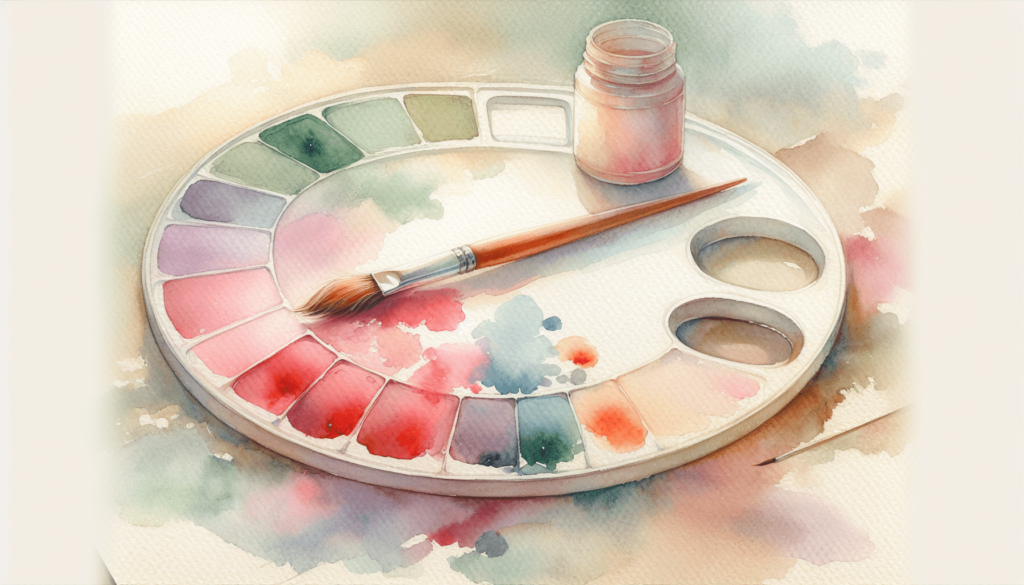
Watercolor roses benefit from varied hues for a more dynamic and realistic appearance. Prepare a palette with your chosen colors.
- Basic colors often include reds, pinks, yellows, and whites for petals. Greens for leaves and stems.
- Make several shades by mixing your base color with different amounts of water. This will give you light, medium, and dark versions that will add depth to your painting.
3. Painting the Base Layer
Wetting the paper slightly can help your colors blend smoothly. Start with light washes to build the foundational colors of your rose.
- Begin with the lighter shades, applying them to the petals. Remember to leave some areas white for highlights.
- Use broader strokes for the petals’ outer parts and more detailed strokes towards the center and edges of each petal.
4. Adding Layers and Building Depth
Once the base layer is dry, continue layering colors to develop depth and richness in your painting.
- Apply medium and darker shades to the bases and creases of petals to simulate shadows and depth.
- Blend these layers gently to avoid harsh lines unless intentionally creating texture.
- Add layers gradually, allowing each layer to dry before adding the next to prevent over-saturation.
5. Refining the Details
Focus on the intricate details now that the larger areas of color are established.
- Use a fine-tipped brush to add lines and touches that replicate the delicate texture of the petals.
- Pay special attention to the central bud, enhancing its complexity with additional lines and gradients.
- Add subtle veins on the petals and refine the edges to distinguish individual elements of the rose.
6. Painting the Stem and Leaves
With your rose nearly complete, turn your attention to the supporting elements like the stem and leaves.
- Use greens blended with varying amounts of water to paint the leaves and stem.
- Paint the leaves by following their natural serrated shapes and add shadows for dimension.
- The stem can be painted with a mix of green and brown to suggest texture and depth. Include thorns if desired, adding a touch of realism.
7. Final Touches and Corrections
Examine your painting and make any needed adjustments.
- Adjust the intensity of various colors, add final highlights and shadows.
- Use a slightly damp brush to soften any edges or blend transitions.
- Make corrections if some areas are too dark or light, lifting paint carefully with a clean, damp brush or blotting with paper towels.
Summary of Techniques
| Technique | Application |
|---|---|
| Wet-on-Wet | Applying wet paint onto a wet surface for soft blends and gradients. |
| Dry Brush | Using minimal water to create textured, feathery strokes. |
| Lifting Color | Using a damp brush or paper towel to remove excess paint and correct mistakes. |
| Layering | Building color intensity gradually by applying one layer at a time, allowing each to dry first. |
Advanced Tips and Techniques
As you gain confidence, exploring advanced techniques can enhance your rose paintings further.
Experimenting with Color Theory
Applying knowledge of color theory can add vibrancy and realism to your paintings.
- Complementary Colors: Use complementary colors for shadows and highlights to make your painting more dynamic. For example, add hints of green in purple shadows.
- Limited Palette: Sometimes, using a limited color palette can create harmonious and visually appealing artwork.
Utilizing Negative Space
Negative space refers to the empty areas around your subject. Using it effectively can add a modern and balanced look to your painting.
- Be intentional about leaving white spaces that contrast with painted areas, helping to emphasize the rose.
- Practice balancing detailed areas with more open, less detailed sections to create focus and contrast.
Working on Different Paper Types
Experiment with different types of watercolor paper, as each can affect the outcome of your painting.
- Cold-Pressed Paper: Offers texture and is versatile for various techniques.
- Hot-Pressed Paper: Smooth surface, great for detailed work and finer lines.
- Rough Paper: Has a pronounced texture, ideal for more expressive and bold strokes.
Exploring Different Styles
Find a style that resonates with you by experimenting with various artistic approaches.
- Realism: High attention to detail with focus on creating lifelike representations.
- Impressionism: More focus on capturing the essence and mood rather than precise detail.
- Abstract: Using shapes, colors, and forms symbolically rather than realistically.
Troubleshooting Common Issues
Even experienced artists encounter challenges. Here are solutions to some common issues you might face.
| Issue | Solution |
|---|---|
| Colors Bleeding | Ensure each layer is dry before adding another. Control water levels on your brush to prevent excessive bleeding. |
| Paper Warping | Use a heavier weight paper and tape it down to a sturdy surface. Consider using less water or wetting both sides of the paper. |
| Muddy Colors | Clean your palette and brushes regularly. Understand the mixing properties of your chosen colors to prevent unwanted blending. |
| Hard Edges Where Unwanted | Use a damp brush to soften edges immediately after applying the paint. Practice the wet-on-wet technique for smoother transitions. |
Practice Exercises and Projects
To build your skills, consider doing practice exercises and smaller projects.
Practice Petal Shapes
Before painting an entire rose, practice painting individual petal shapes. This will help you understand how to create the varied edges and gradients needed.
Painting Rose Buds
Rose buds are simpler structures and can be a great starting point. Focus on the central bud and a few outer petals.
Create a Rose Painting Series
Challenge yourself to paint multiple roses, experimenting with different colors, angles, and stages of bloom. This will broaden your skill set and give you a range of artworks to compare and learn from.
Conclusion
Mastering the art of painting roses with watercolor is a rewarding journey that combines technique, creativity, and patience. With diligent practice and mindful application of the steps and tips outlined in this guide, you’ll be well on your way to creating beautiful, expressive watercolor roses that captivate and inspire. Happy painting!
