With a focus on practicality and attention to detail, the “How To Paint Rocks In Acrylic” article provides unrivaled guidance to transform a plain stone into an awe-inspiring work of art. This hands-on approach effortlessly bridges the knowledge gap for painting enthusiasts desiring to improve their acrylic painting skills, specifically concerning the topic of rock painting. It is packed with expert advice, detailed steps, useful examples, and tips to enhance your creativity, leaving you confident and equipped for your next rock painting project.

Materials Needed
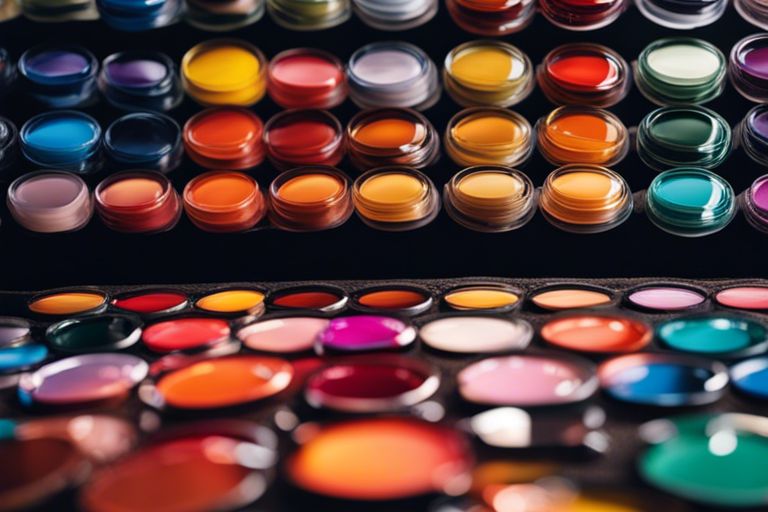
Before you begin the process of painting rocks with acrylic, you will need to gather several essential materials. These include acrylic paint, which is a versatile and widely available medium that is excellent for painting on rocks. You will need a selection of paintbrushes, in various sizes and shapes, in order to apply the paint in different ways. A palette will be useful for mixing your colors. You will also need a jar of water for cleaning your brushes and diluting your paint, as well as paper towels for wiping off excess paint or making corrections. Rocks, of course, are your primary canvas for this project. You may wish to use a palette knife for more advanced techniques. Lastly, you will need a painting surface to place your rocks on while painting them.
Preparing the Rocks
Cleaning the Rocks
Begin by preparing your rocks. You should select rocks with a smooth surface and a size suitable for your desired design. Start the preparation process by cleaning the rocks. Remove any dirt or debris from the surface of the rocks by scrubbing them with a soft brush and warm soapy water. Rinse them thoroughly and let them dry completely before proceeding to the next step.
Priming the Rocks
Priming the rocks is a critical step that shouldn’t be skipped. By applying a primer, you create a smooth and sealed surface for your paint to adhere to, which can prevent the colors from seeping into the rock and become dull. Use an acrylic gesso or primer and apply a thin coat on the rock’s surface using a brush or sponge. Let it dry completely before you start painting.
Choosing Colors
When selecting colors for your painted rocks, there are several factors to keep in mind.
Considering the Rock’s Texture
The texture of the rock you chose can greatly influence the colors you select. Darker colors can emphasize the texture, bringing out the interesting divots and bumps on the rock’s surface. For a smoother rock, lighter colors can highlight the sleekness of the rock.
Selecting a Color Scheme
When selecting a color scheme, consider the mood or message you want to convey with your artwork. Do you want your painted rock to feel calm and peaceful, exciting and vibrant, or maybe rustic and vintage? Choose colors that complement each other and fit with the intended design.
Basic Techniques
Now that you have prepped your rock and chosen your colors, it’s time to start painting. There are several basic techniques you can use.
Base Coat
Start by applying a base coat to your rock. This gives a solid color foundation that will make your subsequent colors and designs stand out.
Dry Brushing
Dry brushing is a technique that adds depth and texture to your work. Dip your brush lightly into the paint, remove excess on a paper towel and lightly brush the surface of the rock.
Sponging
For a unique texture, try using a sponge instead of a brush. Dip a sponge into the paint and dab it onto the rock.
Splattering
Splattering can create a fun, random pattern on your rock. Dip your brush into the paint, and then flick the bristles over the rock for a splattered effect.
Blending Colors
Smooth transitions between colors can be achieved by blending. While the first color is still wet, apply the second color next to it and gently mix them together using your brush or sponge.

Adding Texture and Detail
Creating Texture with a Palette Knife
Palette knives are great tools for creating interesting textures. Load the palette knife with paint and apply it to the rock as if you were spreading butter on bread.
Using Different Brush Strokes
Experiment with your brush strokes. Use wide strokes for covering large areas and thin brushes for details. You can also try dabbing, twisting, or dragging the brush to create different effects.
Adding Fine Details
For fine details, use a small brush and a steady hand. You might find it useful to sketch the details lightly with a pencil before painting them.
Creating Realistic Effects
Shading and Highlighting
Shading and highlighting are essential for adding dimension and realism to your painted rocks. Use darker shades to show depth and lighter hues to highlight and bring features forward.
Using Glazing Techniques
Glazing is a technique that involves applying thin layers of transparent color. Each layer augments the vibrancy and depth of the colors beneath it.
Creating Reflections and Shadows
To create reflections and shadows, observe how light interacts with objects in real life and try to mimic that in your painting. It’s often the subtle differences in color and tone that make your paintings look realistic.
Experimenting with Patterns and Designs
Creating Patterns with Stencils
Stencils are useful tools for producing crisp, repeated patterns. Secure the stencil onto the rock using tape and fill it in with paint using a sponge or small brush.
Painting Geometric Designs
Geometric designs can impart a modern look to your rock. Consider painting shapes, lines, or patterns using straight lines and fixed angles.
Adding Decorative Elements
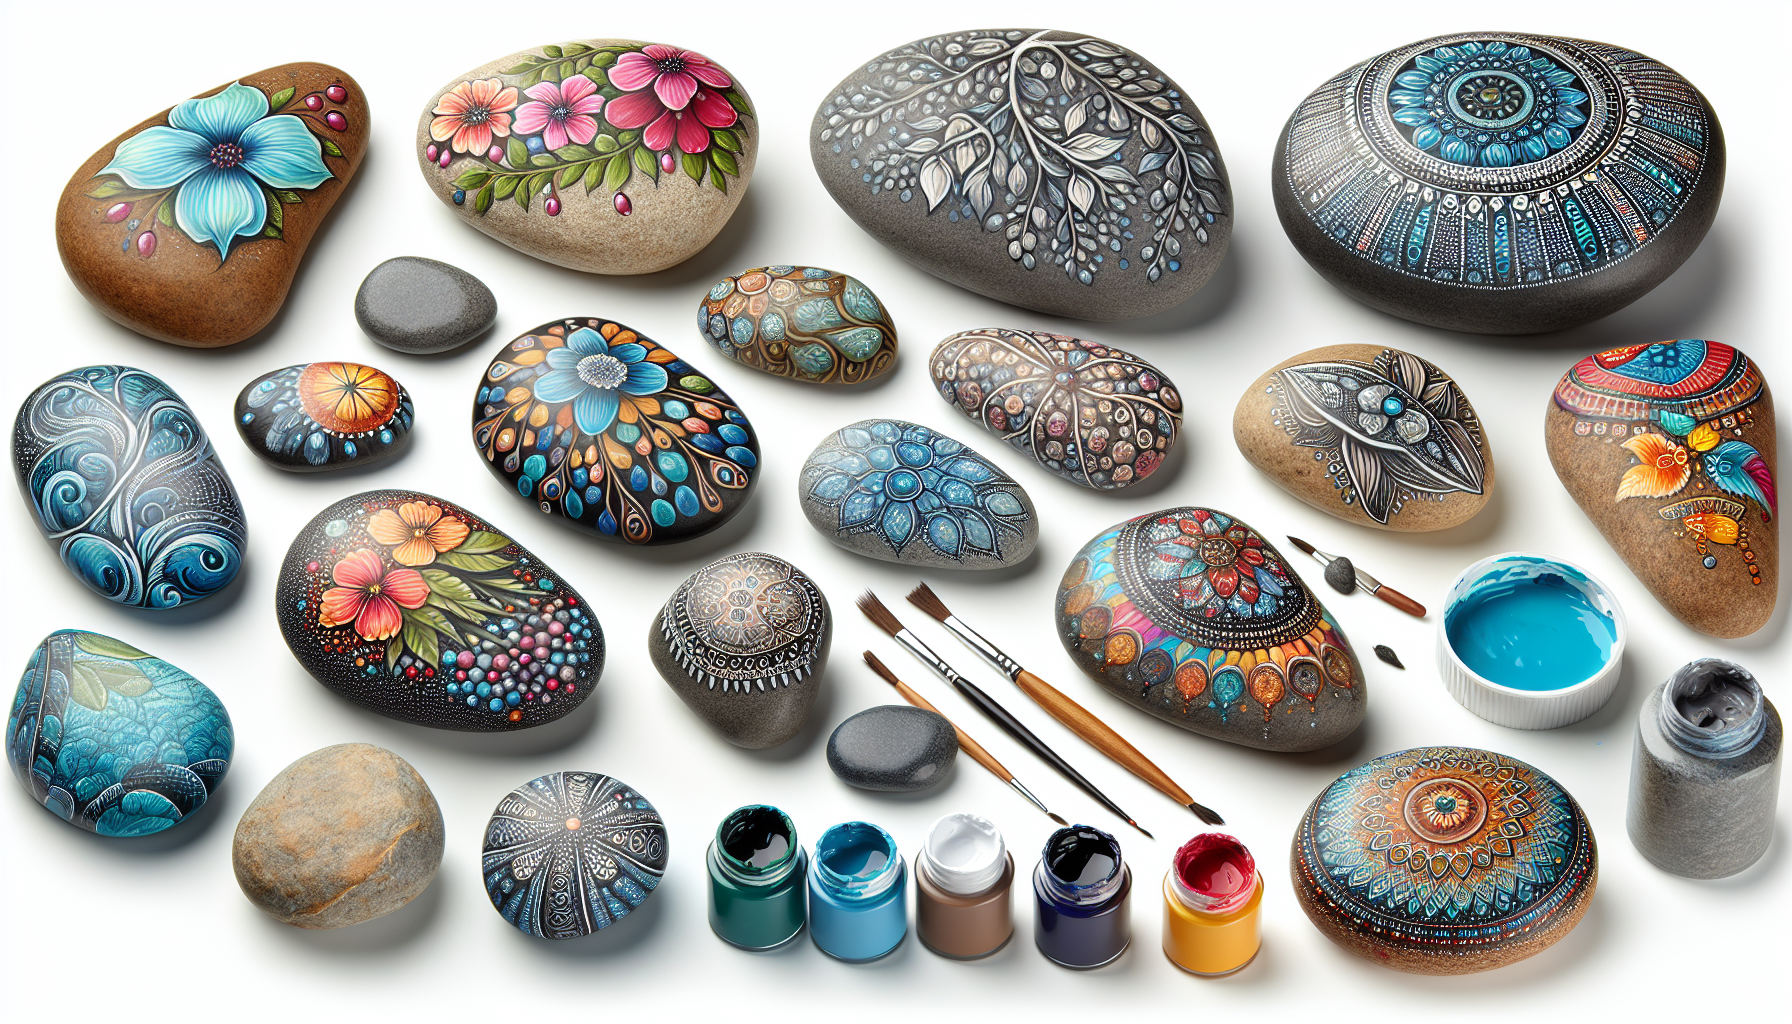
Consider enhancing your rock with decorative elements, such as dots, stripes, or even small images. These add visual interest and can enhance your design.
Sealing and Protecting the Artwork
To ensure the longevity of your painted rocks, it’s important to protect them.
Using a Varnish
Applying a layer of varnish can enhance the colors of your painting and provide a protective layer that guards against damage from sunlight and moisture.
Applying a Protective Sealant
A clear, protective sealant is another great way to guard your painted rocks against weather elements, such as heavy rain, especially if they will be displayed outdoors.
Displaying and Enjoying Your Painted Rocks
Creating a Rock Garden
One popular way to enjoy your painted rocks is by displaying them in a rock garden. Arrange your painted rocks among other natural elements such as plants and water features.
Using Rocks as Paperweights
Painted rocks also make excellent paperweights. Place them on your desk or on a pile of papers to keep them from flying away.
Gifting Painted Rocks
Painted rocks can make thoughtful and personal gifts. Consider gifting your painted rocks to your friends and family for their enjoyment.
In conclusion, painting rocks with acrylics is a versatile and gratifying art form. Whether you’re a beginner or a pro, the steps above will guide and enhance your rock painting experience.