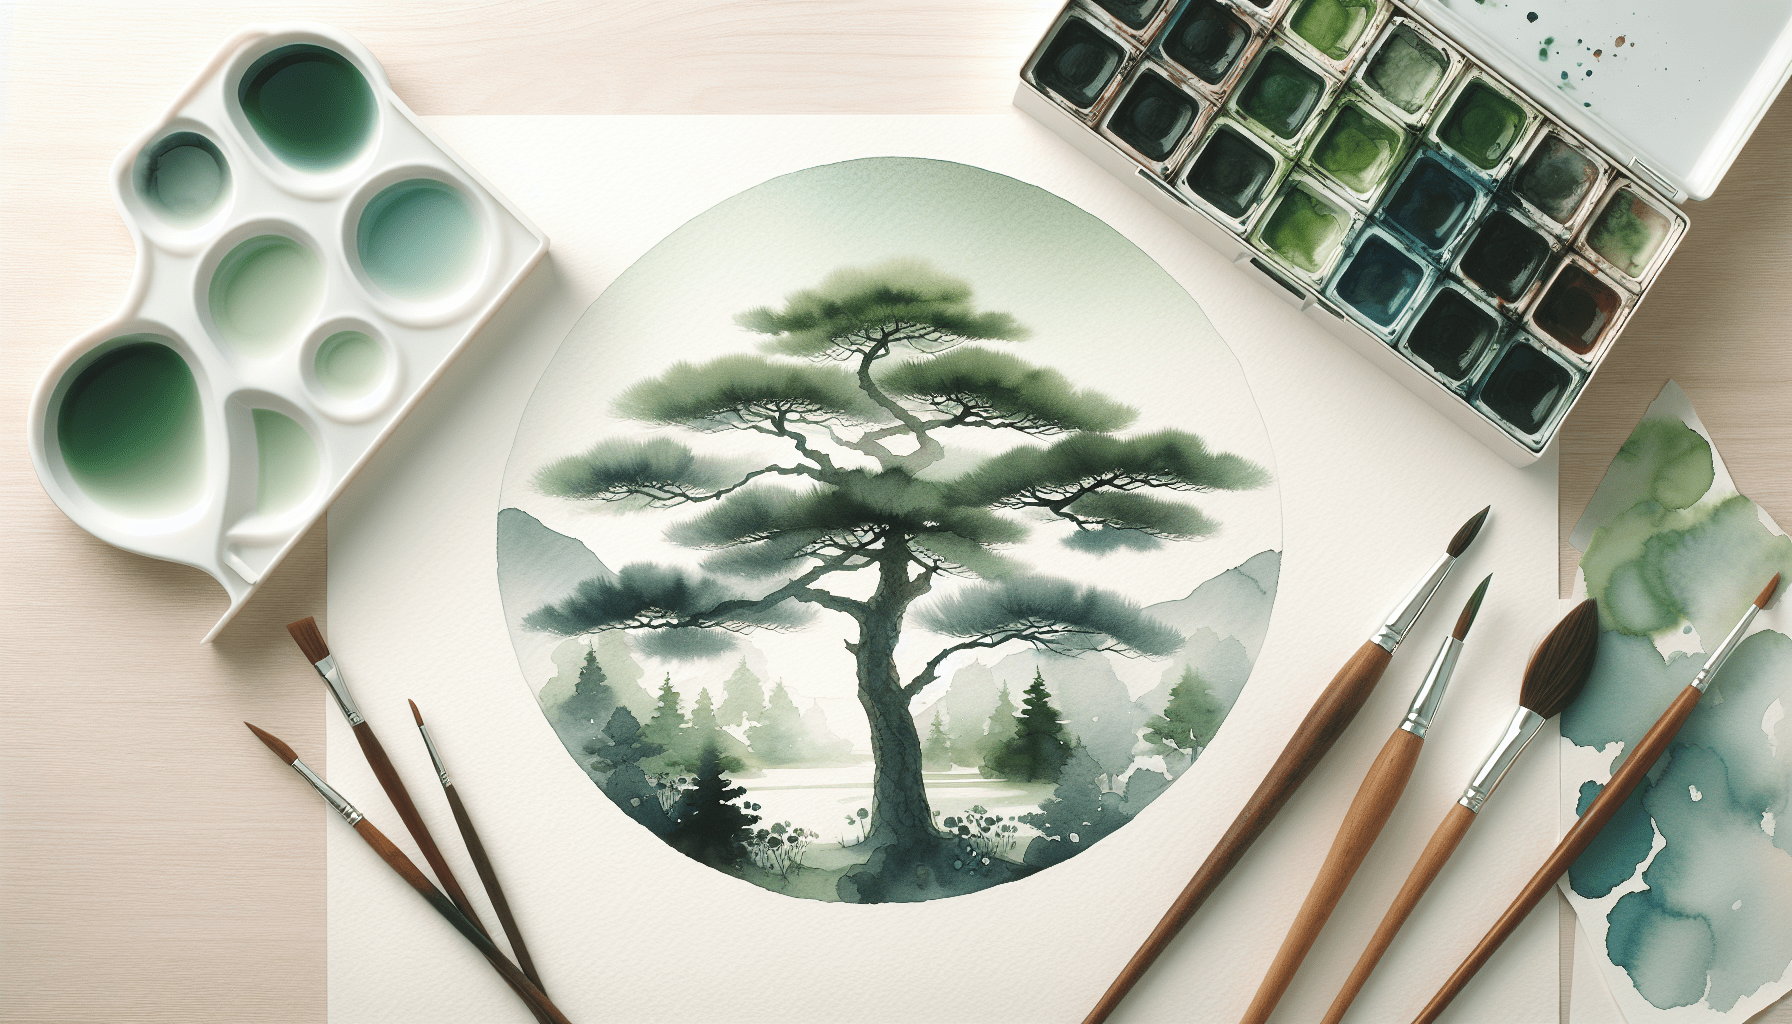
How To Paint Pine Trees In Watercolor” is a comprehensive guide aimed at helping you master the delicate art of painting pine trees using watercolors. As you delve into this article, you will discover step-by-step instructions on selecting the right brushes, mixing appropriate colors, and applying various techniques to achieve lifelike textures. By following these detailed guidelines, you will enhance your watercolor skills and produce stunning representations of pine trees, capturing their unique beauty on paper. Have you ever found yourself mesmerized by a painting of a peaceful forest scene, particularly by the intricate details of pine trees that create a tranquil ambiance? If so, you are not alone. Many artists and admirers of art share your fascination. Painting pine trees in watercolor can be a rewarding experience and an excellent practice for mastering various artistic techniques. In this article, you will learn step-by-step how to paint pine trees using watercolor to bring those tranquil, wooded scenes to life.
Understanding the Basics of Watercolor
Before diving into painting pine trees, it’s essential to understand the fundamentals of watercolor, a medium known for its delicacy and versatility. Watercolor consists of pigments dissolved in water, which allows the artist to create a range of effects through various techniques such as washes, glazes, and dry brush.
Essential Watercolor Supplies
Using the right materials and techniques plays a critical role in achieving the desired results. Here is a list of basic supplies you will need:
| Supply | Description |
|---|---|
| Watercolor Paints | Choose a mix of traditional tubes and pans. Artist-grade paints offer the best pigmentation. |
| Brushes | Use a variety of round and flat brushes. Sizes 2, 4, 8, and 12 are commonly used for detailing pine trees. |
| Watercolor Paper | Cold-pressed paper (140 lb) offers a good balance of texture and absorbency. |
| Palette | A mixing palette with compartments for creating custom colors. |
| Water Containers | At least one container for clean water and one for rinsing brushes. |
| Paper Towels | For blotting brushes and controlling water content. |
Watercolor Techniques for Pine Trees
Mastering specific watercolor techniques, such as gradated washes, wet-on-wet, and glazing, will help you create depth and detail in your pine tree paintings.
| Technique | Usage |
|---|---|
| Gradated Wash | For creating smooth transitions, e.g., in the sky or backgrounds. |
| Wet-on-Wet | Applying wet paint onto wet paper for fluid blending. Ideal for foliage effects. |
| Glazing | Applying thin, transparent layers to build depth and tone. Useful for trunk and shadow details. |
| Dry Brush | Using minimal paint and water to create rough textures for branches and needles. |
Steps to Paint Pine Trees in Watercolor
Now that you’re equipped with the basic understanding and materials, let’s delve into the step-by-step process of painting pine trees.
Step 1: Sketching the Pine Tree
Start with a light pencil sketch to outline the basic structure of the pine tree.
- Trunk: Draw a straight or slightly curved line from the base to the top to represent the trunk.
- Branches: Sketch the primary branches extending from the trunk at various angles. Pine tree branches typically grow outwards and downwards.
- Foliage: Lightly block in the shapes of the needle clusters around the branches.
Step 2: Background Wash
Create a background that will help bring your pine tree into focus.
- Wet the Paper: Lightly wet the entire background area.
- Apply Color: Use a large brush to apply a gradated wash. For a sky, transition from blue at the top to a lighter color towards the bottom. Allow it to dry completely.
Step 3: Painting the Trunk and Branches
Using the ‘wet-on-dry’ technique, begin detailing the trunk and main branches.
- Base Color: Mix a neutral or slightly warm tone and paint a base layer along the trunk and main branches.
- Add Texture: Use a dry brush to add texture to the trunk. Paint irregular lines and bark details.
- Darken Edges: Add darker tones to one side of the trunk and branches to create a sense of depth and dimension.
Step 4: Adding Foliage
The foliage is the most distinctive feature of pine trees, and painting it requires attention to layering and texture.
- First Layer: Using the wet-on-wet technique, lightly paint the outer shapes of the foliage clusters. Allow blending at the edges.
- Mid Tones: Once the first layer dries, paint mid-tone greens in smaller, more defined shapes.
- Details: Add dark green or brown to define the undersides and internal areas of the needle clusters. Use a fine brush for detailed strokes to represent individual needle groups.

Fine-Tuning Your Pine Tree Painting
Finishing touches can significantly enhance the overall composition and realism of your painting.
Highlights and Shadows
Adding highlights and shadows can bring a three-dimensional feel to your painting.
- Highlights: Use a slightly watered-down white or light green to add subtle highlights on the tops of trunk, branches, and needles where light would naturally hit.
- Shadows: Deepen the shadows in the undersides of the branches and needle clusters using a darker green or brown.
Foreground and Additional Elements
Incorporate additional elements such as grass, rocks, or other flora to provide context and depth.
- Foreground Texture: Use the dry brush technique to add texture to grass and earth at the base of the tree.
- Additional Trees: Paint additional trees in varying distances to create depth in your composition.
Techniques for Different Types of Pine Trees
Different species of pine trees have unique characteristics that can be depicted through careful observation and technique.
Spruce Pines
Spruce pines have a fuller, conical shape. Emphasize the following:
- Dense Foliage: Use more layers and darker greens to showcase the dense foliage.
- Symmetry: Maintain a symmetrical tree form, focusing on evenly spaced branches and needle clusters.
Ponderosa Pines
Ponderosa pines have more spaced-out branches and longer needles. Focus on:
- Long, Sparse Needles: Use a fine brush to depict the long, sparse needle groups more accurately.
- Textured Bark: Add more texture to the trunk, capturing the unique patterns found in Ponderosa bark.
White Pines
White pines have softer, more filamentous needles. Remember to:
- Soft Edges: Use wet-on-wet techniques for softer, blended needle clusters.
- Lighter Color Palette: Utilize a lighter, more bluish-green palette to reflect the softer appearance.

Common Mistakes and How to Avoid Them
Learning from common mistakes can help improve your painting skills and outcomes.
Overworking the Paint
Watercolor is a delicate medium, and overworking can muddy your colors and lose the freshness of your painting.
- Solution: Apply paint with confidence and resist the urge to make too many adjustments once the paint is wet.
Incorrect Proportions
Getting the proportions and perspectives wrong can detract from the realism of your tree.
- Solution: Take your time with initial sketches to get the overall shape and proportions right before adding paint.
Lack of Contrast
Without proper contrast, your tree may lack depth and appear flat.
- Solution: Ensure you have a good range of tones from light to dark, and don’t be afraid to add darker tones for shadows and deeper areas.
Advanced Techniques and Tips
Once you’ve mastered the basic techniques, try incorporating more advanced methods to add complexity and interest to your paintings.
Layering and Glazing
Layering colors through glazing can create rich textures and depth.
- Base Layers: Start with light base layers and allow them to dry thoroughly.
- Successive Layers: Gradually build up color intensity by adding more glazes, allowing each layer to dry before applying the next one.
Painting Realistic Needles
Create more realistic needles by varying your brushstrokes and techniques.
- Varied Strokes: Use a combination of short and long strokes to mimic natural needle patterns.
- Controlled Water: Control the amount of water in your brush to create both delicate and bold strokes.
Conclusion
Painting pine trees in watercolor is an art form that combines both technique and creativity. By mastering the basics, practicing various techniques, and paying close attention to detail, you can create stunning and lifelike representations of pine trees. Remember, practice and patience are key, and each painting offers a new opportunity to improve and express your unique artistic vision. Happy painting!


