In the following discourse, emphasis is laid on the intriguing art of creating palm trees using acrylic paints. Should you find yourself intrigued by the tropical beauty and grace of these evergreen giants, you may wish to immortalize them on canvas. This guide will walk you through the process of producing such a masterpiece with acrylic paints, discussing in detail the techniques, tools, and tips needed to breathe life into your art. Whether you’re a beginner hoping to explore the basics or an experienced artist seeking to improve, you’ll find valuable insights in this read.
Choosing the Right Materials
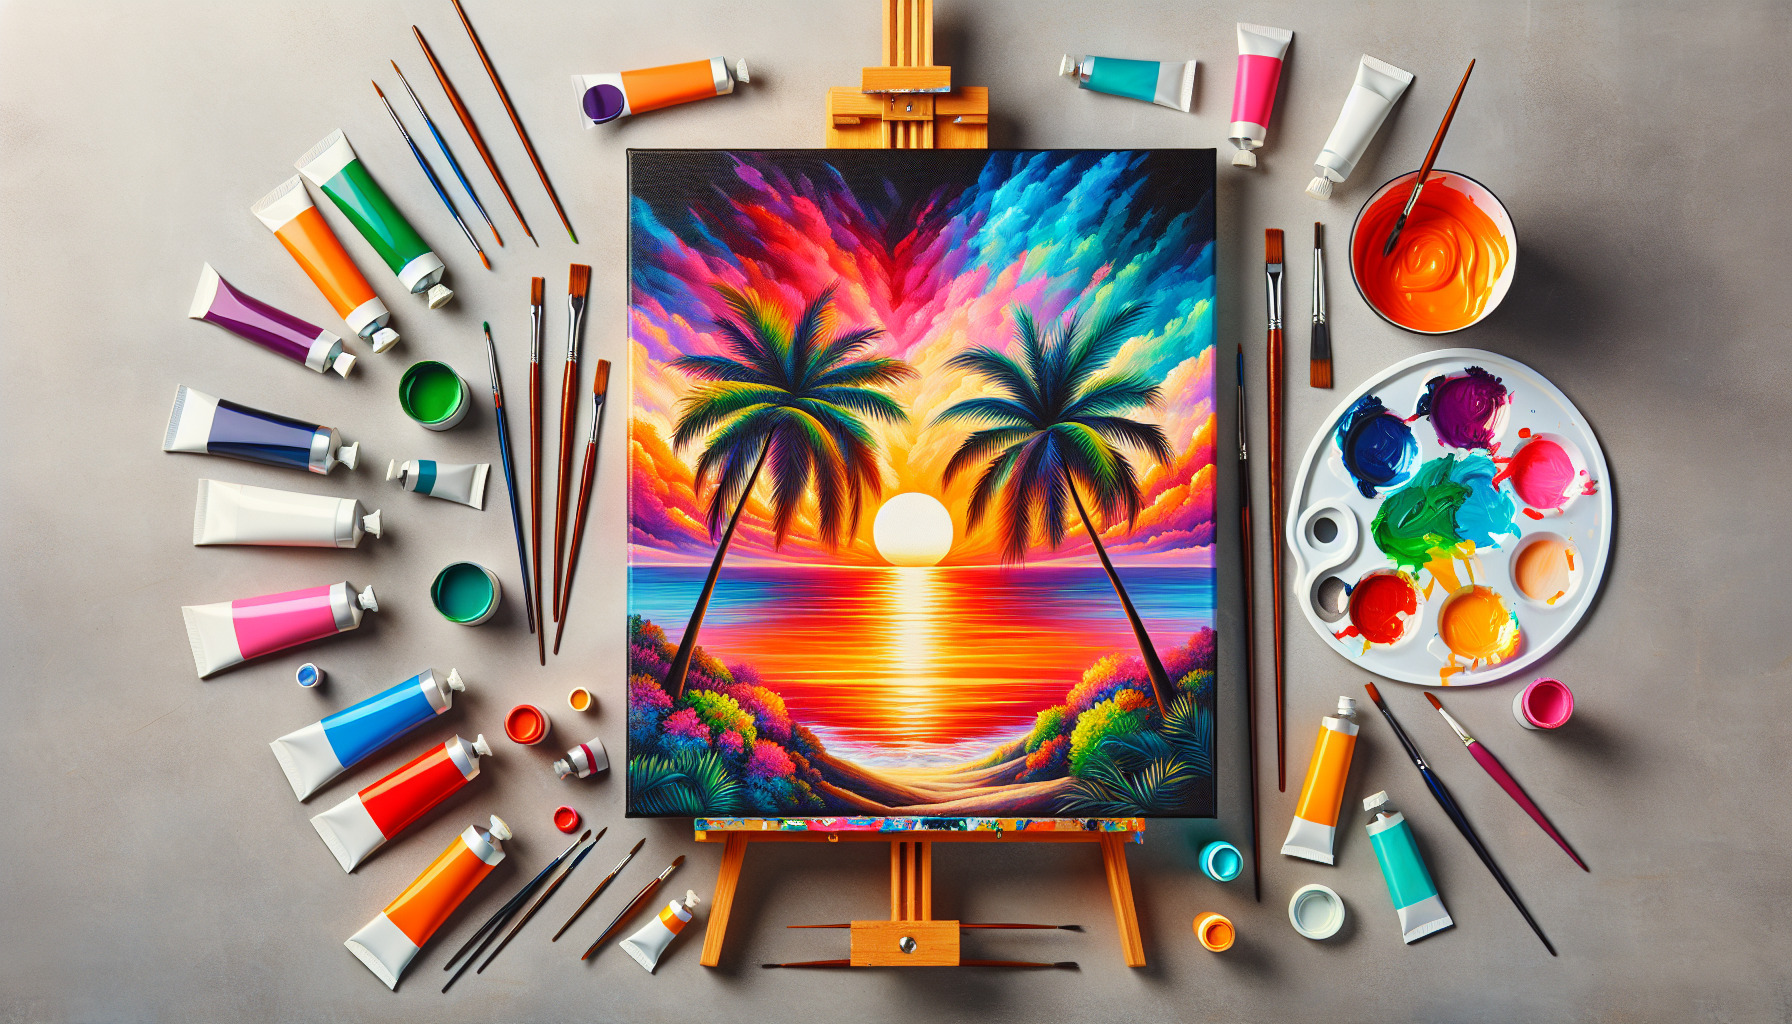
Creating a beautiful painting involves carefully selecting the materials that will allow you to bring your vision to life. For this example, we will be focusing on how to paint palm trees in acrylic.
Selecting the Acrylic Paints
Acrylic paints are a versatile medium, widely admired for their vibrant colors and quick-drying qualities. When painting palm trees, consider a variety of greens for the leaves, a range of browns for the trunk, and blues for the backdrop to evoke the sky. Pay close attention to the quality of the paints you choose. Opt for professional-grade paints with high pigmentation for a vivid result.
Choosing Brushes
The brushes you select are equally important to the painting process. Different brush types and sizes yield different effects. For the wide, sweeping strokes that make up the sky and the background, consider using large flat brushes. For the smaller details of the palm fronds and coconuts consider smaller round brushes.
Gathering Other Materials
Other necessary materials include a palette for mixing colors, a palette knife for blending, containers for water, rags or paper towels for cleaning up, and an easel to hold your canvas.
Preparing the Canvas
Preparation is key to creating a smooth, vibrant painting.
Applying Gesso
Begin by applying gesso to your canvas. This undercoating creates a smooth and uniformly white surface that will allow the true colors of your acrylic paints to shine through.
Creating a Rough Sketch
After the gesso dries, create a rough sketch of the palm tree using a light pencil. This will serve as a guide when you start painting.
Transferring Sketch onto the Canvas
Now, transfer your sketch onto the canvas. Be sure to be light-handed as you don’t want pencil marks to show through your paints.

Creating the Background
Before you start painting the tree itself, consider the environment where it stands.
Mixing Colors for the Sky
Start by mixing colors for the sky. For a typical sunny setting, blend blues and whites together.
Applying the Sky Color
Use your large flat brush to apply your sky color from the top down, lightening the shade as you descend towards the horizon line.
Adding Texture to the Sky
Add some texture to your sky by blending in white to create fluffy clouds or dark blues for more depth.
Painting the Trunk
Next, we’ll attend to the trunk of the palm tree.
Mixing Colors for the Trunk
On your palette, mix a variety of browns to create a base for the trunk.
Defining the Shape of the Trunk
Use your sketches as a guide to define the shape of the trunk. Palm tree trunks are cylindrical but often slope gently to one side. Their surface is rough and segmented.
Adding Lights and Shadows on the Trunk
Add depth to the trunk by painting lighter colors where the sunlight hits directly, and darker ones in the shadowed areas.

Adding the Palm Fronds
Arguably the most iconic element of a palm tree, the fronds require care and attention.
Mixing Colors for the Leaves
On your palette, mix various combinations of greens. A useful tip: adding a touch of yellow or blue can create the appearance of sunlight or shadow respectively.
Painting the First Layer of Leaves
With your smaller round brush, apply the first layer of leaves. Be mindful to create the correct perspective.
Adding Details to the Fronds
Once your base is finished, add in details to the fronds with lighter and darker shades of green.
Painting the Coconuts
What’s a palm tree without coconuts?
Selecting Colors for the Coconuts
Select a range of browns for the coconuts, as well as some white for highlights.
Creating the Shape of the Coconuts
Use your smaller brush to paint the shape, usually round and slightly oblong.
Highlighting and Shading the Coconuts
Paint in the highlights and shadows to make the coconuts look three-dimensional.
Adding Final Details
As you near the end of the painting process, it’s time to add in final details.
Enhancing the Background
Adding birds in the sky or other trees in the distance can create more depth in your background.
Adding Highlights to the Trunk
Using a small brush and light brown, you can add highlights to the trunk for additional realism.
Refining the Palm Fronds
Similarly, refining the lines and shadows on the palm fronds can give them more volume and detail.
Blending and Smoothing
Now it’s time to blend and smooth your painting.
Blending Colors on the Canvas
Use your big flat brush to blend the colors on the canvas gently. This can harmonize your painting and make the transitions between colors more seamless.
Creating Smooth Transitions
For a more natural look, create smooth transitions between light and dark regions.
Softening Edges
Use your brush to soften the edges, especially on the trunk and the coconuts, for a more realistic effect.
Adding Depth and Texture
Adding depth and texture to your painting can make it more lively and realistic.
Creating Depth with Shadows
Shadows are not always black or gray. Experiment with different shades to achieve more depth.
Adding Texture to the Trunk
Adding vertical lines or dabbles of paint to the trunk can create a more authentic ‘bark’ look.
Enhancing the Leaf Texture
With small strokes of darker and lighter greens, you can add details to the fronds, enhancing their texture.
Finishing Touches
You are almost done! It’s time for a few finishing touches.
Signing Your Artwork
Don’t forget to sign your masterpiece. This not only identifies the painting as yours but also marks the completion of your hard work.
Applying a Protective Varnish
After your painting is completely dry, apply a layer of protective varnish. This will keep your painting bright and protect it from dust and UV light.
Displaying Your Painting
Finally, find a perfect spot in your home to display your painting proudly. Enjoy the results of your hard work and creativity!
Learning how to paint palm trees with acrylics may seem like a daunting task at first, but with the right tools and technique, it becomes an enjoyable and satisfying project. Don’t be afraid to experiment and adapt this guide to suit your own style and preference. Happy painting!


