If you have ever wondered how to effectively paint on burlap fabric to create stunning and unique designs, this article will guide you through the process step by step. From choosing the right materials and preparing the fabric, to applying the paint and adding finishing touches, you will gain a comprehensive understanding of the techniques and tools required to achieve professional results. Whether you are a beginner or an experienced artist, this article will equip you with the knowledge and skills necessary to bring your creative visions to life on burlap fabric. So, let’s explore the world of burlap painting together and unlock the endless possibilities that await your artistic endeavors.
Preparing the Burlap
When it comes to painting on burlap fabric, proper preparation is key to ensuring a successful and long-lasting result. There are several steps involved in preparing the burlap before you begin your painting project.
Washing and drying the burlap
Before starting your painting project, it is important to wash the burlap to remove any dirt or residue. Fill a sink or basin with lukewarm water and add a mild detergent. Gently agitate the burlap in the soapy water, making sure to avoid excessive rubbing or scrubbing to prevent fraying. Allow the burlap to soak for a few minutes, then drain the water and rinse the fabric thoroughly.
After washing, it is crucial to let the burlap dry completely before proceeding with painting. Lay the burlap flat on a clean and dry surface, preferably in a well-ventilated area, and allow it to air dry. Avoid using a dryer, as the heat may shrink or distort the fabric.
Ironing the burlap
Once the burlap is dry, it is recommended to iron the fabric to remove any creases or wrinkles. Set your iron to a low heat setting without steam and gently press the iron over the burlap in smooth motions. Be careful not to apply too much pressure or leave the iron in one spot for too long, as this may cause the burlap to become shiny or distorted. Ironing the fabric will create a smooth surface for the paint application.
Applying a primer on the burlap
To ensure better paint adhesion and color vibrancy, applying a primer to the burlap is highly recommended. The primer will create a barrier between the fabric and the paint, allowing for a more even and controlled application.
Choose a primer specifically designed for fabric or multi-purpose use. Apply the primer using a brush or foam roller, making sure to cover the surface of the burlap evenly. Follow the manufacturer’s instructions regarding drying time and additional coats if necessary. Once the primer is dry, the burlap is ready to be painted.
Choosing the Right Paint
Selecting the right paint for your burlap painting project is essential in achieving the desired results. Consider the nature of your project, the desired finish, and the durability required.
Selecting acrylic or fabric paint
For painting on burlap fabric, two commonly used types of paint are acrylic paint and fabric paint. Acrylic paint is known for its versatility, quick drying time, and wide range of colors. It adheres well to fabric surfaces and provides a durable finish. Fabric paint, on the other hand, is specifically formulated for textiles and often offers greater flexibility and stretchability.
Consider the specific requirements of your project and choose the paint that best suits your needs. Acrylic paint is generally more readily available and comes in a larger variety of colors, while fabric paint may be more suitable for projects that require more flexibility, such as clothing or accessories made from burlap.
Considering the project’s requirements
When selecting paint for your burlap project, take into account the desired finish and the level of durability required. If you are looking for a matte or satin finish, acrylic paint is an excellent choice. Acrylic paint can be mixed with a fabric medium to achieve a softer, more flexible finish. On the other hand, if you are aiming for a glossy or metallic finish, consider using fabric paints specifically designed for those effects.
Additionally, consider if the painted burlap will be exposed to outdoor elements or frequent handling. In such cases, it is recommended to choose a paint that has good colorfastness and durability to ensure the longevity of your artwork.
Testing the paint on a sample piece of burlap
Before diving into your main painting project, it is crucial to test the chosen paint on a small sample piece of burlap. This will allow you to evaluate the paint’s compatibility with the fabric, its coverage, and the final appearance. Apply the paint to the sample piece using different brush strokes, layering techniques, and drying times to assess how the paint behaves on the burlap.
Testing the paint beforehand will help you make any necessary adjustments to your technique or color choices before starting your actual project. It is better to discover any issues or incompatibilities on a small sample rather than on your entire painting.

Gathering the Painting Supplies
Before you begin painting on burlap, it is important to gather all the necessary supplies. This will ensure a smooth and efficient painting process.
Paintbrushes
Choose paintbrushes suitable for the type of paint you are using and the level of detail required. For acrylic paint, synthetic brushes with stiff bristles work well, while fabric paint may require softer brushes that can handle the flexible nature of the paint. Have a variety of brush sizes and shapes on hand to accommodate different areas and techniques.
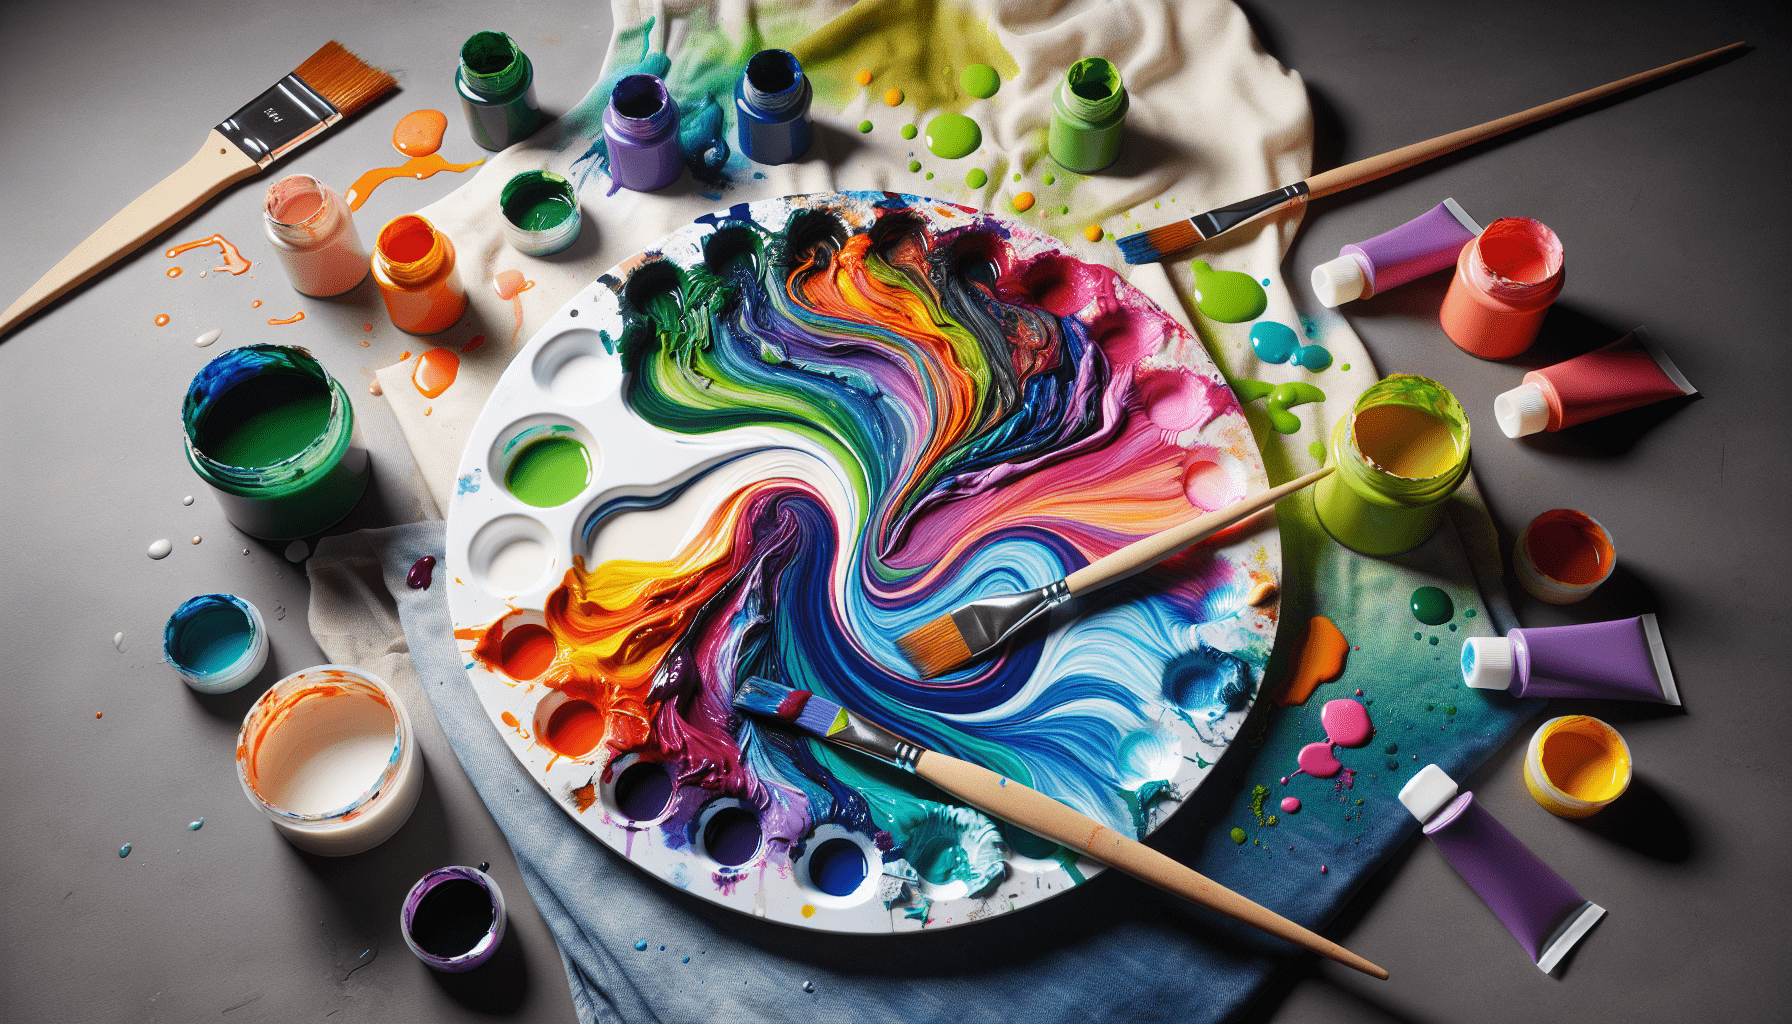
Palette or mixing surface
A palette or mixing surface is essential for blending colors, diluting paint, and creating custom shades. Use a palette made specifically for acrylic or fabric paint, or improvise with a disposable plate or palette paper. Make sure the palette is large enough to accommodate the amount of paint you will be using.
Water container
Having a water container nearby is crucial for acrylic paint projects. This will allow you to clean your brushes between color changes and prevent cross-contamination. Use a container that is large enough to hold a sufficient amount of water and deep enough to prevent spillage.
Pencil or chalk
Having a pencil or chalk on hand is useful for sketching or outlining your design on the burlap before painting. These tools easily mark the fabric and can be easily erased or blended into the paint once it dries.
Masking tape or stencils
If you prefer precise outlines or patterns, masking tape or stencils can be excellent tools to achieve clean lines and shapes. Masking tape can be applied directly onto the burlap to create straight edges or borders, while stencils can be positioned and secured to guide your painting.
Optional: fabric medium or fixative
Depending on the type of paint you are using, a fabric medium or fixative may be beneficial. A fabric medium can be mixed with acrylic paint to increase its flexibility and improve its adhesion to the burlap. A fixative, on the other hand, is sprayed over the painted surface to protect the artwork from fading, smudging, or moisture damage.
Preparing the Workspace
Creating a well-organized and suitable workspace is essential to ensure a smooth and enjoyable painting experience. Proper preparation of your workspace will also protect your surroundings and prevent any damage to your artwork.
Covering the work surface
To protect your work surface from any accidental spills or paint splatters, cover it with a drop cloth, plastic sheet, or old newspapers. This will prevent paint from seeping through and staining your furniture or flooring. Opt for a cover that is easy to clean or replace.
Ensuring good ventilation
Painting can release fumes and odors, especially if using acrylic paint. To maintain good air quality and prevent any discomfort or health issues, ensure your workspace has proper ventilation. Open windows and doors, use fans or air purifiers, or even work outside if weather permits.
Laying out all the supplies
Before you start painting, organize your supplies in a way that is easily accessible and within reach. This will prevent any unnecessary interruptions or disruptions during the painting process. Arrange your brushes, paints, palettes, water container, and other materials in a logical and convenient manner. Having everything neatly organized will help maintain focus and streamline your creativity.

Sketching or Outlining the Design
Before applying paint to the burlap, take the time to sketch or outline your design. This will provide a roadmap for your painting and allow for better accuracy and precision.
Using a pencil or chalk to lightly draw the design
Using a pencil or chalk, lightly draw your design directly onto the burlap. Start by outlining the main features or shapes, gradually adding more details as you progress. Remember to keep your lines light and loose, as they should serve only as guidelines and will be covered by the paint.
Using stencils or masking tape for precise outlines
For more intricate designs or precise outlines, stencils or masking tape can be extremely helpful. Position the stencil or tape on the burlap, ensuring it is securely attached and aligned correctly. Use a pencil or chalk to trace along the edges of the stencil or tape, creating sharp lines and well-defined shapes. Once the outlines are complete, carefully remove the stencil or tape.
Erasing or correcting any mistakes before painting
If you are not satisfied with the sketch or outline, or if you have made any mistakes, now is the time to correct them. Use a soft eraser to gently remove any unwanted lines or shapes. If necessary, redo the sketch or outline until you are pleased with the overall design. Once the painting process begins, it will be more challenging to make significant changes or corrections.
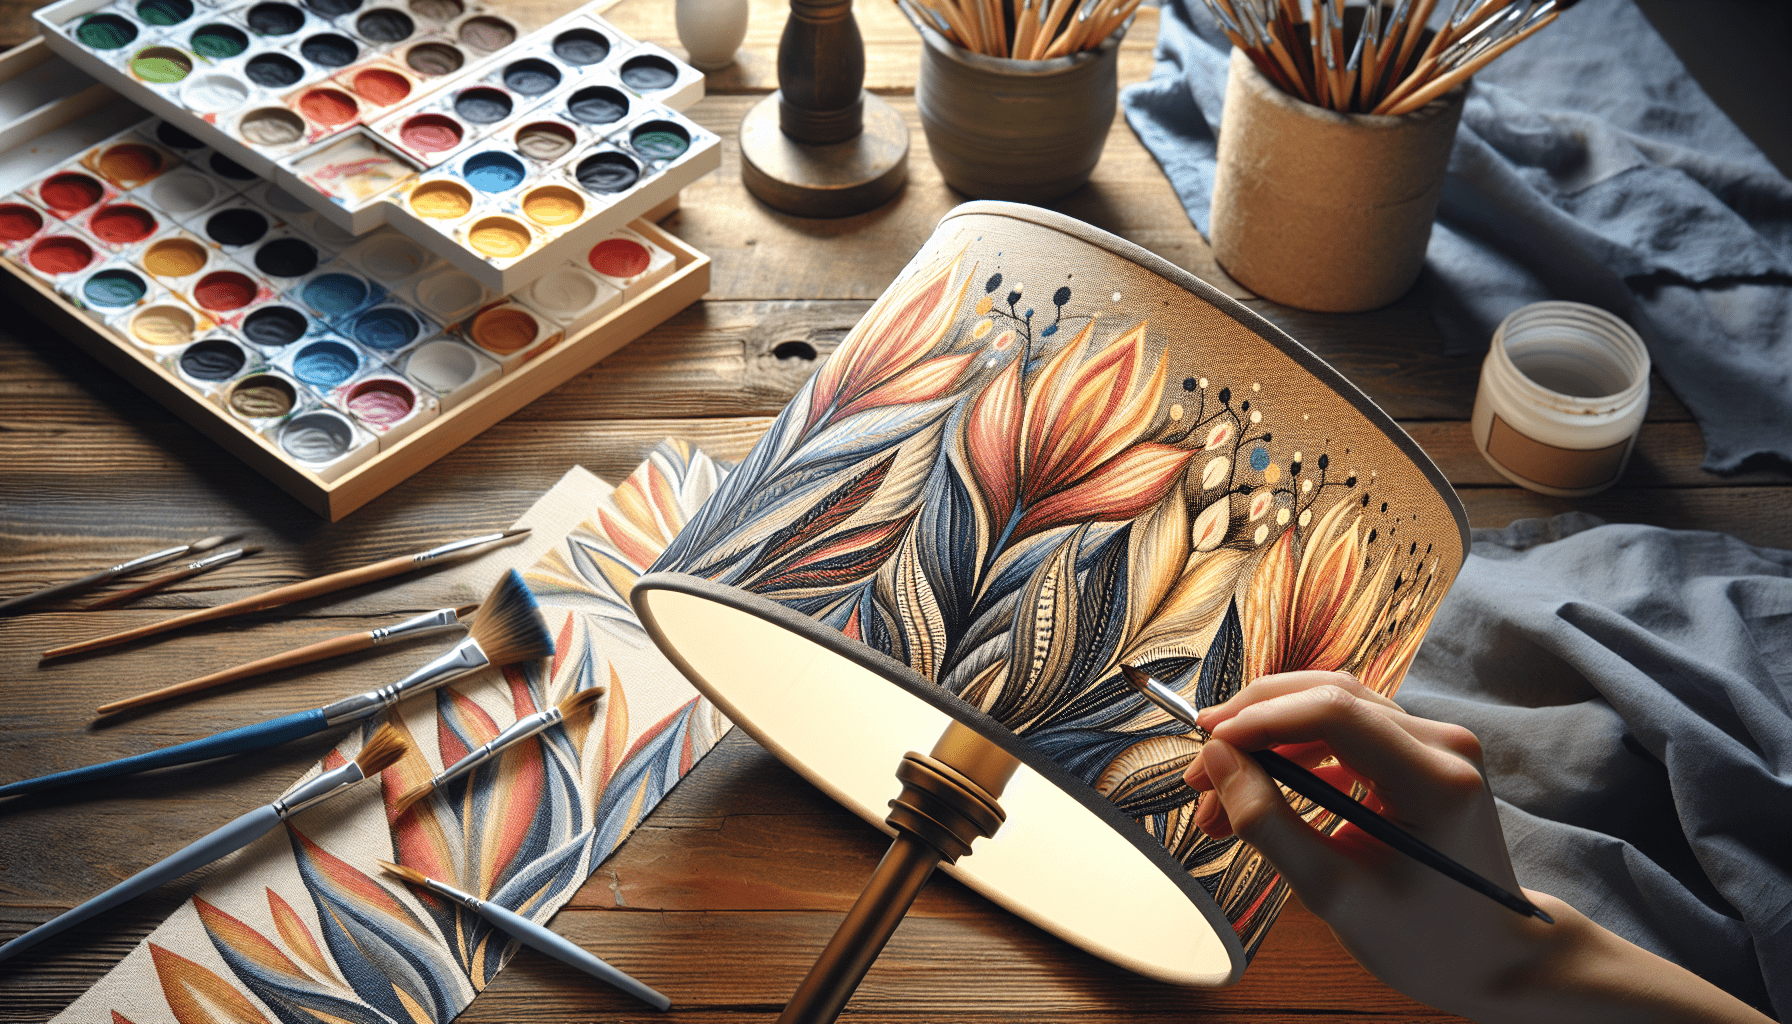
Applying the Paint
With the burlap properly prepared and the design outlined, it is time to begin applying the paint. This step-by-step process will guide you through the best techniques and strategies for achieving beautiful and professional-looking results.
Start with base colors
Begin by painting the base colors of your design. This will serve as the foundation for the subsequent layers and details. Use a larger brush to cover larger areas and gradually switch to smaller brushes for more intricate sections.
Apply the first layer of paint using smooth and even brush strokes. Make sure the brush is fully loaded with paint but not overly saturated, as this can lead to excess bleeding or smudging. Allow each layer to dry completely before adding additional layers or details.
Working with thin layers for better control
When painting on burlap, it is generally recommended to work with thin layers of paint rather than thick and heavy applications. This allows for better control over the color intensity and prevents the paint from bleeding or becoming too saturated into the fabric. Apply the paint using light pressure and smooth strokes, ensuring even coverage across the surface.
Managing the drying time between layers
It is important to allow each layer of paint to dry thoroughly before applying the next layer or any additional details. This will prevent the colors from blending or smudging and will ensure a clean and crisp appearance. Consult the paint manufacturer’s instructions for recommended drying times, as this may vary depending on the type of paint used.
Blending and shading techniques
To create depth and dimension in your painting, consider incorporating blending and shading techniques. Use a dry brush or a blending brush to gently merge two or more colors together, creating smooth transitions and gradients. For shading, mix in a darker shade of the base color and apply it to the desired areas, then blend it seamlessly with the surrounding colors.
Using various brush strokes for texture
Burlap fabric provides a unique and textured surface for your painting. Take advantage of this by experimenting with various brush strokes to achieve interesting textures and effects. Use stippling, dabbing, or crisscross strokes to create depth or mimic the appearance of different materials. Consider the overall composition of your design and strategically apply brush strokes to enhance its visual impact.
Handling Potential Issues
While painting on burlap can be a rewarding experience, there are potential issues that may arise during the process. Here are some common problems that you may encounter and strategies for effectively addressing them.
Preventing bleeding or smudging of colors
To prevent colors from bleeding or smudging on the burlap, it is crucial to allow each layer of paint to dry completely before applying the next one. This will help maintain the crisp and clean appearance of your design. If bleeding occurs despite proper drying time, consider using a fabric medium to enhance paint adhesion or switch to fabric paint, which is specifically designed for textiles and has better colorfastness.
Fixing mistakes or imperfections
Mistakes happen, even to the most experienced painters. If you make a mistake or discover an imperfection, don’t panic. Many issues can be easily resolved or covered up. For small mistakes, such as minor smudges or unwanted lines, use a cloth or cotton swab dipped in water to gently remove the paint before it dries. For more significant mistakes, let the paint dry and then use a fine-grit sandpaper to carefully sand down the affected area. Once smooth, apply a thin layer of primer or paint to restore the surface and continue painting.
Solving issues with paint consistency
Sometimes, the consistency of the paint can cause problems during the painting process. If the paint is too thick and difficult to apply, add a small amount of water or paint thinner to thin it out. Mix well until you achieve the desired consistency. On the other hand, if the paint is too thin and transparent, add a small amount of paint or a few drops of acrylic medium to increase its opacity. Continuously monitor the consistency of the paint and adjust as needed to ensure smooth application.
Enhancing the vibrancy of the colors
If you find that the colors appear dull or lack vibrancy, there are several techniques you can employ to enhance their intensity. First, consider applying multiple layers of paint, allowing each layer to dry before adding the next. This will build up the color saturation and vibrancy. Additionally, consider using a white or light-colored base coat before applying the desired colors, as this can help make the colors appear more vibrant. Finally, using a fabric medium or fixative with your paint can enhance color vibrancy and provide a more vibrant and long-lasting result.
Sealing and Protecting the Painting
Once your burlap painting is complete, it is essential to seal and protect the artwork to ensure its longevity and durability. Follow these steps to preserve your masterpiece.
Using a fabric medium or fixative
To protect your painted burlap, consider applying a fabric medium or fixative. A fabric medium can be mixed with acrylic paint to increase flexibility and longevity. Follow the manufacturer’s instructions for the appropriate ratio of paint to medium. Apply the mixture to the painted surface using a brush or foam roller, ensuring even coverage. A fixative, on the other hand, is a spray that can be applied directly to the painted surface. It forms a protective layer that prevents smudging, fading, or moisture damage. Follow the instructions on the fixative’s packaging for application guidelines.
Ironing or heat-setting the painted burlap
After applying a fabric medium or fixative, it is recommended to heat-set the painted burlap. Heat setting helps to permanently bond the paint to the fabric, making it more resistant to washing and wear. Set your iron to the appropriate temperature for the type of paint used and the fabric’s recommendations. Place a thin cloth or paper towel over the painted surface to protect it, then gently press the iron onto the fabric. Use smooth motions and apply light pressure to avoid distorting the paint or the fabric. Iron the painted burlap for the recommended time specified by the paint manufacturer.
Storing or displaying the painted burlap correctly
Once the painting is sealed and protected, it is essential to store or display it correctly to minimize any potential damage. If storing the painted burlap, roll it carefully with the painted side facing inward to avoid any pressure on the surface. Store it in a clean and dry environment, away from direct sunlight and extreme temperature fluctuations.
If displaying the painted burlap, ensure it is properly framed or mounted to prevent unnecessary stretching or distortion. If possible, display the artwork away from direct sunlight or intense artificial lighting, as these can fade or damage the colors over time.
Cleaning and Caring for Painted Burlap
Proper cleaning and care are essential to maintain the appearance and longevity of your painted burlap. Follow these steps to keep your artwork in the best possible condition.
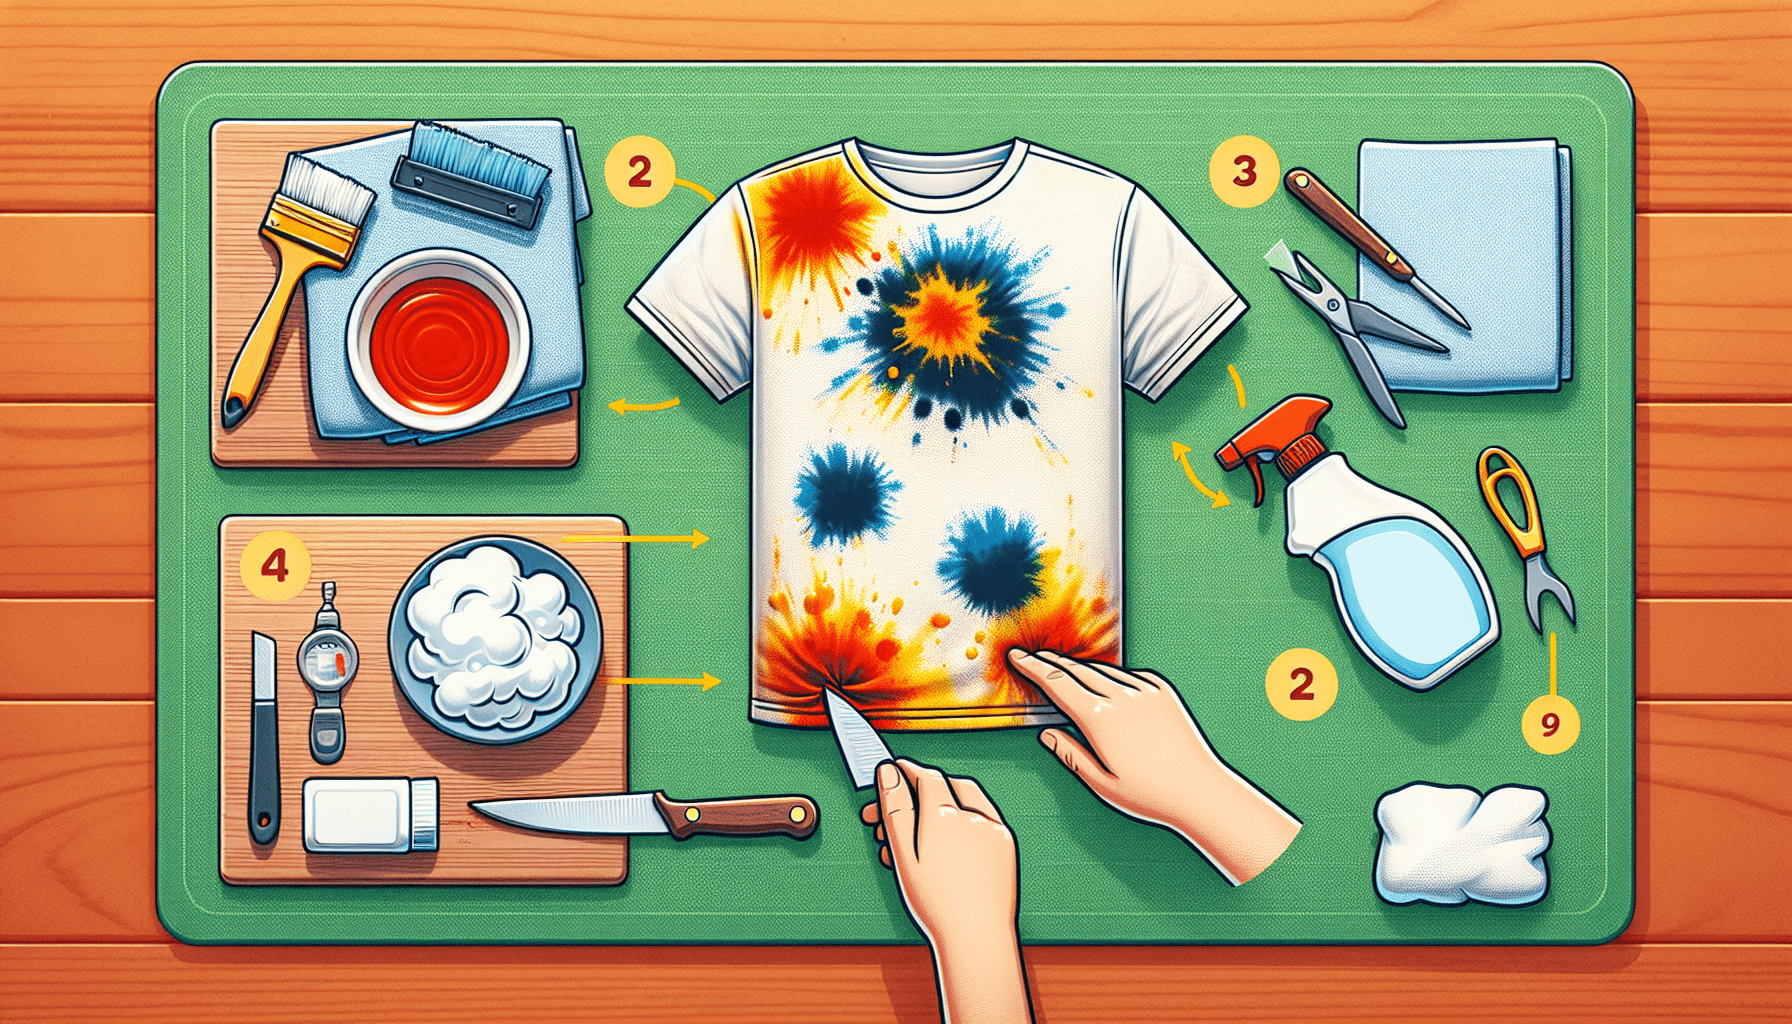
Removing excess or dried paint
If there is excess or dried paint on the burlap, carefully scrape it off using a blunt tool, such as a plastic scraper or the edge of a credit card. Take care not to damage the fabric in the process. Once most of the paint is removed, use a cloth or sponge dampened with warm water to gently blot the area, removing any remaining residue.
Hand-washing or spot-cleaning the burlap
If the painted burlap requires further cleaning, hand-washing or spot-cleaning is recommended. Fill a basin or sink with lukewarm water and a mild detergent suitable for delicate fabrics. Gently immerse the burlap in the soapy water and lightly agitate it, being careful not to rub or scrub vigorously. Rinse the fabric thoroughly in clean water to remove any traces of detergent. Avoid wringing or twisting the burlap, as this may cause it to stretch or lose its shape. Instead, gently squeeze out the excess water and smooth out any wrinkles.
Avoiding harsh detergents or scrubbing
When cleaning painted burlap, it is important to avoid using harsh detergents or abrasive scrubbing techniques. These can damage the fabric and cause the paint to fade or chip. Stick to gentle, mild detergents specifically formulated for delicate fabrics, and use soft cloths or sponges for cleaning.
Storing the painted burlap properly
Proper storage is crucial to maintain the painted burlap’s condition. Avoid folding the fabric, as this can cause creases or permanent wrinkles. Instead, roll the burlap carefully with the painted side facing inward to protect it. Store the rolled fabric in a clean and dry environment, away from direct sunlight, excessive heat, or humidity.
Exploring Advanced Techniques
Once you have mastered the basics of painting on burlap fabric, you may want to explore advanced techniques to further enhance your artwork. Here are some techniques you can experiment with to take your burlap painting to the next level.
Creating texture with fabric mediums or gels
To add texture and dimension to your burlap painting, consider incorporating fabric mediums or gels. These products are specifically designed to create various textures and effects when mixed with paint. Experiment with different mediums or gels, such as molding paste, fiber paste, or crackle gel, to achieve unique textures reminiscent of different materials or surfaces.
Experimenting with different paint additives
Apart from fabric mediums and gels, there are various paint additives available that can enhance your burlap painting. These additives can alter the paint’s consistency, drying time, or appearance. Experiment with additives such as retarders to extend drying time, glazing medium to create transparent layers, or pouring medium for fluid and abstract effects. Read the instructions for each additive carefully and test them on a small section of burlap to understand their impact on your painting.
Using stencils or stamps for intricate designs
To achieve intricate and detailed designs on burlap, stencils and stamps can be extremely useful. Stencils allow for precise and repeatable patterns, while stamps can provide unique textures or motifs. Position the stencil or stamp on the burlap and apply the paint using a brush or sponge, ensuring even coverage. Remove the stencil or stamp carefully, avoiding smudging or smearing. Take time to explore different stencil or stamp designs to create a variety of visual effects.
Combining techniques like embroidery or appliqué
For a truly unique and mixed-media approach, consider combining painting on burlap with other artistic techniques such as embroidery or appliqué. Embroider intricate details or outlines onto the painted burlap using a needle and thread, adding texture and dimension. Alternatively, incorporate fabric or other materials through appliqué, creating tactile elements to enhance your design. Experiment with different combinations and techniques to create one-of-a-kind artworks that showcase your creativity and skill.
By following these detailed steps, you can successfully paint on burlap fabric and create stunning artworks. Remember to take your time, practice, and allow your creativity to flow. With the right preparation, techniques, and care, your painted burlap pieces will be beautiful, durable, and sure to impress.