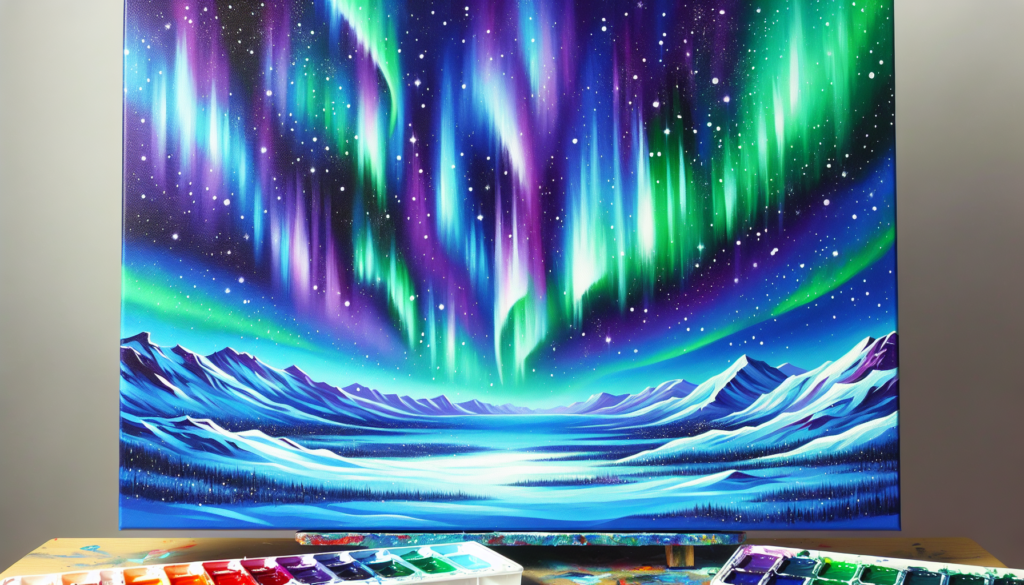
Mastering the art of painting the Northern Lights in acrylic can be at once challenging and rewarding. This article serves as your comprehensive guide, offering strategic techniques and practical advice to help you accurately capture this mesmerizing natural phenomenon on canvas. With a step-by-step approach, you’ll learn to recreate the ethereal glow and vibrant hues of the aurora borealis, all with a palette knife and a few strokes of acrylic paint. Turn your artistic ambitions into a luminous reality as you learn this dynamic painting style.
Materials needed
Every masterpiece begins with a set of essential tools. Painting Northern lights in acrylic, a spectacle of nature’s beauty, is no exception.
Acrylic paints
Acrylic paints are your primary tool. Known for their versatility, they are quick-drying and easy to control, making them ideal for beginners and seasoned artists alike. Ensure you have a variety of colors on hand; while the Northern Lights are typically associated with green and purple colors, they can also present in shades of red, blue, and yellow.
Canvas or painting surface
Next, you need a canvas or other suitable painting surface. Canvasses are available in many sizes, and the one you choose will depend upon the scale of your artwork. Acrylic paints work well on canvas, but can also be used on alternative surfaces such as wood or paper.
Paint brushes
You will need a variety of paint brushes in different sizes and shapes. Larger, flat-bristled brushes are ideal for broad background strokes, while those with finer tips are better for detailing work.
Palette
Having a palette not only means having a place to mix your colors, but also an easy way to manage your paint and control how much you’re using.
Paper towels
Paper towels are necessary for wiping your brush clean between colors to avoid unwanted mixing. They can also be used to dab at your painting and remove excess paint or correct mistakes.
Water container
Finally, a water container is essential for cleaning your brushes and diluting your acrylic paints if necessary.
Preparation
In readiness to commence your painting, there are certain preparatory steps to take.
Choose a reference image
Choose a reference image of the Northern lights that appeals to you. This image will serve as a guide for your painting.
Prepare your painting surface
Before you start painting, prepare your surface. If you are using canvas, you might want to apply a layer of gesso first to make the surface more receptive to the acrylic paints.
Set up your workspace
Having a comfortable and functional workspace is essential. Ensure you have enough room to both paint and keep your materials within easy reach.
Mix your acrylic paints
Mix your paints on your palette, according to the colors you observe in your reference image. Remember, acrylic paints dry slightly dark so take this into account when mixing.
Basic techniques
There are several painting techniques that can add depth and perspective to your Northern Lights painting.
Wet-on-wet blending
Wet-on-wet blending involves applying wet paint directly onto wet paint. This allows the colors to naturally blend together, creating a smooth transition between the different shades.
Dry brushing
In contrast, dry brushing involves applying a small amount of paint onto a dry canvas. This technique is great for creating textured effects, such as the appearance of a starry sky.
Glazing
Glazing is another method where thin, transparent layers of paint are applied on top of each other. It can add depth and luminosity to your painting, perfect for the ethereal glow of the Northern Lights.
Splattering
The splattering technique can create a beautiful and realistic starry night sky effect when used carefully with a small amount of white paint.
Sponging
Lastly, sponging gives additional texture to your painting. It’s particularly useful when creating the atmospheric effects or clouds in your sky.
Creating the sky background
Creating an atmospheric, vibrant sky is an essential part of painting the Northern Lights.
Applying the base layer
Start with a base layer. It can be a blend of dark blue and black to represent the night sky, or a lighter shade for an early evening sky.
Adding gradient colors
Introduce gradient colors to represent the aurora borealis. Layer your paints from dark to light, keeping in mind that the Northern Lights tend to be brighter towards the horizon.
Blending the colors
Work quickly to blend these colors while they are still wet. Acrylic paints dry quickly, so it is essential to blend your colors promptly to achieve a smooth transition.
Adding texture and depth
Add texture and depth to the night sky using the dry brush technique. Using a small amount of lighter paint can give the effect of distant stars.
Creating the starry effect
To create a more dramatic starry sky, you can also use the splattering technique with white paint. This can add greater depth and realism to your background.
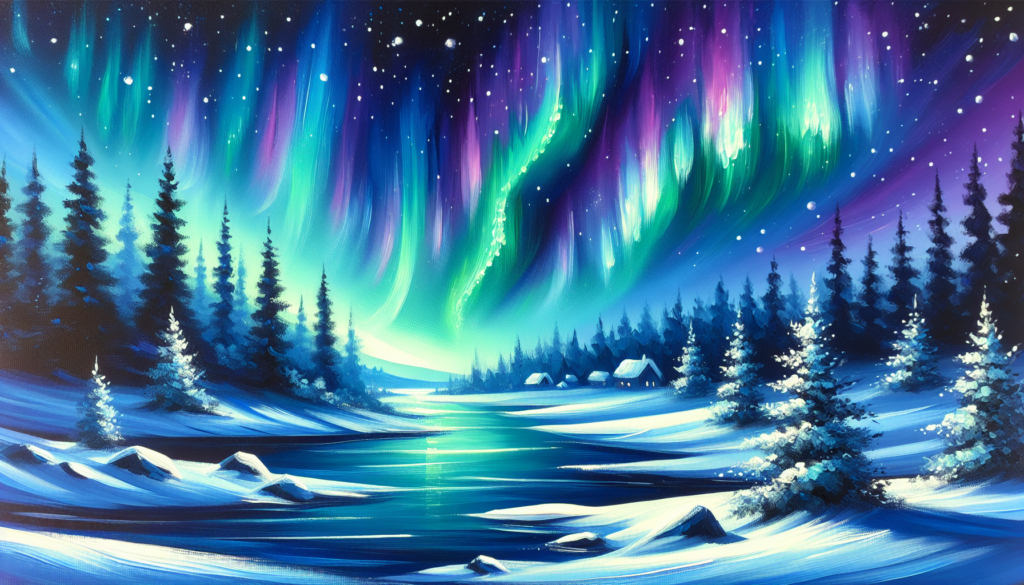
Painting the Aurora Borealis
Painting the Northern Lights is an exciting and creative task. This stage of the painting process brings your sky to life.
Drawing the basic shapes
Start by lightly sketching the basic shapes or positions of the Northern Lights with a thin paintbrush. This gives you an outline and guide for when you begin painting.
Selecting color palette
While green might be the most common color of the Aurora Borealis, you can also witness them in shades of blue, purple, and even red or yellow. Choose your palette based on your reference image and personal preference.
Creating the color transitions
Use wet-on-wet blending to create the illusion of the Northern Lights dancing across the sky. The colors need to seamlessly transition into one another.
Working with light and shadow
Creating contrast between light and shadow is crucial in making your painting realistic. The Northern Lights are brighter at some parts and darker at others, try to mimic this in your representation.
Adding details and highlights
Use a fine brush to add finer details and highlights. This will enhance the lighting effects and add a sense of depth to the painting.
Adding foreground elements
Adding objects in the foreground can lend depth to your aurora-filled sky and establish a sense of scale in your painting.
Choosing appropriate objects
Common objects can include mountain ranges, bodies of water, trees, or even a quaint cabin. The object should ideally contrast with the bright colors of the aurora borealis to stand out.
Painting silhouette
Paint the objects in silhouette using black or darker shades. This allows the Northern Lights to take center stage in your painting.
Blending with the sky
Ensure that the top edges of your silhouette are well-blended with the sky to maintain a seamless transition.
Creating reflections
If your foreground includes a body of water, paint the reflection of the Northern Lights. This enhances the realism of the painting.
Enhancing depth
Adding shadows and correct proportions can significantly enhance the depth and three-dimensional feel of your painting.
Finishing touches
As you approach the end of your painting process, adding final touches enhances the overall effect.
Adjusting colors and contrasts
Evaluate your painting carefully and adjust colors and contrasts if needed. You might want to darken certain areas or lighten up others.
Adding final highlights
Enhance the luminosity of your Northern Lights with additional highlights to capture the ethereal glow.
Signing your artwork
Don’t forget to sign your work. This not only marks it as your creation but can also provide a sense of fulfilment.
Allowing the painting to dry
Allow your painting to dry. Acrylic paint dries quickly, but it’s crucial to let it dry completely before considering it finished.
Applying varnish (optional)
Once dried, you can opt to protect your painting with a coat of gloss or matte varnish. This also enhances the colors and overall look of your painting.
Tips and tricks
Even seasoned artists find painting the Northern Lights challenging. Here are a few pointers.
Experiment with different color combinations
The lights are diverse in color and can shift dramatically. Experiment with different color combinations for dramatic effect.
Practice the techniques on a separate surface
Gain confidence with the different techniques by practicing on separate paper before applying to your main canvas.
Observe and study reference images
The more you study and understand the subject, the better you can capture it in your painting.
Work with thin layers for better blending
Using thin layers of paint will enable you to blend colors more smoothly.
Don’t be afraid to make mistakes
Remember that each error is a lesson learned. Don’t worry if your painting doesn’t look exactly like your reference image; make it your own unique interpretation and version.
Common mistakes to avoid
As with any art project, there are several common pitfalls that artists can fall into.
Using too many colors
While the Northern Lights can emit a range of colors, using too many can result in your piece lacking cohesiveness.
Over-blending the colors
A slight blend would suffice when mixing colors. Over-blending can lead to colors looking muddy or too similar.
Lack of depth or contrast
Not including enough contrast can lead to a flat-looking piece. Ensure that there are dark as well as light areas in your painting for the right balance.
Neglecting the composition
Don’t neglect your composition. Your painting should have a central point of interest, and other elements should lead the viewer’s eye towards it.
Rushing the painting process
Art is not meant to be rushed. Slow down and take your time to finish your painting. It’s not a race but a journey.
Conclusion
Ultimately, creating art is an expressive and personal experience.
Enjoy the process and have fun
The process of creation should be enjoyable. Try to relax and enjoy the painting process, don’t stress over the outcome.
Keep practicing to improve
Practice makes perfect, and the more Northern Lights you paint, the more proficient you’ll become.
Share your beautiful artwork with others
Art is to be shared. Once you are satisfied with your painting, don’t hesitate to show it off. Your portrayal of the Northern Lights just might inspire others to start painting themselves.

