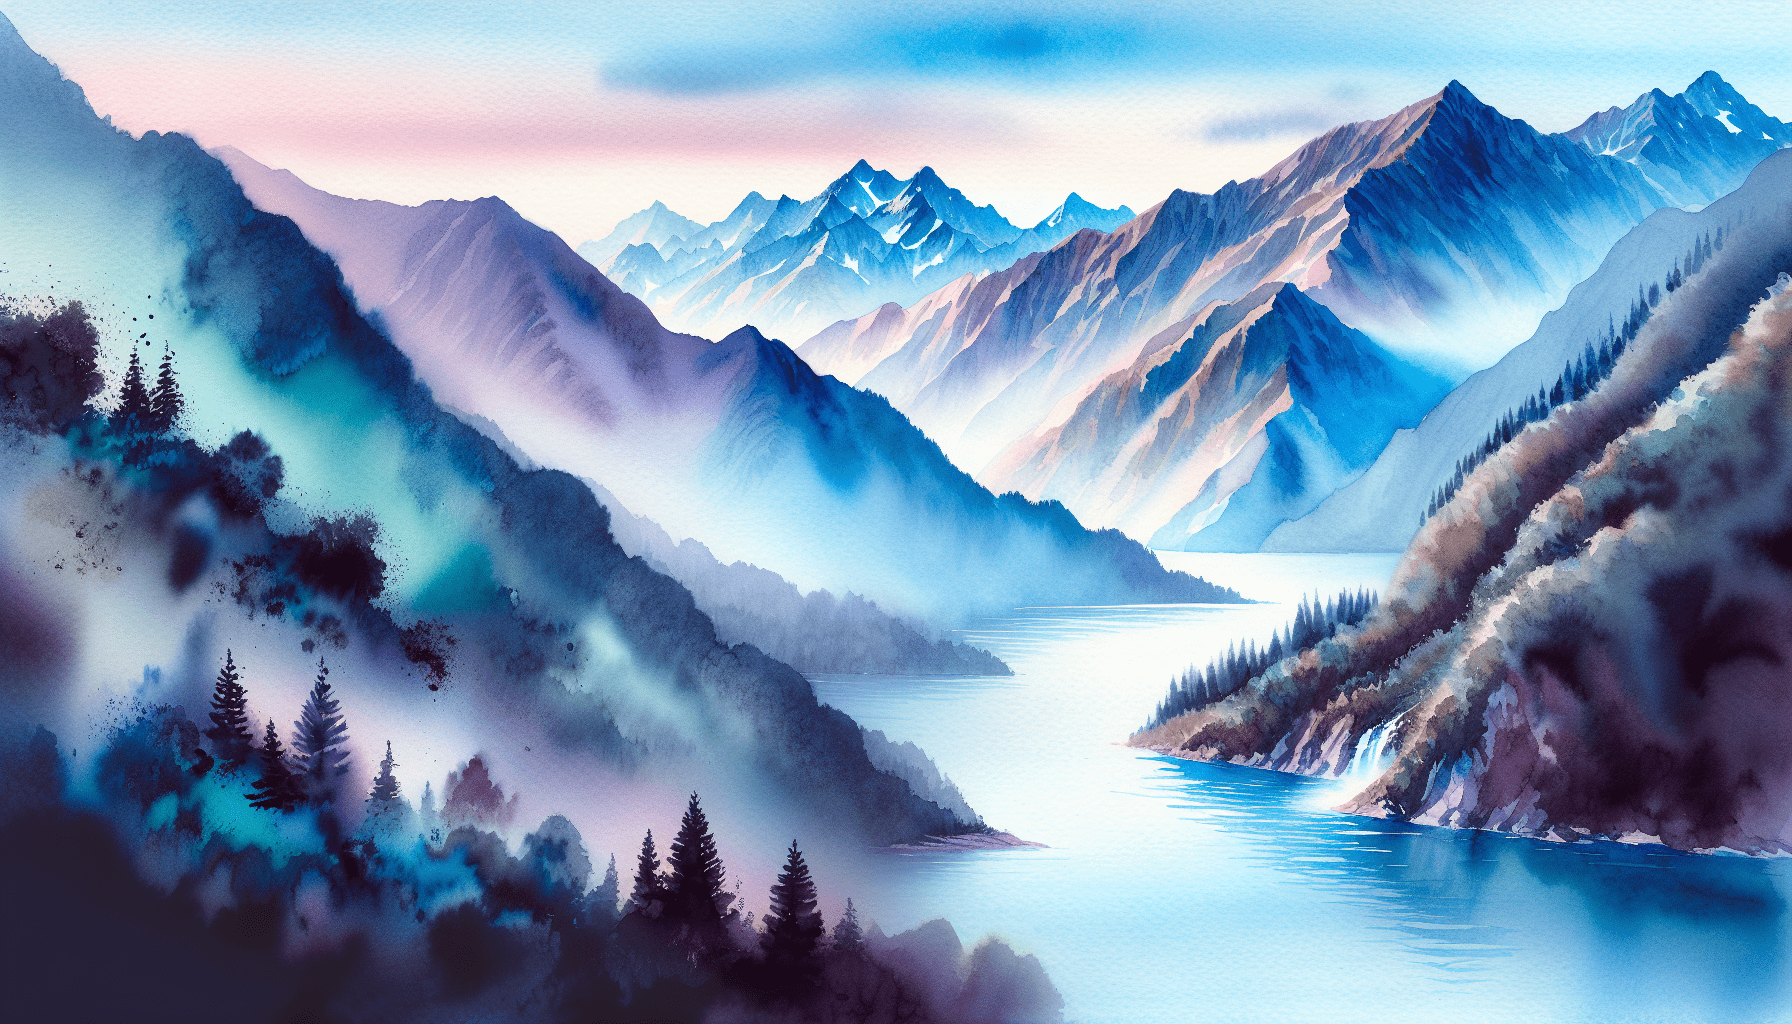
In the article “How To Paint Mountains In Watercolor,” you will discover a comprehensive guide that equips you with the essential techniques and strategies to create breathtaking mountain landscapes. You will learn how to effectively manage watercolor medium to depict the intricate textures and varying hues of mountainous terrain. This step-by-step tutorial covers everything from selecting the right materials and planning your composition to mastering the delicate balance of water and pigment. By the end, you will possess the confidence and skills to bring your mountain scenery to life with the fluid beauty that only watercolor can provide. Have you ever marveled at the breathtaking beauty of a mountain range captured in a watercolor painting and thought about creating your own masterpiece? Painting mountains in watercolor can appear daunting, but with the right techniques and guidance, you can transform your blank canvas into a majestic landscape.
Understanding the Basics of Watercolor Painting
Before diving into painting mountains, it is essential to grasp the foundational concepts of watercolor painting. Unlike other mediums, watercolor is known for its transparency, fluidity, and the unique way colors blend on wet paper. By understanding these basics, you will be better equipped to handle the nuanced techniques required for painting landscapes.
Essential Tools and Materials
To begin with, you need to have the right tools and materials. Here’s a list of the essentials:
| Tool/Material | Description |
|---|---|
| Watercolor Paints | Available in tubes or pans. Choose artist-quality paints for better pigment and vibrancy. |
| Watercolor Brushes | Sizes 4, 6, and 8 round brushes, along with a flat brush for washes. |
| Watercolor Paper | 140lb cold-pressed paper is ideal for most techniques. Its texture holds up well to multiple washes. |
| Palette | For mixing your colors. Preferably a ceramic or plastic palette with multiple wells. |
| Masking Tape | To tape down your paper, preventing it from buckling when wet. |
| Water Containers | Two containers: one for clean water and one for rinsing brushes. |
| Paper Towels | For blotting brushes and correcting mistakes. |
| Pencil and Eraser | For sketching light outlines. |
Color Theory and Mixing
Understanding color theory is crucial for creating visually compelling paintings. Basic color theory principles include:
- Primary Colors: Red, blue, and yellow.
- Secondary Colors: Green, orange, and purple – created by mixing primary colors.
- Tertiary Colors: Made by mixing primary and secondary colors.
- Complementary Colors: Colors opposite each other on the color wheel, such as red and green, create contrast.
- Analogous Colors: Colors next to each other on the wheel, like blue and green, provide harmony.
Water Control and Brush Techniques
Water control is a critical aspect of watercolor painting. The amount of water you mix with your paint can change the intensity and flow of the color.
- Wet-on-Dry: Applying wet paint to dry paper gives you more control over the edges.
- Wet-on-Wet: Applying wet paint to wet paper creates soft, flowing edges perfect for skies and distant mountains.
- Dry Brush: Using minimal water and more pigment to create texture, such as rocky surfaces.
Preliminary Steps: Planning Your Composition
A well-thought-out composition can make a significant difference in your artwork. Think about the focal points, the flow of the landscape, and how elements like mountains, skies, and foregrounds interact.
Sketching the Outline
Start with a light pencil sketch. Begin by defining the horizon line, then rough out the mountain shapes. Focus on capturing the jagged peaks, sloping sides, or rolling hills that make your mountains unique.
Identifying Light Source and Shadows
Determine the direction of your light source to understand where the highlights and shadows fall. This step is crucial for creating depth and realism. Shade lightly where the shadows will be, allowing you to follow these guides while painting.
Painting the Sky
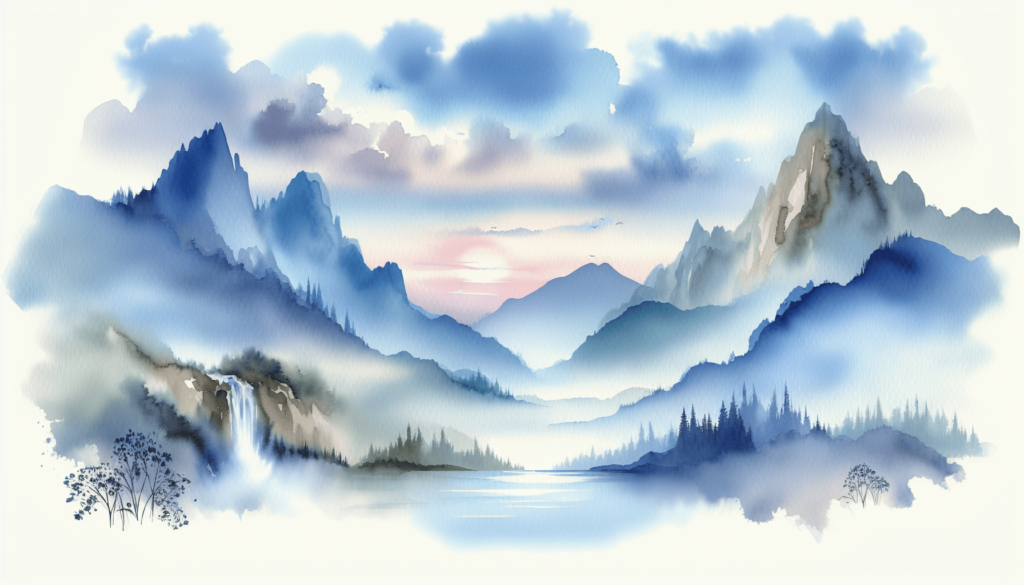
The sky sets the mood and atmosphere for your mountain scene. Whether it’s a bright blue sky or a dramatic sunset, painting the sky requires careful planning.
Laying the Wash
- Mixing the Colors: Start by mixing colors for the sky. A basic blue sky can be achieved with a mixture of ultramarine blue and a touch of cerulean.
- Wet the Paper: Using a clean brush, wet the area of the paper where the sky will be.
- Applying the Wash: Apply the blue wash evenly across the wet area. If creating a gradient, start with a darker blue at the top and gradually lighten it by adding more water towards the horizon.
Adding Clouds
For a realistic touch, add some clouds:
- Lifting Technique: While the sky wash is still wet, use a clean, dry brush or paper towel to lift the paint, creating cloud shapes.
- Details: For more defined clouds, wait until the sky is dry. Then, use a slightly wet brush with white or very light blue to add fluffy cloud edges.
Painting the Mountains
Mountains are the main feature of your landscape. Capturing their grandeur and texture will bring your painting to life.
Base Layer
Begin with a light base layer:
- Light Wash: Use a diluted color, like a light grey or blue, to paint the entire mountain shape.
- Wet-on-Wet: Apply this wash to wet paper if you want soft edges, or to dry paper for sharper shapes.
Adding Depth with Layers
Building from the base layer, add depth:
- Second Layer: Once the base is dry, add another layer with a slightly darker color, focusing on the shadowed areas.
- Texture: For rocky textures, use a dry brush technique with a mix of colors. This will mimic the rough surface of the mountains.
Creating Highlights and Shadows
Highlights and shadows add dimension:
- Light Source: Refer to your sketch to apply shadows consistently.
- Dark Washes: Use darker mixes (blues, purples, or browns) to paint the shadowed areas.
- Highlights: For highlights, leave areas of the base layer showing through or use a lifting technique to remove paint carefully.
Enhancing the Mountain Landscape
To make your painting stand out, add the details that bring the landscape together. This includes elements like trees, water, and any foreground details.
Trees and Vegetation
Trees can enhance your mountain painting:
- Mix Greens: Create various green shades by mixing your primary colors.
- Painting Trees: Use thin brush strokes for pines or thicker strokes for deciduous trees.
- Layering: Start with lighter green washes for background trees and apply darker shades for those in the foreground.
Water Bodies
If your landscape includes lakes or rivers:
- Reflective Surface: Paint the water surface with a horizontal wash. Use blues and greens, depending on the surroundings.
- Reflections: Reflect mountains and trees in the water by adding their mirrored images below the horizon line, using softer, blurred lines.
Final Touches
Add final touches to elevate your painting:
- Details: Add small details like rocks, grass, and flowers in the foreground.
- Adjusting Values: Step back and assess your painting; adjust values (light and dark areas) for balanced contrast.
- Corrections: Use a clean wet brush to lift mistakes or a small brush to add final accents and highlights.
Practice and Patience
Mastering watercolor mountain painting requires practice and patience. Each painting is a learning experience. Observe how colors interact, how water behaves, and how different techniques bring varied textures and depths.
Continuous Learning
Engage in continuous learning and practice different techniques:
- Workshops: Attend watercolor workshops or online classes to learn new skills.
- Experimentation: Experiment with new colors, brushes, and techniques.
- Critique: Seek constructive feedback from fellow artists or online communities.
Keeping a Sketchbook
Maintain a watercolor sketchbook:
- Studies: Use your sketchbook for quick studies and to practice elements like skies, trees, and mountain textures.
- Ideas: Jot down ideas for future projects and record color mixes and techniques that work well.
Overcoming Challenges
You might face challenges, such as:
- Overworking: Avoid overworking areas, which can muddy your colors.
- Patience: Wait for layers to dry; rushing layers can lead to undesired blends.
- Adaptability: Be adaptable. Sometimes, happy accidents can lead to beautiful, unexpected results.
Conclusion
Painting mountains in watercolor is a rewarding endeavor that combines technical skills with creative expression. By understanding the basics, refining your techniques, and practicing consistently, you can capture the majestic beauty of mountains on paper. Your journey in watercolor painting is ever-evolving, with each stroke bringing new opportunities to learn and create. Embrace the process, and soon you’ll find yourself capable of painting stunning mountain landscapes that speak to the awe-inspiring beauty of nature.
