In this article, you will learn a comprehensive guide on how to paint mason jars with chalk paint. From prepping the surface to applying the chalk paint and finishing touches, you will be taken through the step-by-step process to achieve a beautiful and professional-looking result. Whether you are a seasoned crafter or a beginner looking to add a touch of creativity to your home decor, this article will provide you with the knowledge and skills necessary to successfully paint mason jars with chalk paint.
How To Paint Mason Jars With Chalk Paint
Have you ever wanted to add a personalized touch to your home decor by painting mason jars with chalk paint? In this article, we will guide you through the process of transforming plain mason jars into beautiful and unique pieces of art. Learn the techniques and tips needed to achieve professional-looking results.
Materials Needed
Before you begin painting mason jars with chalk paint, you will need to gather some essential materials. Here is a list of supplies you will need:
- Mason jars
- Chalk paint in your desired colors
- Paintbrushes
- Sandpaper
- Sealer (optional)
Having these materials on hand will make the painting process much smoother and more enjoyable.
Choosing the Right Mason Jars
When selecting mason jars for painting, consider the size and shape of the jars. Different styles of mason jars can create different visual effects once painted with chalk paint. Wide-mouth mason jars are popular for floral arrangements, while smaller jars can be used for storing small items or as candle holders.
Make sure the mason jars are clean and free of any dust or residue before starting the painting process. Cleaning the jars with soap and water will ensure that the paint adheres properly to the surface.
Preparing the Chalk Paint
Chalk paint is a popular choice for painting mason jars due to its matte finish and easy application. Before you start painting, make sure to stir the chalk paint thoroughly to ensure a smooth and consistent texture. If the paint is too thick, you can add a small amount of water to thin it out.
Choosing Colors
Selecting the right colors for your mason jars is key to achieving the desired look. Chalk paint comes in a wide range of colors, so take the time to experiment with different combinations to find the perfect palette for your project. Consider coordinating the colors with your home decor for a cohesive and stylish look.
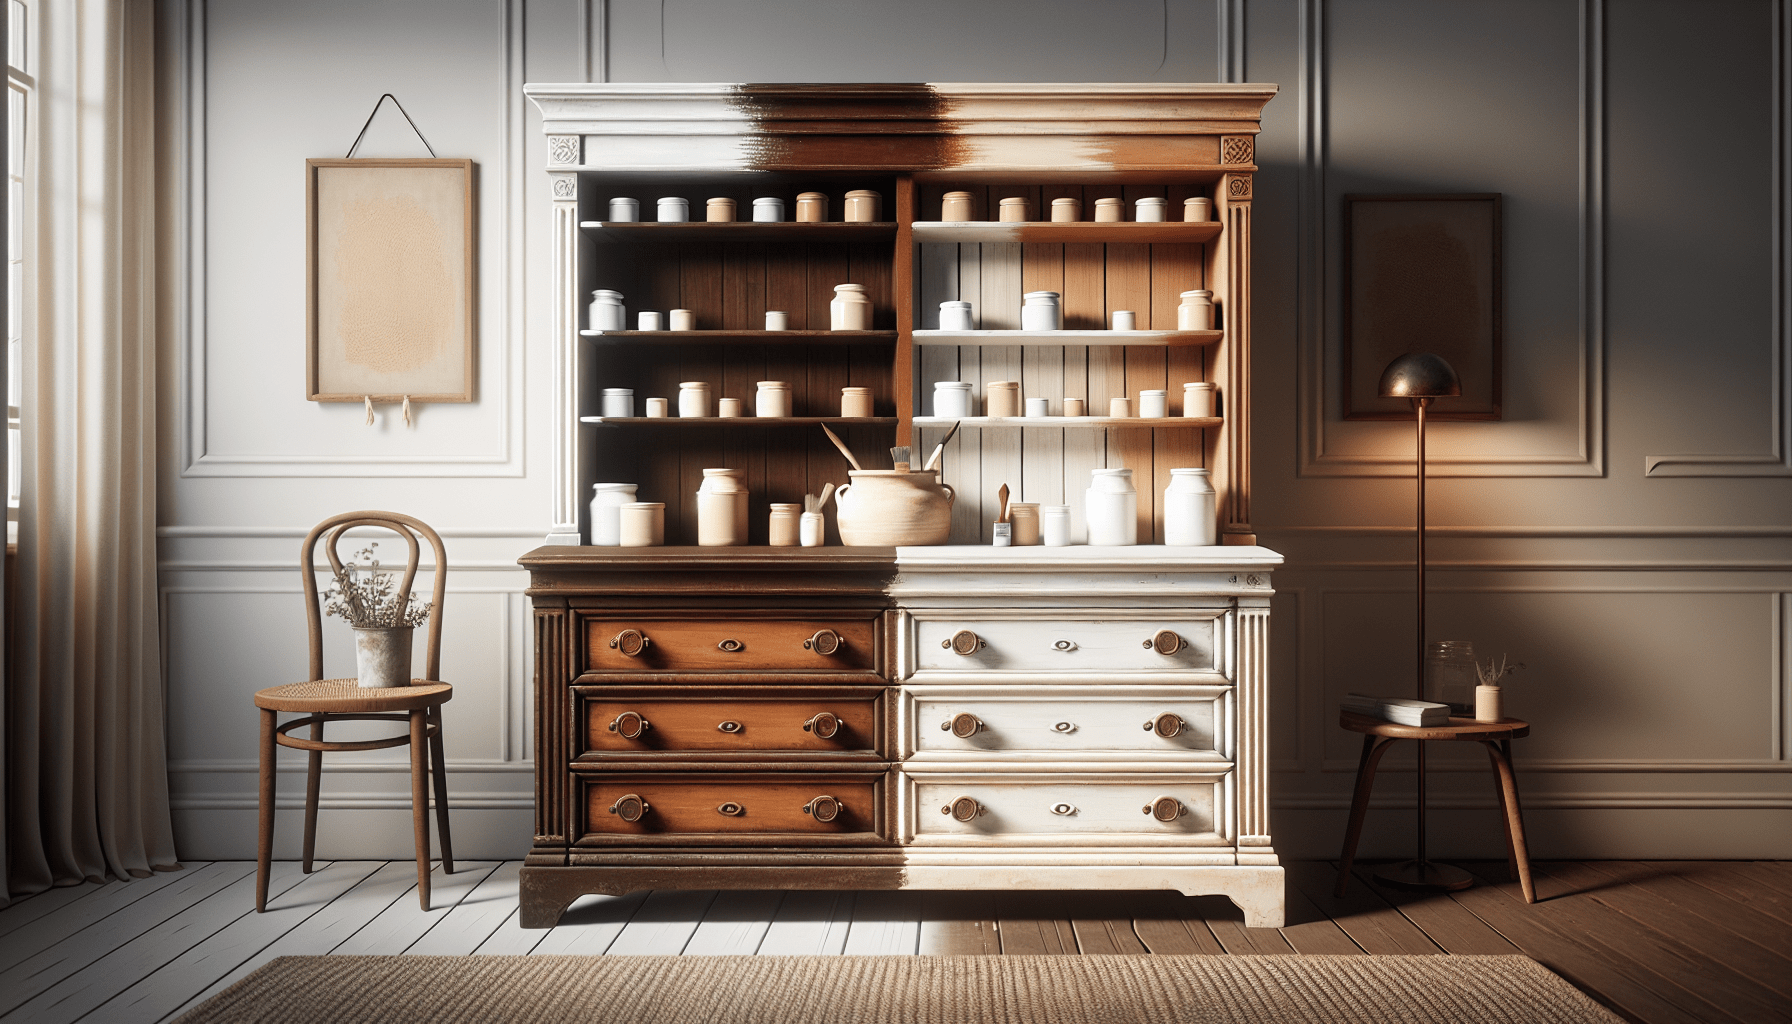
Mixing different shades of chalk paint can create a unique ombre effect on the mason jars. You can also layer different colors to achieve a distressed or vintage look.

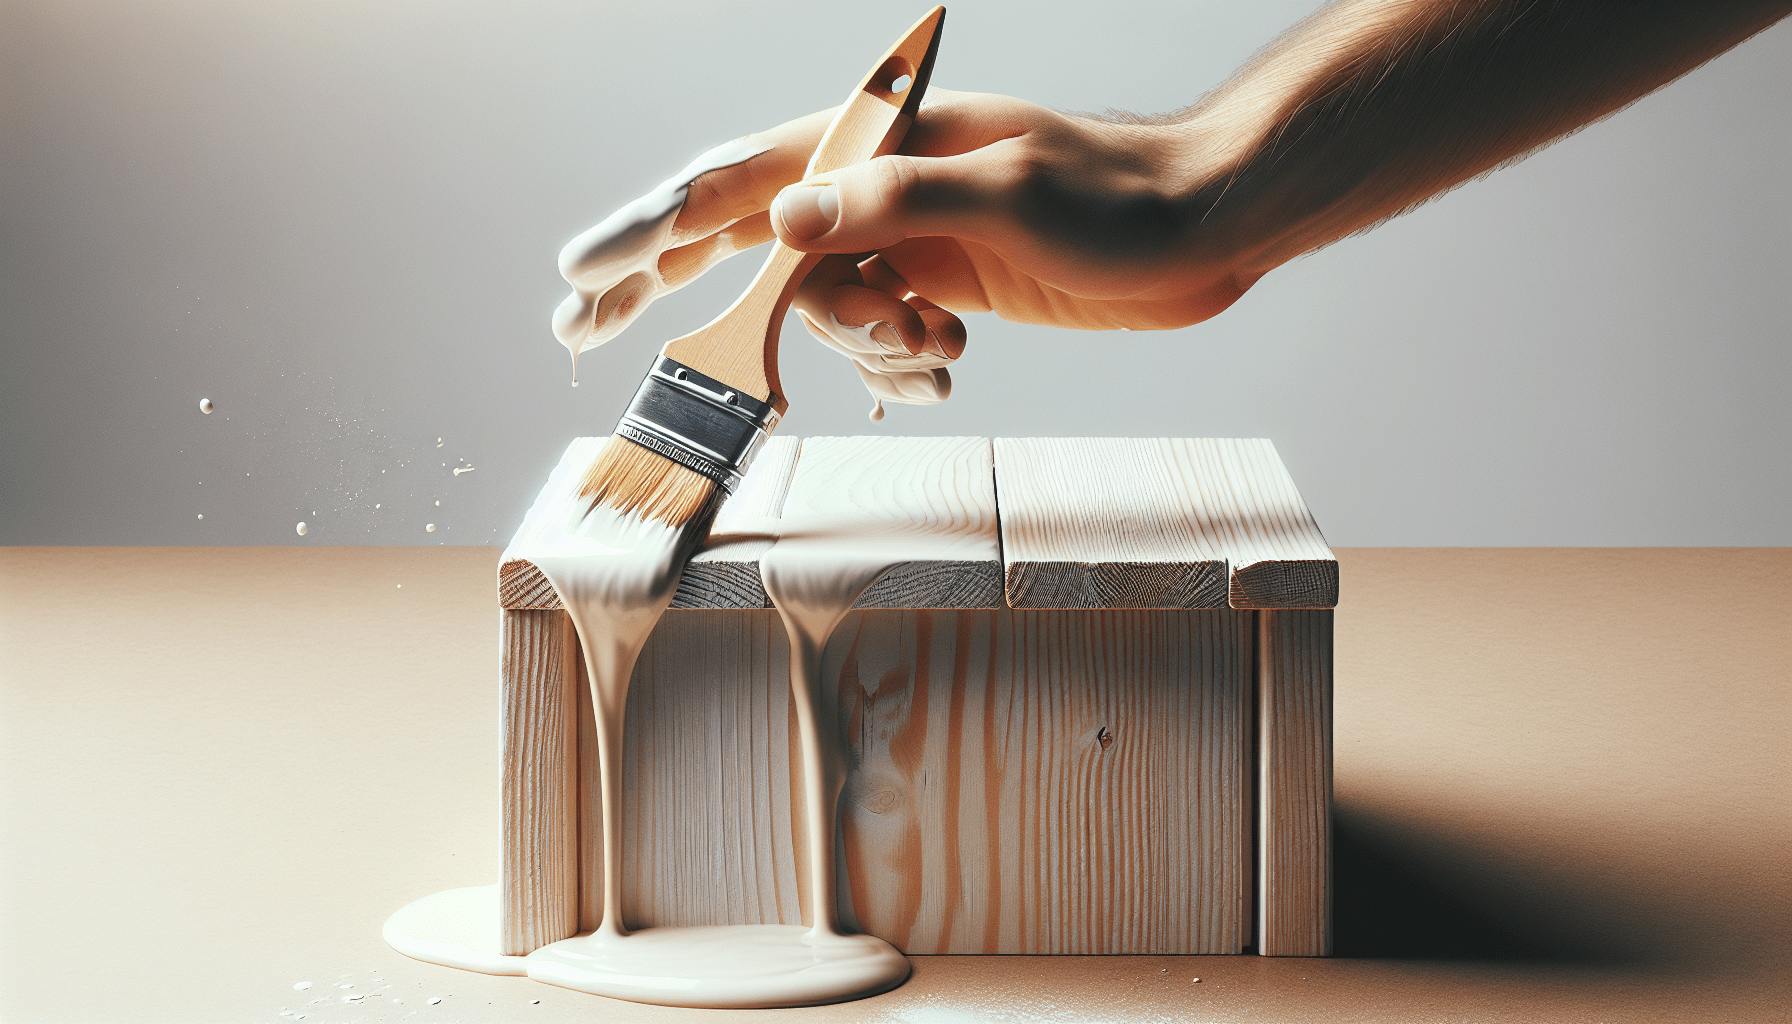
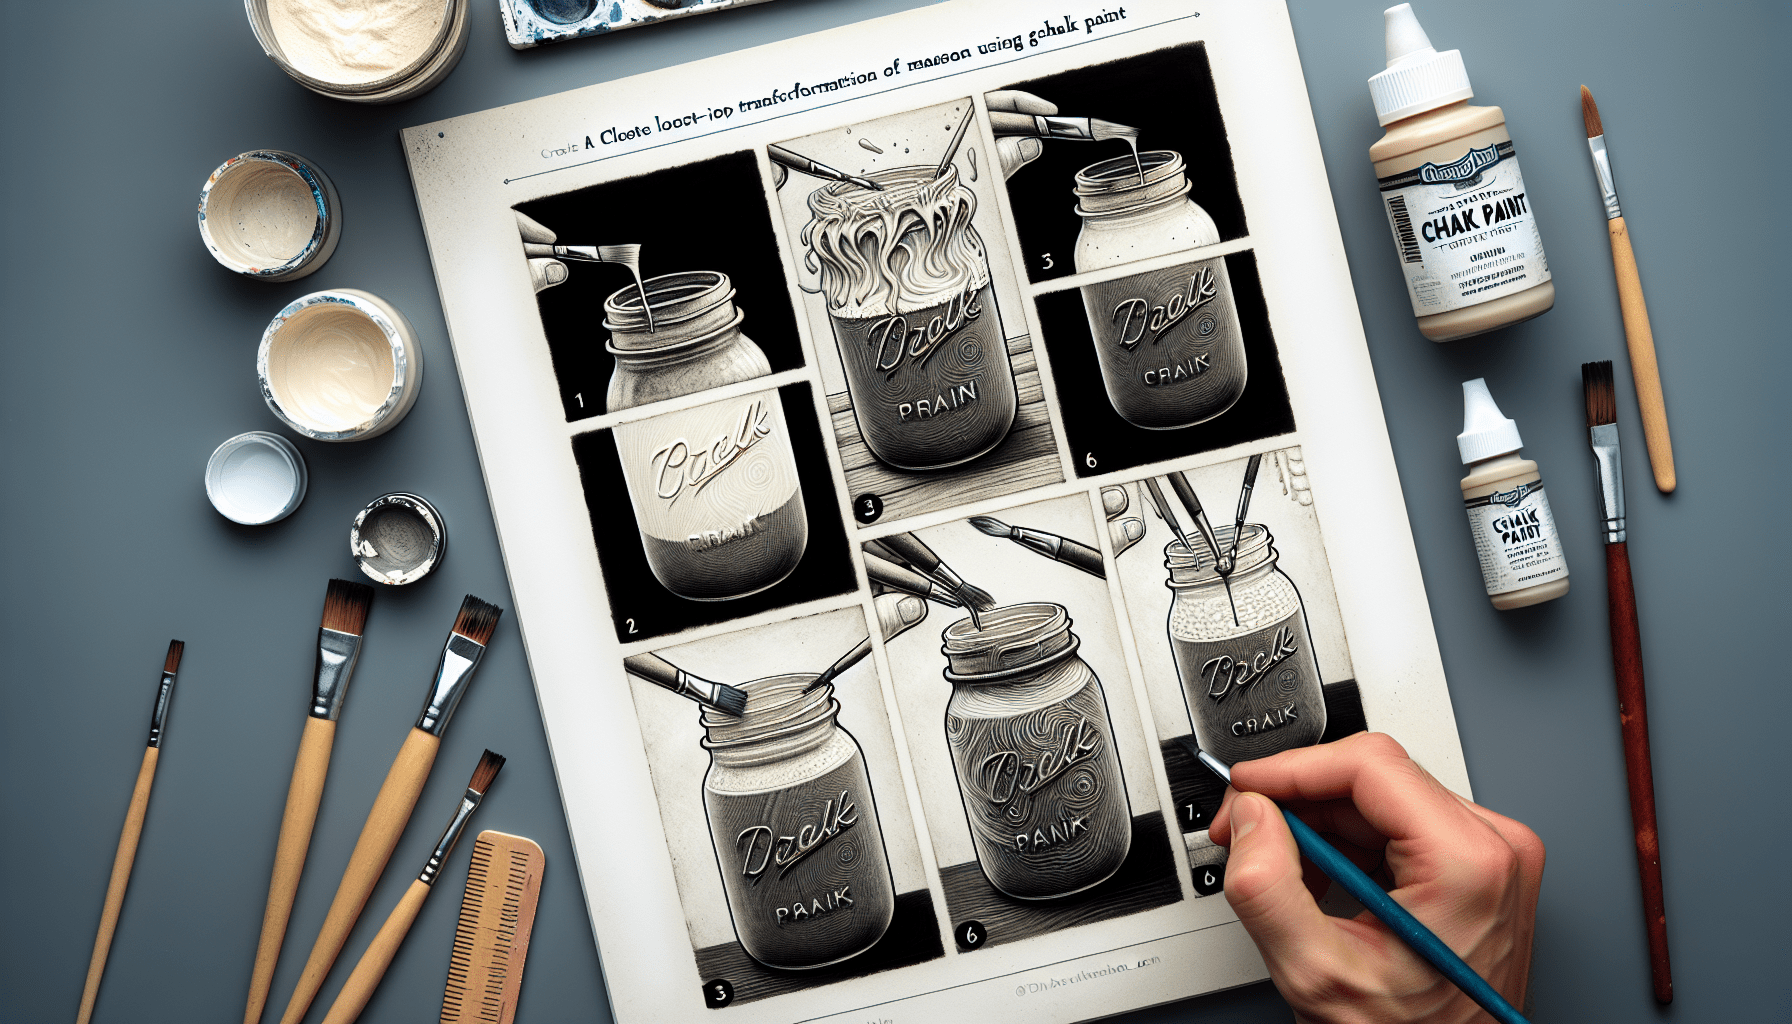
Painting the Mason Jars
Now that you have gathered your materials and prepared the chalk paint, it’s time to start painting the mason jars. Follow these steps for a smooth painting process:
- Begin by applying a thin coat of chalk paint to the mason jar using a brush. Make sure to cover the entire surface evenly.
- Allow the first coat to dry completely before applying additional coats. This will prevent the paint from smudging or streaking.
- Apply a second or third coat of chalk paint to achieve full coverage and depth of color. Let each coat dry thoroughly before adding another layer.
Creating Patterns and Designs
Get creative with your mason jar painting by experimenting with different patterns and designs. You can use stencils, masking tape, or freehand painting to add geometric shapes, stripes, or floral motifs to the jars. Mixing and matching colors can enhance the visual impact of the designs.
To create a distressed look on the mason jars, gently sand the painted surface with fine-grit sandpaper after the paint has dried. This will reveal the underlying layers of paint and add a weathered texture to the jars.
Sealing the Painted Mason Jars
To protect the paint and ensure its longevity, consider sealing the painted mason jars with a clear sealer. This will prevent the paint from peeling or chipping over time, especially if the jars will be used for storing items or as vases for flowers.
Apply the sealer in thin, even coats using a brush or sponge. Allow each coat to dry completely before adding additional layers. Once the sealer has dried, your painted mason jars will be ready to display and enjoy.
Displaying Your Painted Mason Jars
Once you have finished painting and sealing the mason jars, it’s time to showcase your beautiful creations. Here are some creative ways to display your painted mason jars:
- Use them as vases for fresh or dried flowers
- Place candles inside the jars for a cozy and rustic ambiance
- Organize small items such as makeup brushes or office supplies
- Gift them to friends and family as personalized home decor
Get inspired by different ways to incorporate painted mason jars into your home decor and let your creativity shine.
With these step-by-step instructions and tips, you can confidently paint mason jars with chalk paint and create stunning pieces of art to enhance your living space. Experiment with colors, designs, and techniques to personalize your mason jars and make them truly unique. Enjoy the process of painting mason jars and have fun expressing your creativity through this enjoyable DIY project.