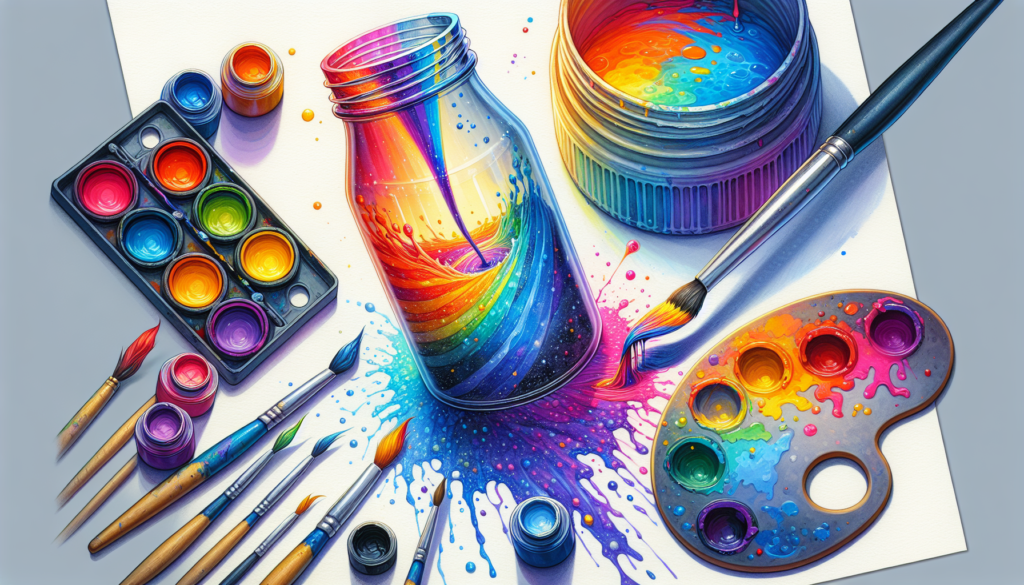
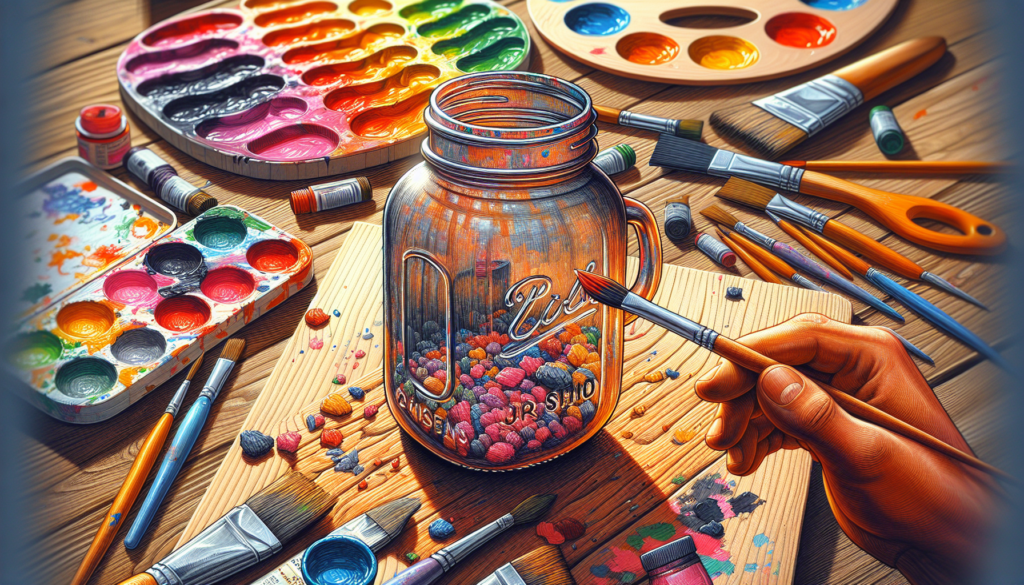
In this detailed guide, “How To Paint Mason Jars With Acrylic Paint”, you will learn the art of transforming simple glass jars into vibrant home decor pieces. Brimming with step-by-step instructions and illustrative visuals, you’ll be able to discover the essence of using acrylic paint, bringing appreciation to the timeless functionality and appeal of mason jars for fun, household-inspired creativity. Indeed, this article serves as a go-to guide for both beginners and seasoned DIY enthusiasts looking to augment their crafting abilities.
Materials Needed
To begin your journey into the vibrant world of painted mason jars, you’ll need to gather a few essential materials. Start with acrylic paint, chosen for its robust durability and bright hues. Mason jars will serve as your canvas. Some plain, clean brushes are necessary for application, in various sizes according to your design needs. Consider the use of painter’s tape if you’re planning to create clean, straight lines or wish to prevent paint coverage in specific areas. A palette or a disposable plate will serve as a place to mix or store paint during your work. Also be sure to have a cup of water handy for rinsing your brush between colors, and a paper towel or cloth for wiping it dry. Optionally, a sealer can add a final layer of protection to your finished piece.
Preparing the Mason Jars
Clean the jars
Before starting, ensure your mason jars are clean and free of dust, grime, or smudges. A clean surface will allow the paint to adhere better.
Apply painter’s tape (optional)
This step is optional and depends on your design. If you want to make designs with straight lines, or keep certain areas clear, apply painter’s tape to outline these regions.
Prepare the work area
Designate a specific area for painting and cover it with newspaper or cloth to protect against spills. Ensure there’s ample lighting so you can clearly see your work.
Set up a palette or disposable plate
Lay out your palette or plate and squeeze out your chosen colors. Keep them spaced apart to avoid unnecessary blending.

Choosing the Paint
Select acrylic paint colors
Depending on your design or preference, pick out your desired colors. Acrylic paints are perfect for this project as they are versatile and come in a variety of shades.
Consider metallic or glitter paint for decoration
For an added pop, consider metallic or glitter paints. They can give your jars an elegant or festive touch.
Mix colors (optional)
If needed, mix colors to achieve desired shades. When blending, add darker colors to light ones gradually, since it’s easier to darken a color than lighten it.
Painting Techniques
Solid color: Single color application
A simple and classic method involves painting your jar with a single color. It’s straightforward and can fit in any decor.
Ombre effect: Multiple shades blending
The ombre technique involves gradually blending colors into each other, usually transitioning from light to dark. It’s a fantastic way to add a modern and stylish effect to your jars.
Stripes and patterns: Using painter’s tape
Using painter’s tape to create stripes and patterns can add a creative touch to your jars. Apply the tape, paint over it, let it completely dry, and then peel off the tape.
Freehand designs: Using fine paintbrushes
For the artistically inclined, freehand designs with a fine brush can be a fulfilling endeavor. Sketch your design first before applying paint, and remember to be patient.
Stenciling: Precise and repeated designs
Stenciling allows you to create precise and repeat patterns. If you don’t trust your freehand skills or want to expedite the painting process, it’s a fantastic method.

Applying the Paint
Prime the jars (optional)
Depending on the type of paint and the color of your jar, you might want to apply a primer coat. It can help the colors appear brighter and more vibrant.
Apply the base coat
Start your painting with the base coat, respecting the boundaries you’ve set with the painter’s tape, if applicable.
Add additional coats for opacity
If your base coat isn’t as opaque as you’d like, don’t fret. Allow it to dry and simply add another coat. You might need multiple coats to achieve the desired result.
Allow drying time between coats
Patience is a virtue when it comes to painting mason jars. Make sure each paint layer dries completely before applying the next coat to avoid unwanted smearing.
Remove painter’s tape (if used)
Once the last paint layer has dried, carefully and slowly remove the painter’s tape. Remember to pull the tape back on itself and not up, to prevent chipping the paint.
Touch up any imperfections
You may find some imperfections once the paint is dry and the tape has been removed. With a fine brush, you can touch up these areas.
Creating Decorative Effects
Distressed look: Lightly sand or use a dry brush technique
To create a rustic, shabby-chic look, gently sand the painted jar or use a dry brush technique where minimal paint is applied onto the brush and is then lightly brushed across the surface.
Dripping effect: Apply paint and let it drip down the jar
For a more abstract look, heavily apply paint and let it naturally drip down the side of your jar.
Splatter effect: Flick paint from a brush onto the jar
Another creative idea is creating a splatter effect. All you have to do is load your brush with paint and flick the bristles towards the jar, creating random splatters.
Marbling effect: Swirl multiple colors together
Apply multiple colors side by side on the jar, then use a brush or a skewer to swirl them together, creating a marbling effect.
Sealing the Paint (Optional)
Wait for the paint to fully dry
Before sealing, ensure that the paint is completely dry.
Choose an appropriate sealer
Select a sealer that pairs well with acrylic paint. It can be spray-on or brush-on.
Apply sealer according to instructions
Following the instructions on the sealer, apply a thin layer over your painted mason jar.
Allow time for sealer to dry and cure
Remember to give ample time for the sealer to fully dry and cure before handling the jars.
Decorating the Finished Jars
Tie ribbons or twine around the jar neck
A simple way to enhance your painted mason jars is to tie a decorative ribbon or twine around the neck.
Attach labels or tags
If you’re using the jars for organization or gifting, attach an appropriate label or tag.
Add embellishments like flowers, beads, or charms
For added aesthetics, stick on some applicable embellishments. The possibilities are endless; from artificial flowers, quaint beads to sparkling charms.
Caring for Painted Mason Jars
Avoid soaking in water
To maintain the life of your paint job, avoid immersing painted jars in water.
Hand wash gently
If they get dirty, hand wash gently with a soft cloth and mild soap.
Do not use abrasive materials
Steer clear of abrasive materials or harsh chemicals that could potentially damage the paint.
Handle with care to prevent chipping
In general, handle your painted mason jars with gentle care to avoid chipping the paint or damaging the jars themselves.
Conclusion
In closing, painting mason jars with acrylic paint is a simple DIY project that intermingles creativity with practicality. It provides an excellent avenue to explore different painting techniques and personalization options, making each jar uniquely yours. Despite the extensive process, the end result warrants the effort, resulting in beautiful, custom decor. Whether you’re breathing new life into old jars, crafting a heartfelt gift, or creating an organization solution, remember that the possibilities of your creativity are boundless. Happy painting!


