Have you ever wondered how to create stunning watercolor paintings of hydrangeas? As an artist, you may understand the importance of mastering different techniques to bring your subjects to life on paper. Painting hydrangeas in watercolor demands a specific set of skills, knowledge of color mixing, brushwork, and a keen eye for detail. In this guide, you will learn the steps required to paint hydrangeas with finesse, whether you are a beginner or an experienced painter looking to refine your skills.

Understanding Hydrangeas
Before you begin painting, it’s important to understand your subject. Hydrangeas are known for their lush, spherical flower clusters and come in a variety of colors like blue, pink, white, and purple. Each flower head consists of a multitude of small blooms, which can be a challenge to capture accurately in watercolor. The leaves are typically broad with a serrated edge, adding texture and depth to your composition.
Choosing Your Hydrangea Color
Deciding on the color of your hydrangea is crucial. The color depends on factors such as soil pH, which may affect the hues in your painting. Blue hydrangeas often appear in more acidic soil, while pink hydrangeas are found in more alkaline conditions. Here, we’ll cover a few fundamental color choices:
| Color | Characteristics |
|---|---|
| Blue | Cool, calming, and often associated with tranquility. |
| Pink | Warm, vibrant, and often linked with affection. |
| White | Neutral, versatile, and a symbol of purity. |
| Purple | A blend of warm and cool tones, often seen as luxurious. |
Materials Needed
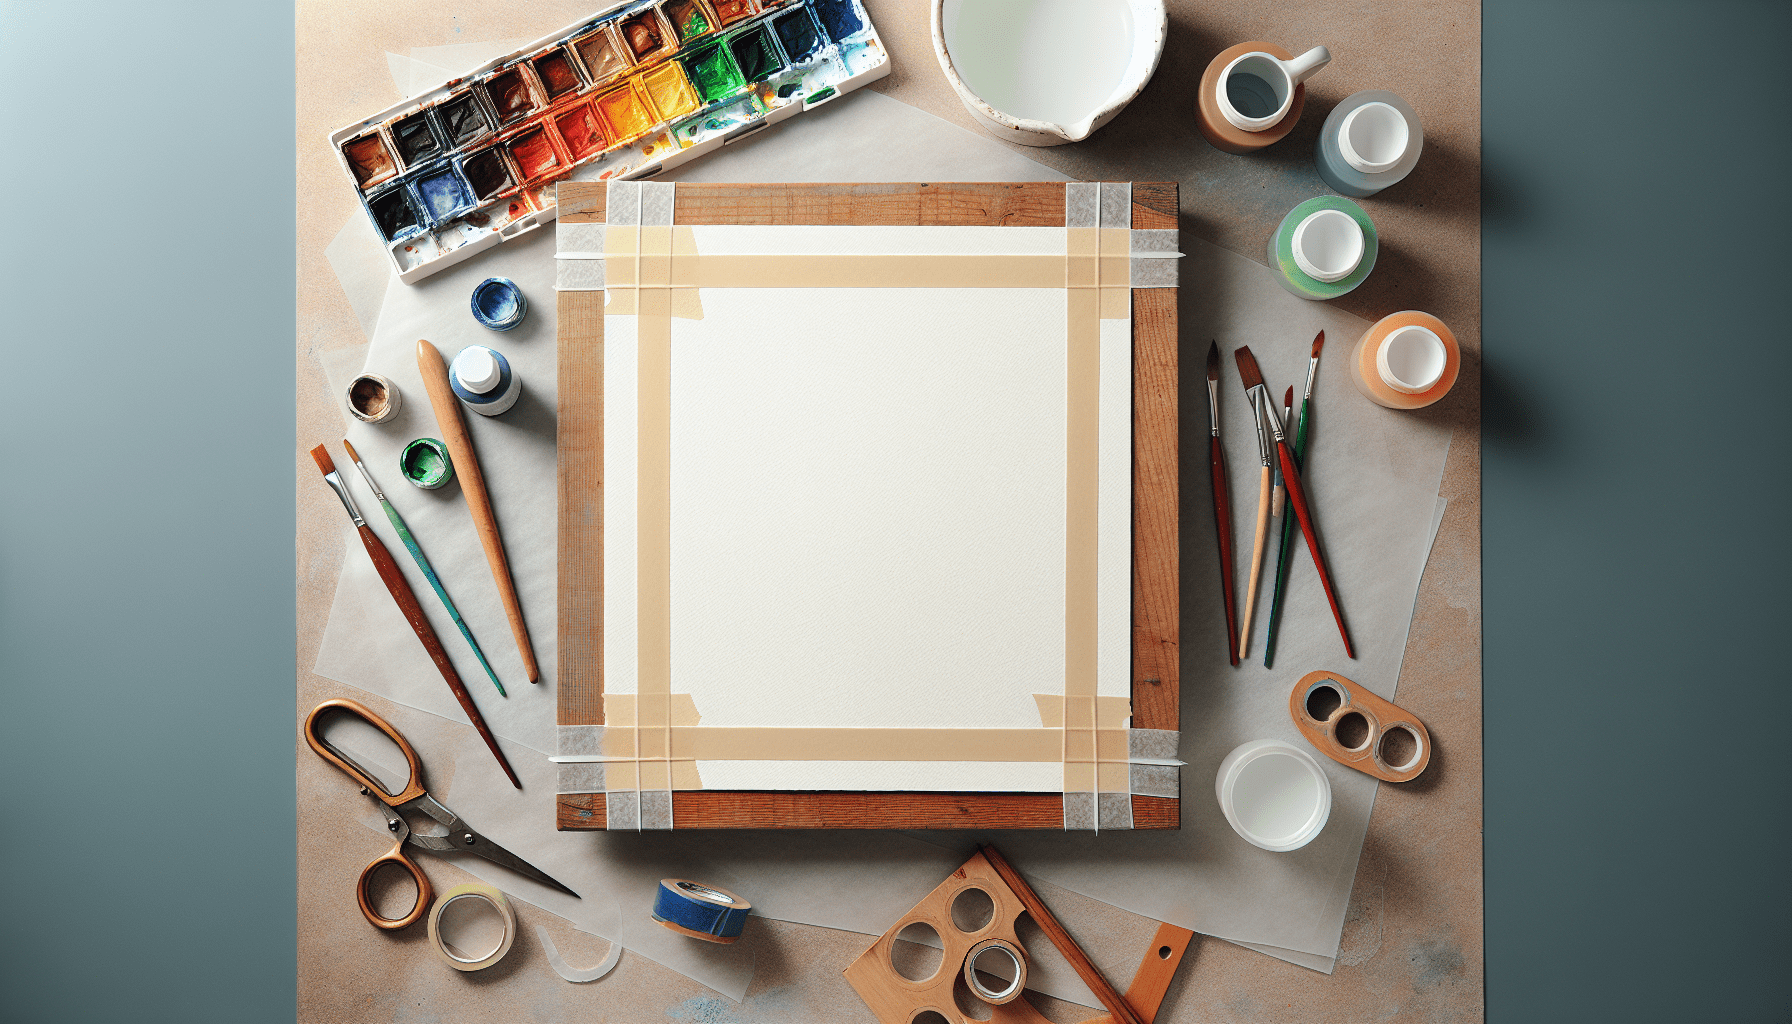
To begin painting your hydrangeas, gather the following materials:
- Watercolor paints: Select high-quality paints for the best results.
- Brushes: A range of sizes, including a round brush (size 4-8) and a liner brush for finer details.
- Watercolor paper: Use 140 lb (300gsm) cold-pressed paper for optimal absorption and texture.
- Palette: For mixing your paints.
- Water containers: One for clean water and another for rinsing brushes.
- Pencil and eraser: For sketching the initial outline.
- Paper towels or sponge: For blotting and absorbing excess water.
Preliminary Sketch
Begin with a light preliminary sketch of the hydrangea using a pencil. Focus on capturing the basic shapes and structure without pressing too hard. This step is crucial for setting the foundation of your painting.
Sketching the Outline
- Flower Heads: Draw the outlines of the main flower heads as circles or ovals. This helps in establishing their placement and size.
- Individual Blooms: Within each flower head, sketch a few individual blooms to understand their arrangement.
- Leaves and Stems: Add the leaves and stems, noting their proportions and how they interact with the flowers.
Color Mixing Techniques
Achieving the perfect shades for your hydrangea requires an understanding of color mixing.
Mixing Blues and Purples
For blue and purple hydrangeas, you may need the following primary colors:
- Blue (Cobalt Blue or Ultramarine)
- Red (Permanent Rose or Alizarin Crimson)
- Purple (Dioxazine Purple or a mix of red and blue)
Blue Hydrangea
- Mix Cobalt Blue with a touch of water to create a wash.
- Add small amounts of red to create variations in the flower.
Purple Hydrangea
- Mix together Ultramarine Blue and Permanent Rose.
- Adjust the ratio to get the desired shade of purple. Add more blue for cooler tones and more red for warmer tones.
Mixing Pinks
Pink hydrangeas typically require:
- Red (Cadmium Red or Permanent Rose)
- White (Permanent White for opacity)
- Mix Cadmium Red with water to create a pale pink wash.
- Gradually add more red for deeper shades and a touch of white to create lighter pastel tones.

Painting Techniques
Wet-on-Wet Technique
The wet-on-wet technique creates soft, blended colors. Here’s how to use it effectively:
- Dampen the Paper: Wet the area where you plan to paint the hydrangea petals with a clean brush.
- Apply Color: While the paper is still wet, drop in your mixed colors. They will blend naturally.
- Control Edge: Use a brush to control where the paint flows, ensuring some pigment-rich areas and some lighter, washed-out sections.
Wet-on-Dry Technique
The wet-on-dry method offers more defined edges and distinct details:
- Dry Paper: Ensure the paper is completely dry before you start.
- Precision: Apply the paint directly onto the dry paper to achieve sharp edges, perfect for the detailed parts of the petals and leaves.
- Layering: You can layer multiple washes to build depth and intricacy in your painting.
Lifting and Blotting
Use lifting for adding highlights and blotting for controlling excess moisture:
- Lifting: With a damp, clean brush, gently scrub the area where you want to lift the paint. Blot with a dry paper towel.
- Blotting: Use a dry paper towel to blot away excess water or paint for controlled texture and light areas.
Painting the Hydrangeas
Base Layer
Start with a base layer to set the stage for your painting:
- Wet Wash: Lay down a light wash of the base color using the wet-on-wet technique.
- Shape: Form the basic shapes of the petals, working quickly before the paper dries.
- Base Color: Use appropriate shades, such as light blue or pink, depending on the hydrangea color you’re aiming for.
Adding Petals
Once the base layer is dry, you can begin to add individual petals.
- Outline Petals: Using the wet-on-dry technique, outline and fill the petals with more concentrated color.
- Texture: Create texture by varying paint concentration and brush pressure.
- Layering: Build layers gradually, allowing each layer to dry before adding the next.
Detailing Petals
Details are essential for making your hydrangeas look realistic.
- Shadow: Add shadows using darker hues to suggest depth and overlap.
- Highlights: Use the lifting technique to add highlights where light naturally hits the petals.
- Blending: Blend edges to maintain a cohesive look, using a slightly damp brush.
Painting the Leaves
Hydrangea leaves are broad and textured, requiring keen attention.
- Base Wash: Apply a light green wash, using a mix of blue and yellow.
- Texture Details: Once dry, add veins and shadows using a liner brush and a darker shade of green.
- Blending Layers: Blend different shades for a natural look.
Final Touches
The final touches bring your painting to life.
- Enhance Colors: Add final layers of color to enrich your painting.
- Final Highlights: Use white or lifted paint to add the brightest highlights.
- Details: Check for any areas that require more detail or correction and refine them delicately.
Drying and Protecting Your Work
Once your painting is complete, ensure it dries fully in a dust-free environment.
- Drying: Allow the painting to dry naturally on a flat surface.
- Framing: Consider framing under glass to protect the work from dust and UV light.
Common Mistakes and How to Avoid Them
Overworking the Paint
A common mistake is overworking, which can muddy colors and damage the paper.
- Solution: Be mindful of each stroke and allow layers to dry fully before reworking an area.
Incorrect Water Ratio
Balancing water content is vital to avoid puddles or dry patches.
- Solution: Practice controlling water on a scrap piece of paper before applying it to your painting.
Lack of Planning
Jumping in without a plan can lead to poorly composed artworks.
- Solution: Spend time on your preliminary sketch and consider your layout and color schemes beforehand.
Useful Tips
Experiment with Scraps
Test your colors and techniques on scraps of watercolor paper before committing to your main piece.
Use Quality Supplies
Invest in quality paints, paper, and brushes to achieve better results.
Practice Regularly
Like any skill, watercolor painting improves with practice. Dedicate time regularly to refine your techniques.
Reference Images
Use high-resolution images of hydrangeas as a visual guide.
Conclusion
Painting hydrangeas in watercolor requires a combination of careful planning, adept color mixing, and controlled brushwork. With the right techniques, you will create stunning, lifelike representations of these beautiful flowers. By understanding your subject, selecting appropriate materials, and practicing consistently, you can master the art of painting hydrangeas in watercolor and elevate your artistic portfolio.