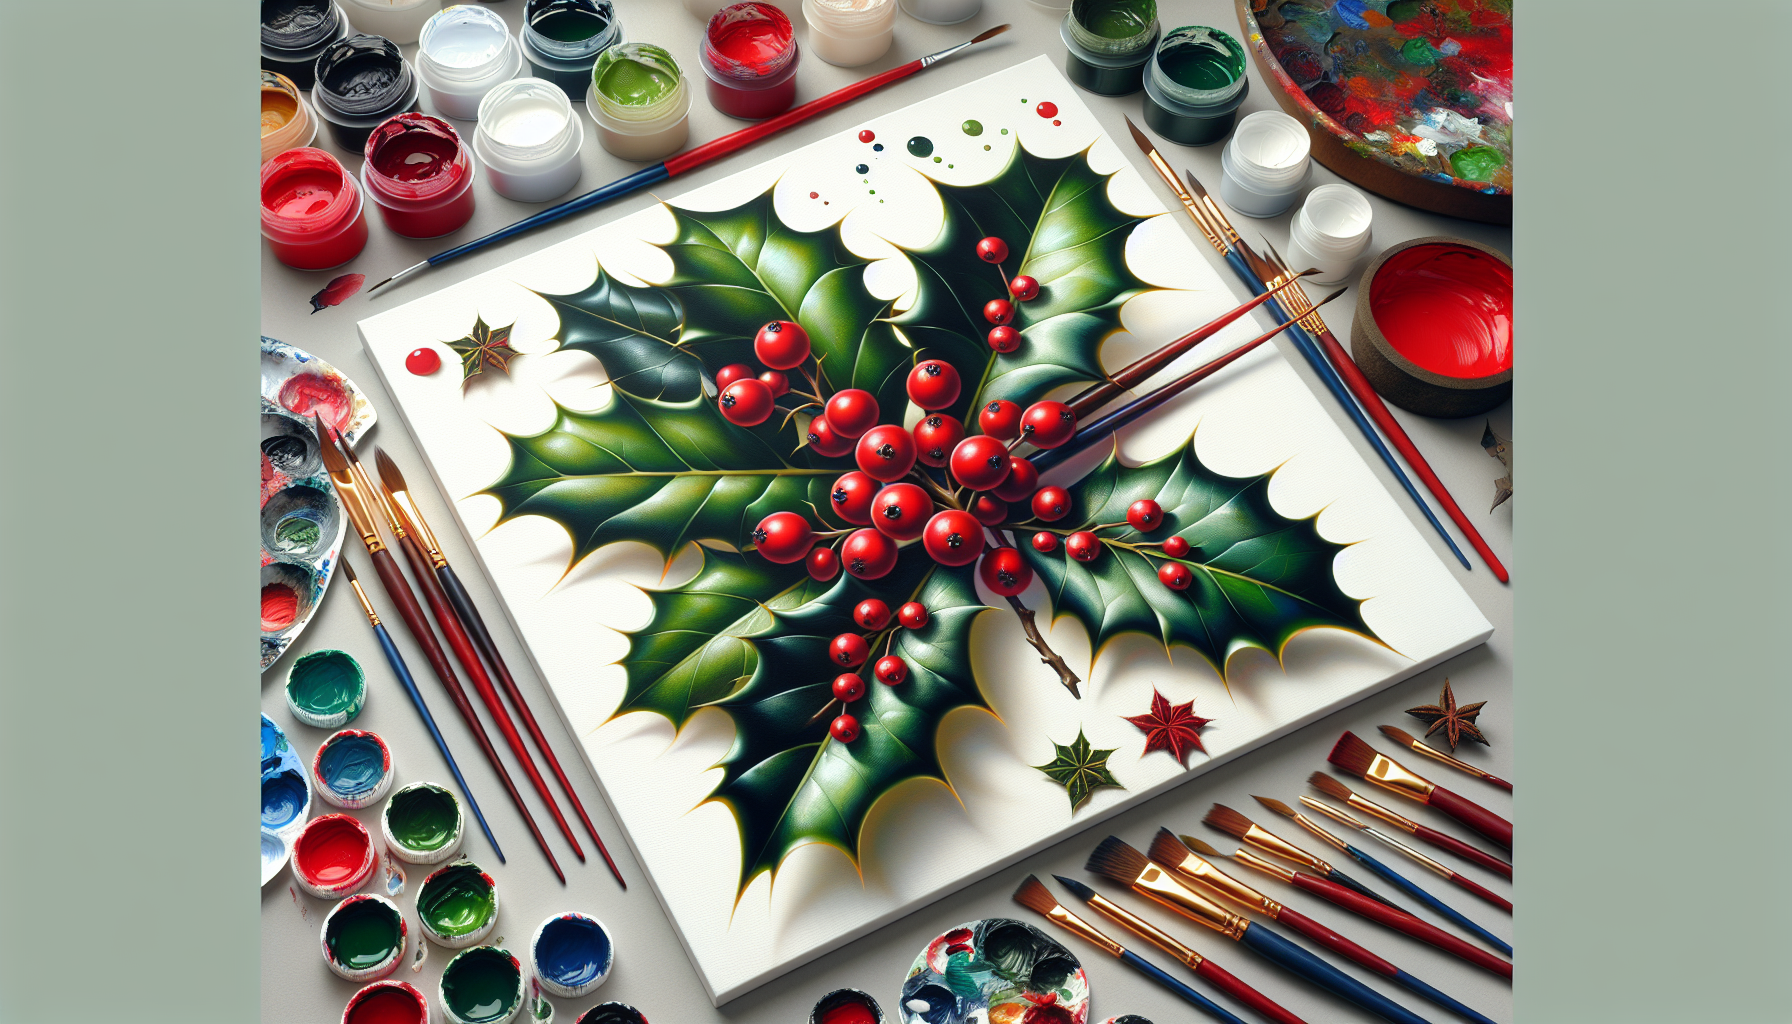
As an artist, your quest to refine and expand your skillset is perpetual. Drawing upon this ethos, the following article provides you with a detailed guide on how to paint holly leaves using acrylic paints. This piece simplifies complex techniques, breaks down the process into easy-to-follow steps, and shares invaluable tips to ensure your venture into the realm of botanical painting is a triumph. Crafted to educate and inspire, this article is an essential resource for artists looking to master the intricate art of painting holly leaves in acrylic.

Materials Needed
To ensure a successful and enjoyable painting experience, it’s essential to prepare all your necessary materials beforehand. For this specific Holly Leaf Acrylic Painting project, you’ll need the following:
Acrylic Paints
Acrylic paints are widely used due to their versatility and vibrant colors. They’re water-soluble, but become water-resistant once they dry, thus making them an excellent choice for this project.
Paintbrushes
Having a variety of good quality paintbrushes is also crucial. Depending on the area you’re working on or the detail you wish to achieve, different brushes will be required.
Canvas or Painting Surface
Whether you prefer a traditional canvas, wood, or paper is up to you. Acrylic paints lend themselves well to a variety of surfaces. For beginners, a primed canvas might be the easiest to start with.
Palette
You’ll need a palette to mix your colors. This doesn’t have to be a store-bought palette; even an old plate can suffice.
Water Container
This is essential for cleaning your brushes between colors, and for diluting your paints if required.
Palette Knife
Having a palette knife can be really handy for mixing paints and achieving certain textures.
Preparing the Palette
Squeeze out Acrylic Paints onto the Palette
Different colors will give you a broad range of shades to work with. Pick a generous quantity, enough to complete your painting but careful not to waste pigment.
Arrange Colors from Light to Dark
A logical color arrangement can drastically improve the ease and speed of the painting process. Keeping colors sorted from light to dark might help in making precise color choices and blending smoothly.
Keep a Separate Space for Mixing Colors
It’s advisable to keep a separate space free on your palette for mixing colors. Such practice will allow freedom to blend unique shades without disturbing the rest of the paints.
Choosing Colors
Select Shades of Green for Holly Leaves
To start, you’ll want to select a variety of green shades. Having multiple shades will give your painting dimension and depth.
Consider Adding A Touch of Blue for Depth
Try adding a touch of blue to some of your green. This trick can help give the impression of depth to your holly leaves.
Add a bit of Yellow or White for Highlighting
Mix a lighter shade of green using yellow or white. This shade will be used for the highlighted areas of the leaves.
Include A Darker Shade for Shadows
Shadows will provide further depth to your painting, so have a darker shade ready. A deep green, or even a black, can be mixed with your base green to attain this.
Basic Shapes and Outlines
Start with a Medium or Small Brush
To paint the holly leaves, starting with a medium or small brush is suggested. A brush of this size will offer sufficient control to draw the basic shape without restricting the range.
Paint a Vertical Line as the Center Vein of the Leaf
Starting with a vertical line will help establish the middle of the leaf, also known as the center vein. It serves as a guide for the rest of the leaf.
Add Two Lines Fanning Out from the Center for the Shape of the Leaf
With your center vein in place, you can now sketch out the overall shape of the leaf. Draw two lines fanning out from the center vein that curve around to form the classic holly leaf shape.
Refine the Shape and Adjust the Angles
Now that the basic shape is down, you should refine it. Make any necessary adjustments to the lines to create the perfect leaf shape.

Base Layer
Use a Flat Brush for Large Areas
It’s time to fill in your leaf. Switch to a flat brush, which will provide a smooth application over large areas.
Apply the Base Color to the Entire Leaf
Cover the entire leaf with your base color. This base layer of paint sets the foundation for the rest of your painting.
Blend the Colors for a Smooth Transition
Blending the colors well on this base layer will create a visually pleasing and realistic backdrop for further details.
Adding Depth and Shadows
Use a Smaller Brush for More Control
Switch to a smaller, perhaps a round brush, in order to gain more control, helpful when painting the shadows.
Mix a Darker Shade of Green for Shadows
Mix a darker version of your base color in order to create depth through shadows.
Apply Shadows Along the Edges and Beneath the Central Vein
Place these shadows along the edges and under the central vein to create the illusion of depth.
Blend the Shadows Softly Towards the Base Color
Softly blend these shadows into the base color to achieve a seamless transition between the two.
Highlighting and Detailing
Switch to a Tiny Brush for Fine Details
For detailed work like highlights and veins, switch to a tiny brush. This will allow you to make precise strokes.
Mix a Lighter Shade of Green for Highlights
You’ll now need to mix a lighter version of your base green to use for your highlights.
Apply Highlights to the Top Edges and Veins of the Leaves
Using your lightest green color, add highlights along the tips and veins of the leaf.
Add Veins with a Thin Brush and Darker Green
Using a thin brush and darker green, add finer details such as veins on the leaves.
Adding Berries
Choose a Bright Red or Deep Maroon Color
For the holly berries pick a vibrant shade such as bright red or deep maroon.
Paint Small Circles or Dots for Berries
Simply paint small circles or dots to depict the berries.
Add Highlights and Shadows to Make Them Look three-dimensional
Like with the leaves, add highlights and shadows on the berries to give them a three-dimensional look.
Finishing Touches
Clean Up any Edges or Smudges
Take the time to clean up any edges or smudges that may have occurred during painting.
Enhance Shadows and Highlights as Needed
At this stage, check your painting from a distance to see if it requires any further enhancements
Sign Your Artwork if Desired
Lastly, if you desire, sign your artwork to make it uniquely yours.
Allowing for Drying Time
Now that you’re through with your painting, it’s critical to let it dry thoroughly.
Let the Painting Dry Completely Before Moving or Framing
Acrylic paint tends to dry quickly, though certain thicker patches might require a bit more time. Leaving it undisturbed for a while ensures a smooth and even drying process.
Place the Painting Flat to Avoid Smudging During Drying
Lastly, ensure to place the painting flat while it dries. Any tilting could cause the colors to run or smudge.
By following these steps, you should be able to create your own beautiful painting of holly leaves. Remember, practice makes perfect, so don’t get discouraged if your first few attempts don’t turn out the way you’d hoped. Happy painting!