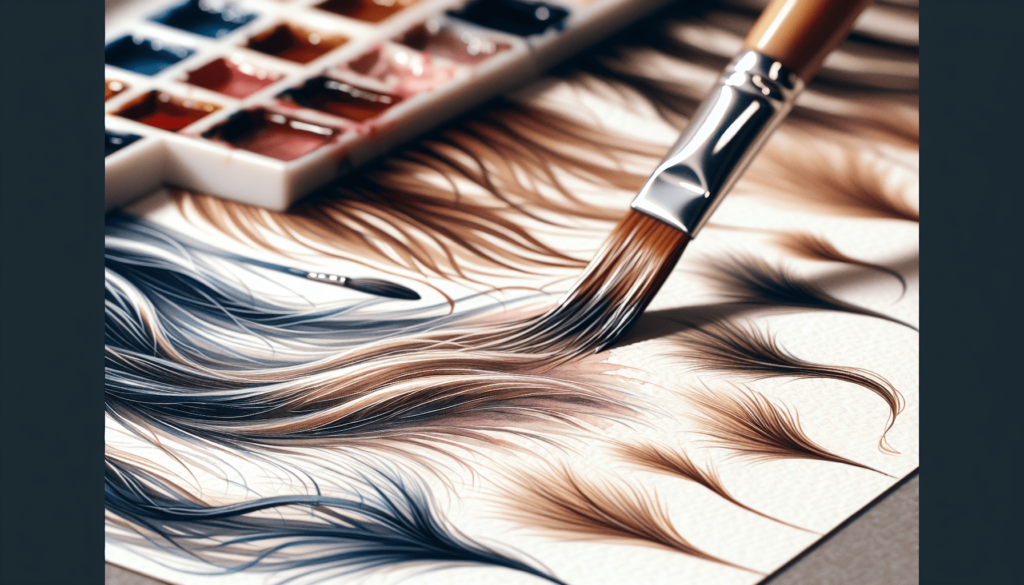
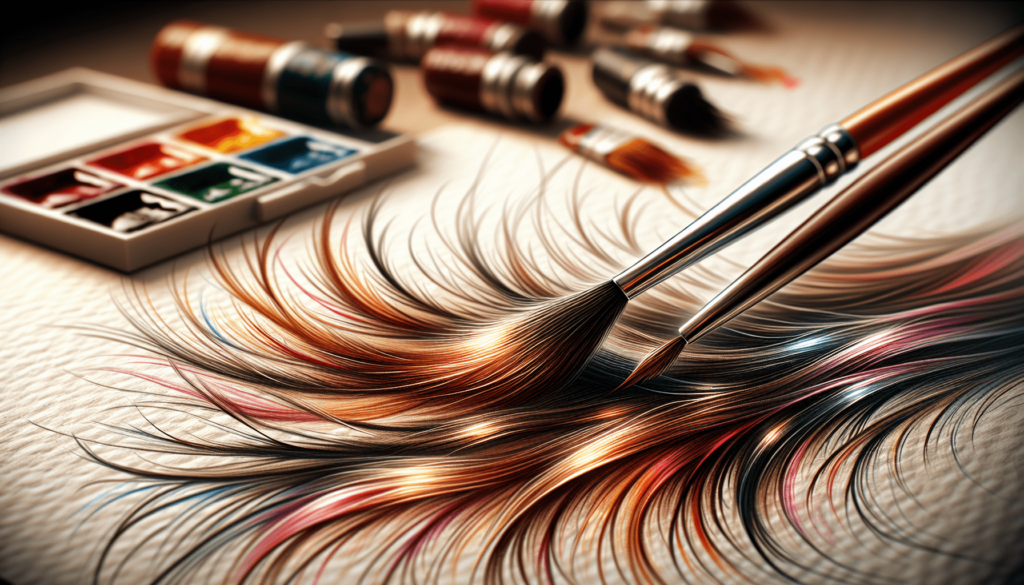
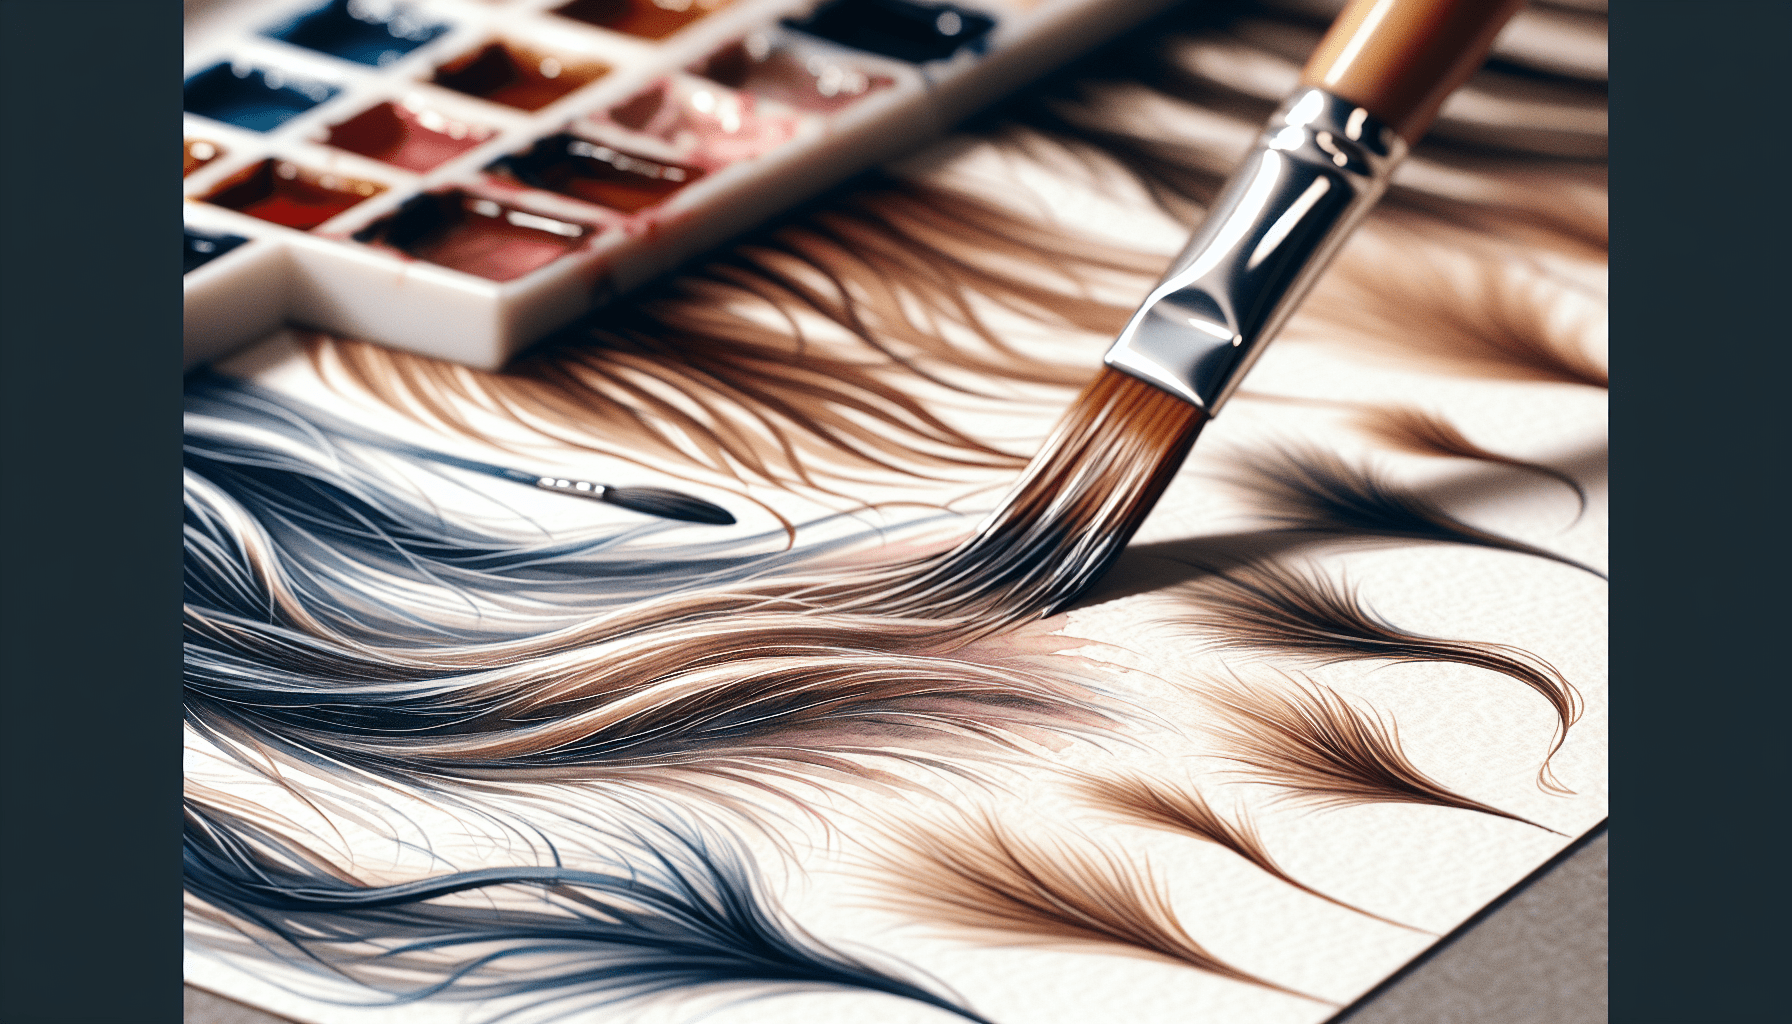
In the artistic pursuit of mastering watercolor techniques, painting hair can present unique challenges and rewarding outcomes. “How To Paint Hair With Watercolor” offers a step-by-step guide that equips you with the essential skills and insights required to bring your artwork to life. This article delves into the intricacies of capturing the delicate textures and colors of hair, providing tips on selecting the right tools, blending techniques, and achieving realistic results. Whether you are a beginner or an experienced artist, this guide will enhance your understanding and ability to depict hair with the versatility and vibrancy that watercolor medium uniquely affords. Have you ever wondered how to effectively capture the intricate details of hair using watercolors? Painting hair can be a daunting task, especially if you are looking to achieve realistic textures and depth. Watercolor is a versatile medium that, when used effectively, can bring your artwork to life, especially in the rendering of complex elements like hair.

Understanding the Basics of Watercolor
Before diving into painting hair, it’s essential to familiarize yourself with the fundamentals of watercolor. This medium behaves differently compared to acrylics or oils; it requires a sound understanding of water control, color mixing, and layering techniques.
Water Control
Water control is a crucial element in watercolor painting. The amount of water mixed with the paint influences the transparency and intensity of the color. There are three levels of water control to master:
- Dry Brush: Minimal water is used, resulting in a rough texture resembling hair strands.
- Damp Brush: Moderate water creates smooth, controlled strokes, ideal for layering and blending.
- Wet-on-Wet: Large amounts of water produce fluid, merging colors perfect for backgrounds or light washes.
Color Mixing
Understanding how to mix colors is fundamental in watercolor painting. Hair can involve a range of colors, so being proficient at mixing to achieve the right hues and tones is essential. Here are some basic color mixing principles:
- Primary Colors: Red, blue, and yellow are the building blocks for creating a variety of colors.
- Secondary Colors: By mixing two primary colors, you get secondary colors like green, orange, and purple.
- Tertiary Colors: These are created by mixing primary and secondary colors.
Layering Techniques
Layering is vital for adding depth and dimension to your painting. Watercolors are usually applied in layers, allowing the colors underneath to show through, creating a more vibrant and rich final piece.
Essential Tools for Painting Hair with Watercolor
To achieve the best results in watercolor painting, it’s critical to use the appropriate tools. Below is a table that lists essential tools along with their purposes:
| Tool | Purpose |
|---|---|
| Watercolor Paper | High-quality paper designed to hold water and maintain shape. |
| Brushes | Variety of sizes and shapes for different strokes and details. |
| Watercolors | High-pigment paints that offer a wide range of colors. |
| Palette | Surface for mixing colors. |
| Water Container | Holds water for rinsing brushes and controlling water usage. |
| Masking Fluid | Protects areas you wish to keep white or untouched by watercolors. |
| Pencil and Eraser | For initial sketches and corrections during your painting process. |
Steps to Painting Hair with Watercolor
Now that you are equipped with fundamental knowledge and tools, let’s delve into the actual process of painting hair with watercolor. Each step builds upon the previous one, so take your time to practice and perfect each stage.
Step 1: Prepare Your Workspace
A well-organized workspace can significantly enhance your painting experience. Ensure you have all your tools ready and sufficient lighting. A clean and clutter-free environment allows for better concentration and improved creativity.
Step 2: Sketch the Hair Outline
Begin with a light pencil sketch of the hair outline. Pay attention to the direction, volume, and flow of the hair. This step provides a roadmap for your painting and helps ensure that proportions are accurate.
Step 3: Apply the Initial Wash
Start by applying a light wash to establish the base color of the hair. This wash should be relatively light since you will build layers on top of it. For example, if the hair is blonde, you might begin with a soft, pale yellow; for darker hair, perhaps a light gray or brown.
Step 4: Build Layer Upon Layer
After the initial wash has dried, begin adding layers to build depth and texture. Use a combination of dry brush and damp brush techniques to create the illusion of strands and volume. Pay close attention to light and shadow, as these elements give hair its three-dimensional quality.
Highlighting Colors and Shades
Use a darker color to indicate areas of shadow and a lighter color to highlight areas that catch the light. This contrast helps to create more realistic and dynamic hair.
| Hair Color | Base Color | Highlight Color | Shadow Color |
|---|---|---|---|
| Blonde | Pale Yellow | Light Lemon | Burnt Umber |
| Brown | Light Brown | Beige | Dark Brown |
| Black | Light Gray | White | Deep Black |
Step 5: Add Fine Details
Once you have established the broader areas of light and shadow, focus on adding finer details. Use a small, pointed brush to paint individual strands of hair. This level of detail enhances the realism of your painting and adds texture.
Step 6: Incorporate Additional Techniques
Experiment with different watercolor techniques such as glazing, lifting, and negative painting to add more layers and texture to the hair. These methods can help you achieve a more intricate and nuanced look.
Step 7: Final Touches
Inspect your work and make any necessary adjustments. Add highlights or shadows where needed to refine the hair’s appearance. Once satisfied, let the painting dry completely.
Common Mistakes and How to Avoid Them
Mistakes are part of the learning process, but being aware of common pitfalls can save you time and frustration. Here are some frequent errors and remedies:
Overworking the Paper
Overworking the paper can lead to a muddy appearance and damage the paper itself. To avoid this, plan your layers and be patient, allowing each layer to dry fully before adding more.
Inconsistent Water Control
Inconsistent water usage can result in uneven washes and blotchy areas. Practice different water control techniques to achieve a smooth, even application.
Ignoring Light Source
Failing to consider the light source can lead to a flat and unrealistic painting. Always decide on a light source before starting and maintain consistency throughout.

Advanced Techniques for Painting Hair with Watercolor
Once you have mastered the basics, you may wish to explore more advanced techniques. These methods can further enhance the realism and complexity of your hair paintings.
Glazing
Glazing involves applying a thin, transparent layer of paint over a dry layer to create depth and richness. It is particularly effective for building up the density of hair color and adding subtle shifts in tone.
Lifting
Lifting is the process of removing paint to create highlights or correct mistakes. Use a damp brush or a piece of tissue to lift the paint gently. This technique can be useful for refining the lightest areas of the hair.
Negative Painting
Negative painting focuses on painting around the subject to define it instead of painting the subject itself. This technique is useful for creating strands of hair that appear lighter and more realistic.
Conclusion
Mastering the art of painting hair with watercolor requires practice, patience, and a good understanding of the medium. By breaking down each step and employing various techniques, you can create realistic and dynamic hair that enhances your overall artwork. Remember to experiment and find what works best for you, as the journey of learning is just as important as the final result. With dedication and the right approach, you can achieve stunning hair effects with watercolors that will captivate and impress.
In summary, understanding the fundamentals of watercolor, using the right tools, and mastering specific techniques are crucial for effectively painting hair. Pay close attention to water control, color mixing, and layering, and don’t be afraid to experiment with advanced methods like glazing and lifting. By following these guidelines and continually practicing, you’ll be well on your way to creating beautiful, realistic hair in your watercolor paintings.


