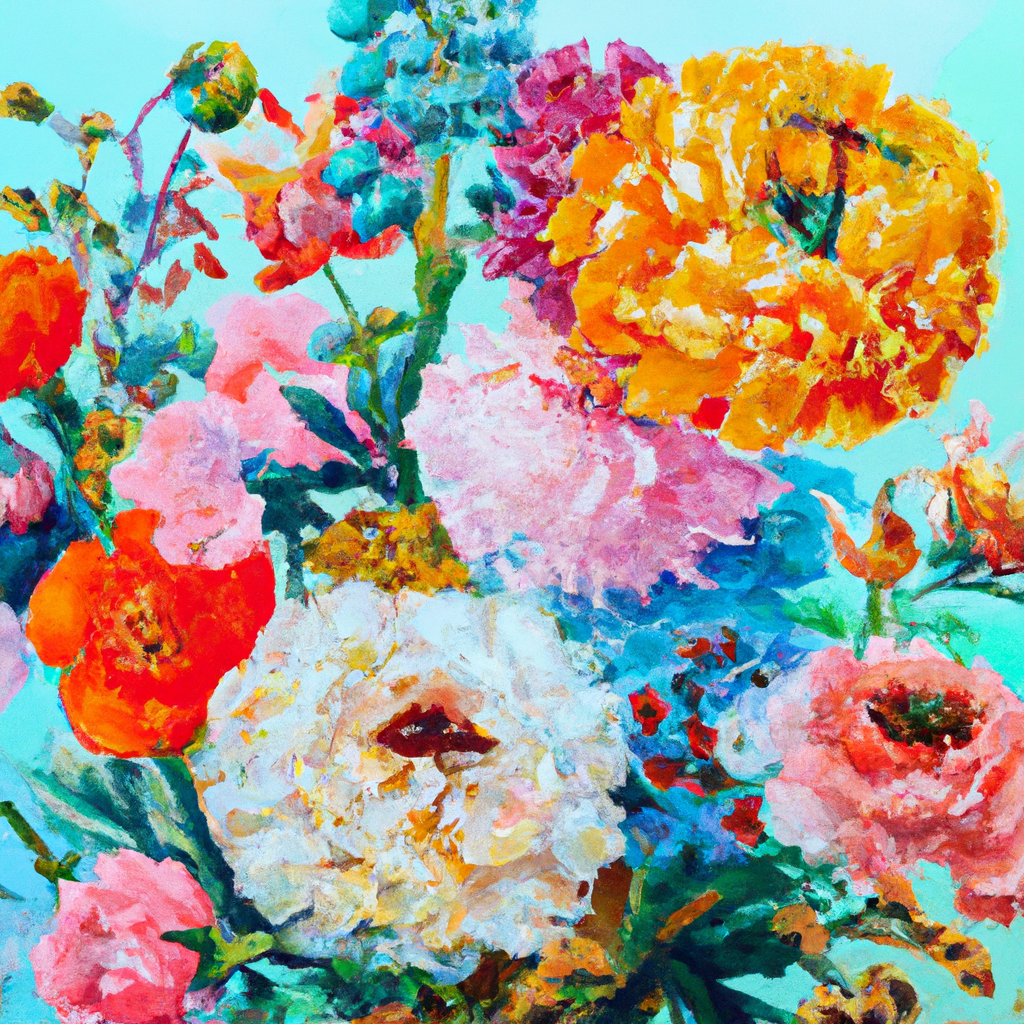
In this enlightening article, you will gain valuable insights into the art of painting flowers with gouache. Discover the intricate techniques and skilled brushwork required to create stunning floral masterpieces. By exploring the unique properties of gouache, you will unlock a realm of vibrant colors and subtle textures that bring flowers to life on canvas. Whether you are a budding artist or an experienced painter, this guide will provide you with the knowledge and inspiration needed to cultivate your own personal style and create captivating floral arrangements with gouache.
This image is property of images.unsplash.com.
Materials Needed
To successfully paint flowers with gouache, you will need the following materials:
Gouache paints
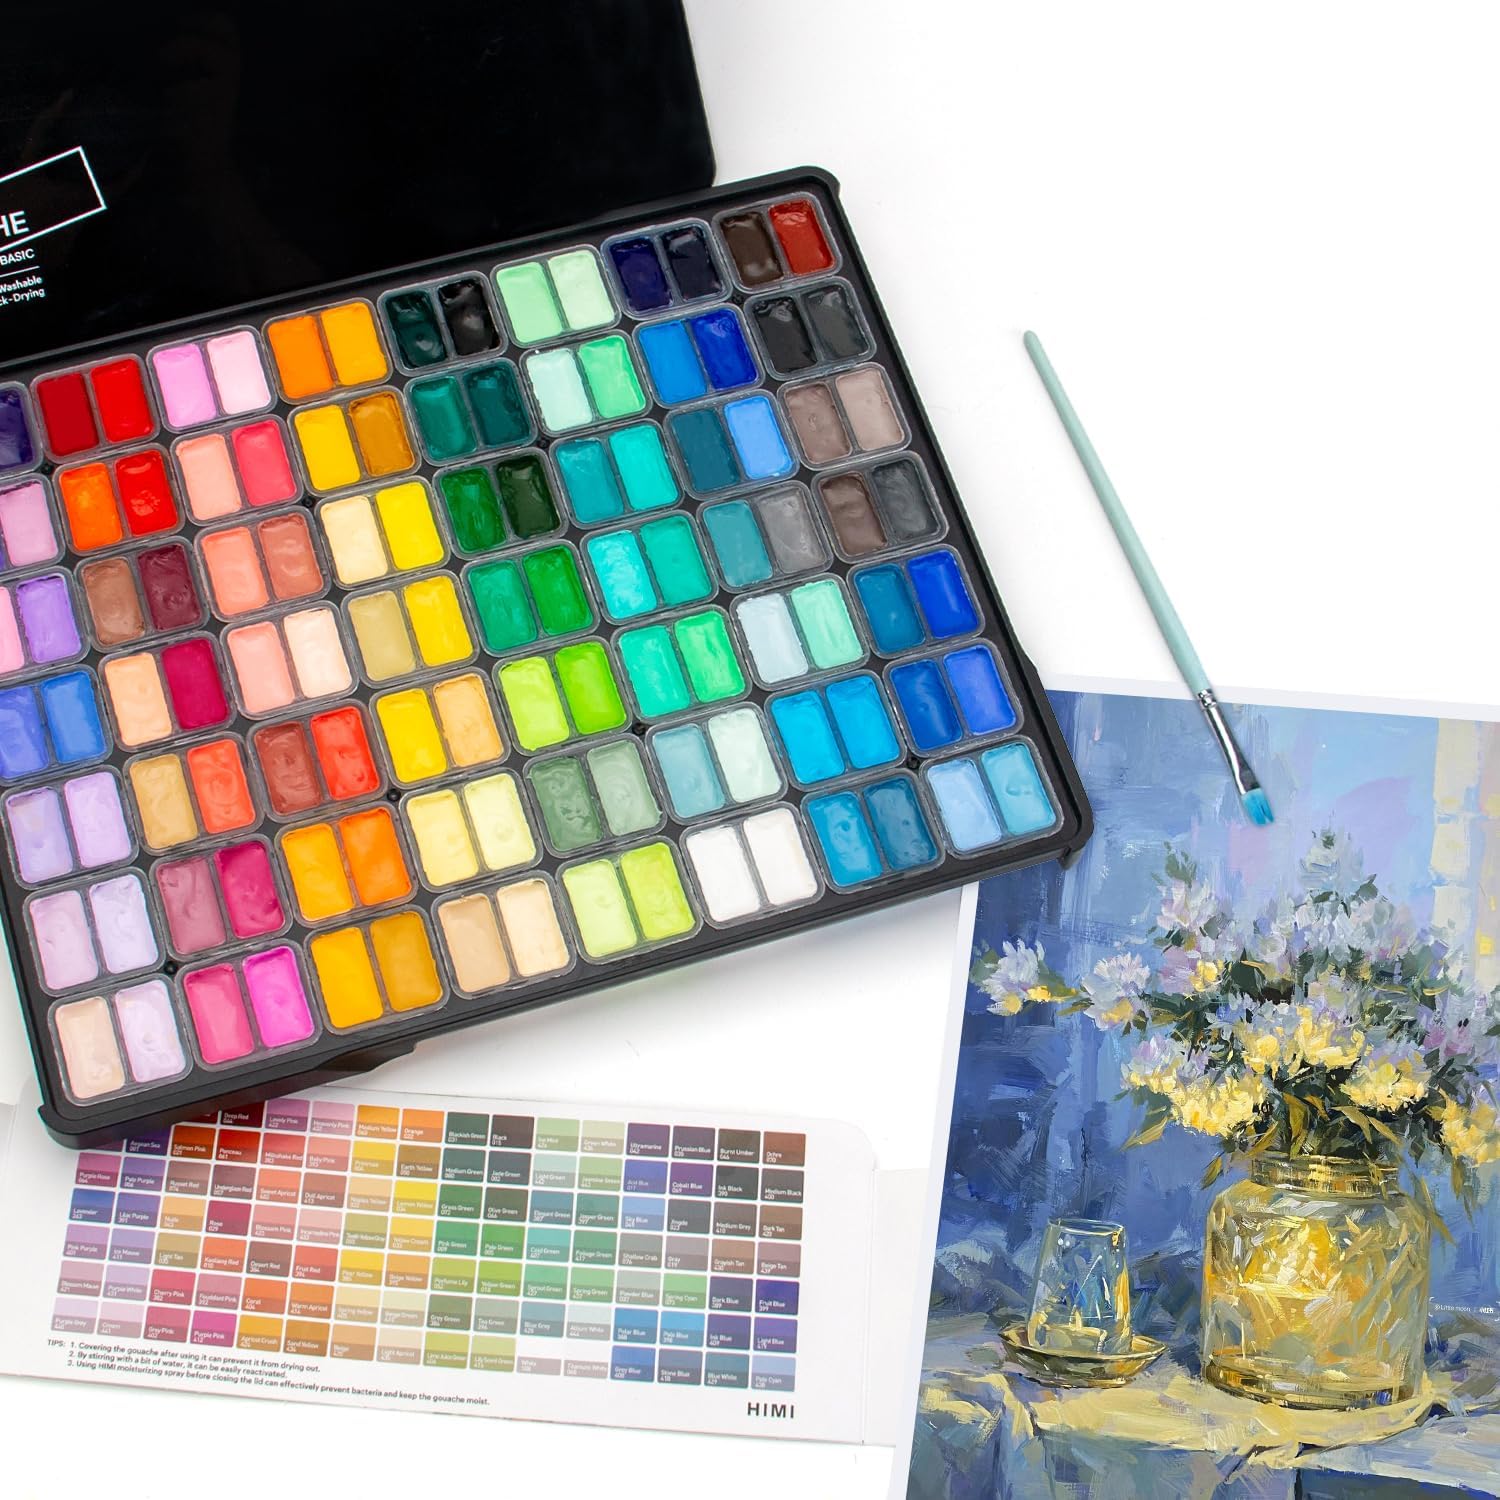
Gouache paints are opaque watercolors that provide vibrant and bold colors. They are perfect for capturing the beauty of flowers in your paintings.
Paintbrushes
Choose a variety of paintbrushes in different sizes and shapes. This will allow you to create different textures and details in your floral artwork.
Watercolor paper
Using high-quality watercolor paper is essential for achieving the desired effects with gouache paints. Look for a heavyweight paper that can handle the water and pigment without warping.
Palette
A palette is used to mix and blend your gouache paints. It can be made of plastic or porcelain and should have ample space for mixing colors.
Water jar
You will need a water jar to rinse your brushes and thin out your gouache paints when needed. Opt for a jar with a wide opening for easy brush cleaning.
Pencil
A pencil is necessary for sketching your floral composition before applying paint. Choose a light pencil such as an HB or 2B to avoid leaving visible marks on your finished artwork.
Eraser
Keep an eraser handy to correct any mistakes or lighten pencil lines in your sketch. Look for a soft eraser that won’t damage the watercolor paper.
Masking tape
Masking tape can be used to secure your watercolor paper to a flat surface and create clean edges. This is especially useful when working on larger paintings.
Paper towels
Paper towels are essential for blotting excess water and paint from your brushes, as well as for creating interesting textures in your artwork.
Preparation
Choose a reference image
Before beginning your floral painting, choose a reference image that inspires you. It could be a photograph, a bouquet of flowers, or a still-life arrangement.
Set up your workspace
Create a designated workspace for your painting. Clear a flat surface where you can comfortably work with your materials and have easy access to your reference image.
Prepare your paper
Cut your watercolor paper to the desired size for your painting. If necessary, tape the edges of the paper to a flat surface using masking tape to prevent it from buckling when wet.
Sketching
Begin with a rough outline
Using a light pencil, start by sketching a rough outline of your floral composition. Focus on capturing the general shapes and proportions of the flowers.
Capture the basic shapes
Refine your sketch by adding the basic shapes of each flower and its petals. Pay attention to the size and placement of each flower within your composition.
Add details and refine the sketch
Once you have the basic shapes, begin adding details such as the center of the flowers, the stamens, and any leaves or stems. Continuously refer to your reference image for accuracy.
Mixing Colors
Select a limited color palette
To maintain color harmony in your floral painting, it is helpful to select a limited color palette. Choose a few primary colors and experiment with mixing them to create a wide range of hues.
Mix colors on the palette
Squeeze a small amount of each color onto your palette. Use a clean brush to mix colors together, creating a smooth and consistent blend. Adjust the ratios of different colors to achieve the desired shades.
Experiment with color combinations
Gouache paints allow you to create beautiful and vibrant color combinations. Play around with different pairings and mixtures to add interest and depth to your floral artwork.
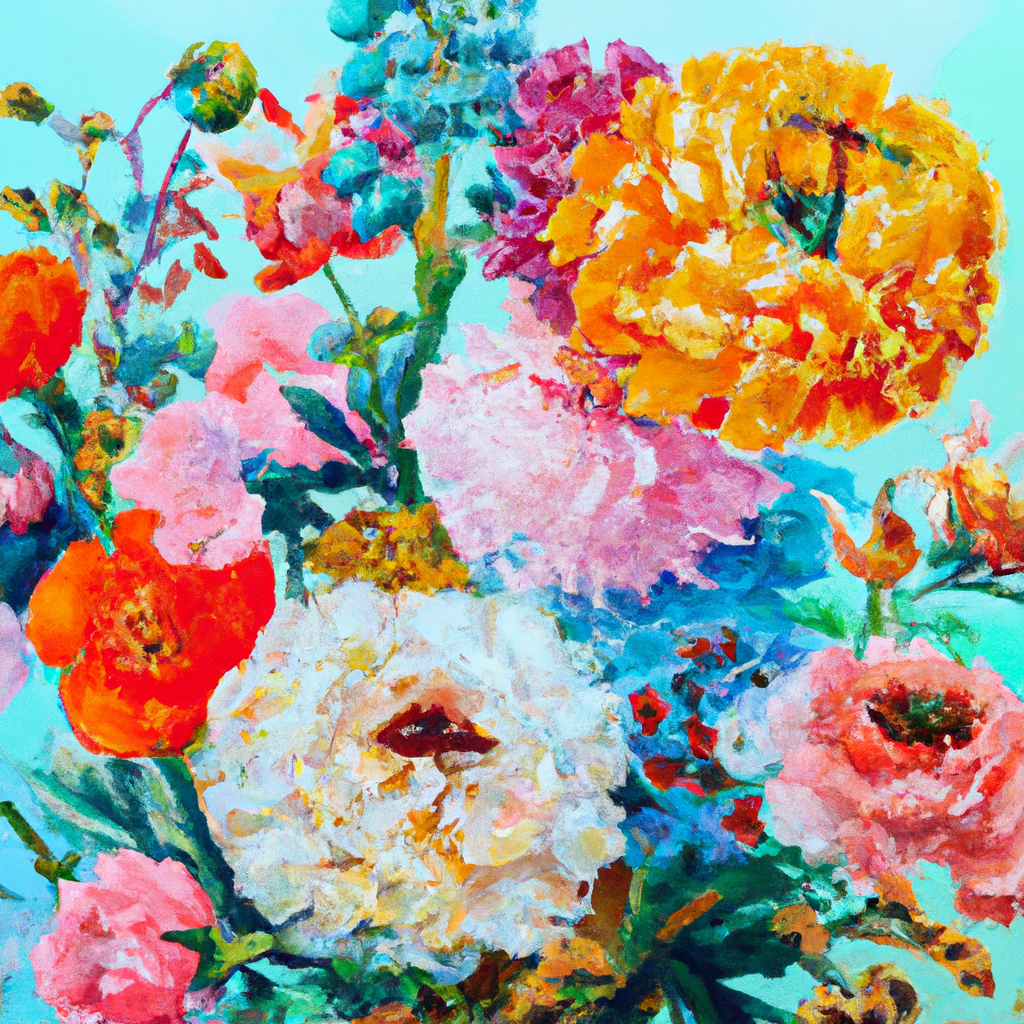
This image is property of images.unsplash.com.
Basic Techniques
Wet-on-dry technique
The wet-on-dry technique involves applying wet gouache paint onto dry watercolor paper. This technique allows for more controlled brushstrokes and sharper details.
Wet-on-wet technique
The wet-on-wet technique involves applying wet gouache paint onto wet watercolor paper. This technique creates smoother transitions between colors and softer edges.
Dry brush technique
The dry brush technique involves using a brush with minimal water or paint to create textures and fine details. This technique is useful for adding texture to flower petals or creating the illusion of foliage.
Layering and glazing
Layering and glazing involve building up thin layers of paint to create depth and dimension in your floral painting. Allow each layer to dry before adding the next, resulting in a rich and luminous effect.
Building the Composition
Consider the placement of flowers
When arranging your flowers, think about their placement within the composition. Create a sense of balance and movement by varying the size, shape, and direction of the blooms.
Create a focal point
To make your floral painting visually engaging, select one flower or element to be the focal point. This could be the largest flower, the one with the most vibrant color, or one positioned in the foreground.
Balance the composition
Ensure that the elements in your composition are balanced. Distribute the flowers, leaves, and stems evenly throughout the painting to create a harmonious and visually pleasing composition.

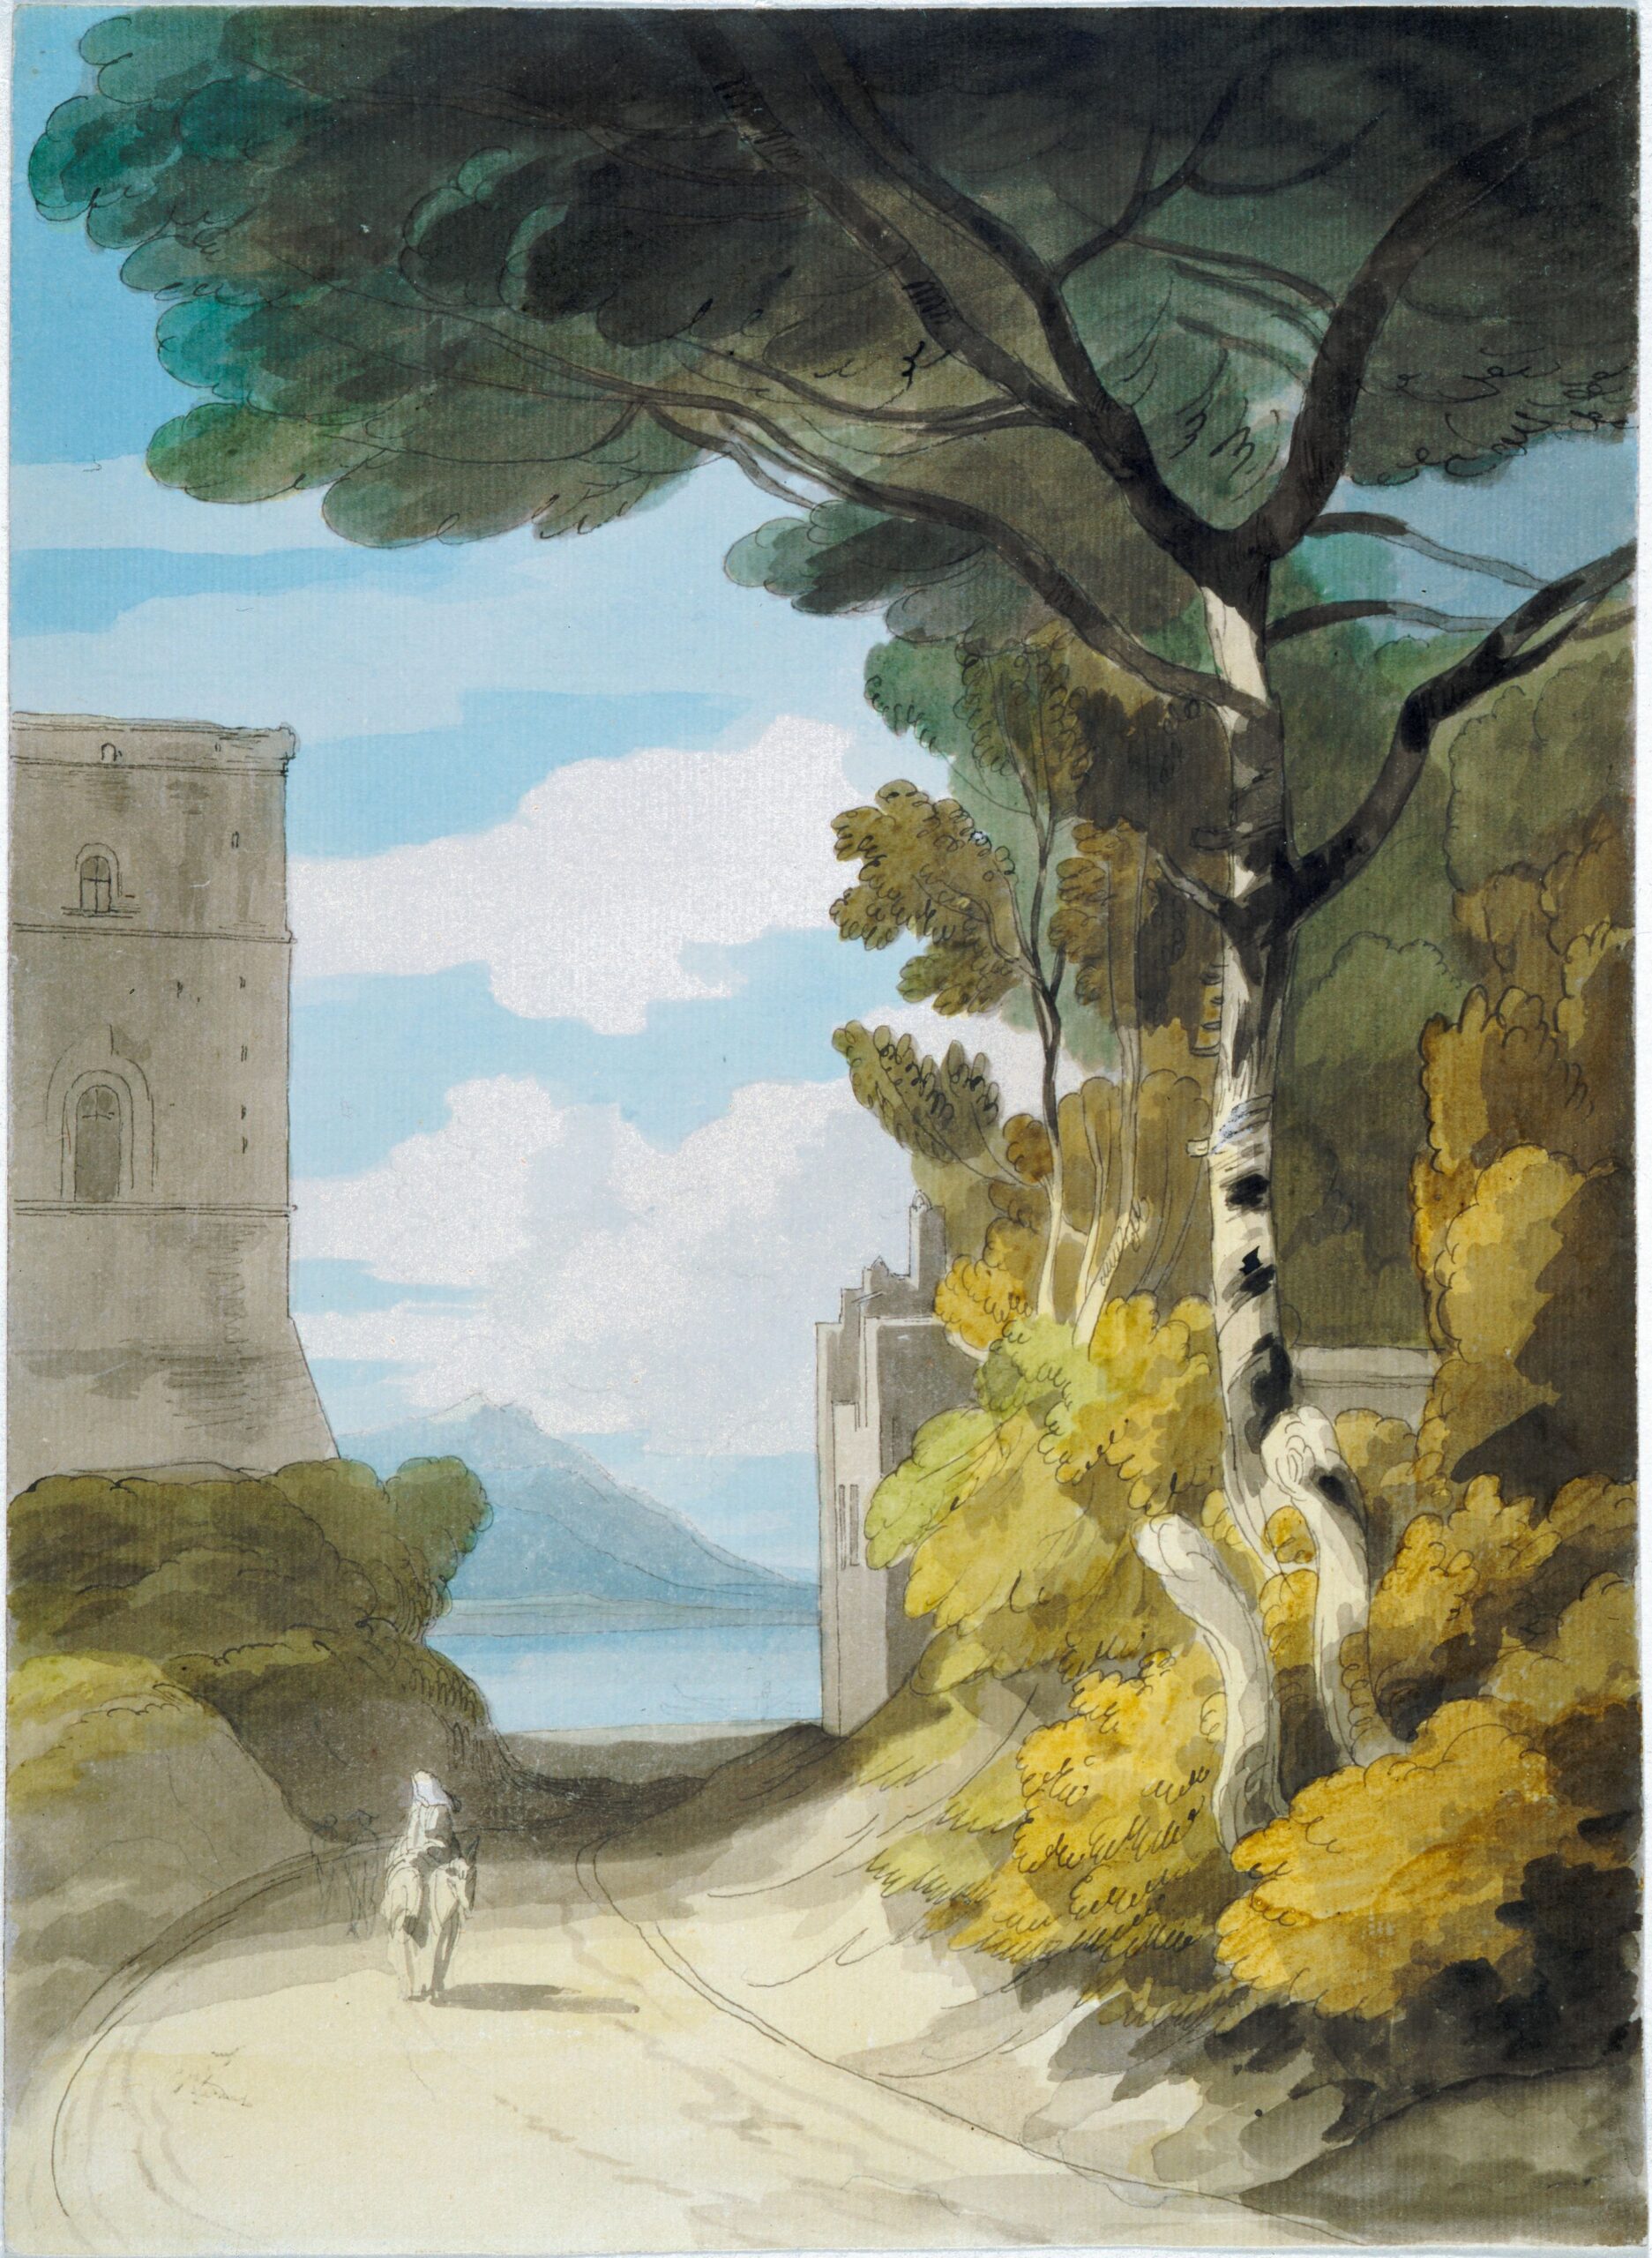
This image is property of images.unsplash.com.
Blocking In Colors
Start with the lightest colors
Using the wet-on-dry technique, begin by blocking in the lightest colors of your flowers. Apply a thin layer of paint, gradually building up the colors and values for each petal.
Gradually add darker tones
Once the lightest colors are dry, start adding the darker tones to your flowers. Observe the shadows and highlights in your reference image to accurately depict the form and dimension of the petals.
Pay attention to light source and shadows
Consider the direction of the light source in your reference image. Use darker shades to create shadows and lighter shades to add highlights, enhancing the three-dimensional quality of your floral painting.
Adding Details
Define the flower petals
With a smaller brush and more concentrated paint, define the edges and details of each flower petal. Pay attention to the subtle variations in color and value to make the petals appear realistic.
Add texture and highlights
Using the dry brush technique, add texture to the flower petals, stamens, and leaves. Use a lighter color or a thin mixture of white to create highlights and bring out the details.
Enhance the foliage
Give attention to the leaves and stems by adding depth and texture. Use a variety of greens and consider adding details such as veins or speckles to make the foliage more realistic.

Working with Backgrounds
Choose a complementary background
Select a background color that complements the colors of your flowers. A contrasting or harmonious color can enhance the overall impact of your floral painting.
Create depth with layers
Build up the background in layers, allowing each layer to dry before adding the next. This will create depth and dimension, making the flowers stand out and giving a sense of distance.
Add details or keep it simple
Decide whether to add intricate details to the background or keep it simple. If you want the focus to solely be on the flowers, a simple background can provide a clean and elegant look.
Final Touches
Refine the edges and lines
Take a step back and analyze your painting. Refine any edges or lines that may need more definition. Use a small brush or a liner brush to add crisp outlines or fine details.
Make necessary adjustments
Make any necessary adjustments to the colors, values, or details in your painting. Take your time to carefully observe your reference image and compare it to your artwork.
Sign and date your artwork
Sign your artwork with a small brush and your preferred signature style. Date your painting to mark the completion of your floral masterpiece.
By following these steps and practicing regularly, you can master the art of painting flowers with gouache. Experiment with different techniques, color palettes, and compositions to find your unique artistic style. Enjoy the process and let your creativity bloom on the canvas!
