Picture this: you have just received a beautifully engraved acrylic piece, meticulously crafted to perfection. Its intricate design and smooth surface captivate your attention, leaving you in awe of the precision and artistry. However, you can’t help but wonder how to take it a step further and make the engraving truly stand out. Fear not, for in this article, you will learn the art of paint filling engraved acrylic, giving your cherished piece a vibrant and eye-catching finish.
Delving into the world of acrylic engraving is an exciting endeavor that allows you to add a personal touch to various items such as signs, awards, or decorative pieces. Whether you are a beginner or a seasoned craftsman, perfecting the art of paint filling is a skill worth acquiring. In this comprehensive guide, we will navigate through the necessary supplies, step-by-step techniques, and helpful tips to elevate your acrylic engravings from impressive to awe-inspiring. Let’s unlock the secrets to enhancing your engraved acrylic pieces through the magic of paint filling.
Understanding The Basics Of Acrylic Engraving
What is acrylic engraving?
Acrylic engraving is a process where designs or patterns are etched onto acrylic sheets through the use of engraving tools. It allows for intricate and detailed designs to be created, giving a unique and personalized touch to acrylic products. This technique is commonly used in various industries such as advertising, signage, awards, and personalized gifts.
Different uses of engraved acrylic
Engraved acrylic has a wide range of applications due to its versatility and durability. It is commonly used for creating signs and displays for businesses, as it offers a sleek and professional appearance. Engraved acrylic is also popular in the awards industry, where it is used for creating trophies, plaques, and commemorative items. Additionally, this technique is often utilized for creating personalized gifts like keychains, jewelry, and custom home decor.
Benefits of acrylic engraving
There are several benefits to choosing acrylic engraving as a decorative technique. Firstly, acrylic is a lightweight material, making it easy to handle and install. It is also highly durable and resistant to breakage, making it suitable for both indoor and outdoor applications. Acrylic engraving offers excellent clarity and a high-gloss finish, enhancing the overall aesthetic appeal of the engraved design. Additionally, acrylic is available in a variety of colors and thicknesses, providing endless customization options for your engraved projects.
Choosing The Right Materials
Selection of acrylic sheets
When choosing acrylic sheets for engraving, it is important to consider the thickness and color of the material. Thicker acrylic sheets tend to be more durable and provide a deeper engraving effect. However, thinner sheets may be more suitable for certain projects, as they can be easily bent or shaped. In terms of color, opaque and translucent acrylic sheets are ideal for engraving, as they allow the engraved design to stand out against the background.
Choosing the right type of paint for filling
After engraving the acrylic, it is common to fill the engraved parts with paint to enhance the visibility of the design. When selecting the paint for filling, it is crucial to choose a type that is compatible with acrylic. Acrylic paints are the most commonly used option, as they adhere well to the material and offer a wide range of colors. Other types of paints, such as enamel or oil-based paints, may not achieve the same level of adhesion or longevity on acrylic surfaces.
Appropriate engraving tools
To achieve precise and clean engravings, it is essential to use the appropriate engraving tools. The most common tools for acrylic engraving are rotary engravers, laser engravers, and handheld engraving tools. Rotary engravers and laser engravers are suitable for large-scale engraving projects, while handheld engraving tools provide greater control and precision for smaller, intricate designs. It is important to choose the engraving tool that best suits your project’s requirements and your level of experience.
Determining the necessary safety gear
During the engraving process, it is important to prioritize safety. Depending on the engraving method chosen, safety gear such as goggles, gloves, and a dust mask may be required to protect your eyes, hands, and respiratory system from potential hazards. It is crucial to follow the manufacturer’s instructions and take necessary precautions to ensure a safe engraving experience.

Preparing Acrylic Plates For Engraving
Proper cleaning of acrylic sheets
Before engraving, it is crucial to thoroughly clean the acrylic sheets to ensure optimal engraving results. Any dirt, dust, or debris on the surface can negatively impact the final design. To clean acrylic sheets, use a mild detergent or acrylic cleaner and a soft cloth or sponge. Gently wipe the surface in a circular motion to remove any stains or residue. Rinse the acrylic sheets with lukewarm water and pat them dry with a clean cloth to avoid scratching the surface.
Placement of acrylic for engraving
Once the acrylic sheets are clean and dry, it is necessary to securely place them in the engraving area. Ensure that the acrylic sheets are tightly fastened to prevent any movement during the engraving process. This will help maintain accuracy and prevent any potential damage to the acrylic or the engraving tool.
Safety measures during preparation
While preparing the acrylic plates for engraving, it is important to observe certain safety measures. Avoid placing the acrylic sheets near any flammable substances or heat sources, as acrylic is highly sensitive to heat and can melt or warp. Additionally, make sure the engraving area is well-ventilated to prevent the buildup of fumes or dust particles. Taking these precautions will help create a safe and controlled environment for your engraving process.
Acrylic Engraving Process
Making the design for engraving
Before starting the actual engraving process, it is important to have a clear design or pattern in mind. This can be achieved by using graphic design software or by drawing the design directly on the acrylic surface. Ensure that the design is properly aligned and centered on the acrylic sheet to achieve the desired outcome.
Using the engraving tools
Once the design is finalized, it’s time to start engraving. Follow the instructions provided by the manufacturer of the engraving tool to ensure proper usage. When using rotary engravers or handheld engraving tools, move the tool in a slow, steady motion to maintain control and achieve accurate lines. For laser engraving, carefully adjust the settings to achieve the desired depth and intensity. Take breaks if necessary to prevent overheating of the tool.
Proper handling of engraved acrylic
After engraving, it is important to handle the acrylic with care to avoid any damage to the engraved design. Use clean, soft cloths or gloves to hold the acrylic to prevent fingerprints or scratches. Avoid placing any objects on top of the engraved acrylic until the paint filling process is complete.

Choosing Paint for Filling Engraved Parts
Considerations when choosing paint
When selecting paint for filling the engraved parts, consider factors such as color, opacity, and compatibility with acrylic. The color should contrast well with the acrylic background to ensure visibility of the design. Opacity refers to the level of translucency or transparency of the paint. A more opaque paint will result in a solid, vibrant appearance, while a translucent paint may create a more subtle effect. Additionally, choose a paint that is specifically formulated for use on acrylic surfaces to ensure good adhesion and longevity.
Choosing acrylic paint
Acrylic paint is a popular choice for filling engraved parts due to its excellent adhesion and wide range of colors. It is available in various finishes, including matte, gloss, and metallic, allowing for further customization options. Acrylic paint dries quickly and forms a durable layer on the engraved acrylic, providing long-lasting protection and vibrancy to the design.
Acrylic paint versus other types of paint
While acrylic paint is the preferred choice for filling engraved parts on acrylic, there are other types of paint that can be used. Enamel paint and oil-based paint can also adhere to acrylic surfaces but may require additional preparation or priming. However, it is important to note that these alternative paint types may not offer the same level of adhesion or compatibility as acrylic paint, potentially leading to peeling or chipping over time.
Paint Filling Procedure
Stirring the paint properly
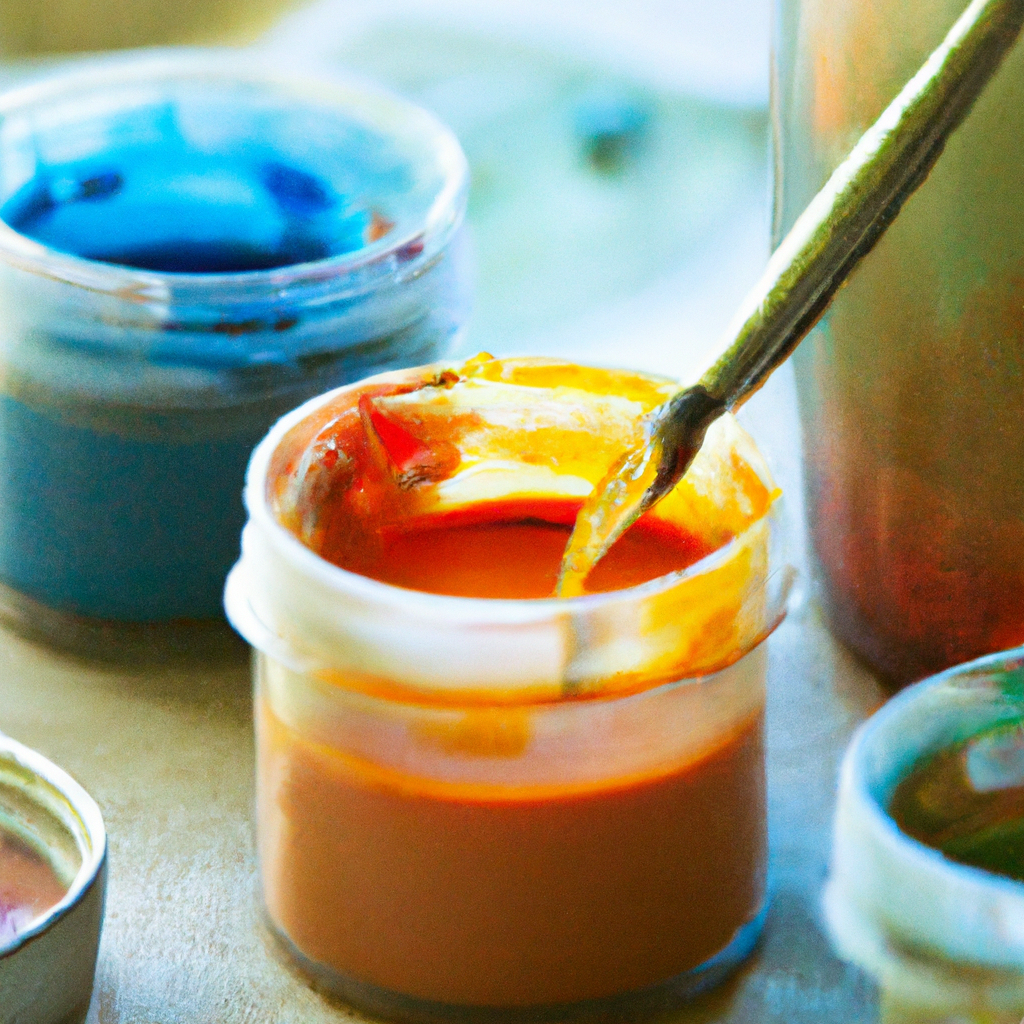
Before filling the engraved parts, it is important to thoroughly stir the paint to ensure a consistent color and texture. Use a stir stick or a palette knife to mix the paint, ensuring that any settled pigments or additives are evenly distributed throughout the mixture. Avoid shaking the paint container vigorously, as it may introduce air bubbles into the paint, which can affect the final result.
Filling the engraved parts with paint
When filling the engraved parts, it is important to apply the paint carefully and precisely. Dip a small brush or a paint applicator into the paint and gently tap it on the surface of the engraved acrylic, allowing the paint to flow into the grooves. Fill the engraved parts completely, ensuring that the paint is evenly distributed and covers the entire design. Take your time and work in small sections to maintain control and avoid any spills or mistakes.
Managing overflows and excess paint
During the paint filling process, it is common for some paint to overflow or accumulate on the surface of the engraved acrylic. This can be managed by wiping off the excess paint using a clean cloth or a cotton swab. Be careful not to remove the paint from the engraved parts while cleaning up the overflows. Once the excess paint is removed, allow the filled engraving to dry according to the manufacturer’s instructions.

Drying And Curing Process
Understanding the drying and curing
After filling the engraved parts with paint, the drying and curing process is crucial for achieving optimal results. Drying refers to the surface of the paint becoming touch-dry, while curing refers to the paint fully hardening and forming a durable coating. The time required for drying and curing can vary depending on factors such as paint type, thickness, and environmental conditions.
Time required for proper drying and curing
To ensure proper drying and curing, follow the recommended drying times provided by the paint manufacturer. Generally, acrylic paint dries to the touch within a few minutes to an hour, while full curing may take up to 24 hours or longer. It is important to allow sufficient time for the paint to fully dry and cure before handling or applying any additional coatings.
Tips to speed up the drying process
If you need to expedite the drying process, there are certain techniques that can help speed it up. Increasing air circulation in the drying area by using fans or opening windows can help promote faster drying. Placing the painted engraving under a heat lamp or using a hairdryer on a low setting (maintaining a safe distance) can also accelerate drying. However, exercise caution when using heat sources to avoid overheating or causing damage to the acrylic.
Finishing Touches
Applying clear coat for extra sheen and protection
To enhance the appearance and further protect the engraved acrylic, applying a clear coat is recommended. Clear coats are available in various finishes, such as matte, gloss, or satin, allowing you to choose the desired sheen for your finished product. Before applying the clear coat, ensure that the filled engraving is completely dry and cured. Apply the clear coat in thin, even layers, following the manufacturer’s instructions. Allow the clear coat to thoroughly dry and cure before handling or displaying the engraved acrylic.
Cleaning up the finished product
Once the engraved acrylic is completely dried and cured, it is important to clean up any residual paint or debris from the surface. Use a soft cloth or a cotton swab dipped in water or acrylic cleaner to gently remove any excess paint. Avoid using abrasive materials or harsh chemicals that could damage the engraved design or the acrylic itself. Take care to clean the surface without applying excessive pressure to avoid scratching or smudging the engraved parts.
Inspection for quality
Before considering the engraved acrylic as a finished product, it is essential to inspect it for quality. Check for any smudges, discoloration, or uneven paint fill in the engraved parts. Verify that the design is clear and well-defined without any visible imperfections. If necessary, touch up any areas that require additional paint or adjustments to ensure a polished and professional result.

Troubleshooting Common Problems
Fixing uneven paint fill
If the paint fill in the engraved parts is uneven, there are a few options for correction. One method is to carefully remove the uneven paint using a small scraping tool or a cotton swab dipped in acrylic cleaner. Once the excess paint is removed, touch up the areas with additional paint to achieve a more consistent look. Another option is to lightly sand down the uneven areas using fine-grit sandpaper, being careful not to damage the surrounding acrylic or the engraved design. After sanding, fill the engraved parts again with paint, ensuring a smooth and uniform finish.
Dealing with bleeding of paint
Paint bleeding can occur when the paint overflows from the engraved parts into the surrounding area. To address this issue, carefully remove the excess paint using a clean cloth or a cotton swab. If the bleeding is minimal, precision is key when removing the excess to avoid removing any paint from the engraved parts. If the bleeding is extensive, the engraving may need to be redone. In such cases, re-engrave the design deeper or thicken the engraved lines to prevent future bleeding during the paint filling process.
Addressing not fully dried paint issues
If the paint on the engraved acrylic is not fully dried or cured, it can lead to smudging or damage to the design. In such cases, it is best to wait until the paint is completely dry and cured before handling or applying any remedies. Once the paint is dry, gently remove any smudged areas using a soft cloth or a cotton swab moistened with acrylic cleaner. Refill the affected parts with paint, ensuring that the new paint adheres properly to the dried layers. Allow the freshly filled areas to dry and cure before further handling or adding additional coatings.
Maintaining And Cleaning Engraved Acrylic
Preventing dust and scratches
To maintain the appearance and longevity of engraved acrylic, it is important to prevent dust buildup and scratches. Regularly dust the acrylic surface using a soft, lint-free cloth or a microfiber cloth. Avoid using abrasive materials or harsh chemicals that could scratch or damage the engraved design. When handling or storing the engraved acrylic, use clean gloves or handle it with care to prevent fingerprints or accidental scratches.
Cleaning techniques for acrylic
When it comes to cleaning engraved acrylic, it is crucial to use appropriate techniques to avoid damage. Start by gently removing any dust or debris using a soft cloth or a brush with soft bristles. For more stubborn dirt or stains, use a mild detergent or acrylic cleaner diluted in water. Dampen a soft cloth or sponge with the cleaning solution and gently wipe the surface in a circular motion. Rinse the acrylic with lukewarm water and pat it dry with a clean cloth to avoid water spots or streaks.
Ensuring longevity of your acrylic engraving
To ensure the longevity of your engraved acrylic, it is important to take certain precautions. Avoid placing the engraved acrylic in direct sunlight or near heat sources, as this can cause fading or warping over time. When storing the engraved acrylic, keep it in a clean and dry environment to prevent dust buildup or moisture damage. Regularly inspect the engraved design for any signs of wear or damage, and address any issues promptly to maintain the aesthetic and durability of your acrylic engraving.
In conclusion, acrylic engraving is a versatile and creative technique that allows for the creation of intricately designed and personalized acrylic products. By understanding the basics of acrylic engraving, choosing the right materials and tools, preparing the acrylic plates properly, following the paint filling procedure, and taking necessary drying and curing precautions, you can achieve professional and visually appealing engraved acrylic pieces. By properly maintaining and cleaning your engraved acrylic, you can ensure its longevity and continue to enjoy its beauty for years to come.


