In the captivating realm of acrylic painting, one of the most mesmerizing elements to master is the depiction of fluffy, luminous clouds. As a beginner, you may feel slightly overwhelmed by the intricacies of capturing such ephemeral formations on canvas. “How To Paint Clouds With Acrylics For Beginners” provides the perfect guide to navigate you through the process, breaking down complex techniques into simple, comprehensible steps. This article holds your hand every brush stroke of the way, ensuring that you acquire the skills needed to effortlessly paint stunning clouds, adding depth and serenity to all of your future acrylic creations.
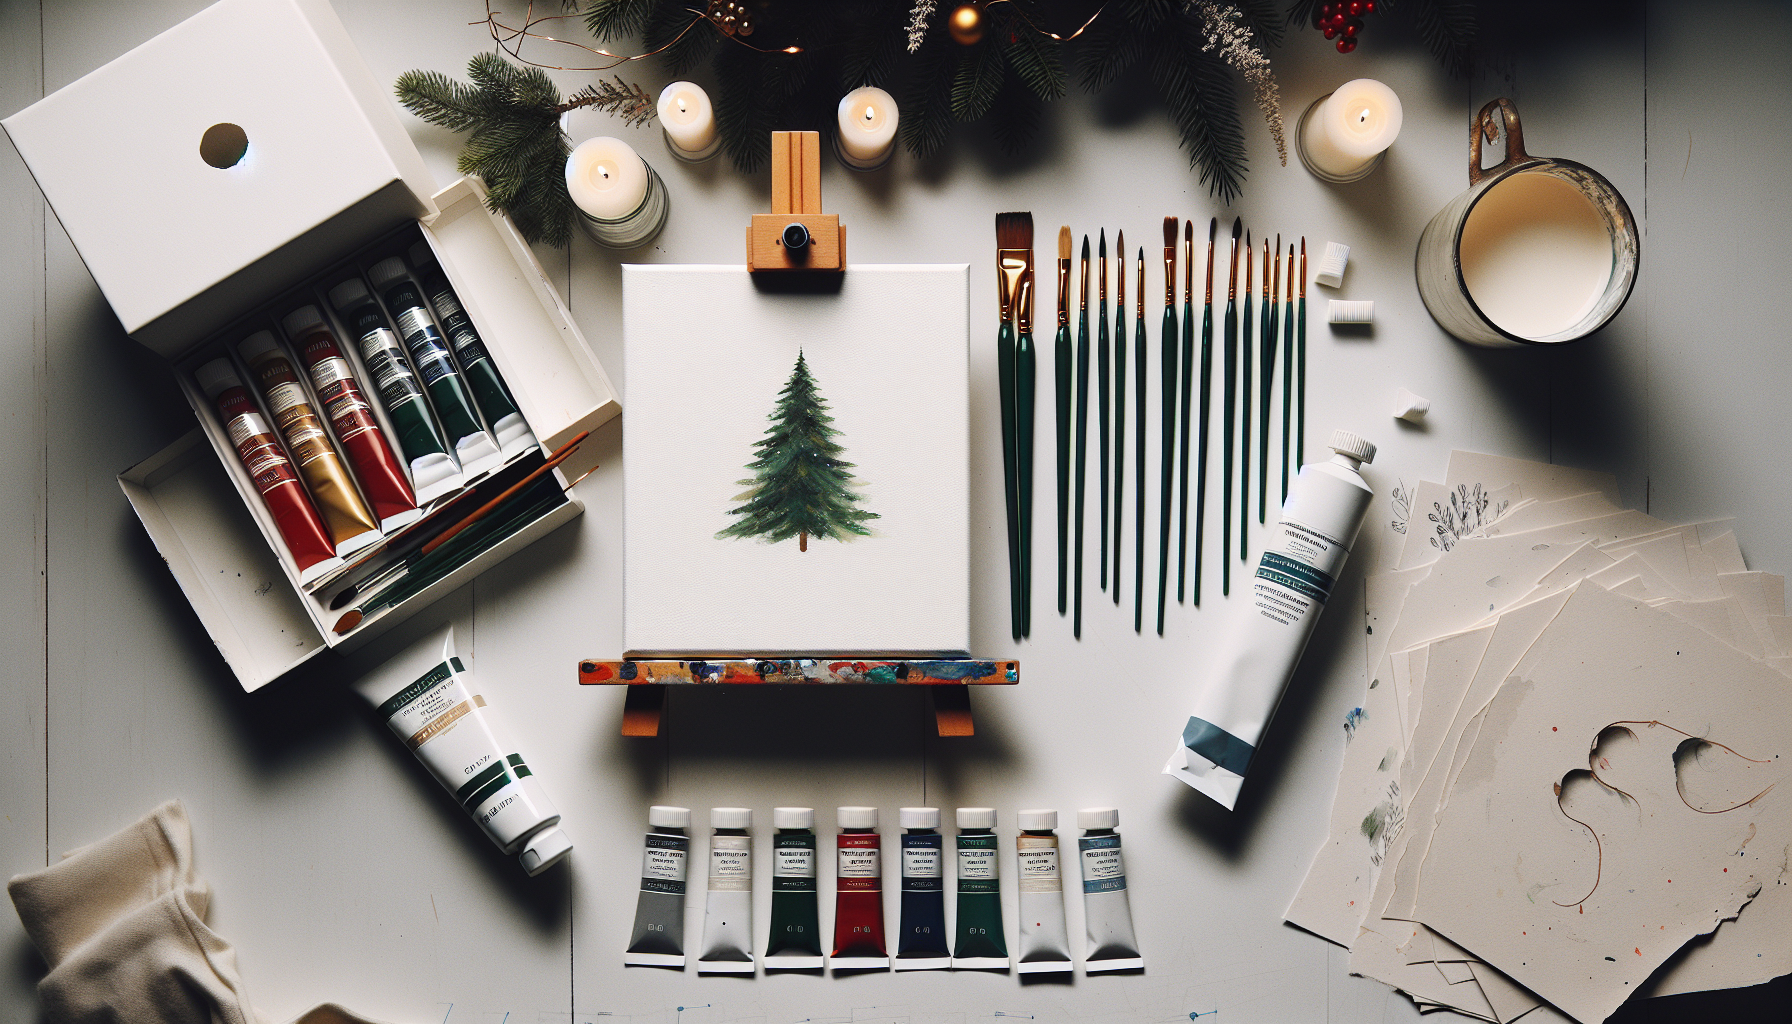
Materials Needed
Before you start your artwork, it is essential to gather all the materials you will need to paint clouds with acrylics effectively.
Acrylic paints
Acrylic paints are a great choice for beginners because they are easy to use, dry quickly, and are versatile. They come in a wide range of colors, allowing you to capture the many hues seen in clouds.
Paint brushes of various sizes
Having a variety of brushes at your disposal is key, as different sizes and shapes will make different strokes and effects. Large brushes are great for covering larger areas or creating base layers, while small brushes are perfect for detailed work.
Palette or mixing tray
A palette or mixing tray is essential as it allows you to mix your acrylics to create the shades and hues specific to your cloud formations.
Canvas or canvas panel
While you can paint on a variety of surfaces, a canvas or canvas panel will give you the best results. These surfaces can stand up to the weight of the paint and can handle any techniques you choose to apply.
Water for rinsing brushes
When painting with acrylics, you need water to rinse your brushes between different colors and to keep the brushes from drying out. This maintains the smooth texture of the paint and prevents color mixing on your palette.
Paper towels or rags for drying brushes
Additionally, you should have paper towels or rags nearby to dry your brushes after rinsing. Excess water on the brushes can dilute your acrylic paints and make them runny, which can compromise your artwork.
Palette Knife (optional)
Using a palette knife is optional but can add a lot of texture and detail to your clouds. It can create unique effects that brushes can’t simply achieve.
Reference photo of clouds
Lastly, a reference photo of clouds is helpful, especially for beginners. It allows you to study the color, shape, and lighting of clouds in different weather conditions and times of day.
Preparing the Workspace
Before you start painting, it is essential to prepare your workspace. A well-organized and clean workspace can foster creativity and ensure a smooth painting process.
Cover your workspace with a plastic tablecloth or old newspaper
An effective way to protect your workspace from paint splatters and spills is to cover it with a plastic tablecloth or old newspapers. This makes the cleanup process much easier afterwards.
Set up your easel or prop your canvas on a sturdy surface
Positioning your canvas on an easel or sturdy surface allows you to paint comfortably and gives you a good perspective of your artwork.
Arrange your paints, brushes, and palette in an easily accessible manner
Having your materials arranged in an easily accessible manner helps you work more efficiently. It prevents unnecessary interruptions when you need to switch colors or brushes.
Fill a cup with water for rinsing brushes
Keep a cup of water nearby as you will need it to rinse your brushes. You can also use it to dilute your paint, if necessary.
Have paper towels or rags nearby for drying brushes
As mentioned earlier, keeping a paper towel or rag handy for drying your brushes is necessary to prevent water from diluting your paint.

Choosing the Right Colors
Choosing the right colors for your clouds is crucial as it sets the mood of the painting.
Observe your reference photo to identify the colors present in the clouds
Before mixing your paints, take a look at your reference photo and identify the colors present in the clouds. Clouds are not simply white; they contain various hues depending on the time of the day, weather conditions, and lighting.
Select the basic colors you will need, such as shades of white, gray, and blue
The basic colors you will need to paint clouds are usually shades of white, gray, and blue. However, the specific shades will depend on your reference photo and the effect you intend to create.
Consider adding a touch of yellow or pink for sunset or sunrise clouds
If you’re painting clouds at sunrise or sunset, consider adding glimmers of yellow or pink to your palette. These colors can give your clouds a warm, glowing appearance that can add a dramatic effect to your painting.
Test the colors on your palette or canvas to ensure they match your vision
Before applying the paint to your canvas, test your mixed colors on the palette or a scrap piece of paper to ensure they match what you envision for your scene. Adjust your colors as necessary until you achieve the desired result.
Basic Techniques
Following are some basic techniques one would require to paint clouds.
Dry Brushing
Dry brushing is a technique where you load a small amount of paint onto a dry brush and lightly stroke it across the canvas. This is a great way to create the feathery, wispy edges of clouds, giving them a realistic appearance.
Blending
Blending is a crucial technique in painting clouds. You can use a soft, clean brush to gently blend the different colors together, resulting in smoother transitions and gradients in the clouds.
Layering
Layering involves starting with light colors and gradually building up darker shades. This adds depth and volume to the clouds, making them appear more three-dimensional.
Scumbling
Scumbling technique involves using a dry brush with minimal paint to create textured highlights. It is excellent for creating a sense of light and volume on the outer edges and tops of the clouds.

Creating Depth and Perspective
Creating depth and perspective in your cloud painting helps to make the scene more believable and realistic.
Foreground and Background
In terms of foreground and background, the clouds that are closer to you (in the foreground) should be painted with more detail and sharpness, while the ones further away (in the backrgound) should be softer and less defined.
Atmospheric Perspective
Atmospheric perspective involves using lighter and cooler colors for distant clouds to create the illusion of depth and distance. This can give your sky a vast, expansive feel.
Overlapping
By painting some clouds partially covering others, you can provide the impression of depth in the sky. This simple trick can add a lot of dimension to your cloud formations.
Adding Details and Texture
Details and texture can take your cloud painting to the next level.
Impasto Technique
The impasto technique, which involves using a palette knife to apply thick, textured paint, can create a three-dimensional effect. This can make the clouds visually pop from the surface of the canvas.
Highlighting
Adding highlights is key to emphasizing the shape and volume of the clouds. You can do this by adding touches of pure white or a lighter shade of the cloud color to the parts that would naturally catch more light.
Shadowing
In contrast to highlighting, shadowing involves using a darker shade of the cloud color to create shadows within the cloud formations. This will further enhance the depth and volume of the clouds.
Working with Shadows and Lighting
Understanding shadows and lighting can vastly improve the realism and dimensions of your cloud painting.
Identify the Light Source
Start by studying your reference photo to determine where the light source is coming from. This will help you decide where to add highlights and shadows on your clouds.
Light and Dark Sides
Next, apply lighter colors to the sections of the clouds facing towards the light source with darker colors on the opposite side. This can dramatically affect the three-dimensionality of the clouds.
Consider the Direction of Shadows
Finally, carefully consider the direction of the shadows. Shadows should be consistent with the direction of the light source to add realism to your painting.
Experimenting with Different Techniques
Learning to paint clouds is an exciting opportunity to experiment with different painting techniques.
Splattering
Splattering technique can be used to create a unique effect in your cloud painting. By dipping a paintbrush into a watery mixture of paint and flicking it onto the canvas, you can create a splatter effect that can resemble distant or falling rain.
Wet-on-Wet
The wet-on-wet technique can be useful when you want softer clouds. Apply wet paint onto a wet surface, allowing the colors to mix and blend organically on the canvas itself. This technique can create beautifully natural, soft edges and transitions between colors.
Wet-on-Dry
Wet-on-dry technique, where you apply wet paint onto a dry surface, gives you more control and aids in creating defined shapes and crisp lines. This can be great for creating detailed, crisp clouds.
Adding the Finishing Touches
After your cloud painting is complete, there are a few final steps to solidify your masterpiece.
Touch-Ups and Adjustments
Take a step back and look at your painting as a whole. Ensure that all areas have been painted to your satisfaction, making any necessary touch-ups or adjustments to perfect your composition.
Removing Masking Tape
If you have used masking or painter’s tape to protect the edges of your canvas, carefully remove them. This will provide a clean edge to your artwork.
Letting the Painting Dry
Patience is key! Allow your painting to dry completely before applying any varnish or sealant. Handling the painting too soon could smudge the paint.
Sign and Display
Finally, remember to sign your artwork. This marks it as your own unique piece of creativity. Once the painting is fully dry and protected, it’s ready to be proudly displayed and appreciated.
Painting clouds with acrylics can be a fun and satisfying project, especially for beginners. With a bit of practice and experimentation with different techniques, you will surely be able to create beautiful, realistic-looking clouds. Happy painting!