In a world where art and creativity intersect, “How To Paint Camo With Acrylic Paint” provides a comprehensive guideline for transforming an ordinary object into a masterpiece itself. This is an invaluable article for both hobbyists and professional artists alike, offering an in-depth, step by step approach into the art of camouflage painting using the highly versatile medium of acrylic paint. Read on to discover innovative techniques and some key tips that will broaden your painting skills and influence your artistic journey.
Gathering Materials
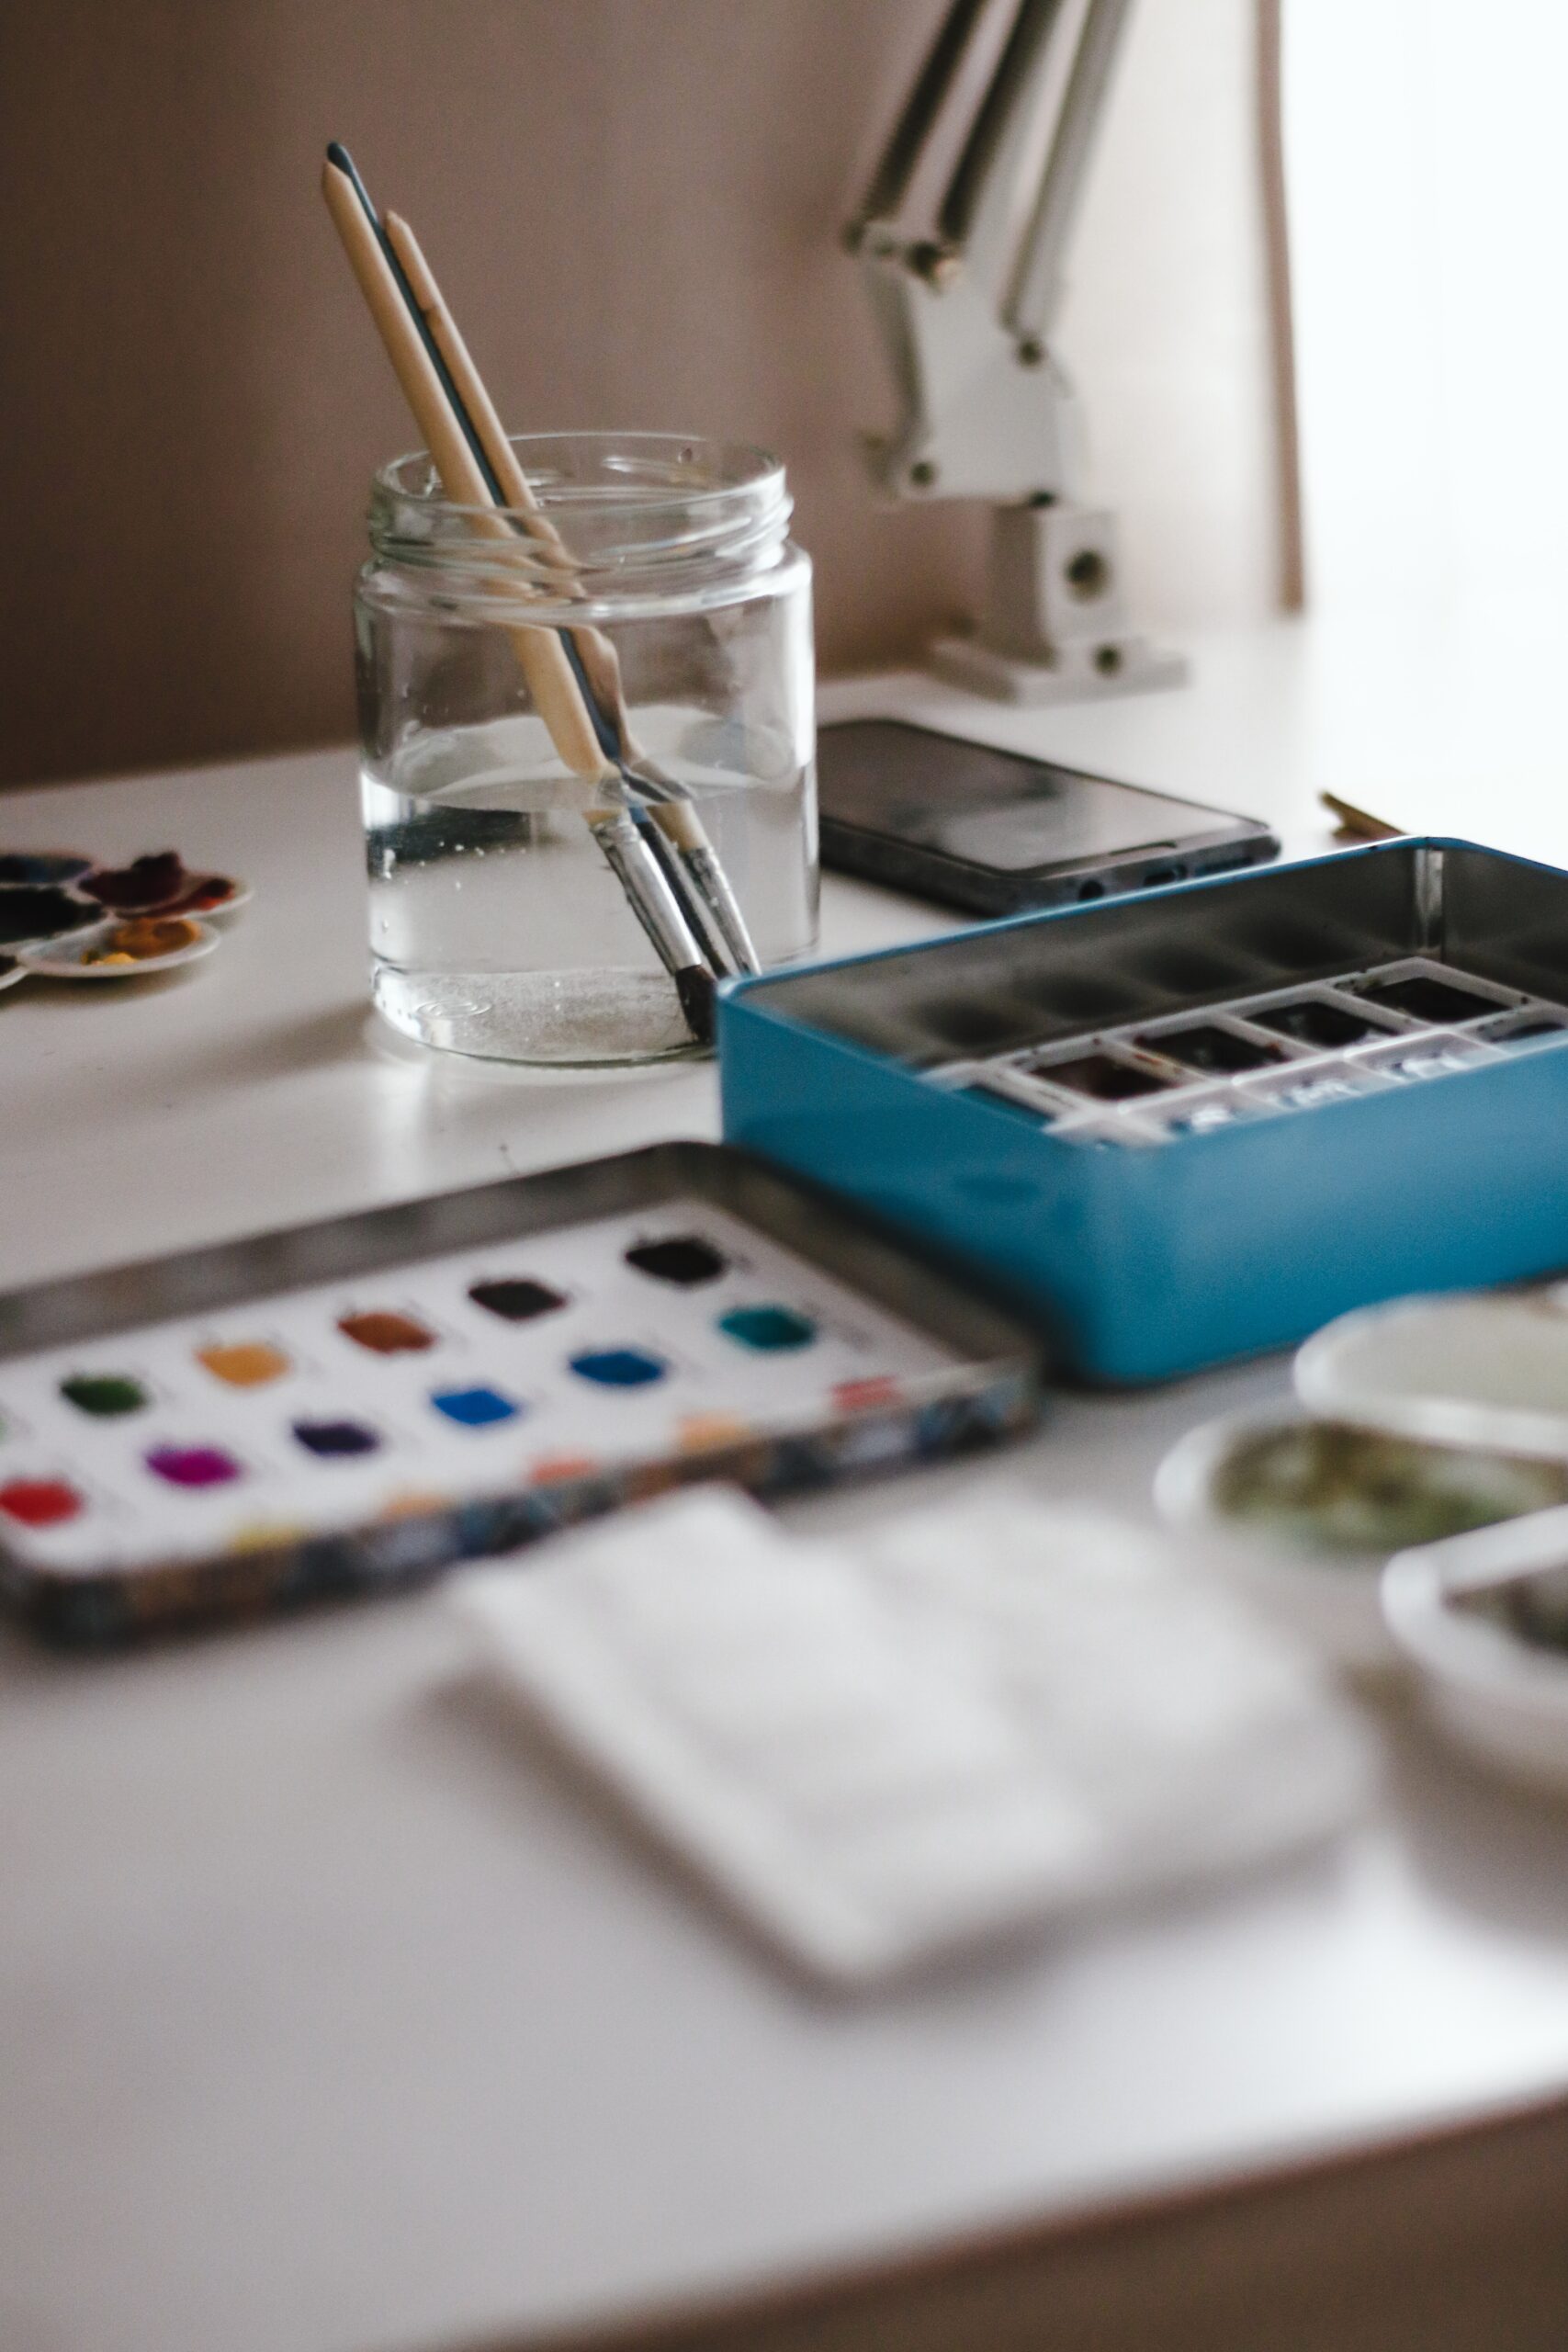
Starting with the right materials is the first critical step in learning how to paint a camo pattern with acrylic paint.
Acrylic paint
You’ll need quality acrylic paint in various shades according to your camo pattern. Acrylic paint is an excellent choice for painting camo because it’s versatile, water-based, and easy to clean up.
Paintbrushes
You’ll need a variety of paintbrushes in different sizes. Have a larger brush for base coats and smaller, detail brushes for the intricate pieces of the pattern.
Palette
A palette is indispensable for mixing your acrylic paints. Choose one that has ample room to blend colors and it allows you to pick up the right amount of paint on your brush easily.
Water container
Keep a water container nearby for cleaning your brushes between different paint colors. It helps to use a container with a lid to prevent accidental spillage.
Paint palette
A paint palette is akin to a painter’s command center. Here is where you’ll mix and blend the different shades of paint for your camo pattern.
Canvas or surface
Acrylic paints can adhere to a myriad of surfaces. Thus, whether it’s a canvas or any other surface you wish to paint, it’s an excellent choice.
Masking tape
Masking tape can be used to plot out your pattern or simply protect certain areas of your canvas from being painted.
Stencil (optional)
A stencil can be beneficial, especially if you’re new to painting camo patterns. It can provide a guide to ensure precision and uniformity in your pattern.
Paper towels
Use paper towels to clean up any spills or errors quickly. They are also handy for blotting and creating texture in your paint.
Spray bottle (optional)
A spray bottle can be filled with water to keep your acrylic paint workable, as it dries rather quickly.
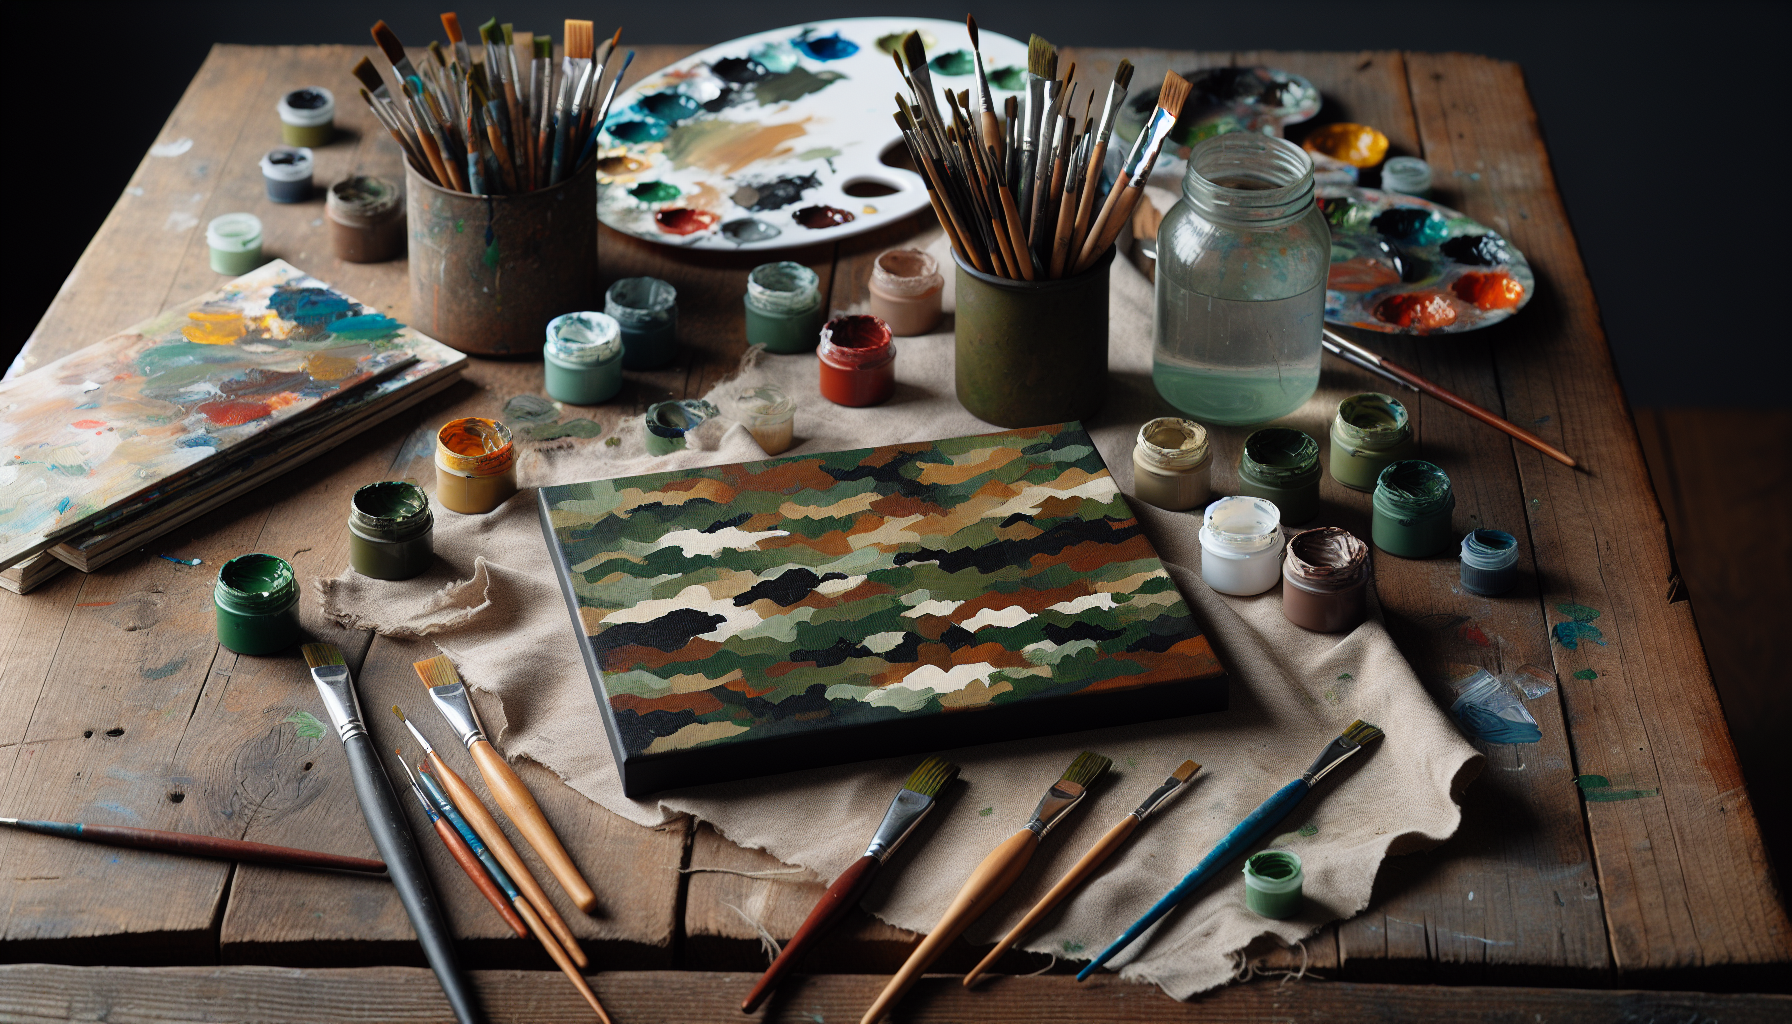
Preparing Your Workspace
Covering your work area
Before beginning your project, cover your work area with a drop cloth or plastic sheeting. This will shield your workspace from any possible paint splatters or spills.
Organizing your materials
Organize your materials in a way that they are easily accessible. This will save you time and prevent any unnecessary disturbances once you start painting.
Setting up a water container
Having a convenient water container at hand is important to wash your brushes between colors. This prevents any color contamination and maintains the purity of each paint color.
Preparing your palette
Arrange your palette with your chosen colors. Remember to allot enough space for color mixing and experimenting with shades.
Positioning your canvas
Position your canvas or painting surface in a well-lit area where you can comfortably view your work from different angles.

Choosing Camo Colors
Researching camo patterns
Researching different camo patterns can provide inspiration for your own design. Note specific colors, shades, and patterns used.
Selecting colors for your pattern
Select colors that coincide with the camo pattern you’re aiming for. While green, brown, and black are commonly used, do not be constrained to traditional camo colors.
Considering the environment
Think about the environment your camo pattern will be used in and choose colors that blend into those surroundings.
Choosing contrasting colors
Contrasting colors are essential to effectively distinguishing the different shapes and patterns within your camo design.
Using an established camo palette
You might want to consider using an established camo palette, especially when you’re painting a realistic design.
Creating a Base Layer
Applying a solid color background
Create a base layer by applying a solid color that works with your chosen palette. This provides a good foundation for your camo pattern.
Using a large brush for coverage
Employ a large brush to apply a quick, even coat of base color on your painting surface.
Allowing the base layer to dry
Allow the base layer to dry fully before applying additional colors. This prevents colors from unintentionally blending and disturbing the pattern.
Adding multiple layers if necessary
If the initial layer of paint is not opaque enough, add another layer after the first one dries. Be sure each layer is dry before applying the next to maintain cleanliness of color.
Creating a smooth and even surface
Always aim for a smooth, even surface. This will make it easier for you to execute your camo pattern and reduce the visibility of brush strokes.

Painting a Traditional Camo Pattern
Using a stencil for precision
A stencil can be a useful tool when painting a traditional camo pattern. This ensures precision in your shapes and layout.
Positioning the stencil on the canvas
Carefully position your stencil on the canvas and secure it with masking tape. This helps prevent it from shifting while you’re painting.
Choosing a secondary color
Choose a secondary color that contrasts with your base color. This will ensure that the shapes stand out against the base.
Dabbing or stippling the paint
Using a dabbing or stippling technique with a thick brush can create a natural camo effect. It can generate the illusion of texture and depth.
Working in a random or planned pattern
You can opt to work in a random pattern for a more organic look, or follow a planned pattern for a more consistent, uniform design.
Painting a Digital Camo Pattern
Creating a grid pattern
To create a digital camo pattern, you’ll need to start by painting a grid pattern. This forms the basis of the pixelated design.
Using small, precise brushstrokes
Use small, precise brushstrokes to fill in each square of the grid with different colors. This creates the distinctive pixelated appearance of digital camo.
Working with contrasting colors
Use contrasting colors in your grid to break up the surface visually and make the pattern effective.
Layering the colors strategically
Strategically layer different shades of color to create depth and a 3D effect in your digital camo pattern.
Adding additional details
You can add extra details like a gradient effect or shadows to enhance the illusion of depth.
Blending the Camo Colors
Using a dry brush technique
The dry brush technique can help you blend colors on your canvas effectively. It’s a process that entails using a dry brush to smooth out the transitions between colors.
Blending colors together
Blend your camo colors together subtly to create a harmonious transition between the different elements of your pattern.
Creating a seamless transition
The transitions between colors and shapes in your camo pattern should be seamless to achieve a natural and realistic look.
Adding depth and dimension
Blending colors not only smooths transitions but also adds depth and dimension to your artwork, making your camo pattern appear more lifelike.
Working in small sections
It’s easier to work in small sections rather than attempt to blend the entire camo pattern at once. This gives you better control over your blending and ensures a more balanced result.
Adding Highlights and Shadows
Identifying light sources
To add highlights and shadows, first, identify your light sources. This will guide where to place the highlights (where light hits) and shadows (areas of little to no light).
Mixing lighter shades of camo colors
Mix lighter shades of your camo colors to create the highlights, which will make certain areas stand out.
Applying highlights to raised areas
Apply these lighter shades to the areas that are supposedly raised or closer to the light source in your pattern.
Adding shadows to recessed areas
Mix darker shades of your camo colors for creating shadows. Apply these in recessed areas or spots you’d like to visually recess.
Creating a sense of depth and realism
By adding highlights and shadows, you can create a sense of depth and make your camo pattern look more realistic and three-dimensional, thereby adding visual interest to your painting.
Refining and Detailing
Reviewing the overall pattern
Take a step back and review your camo pattern from a distance. This can give you a fresh perspective and help you identify any areas that need tweaking.
Making necessary adjustments
Based on your evaluation, make the necessary adjustments. This could be brightening a color, refining a shape, or better blending of colors.
Refining edges and shapes
Use a small detail brush to refine the edges of your pattern and ensure each shape is well-defined.
Adding fine details and texture
At this stage, consider adding fine details or texture to further enrich your camo painting and give it a unique touch.
Stepping back for a final evaluation
Finally, step back and assess your artwork one last time. Make any last-minute touch-ups and appreciate the effort and creativity that you’ve put into your painting.
Finishing Touches and Cleanup
Allowing the painting to dry completely
Ensure your painting dries completely before doing anything else with it. This can take anywhere from a few hours to a few days, depending on the thickness of your paint application.
Removing any masking tape
Once the paint is dry, carefully remove any masking tape used on your canvas. Do this slowly to prevent any accidental ripping or peeling of the paint.
Cleaning your brushes and palette
Clean your brushes thoroughly with warm water and mild soap to remove all the acrylic paint. A clean palette will make your next painting project easier and more enjoyable.
Properly storing your acrylic paints
Remember to properly store your acrylic paints to keep them from drying out. They should be sealed tight and kept in a cool, dry place out of direct sunlight.
Appreciating your finished camo masterpiece
Take a moment to appreciate your finished camo painting. You’ve spent a considerable amount of time and effort, and you should be proud of the result. After all, creating art isn’t just about the final product—it’s about the process you undergo to express your creativity. That in itself is already a significant accomplishment.