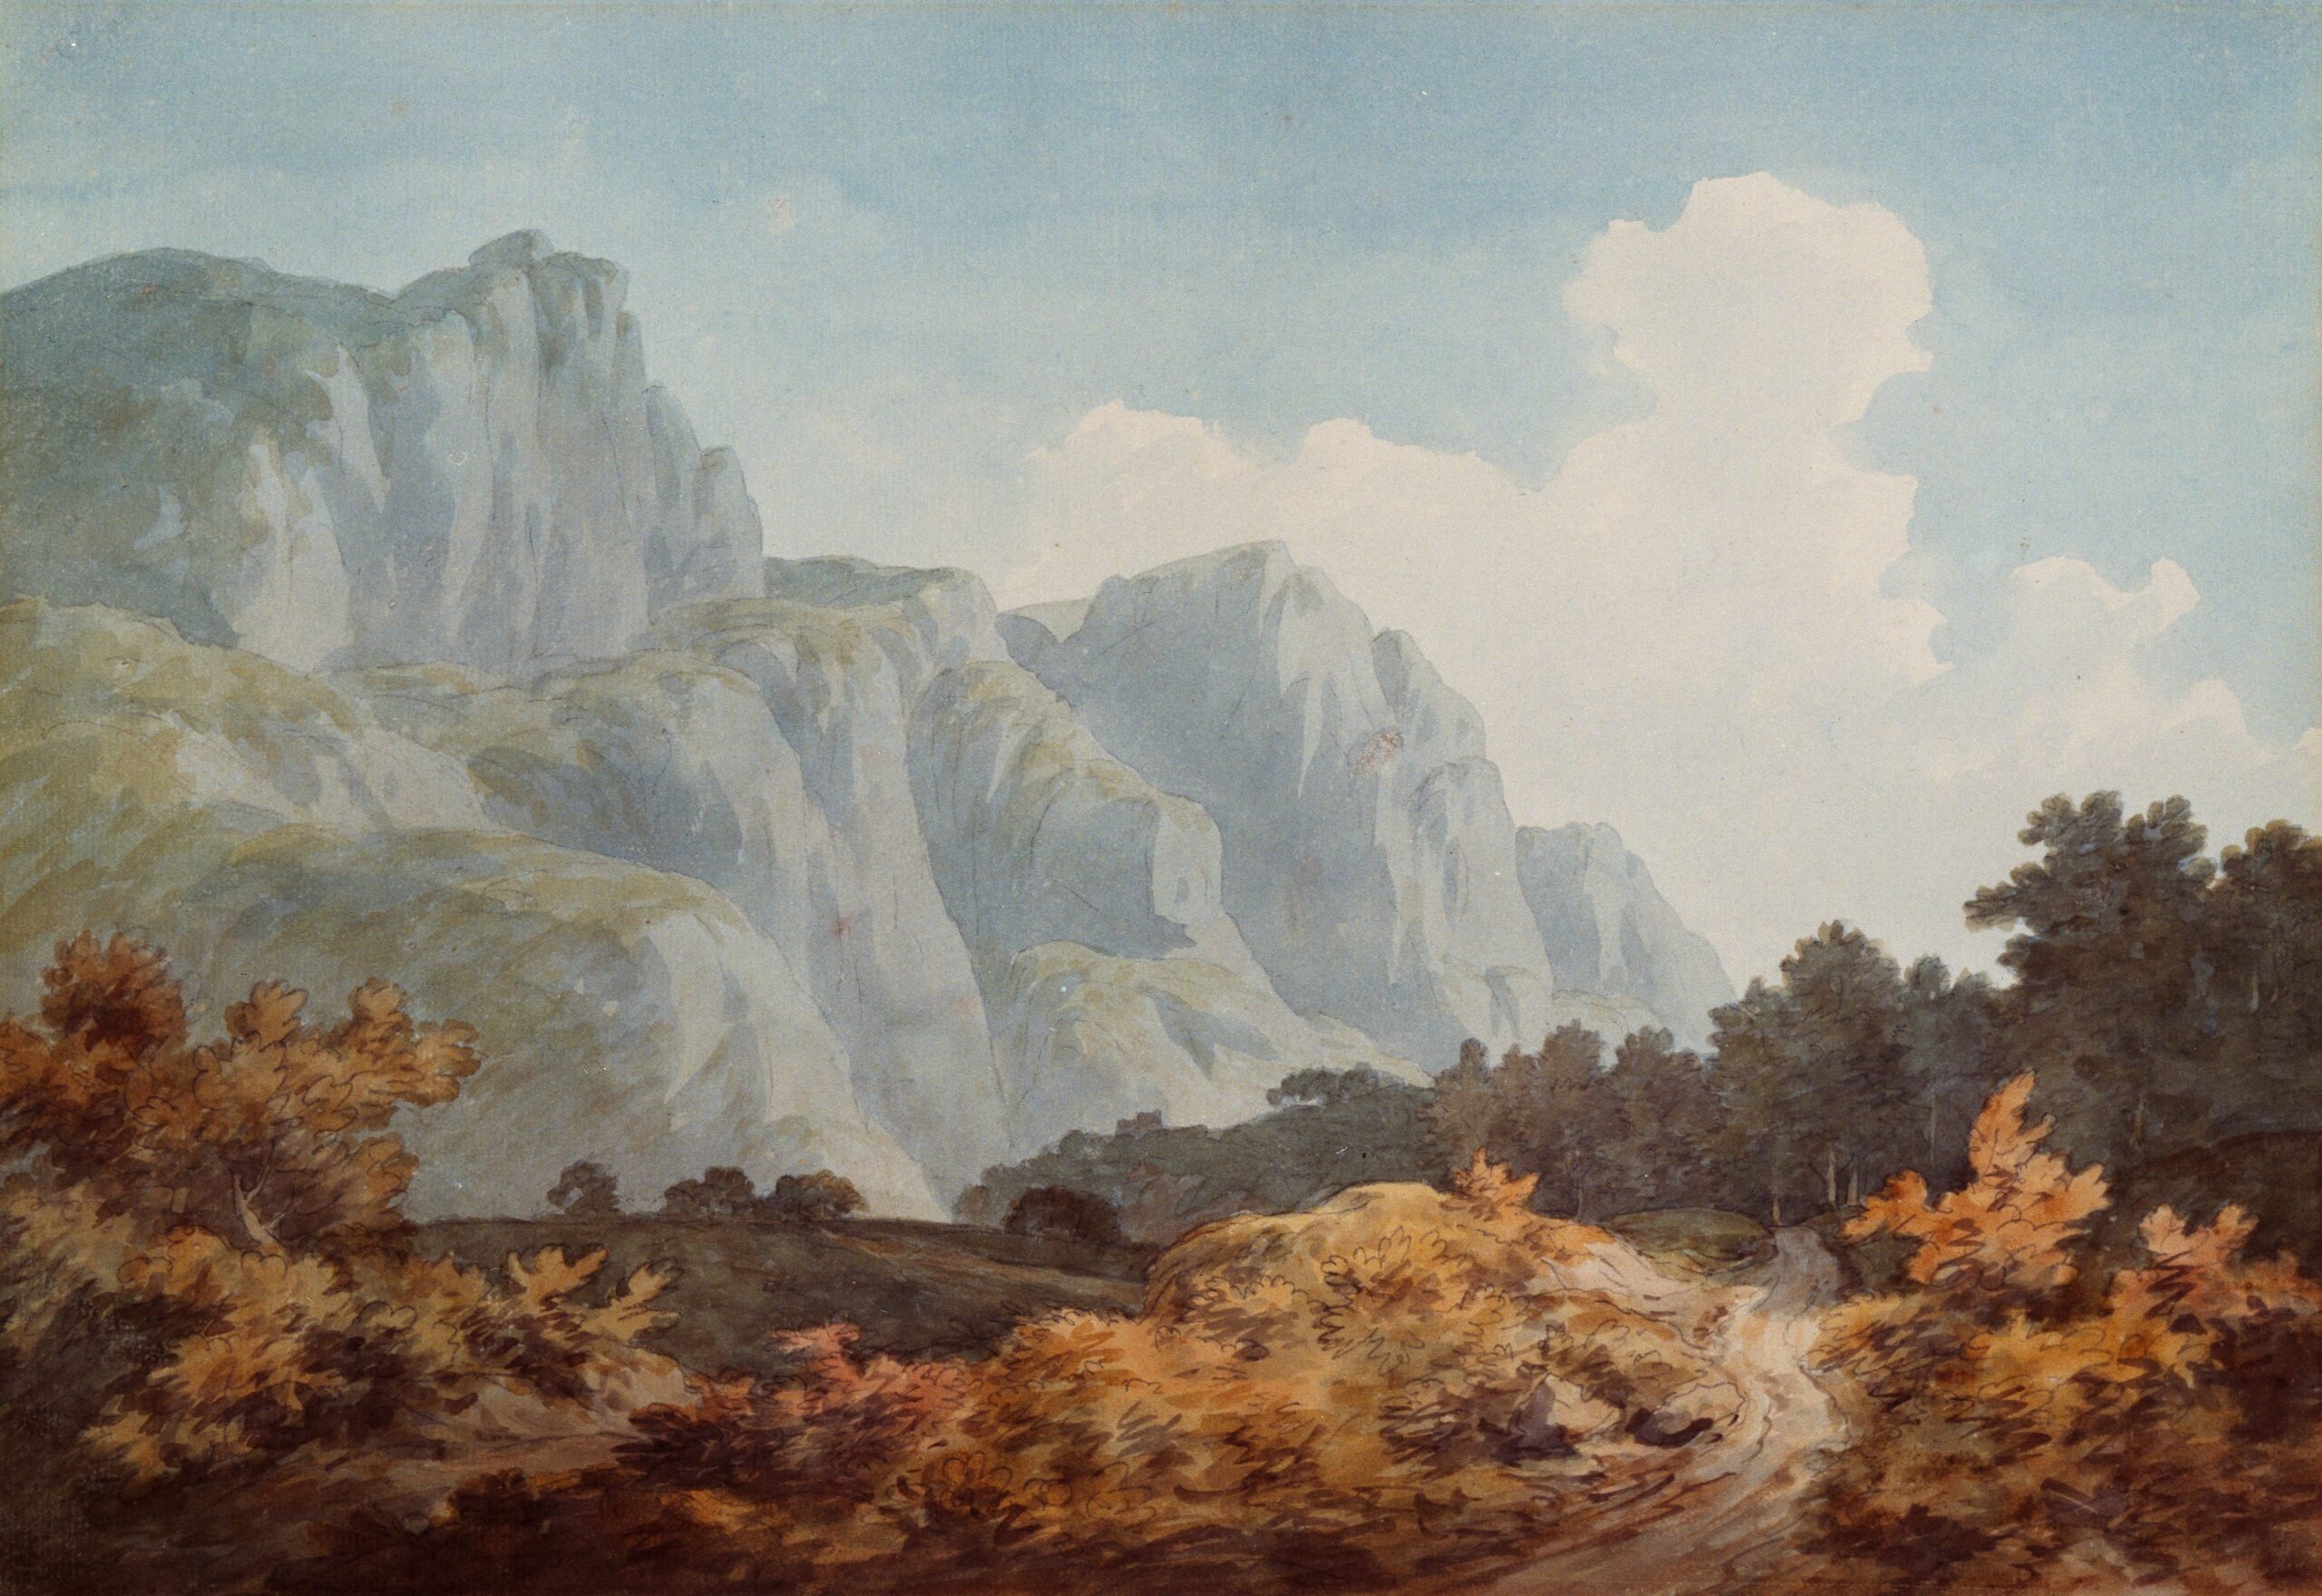
In the world of art, every season presents its unique beauty and autumn is no exception. This article will equip you with the skills needed to beautifully render autumn leaves in acrylic paint, capturing their rich colors and intricate details. You’ll learn a step-by-step approach to these vivid seasonal elements, becoming adept at playing with shades of gold, red, and orange. This guide on ‘How To Paint Autumn Leaves in Acrylic’ is designed to inspire your creativity and enhance your painting techniques, whether you are a beginner or an experienced artist.

Supplies Needed
Acrylic paints
Start your artistic journey by gathering the essential supplies needed to bring your vision to life. One of the primary necessities is a good-quality set of acrylic paints. Acrylic paints are great for beginners as well as seasoned artists due to their versatility and ease of use. They dry quickly, allowing you to add consecutive layers without having to wait for long. Moreover, they are water-soluble, meaning they can be easily thinned down to achieve different effects, yet they become water-resistant when dry.
Brushes
The brushes you choose can profoundly impact the quality of your painting. A variety of brushes such as flat wash brushes, filbert brushes, round brushes, and detail brushes are critical to creating different textures and effects. Opt for synthetic brushes that are designed for acrylic paint to ensure the bristles don’t get ruined.
Palette
A palette serves as your canvas for mixing colors before they make their way onto your actual canvas. Pick a palette with ample space to allow for a wide range of color mixing.
Canvas or painting surface
Whether you prefer a traditional canvas, wood, or paper, ensure your choice’s compatibility with acrylic paints. Canvases are popular due to their timeless and classical feel for paintings, but feel free to experiment with different surfaces based on your style and preference.
Water cup
A water cup is essential for cleaning your brushes between colors to keep them in good condition.
Paper towels
Keep paper towels handy for blotting brushes, wiping up spills, and keeping your workspace clean.
Reference image or real leaves
Choose a reference image of autumn leaves or pick up real leaves to recreate their beautiful details onto your canvas. Real leaves can often provide a rich source of inspiration.
Preparing the Workspace
Choose a well-lit and ventilated area
Sufficient lighting is paramount to see the colors and details clearly while you paint. Choose a workspace that is well-lit and has good natural light. Ventilation is essential when working with paints to maintain a healthy and safe environment, significantly when mixing different mediums.
Cover the workspace with newspaper or a drop cloth
To protect your workspace from paint stains and spills, cover it with newspaper or a drop cloth. It will also facilitate easy clean-up after you’re done painting.
Set up the easel or work surface at a comfortable height
Comfort is key when painting. Set up your easel or work surface at a height that doesn’t strain your back or neck. Adjust the angle of your canvas to prevent glare from the light.
Choosing Your Color Palette
Select warm autumn colors like reds, oranges, yellows, and browns
Autumn is synonymous with warm and earthy colors. Reds, oranges, yellows, and browns beautifully represent this season’s vibrant and cozy feel. A broad spectrum of these warm tones will enable you to depict the diversity and richness of autumn leaves.
Consider adding complementary colors like greens and purples for contrast
Complementary colors, such as greens and purples, can bring out the warmth of your autumn palette by providing a contrasting backdrop. They add depth to your painting and make the warm colors pop.
Test the colors on a palette or scrap paper to ensure they blend well together
Before you start painting, test your chosen colors on a palette or a piece of scrap paper. This step will give you a sense of how these colors blend together and complement each other.
Creating a Base Layer
Begin by applying a light wash of yellow or orange on the canvas to represent the overall tone of autumn leaves
Start your painting process by applying a base layer of a light wash of yellow or orange. This layer will set the overall tone of your painting and function as a directive for the subsequent layers.
Use a large brush and cover the entire canvas with the base color
Use a large flat brush for applying the base color to cover significant areas effectively and provide an even coat.
Let the base layer dry before moving on to the next steps
Acrylic paints dry quickly, but it’s crucial to allow the base layer to dry before moving on to sketching and detailing. This step will prevent smudging and lifting of the base layer.

Sketching the Leaf Shapes
Observe your reference image or real leaves and lightly sketch the outlines of the desired leaf shapes on the canvas
Using your reference image or real leaves, lightly sketch the outlines of the leaf shapes on your canvas. This step is essential for placing your elements on the canvas and giving you a rough design to follow.
Start with simple leaf shapes and gradually add more complexity to your composition
Starting with simple shapes will help you gradually develop the complexity and depth of your painting.
Don’t worry about perfection at this stage, as the sketch will be covered with paint
Remember, the sketch is merely a guideline. It does not have to be perfect as it will eventually be covered with paint.
Adding Highlights and Shadows
Identify the light source in your composition and determine where the highlights and shadows would fall on the leaves
The interplay of light and shadow can transform a flat painting into a three-dimensional image. Identify where the light is coming from in your painting and add highlights and shadows to your leaves accordingly.
Mix lighter shades of your chosen colors for the highlights and darker shades for the shadows
Create different shades of your colors by adding white to lighten the tone for highlights and black or a complementing color to darken the shade for shadows.
Use a smaller brush to carefully apply the highlights and shadows, following the shape of each leaf
To convey the depth and dimension effectively, use a smaller brush to apply the highlights and shadows. Follow the shape of each leaf to maintain the natural form.
Blending and Layering Colors
Blend different colors together to create subtle variations in the leaves
Autumn leaves are not a monotone but a remarkable mix of multiple colors. Blend various colors to recreate this diversity on your leaves.
Start with the base color and gradually add layers of darker or lighter shades to achieve depth and dimension
The key to a realistic painting lies in layering. Starting with the base color, gradually add layers of darker or lighter shades. This process, known as glazing in the art world, contributes to depth and dimension in your artwork.
Use a dry brush technique to blend the colors smoothly
To achieve a smooth transition between the different colors, use a dry brush technique. Dip your dry brush in the color and then lightly sweep it on the canvas to diffuse the colors organically.
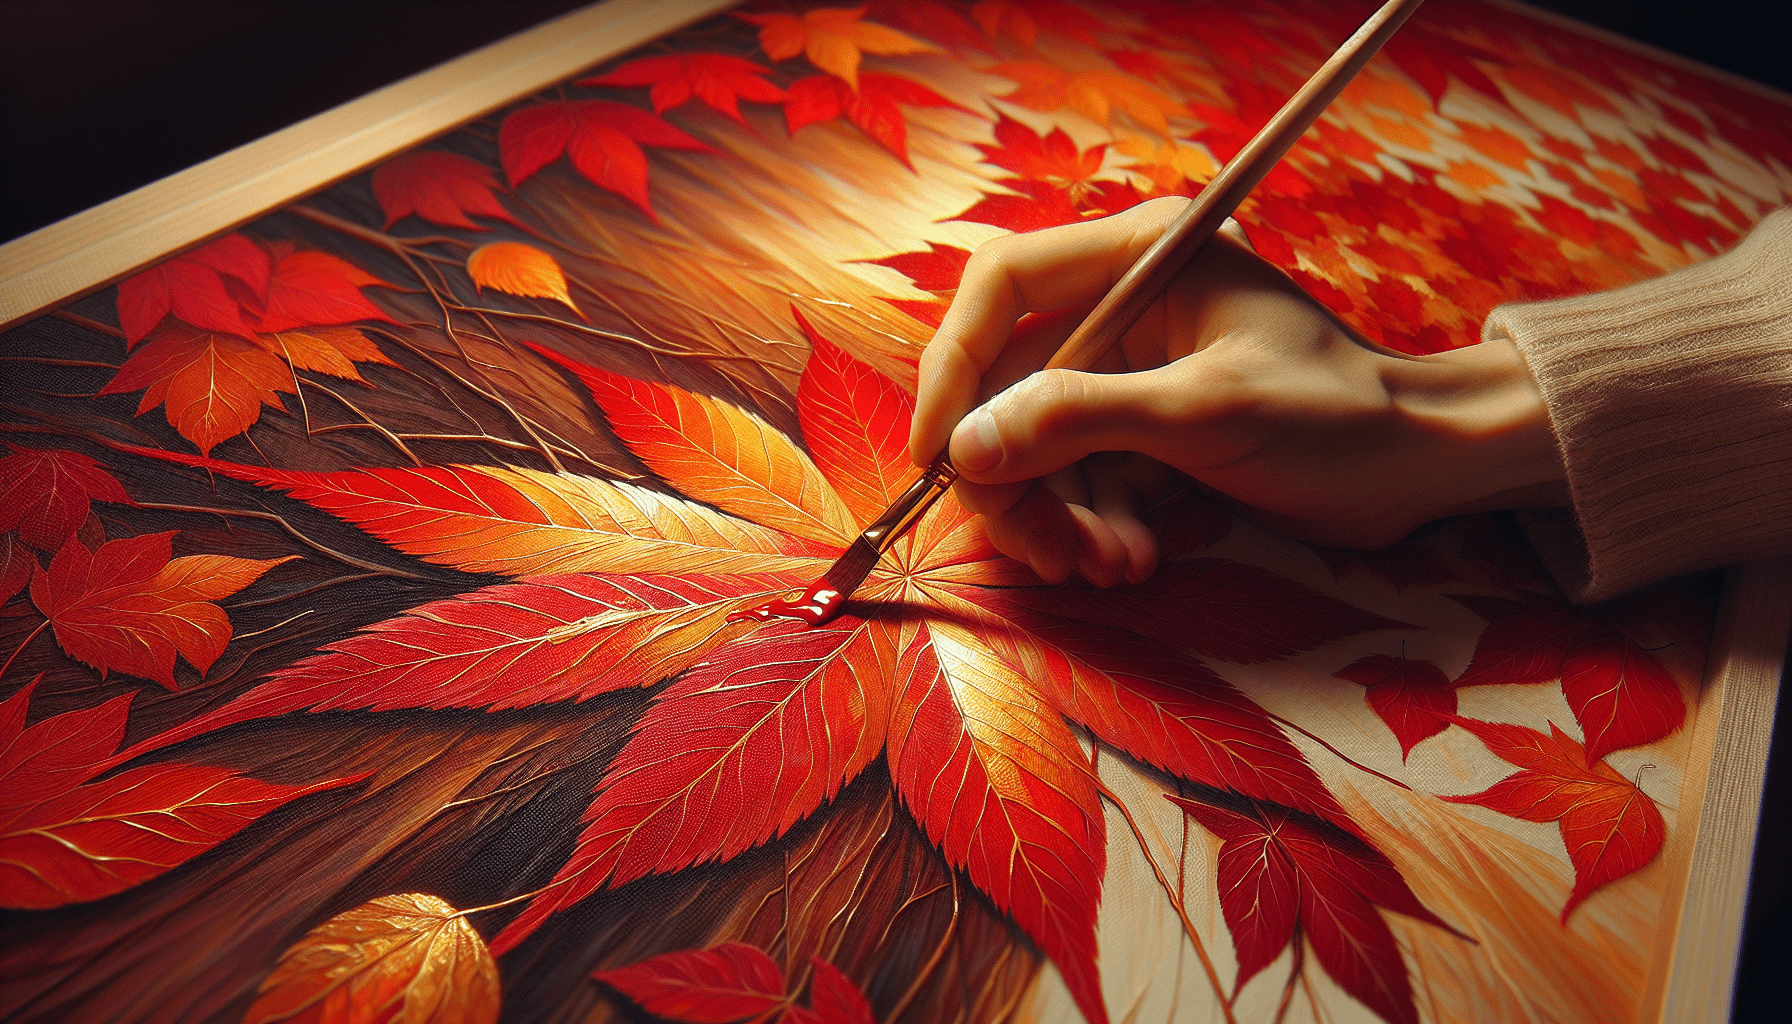
Adding Texture and Veins
Using a fine-tipped brush, create veins on the leaves by painting thin lines in a darker shade
The veins are the lifelines of a leaf and adding them can significantly enhance your painting’s realism. Using a fine-tipped brush, paint the veins strategically with a darker shade.
Add texture by dabbing the brush lightly on the canvas to mimic the surface of the leaves
For a realistic painting, textures play a key role. Lightly dab your brush on the canvas to mimic the surface of the leaves and bring them to life.
Experiment with different brush strokes and techniques to achieve desired texture effects
Feel free to experiment with different brush strokes and techniques that can help you achieve the desired texture and depth in your painting.
Highlighting Details
Add finer details such as insect bites, torn edges, or unique markings on the leaves
Leaves in autumn often have unique markings, torn edges, or even insect bites. Including such details can add an element of realism to your painting.
Use a small brush and thin lines of paint to carefully highlight these intricate features
Take your time while working on these details. Use a small brush and thin lines of paint to carefully bring these features to life.
Refine the overall appearance of the leaves by adding extra highlights or shadows as necessary
As you proceed, you may feel the need to enhance certain areas by adding extra highlights or deepening the shadows. Make these adjustments as necessary to refine the overall appearance of the leaves.
Finishing Touches
Step back and assess your painting from a distance
Once you’ve finished painting, step back and take a look at your work from a distance. Seeing your work from a different perspective might help highlight areas that need reshaping or balancing.
Make any final adjustments to colors, contrasts, or details
Based on your evaluation, make any final changes to colors, contrasts, or details.
Sign your artwork and let it dry completely before displaying or framing
Finally, make your artwork truly yours by adding your signature. Let it dry completely before you display or frame it. Congratulations on your beautiful painting of autumn leaves!