In the article “How To Paint A Watercolor Landscape Step By Step,” you will discover a comprehensive guide that simplifies the intricacies of watercolor painting into manageable steps. By focusing on foundational techniques and gradually progressing through each stage, you will learn how to transform a blank canvas into a captivating landscape. This guide emphasizes the importance of preparation, brush techniques, layering, and finishing touches, all aimed at enhancing your artistic skills and confidence. Whether you are a beginner or looking to refine your expertise, this detailed approach ensures that you can achieve professional-quality results with ease. Have you ever found yourself captivated by a beautiful watercolor landscape and wished you could create one yourself? Watercolor landscapes can seem daunting at first, with their delicate washes and intricate details, but with a step-by-step guide, you will discover that painting your own masterpiece is more than achievable. This article will walk you through the process of painting a watercolor landscape, from gathering your materials to the final brushstroke.
Preparing Your Workspace
Before diving into the painting process, it’s essential to set up a conducive workspace. A well-organized area will help you work more efficiently and focus on your art.
Choosing the Right Location
Select a space with good lighting, preferably natural light, so you can see the true colors of your paint. An area with minimal distractions will allow you to concentrate fully on your work.
Gathering Materials
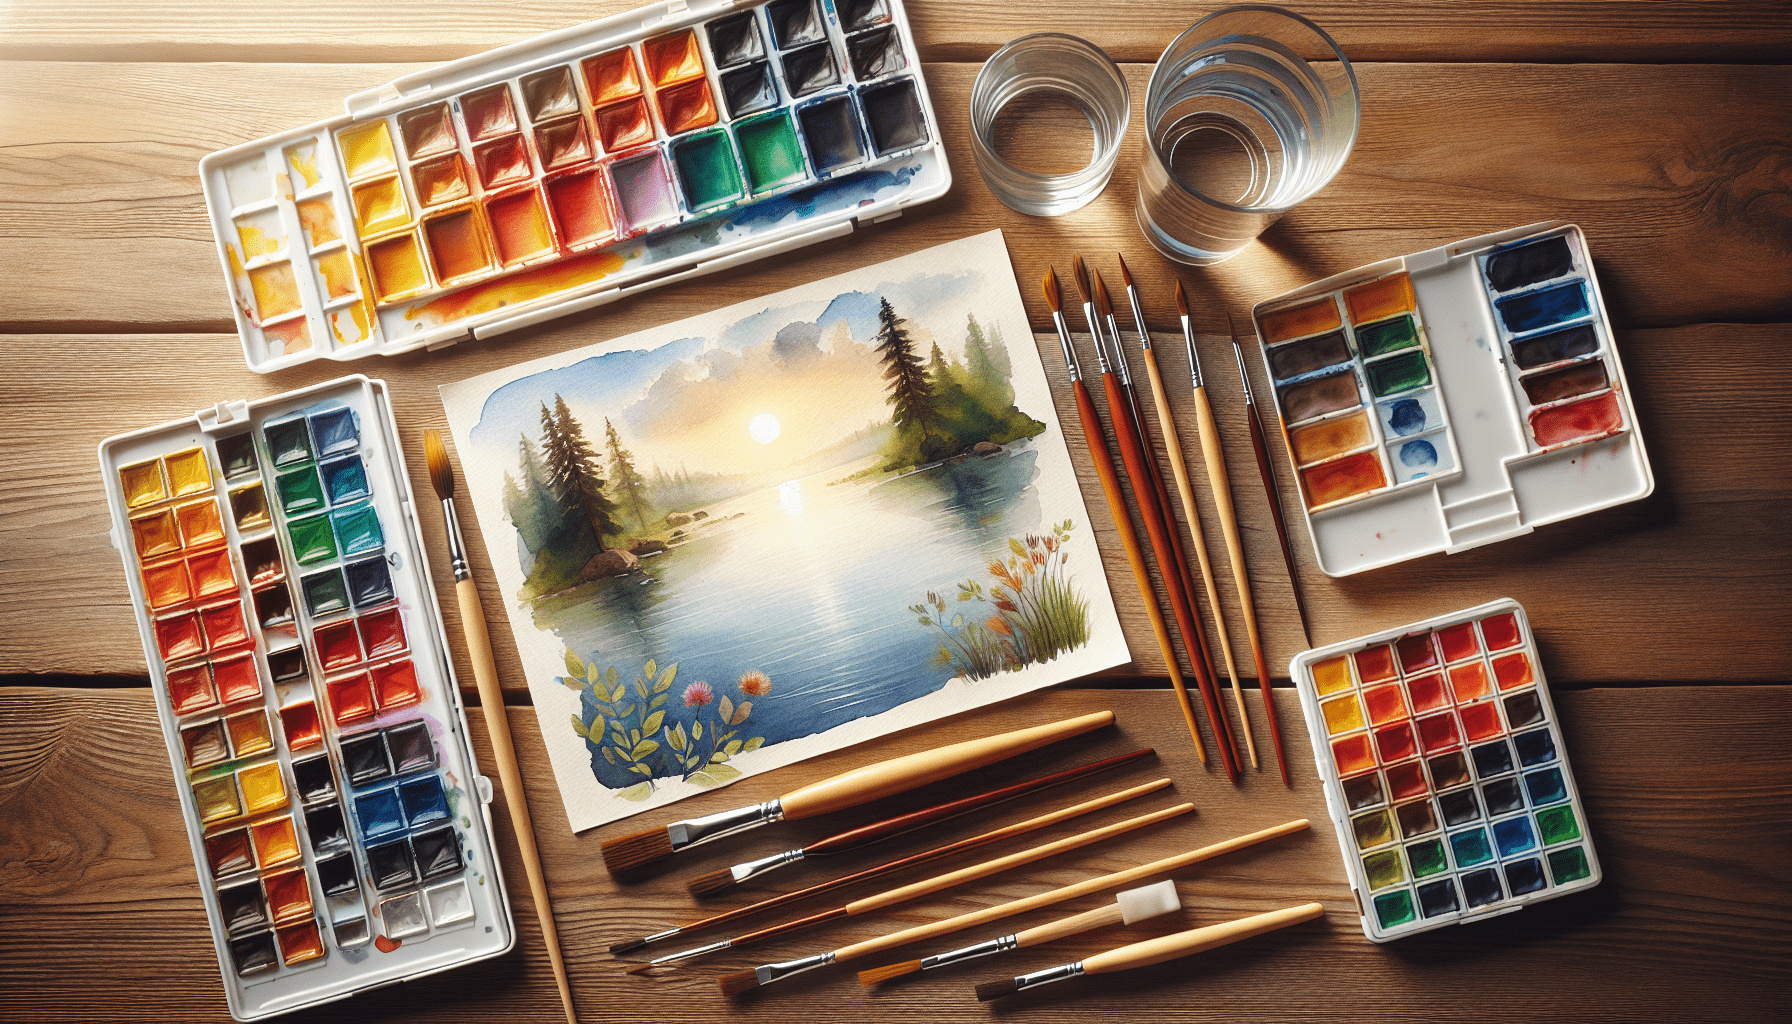
Here is a list of materials you will need:
| Materials | Description |
|---|---|
| Watercolor Paper | Use a high-quality, cold-pressed paper (140 lb) |
| Watercolor Paints | Choose professional-grade paints for best results |
| Brushes | Include a variety of sizes (round, flat, detail) |
| Palette | For mixing your colors |
| Water Containers | One for clean water, one for washing brushes |
| Tissues or Paper Towels | For blotting excess paint |
| Pencil | For sketching your landscape |
| Masking Tape | To secure your paper to your workspace |
Setting Up Your Palette
Organize your paints on the palette. Start with primary colors—red, blue, and yellow—and any additional colors you plan to use. This setup will make mixing colors more manageable.
Sketching Your Landscape
Creating a preliminary sketch is crucial. It helps you map out the composition and ensures that all elements are in proportion before you commit to paint.
Deciding on a Composition
A well-planned composition will make your painting more visually appealing. Consider the rule of thirds, where you divide your paper into three equal sections horizontally and vertically, and place focal points at the intersections.
Making a Light Sketch
Using a light touch, sketch the main elements of your landscape. This could include hills, trees, water bodies, and other features. Keep it simple and only focus on the general outlines.

Learning Basic Watercolor Techniques
Understanding fundamental watercolor techniques will prepare you for the painting process. When it comes to watercolor, less is often more. Your painting will benefit from transparency and subtle color transitions.
Washes
A wash is a layer of diluted paint applied to a large area. There are two types:
- Flat Wash: An even layer of color. Useful for skies and backgrounds.
- Graded Wash: A wash that transitions from one color or value to another. Ideal for creating depth.
Wet-on-Wet
This technique involves applying wet paint onto a wet surface. It results in soft edges and a blending of colors. This method is excellent for skies and distant landscapes.
Wet-on-Dry
Wet paint is applied to a dry paper surface. This approach provides more control, allowing for crisper edges and detailed work. Use this technique for foreground elements.
Lifting
Lifting is the process of removing paint from the paper using a brush or tissue. It’s useful for creating highlights and correcting mistakes.
Painting the Sky
The sky often sets the tone of a landscape painting. It’s usually one of the first elements you paint, as it’s in the background and involves large color washes.
Applying a Light Wash for the Sky
Start by wetting the upper part of your paper with clean water using a large brush. Then, apply a diluted blue paint, starting from the top and working your way down. Let the color gradually fade as you approach the horizon.
Adding Clouds
While the paper is still damp, use a tissue or dry brush to lift paint and create cloud shapes. Be sure to keep the edges soft for a more natural effect.

Painting the Background
The background is composed of elements furthest from the viewer and should be less detailed and lighter in color than the foreground.
Creating Distance with Color
Use cooler colors (blues and greens) for distant hills or mountains. These colors naturally recede in a painting, creating a sense of depth.
Simplifying Shapes
Details should be minimal in the background. Focus more on the overall shape and color rather than intricate details.
Painting the Midground
The midground includes elements that are closer to the viewer than the background, but not as close as the foreground. This often includes fields, trees, and other features that bridge the near and far parts of the landscape.
Adding Trees and Foliage
Use slightly warmer and more saturated colors compared to your background elements. Employ the wet-on-dry technique to paint tree trunks and branches, ensuring a sharp edge. Then, use both wet-on-wet and wet-on-dry techniques to create foliage.
Incorporating Water Bodies
Whether it’s a lake, river, or stream, water adds a dynamic element to your landscape. Start with a light wash for the water, and then add reflections and ripples using graded washes and wet-on-dry techniques.
Painting the Foreground
The foreground is the closest section to the viewer and should be the most detailed and vibrant part of your painting.
Detailing Elements
Use the finest brushes for the foreground elements. Add intricate details such as leaves, grass, and flowers. The colors here should be more saturated and warmer.
Creating Texture
To add texture, you can use techniques like dry brushing (lightly dragging a dry brush loaded with paint across the paper) and scratching with a palette knife or other tool to reveal the paper beneath.
Adding Final Touches
The finishing touches can elevate your painting from good to great. These final tweaks should be subtle and should add to the overall balance and harmony of the piece.
Fine-tuning Details
Revisit various sections of your painting and add more details where needed. This could be in the form of extra highlights, additional textures, or enhancing shadows.
Evaluating the Composition
Step back and look at your painting as a whole. Ensure that the composition is balanced, and make any necessary adjustments. Often, minor changes can significantly improve the overall impact of your painting.
Common Mistakes and How to Avoid Them
Even though watercolor painting is a fluid and unpredictable medium, some common mistakes can be avoided with foresight and practice.
Overworking the Paper
Repeatedly working on the same area can damage the paper, resulting in an undesirable texture. Be decisive with your brushstrokes and allow the paper to dry completely before adding more layers.
Using Too Much Water
While water is essential in watercolor painting, too much can cause your colors to become diluted and your paper to warp. Find a balance and practice controlling the water-to-paint ratio.
Ignoring the Light Source
Establish a clear light source and maintain consistency throughout your painting. This will help in creating depth and realism.
Practice Exercises
Frequent practice will help you refine your skills. Here are a few exercises designed to improve your watercolor techniques.
Exercise 1: Sky Washes
Create several small paintings focusing solely on different sky techniques. Experiment with different washes and cloud shapes.
Exercise 2: Tree Studies
Paint a series of trees using various techniques to represent different kinds of foliage and bark textures.
Exercise 3: Reflection Techniques
Practice painting reflections in water bodies. Observe how colors and shapes are distorted in the water.
Conclusion
Mastering the art of watercolor landscapes is a journey that involves patience and continuous practice. By following the step-by-step guide outlined in this article, you’ll gain the foundation needed to create stunning landscapes of your own. Remember, each painting you create will teach you something new. So, gather your materials, set up your workspace, and embark on your watercolor adventure.