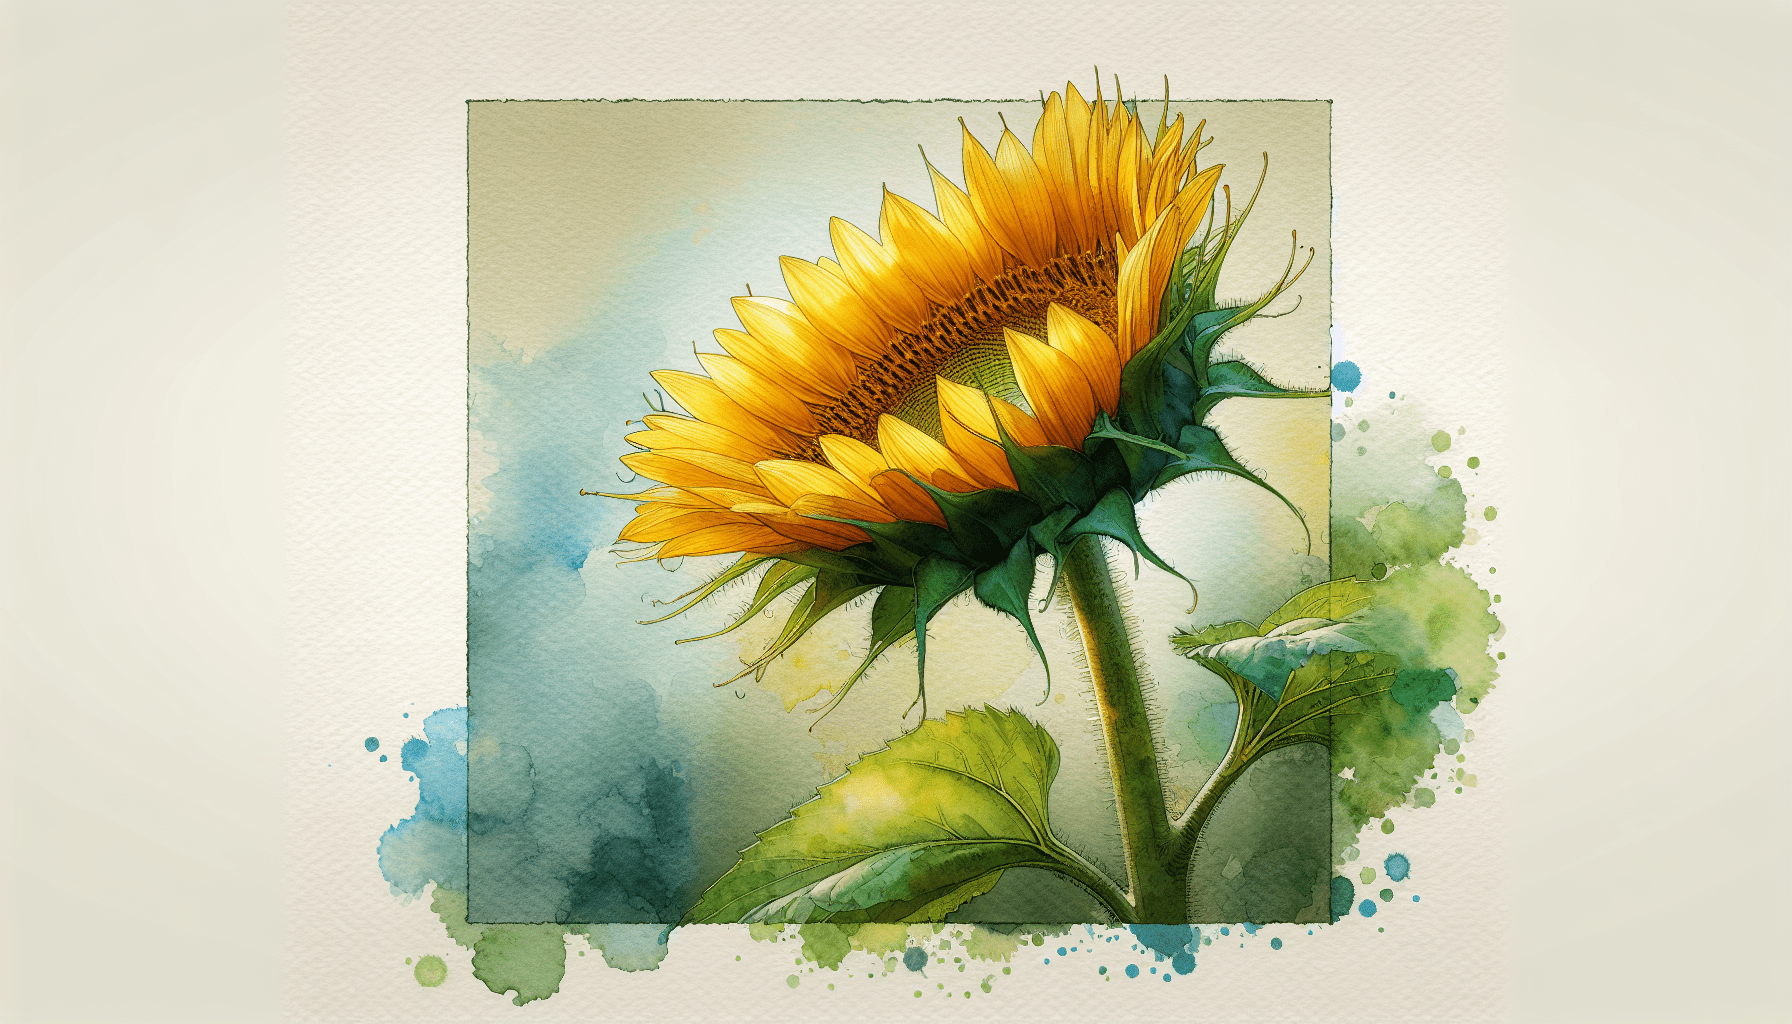
Have you ever wondered how to capture the vibrant beauty of a sunflower using watercolors? Painting a sunflower in watercolor can be a fulfilling and relaxing experience. This article will guide you comprehensively through the process, from gathering the necessary materials to adding the finishing touches to your artwork.
Materials Needed
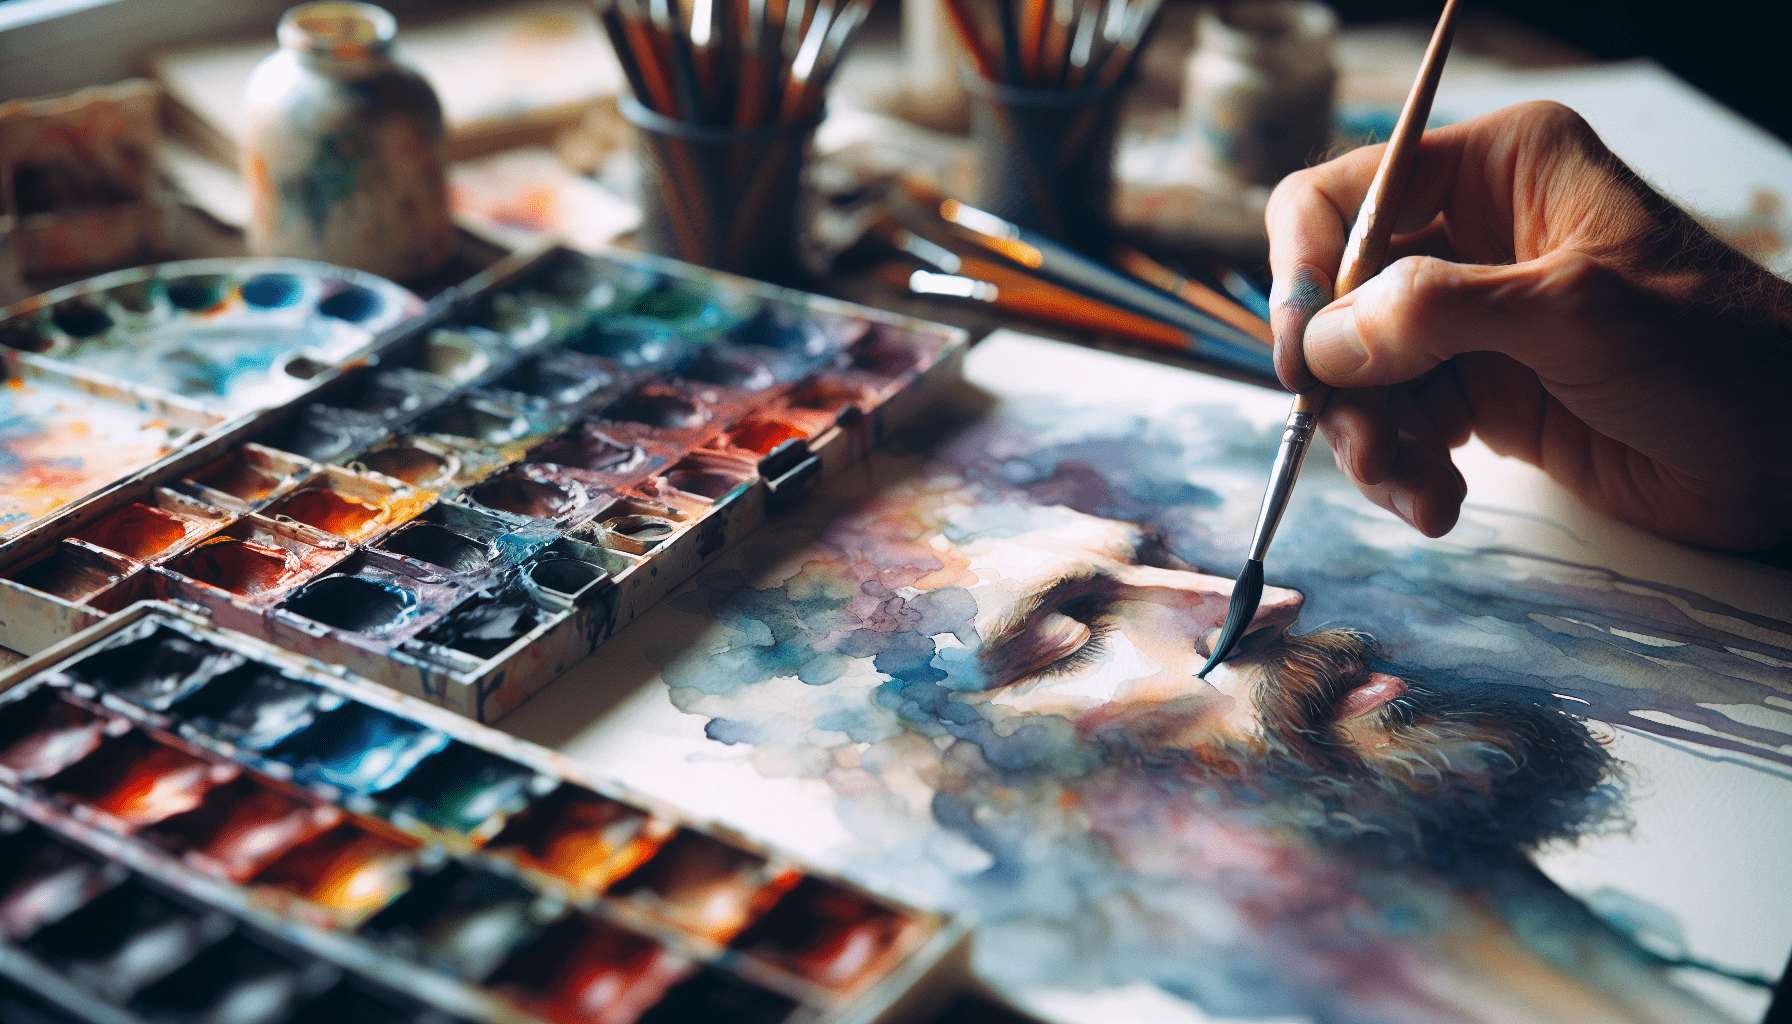
Before you begin, it’s crucial to assemble all the materials you will need. The right tools can significantly affect the quality of your painting.
Paints
You will need a quality set of watercolor paints. Professional-grade paints are recommended for their pigment quality. Essential colors for painting a sunflower include:
| Color Type | Examples |
|---|---|
| Yellow | Cadmium Yellow, Lemon Yellow, Yellow Ochre |
| Brown | Burnt Sienna, Raw Umber |
| Green | Sap Green, Hooker’s Green, Viridian |
| Red | Alizarin Crimson |
| Blue | Ultramarine, Cobalt |
Brushes
Different brush shapes and sizes are useful for various techniques. Essential brushes include:
| Brush Type | Recommended Size |
|---|---|
| Round | #1, #4, #8 |
| Flat | 1/2 inch, 1 inch |
| Detail | 00, 0 |
Paper
High-quality watercolor paper, such as 140 lb cold-pressed paper, is ideal for its absorbency and texture. Choose paper that is acid-free to ensure the longevity of your artwork.
Additional Supplies
- Palette: For mixing colors.
- Water containers: One for clean water and one for rinsing brushes.
- Paper towels: For blotting brushes and correcting mistakes.
- Pencil: For sketching your design.
- Eraser: A kneaded eraser is particularly useful.
- Masking tape: To keep your paper flat and create clean edges.
Preparation
Workspace Setup
Set up your workspace in a well-lit area. Natural light is best, but a good desk lamp with a daylight bulb can also work. Ensure that all your materials are within easy reach to maintain a smooth workflow.
Sketching Your Sunflower
Begin by lightly sketching the outline of the sunflower on your watercolor paper. Focus on the shape and size of each element – the center, petals, and leaves. Keep your lines light to avoid them showing through the watercolor.
Planning Your Composition
Determine the placement of your sunflower on the paper. A central composition can make the sunflower the focal point, while an off-center composition can add dynamic interest.

Technique Basics
Glazing
Glazing is the technique of applying multiple layers of transparent watercolor to build depth and luminosity. Allow each layer to dry fully before applying the next one.
Wet-on-Wet
This technique involves applying wet paint onto a wet surface, allowing the colors to blend softly. It is excellent for creating backgrounds and soft transitions.
Wet-on-Dry
Applying wet paint onto a dry surface gives you more control and results in sharper edges. This technique is useful for detailing.
Painting the Sunflower
The Background
Start with the background to set the scene for your sunflower. Using the wet-on-wet technique, lay down a light wash of blues and greens to suggest a sky or foliage. Keep the background light to ensure that the sunflower stands out.
The Center
- Base Layer: Using a light wash of burnt sienna, cover the center of the sunflower.
- Texture: While the base layer is still damp, dab in darker tones like raw umber to create the seeds’ texture.
- Detail: Once the base is dry, use a fine detail brush with a darker brown to add individual seed details for a more realistic look.
Painting The Petals
- Base Layer: Apply a light wash of yellow to each petal, using a mix of cadmium yellow and lemon yellow.
- Mid Tones: Once the base layer is dry, apply a second layer of yellow ochre to the areas where shadows would naturally fall, usually closer to the center of the flower.
- Details: Using a small round brush, add fine lines with a darker yellow or a hint of red to indicate the texture of the petals.
Adding Leaves and Stem
- Base Layer: Use sap green or hooker’s green for the base layer of the leaves and stem. Apply evenly and allow it to dry.
- Mid Tones: Add depth by layering viridian or a mix of green and ultramarine blue to the areas that are shadowed.
- Details: Finish with intricate lines to show the veins on the leaves and the texture of the stem using a detail brush with a darker green or brown.
Final Touches
Check your painting for areas that might need additional depth or detail. A final layer of glazing can enhance the vibrancy of colors or soften any harsh lines. Use a kneaded eraser to remove any visible pencil lines gently.

Drying and Preservation
Drying
Allow your painting to dry thoroughly. Ideally, let it dry overnight to ensure all layers are set.
Sealing Your Work
For added protection, consider sealing your watercolor painting with a clear UV-resistant spray fixative. This will help preserve the vibrancy of the colors and protect against light damage.
Troubleshooting Common Problems
Uneven Washes
If you’re having trouble with uneven washes, try using more water to create smoother transitions. Practice on a scrap piece of paper to master the amount of water needed.
Muddy Colors
To avoid muddy colors, be mindful of the color theory. Opposing colors on the color wheel can neutralize each other, leading to muddy hues. Clean your brush thoroughly between colors to prevent unintentional mixing.
Hard Edges
If you see unwanted hard edges where colors meet, soften them with a damp, clean brush while the paint is still wet. This technique helps create smooth transitions.
Conclusion
Creating a beautiful sunflower using watercolor involves a blend of proper materials, preparation, technique, and attention to detail. By understanding and executing each step methodically, you can achieve not only a visually appealing piece but also enhance your skills as an artist. Whether you are a beginner or experienced in watercolor, this guide aims to give you the tools and confidence to paint a radiant sunflower. Enjoy the process, and remember that practice is key to mastering the art of watercolor painting.