In “How To Paint A Rose Watercolor,” you will discover the intricacies of watercolor painting, specifically focusing on capturing the delicate beauty of a rose. By following step-by-step instructions, you will learn essential techniques such as layering, blending, and creating depth with color. This comprehensive guide aims to enhance your artistic skills, providing valuable tips and insights that cater to both beginners and seasoned painters alike. Whether you are seeking to refine your existing talents or explore new creative avenues, this article equips you with the knowledge and confidence needed to create stunning watercolor rose paintings. Have you ever found yourself looking at a delicate watercolor painting of a rose and wondered how it was created? Watercolor painting, especially of such an intricate subject as a rose, can seem challenging. However, with the right guidance and techniques, you can create your own beautiful watercolor rose. This article aims to provide you with a step-by-step guide to mastering the art of painting a rose in watercolor. Each section will break down essential tips and strategies to make learning this skill an enjoyable and fulfilling experience.

Understanding Your Materials
Before you begin painting, it’s crucial to understand the materials you’ll be working with. The right tools make a significant difference in the quality and ease of your painting.
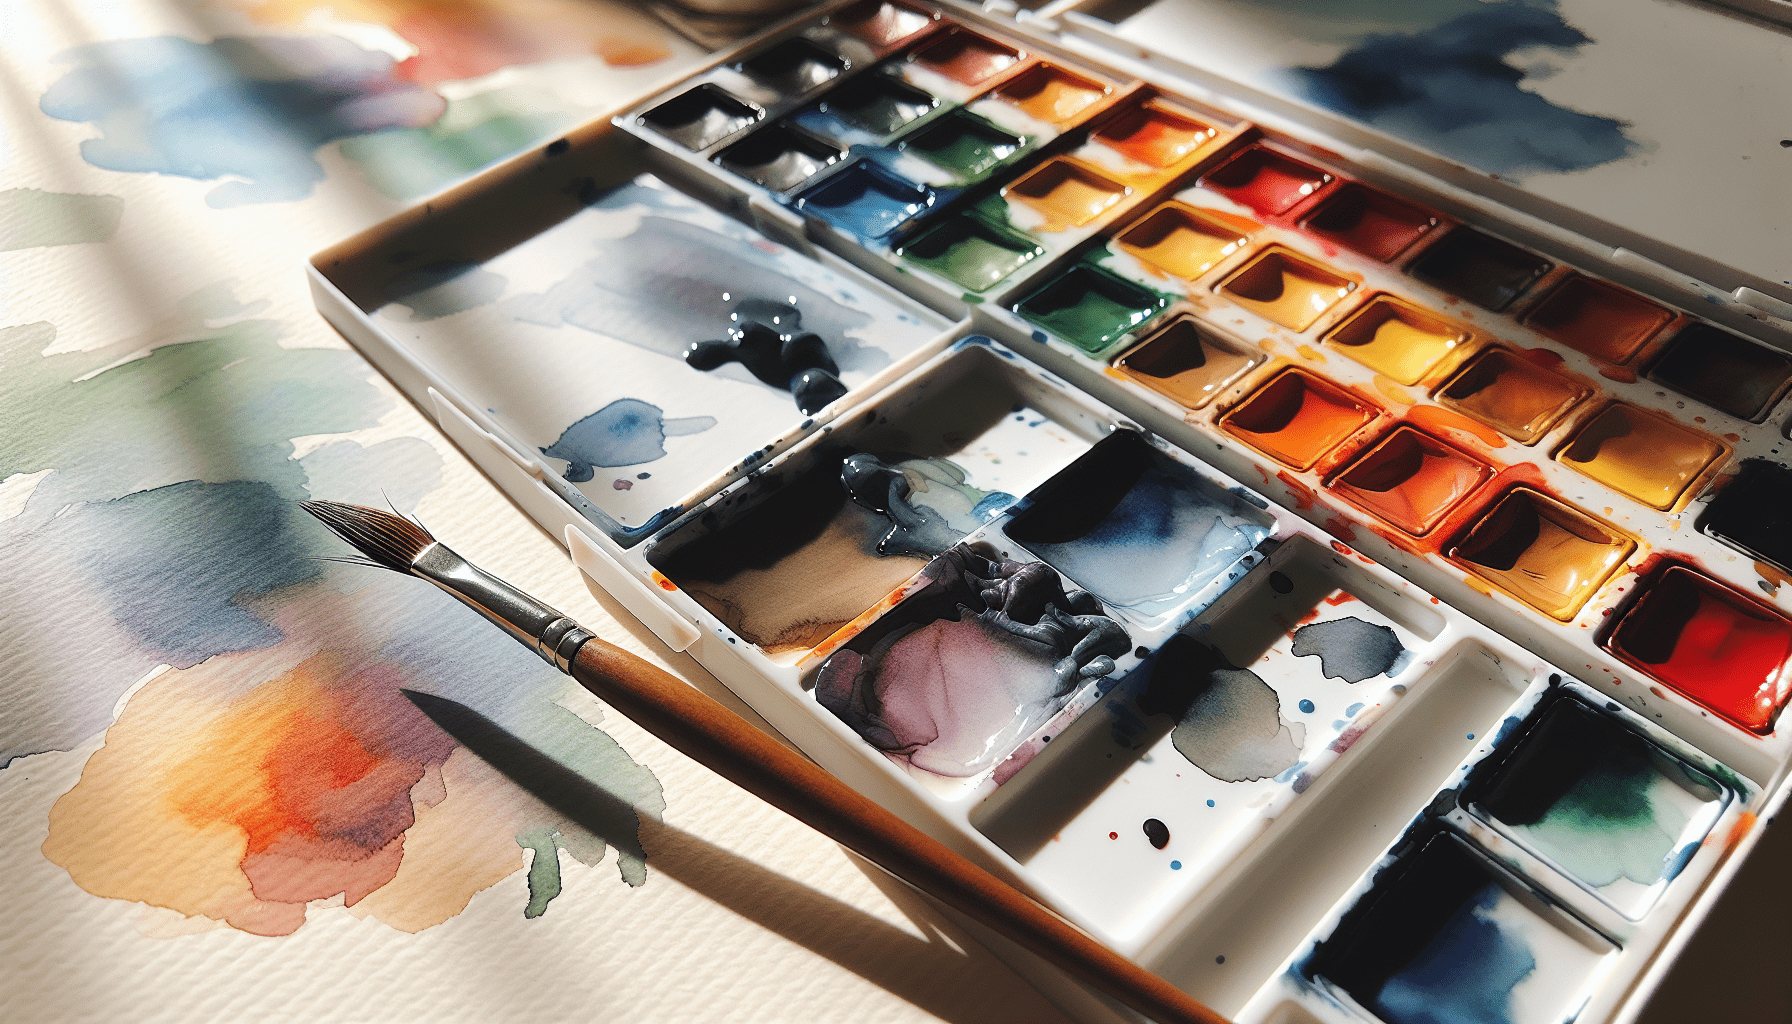
Watercolor Paints
Watercolor paints come in tubes and pans. Tubed watercolors provide more pigment and are ideal for larger washes, while pans are portable and perfect for detailed work.
| Type | Ideal For | Pros |
|---|---|---|
| Tubes | Large washes, intense color | Rich pigment, easy to mix |
| Pans | Detail work, portability | Easy to transport, less mess |
Brushes
Brushes are another critical component. Round brushes are versatile and excellent for creating different shapes and strokes. Flat brushes work well for washes and larger areas.
| Brush Type | Ideal For | Pros |
|---|---|---|
| Round | General, detail work | Versatile, various sizes available |
| Flat | Washes, large areas | Covers wide areas quickly |
Paper
Quality watercolor paper is essential. Cold-pressed paper has a texture that holds water well, while hot-pressed paper is smoother and better for intricate detail.
| Paper Type | Texture | Ideal For |
|---|---|---|
| Cold-Pressed | Textured | General use, good water holding |
| Hot-Pressed | Smooth | Detailed work |
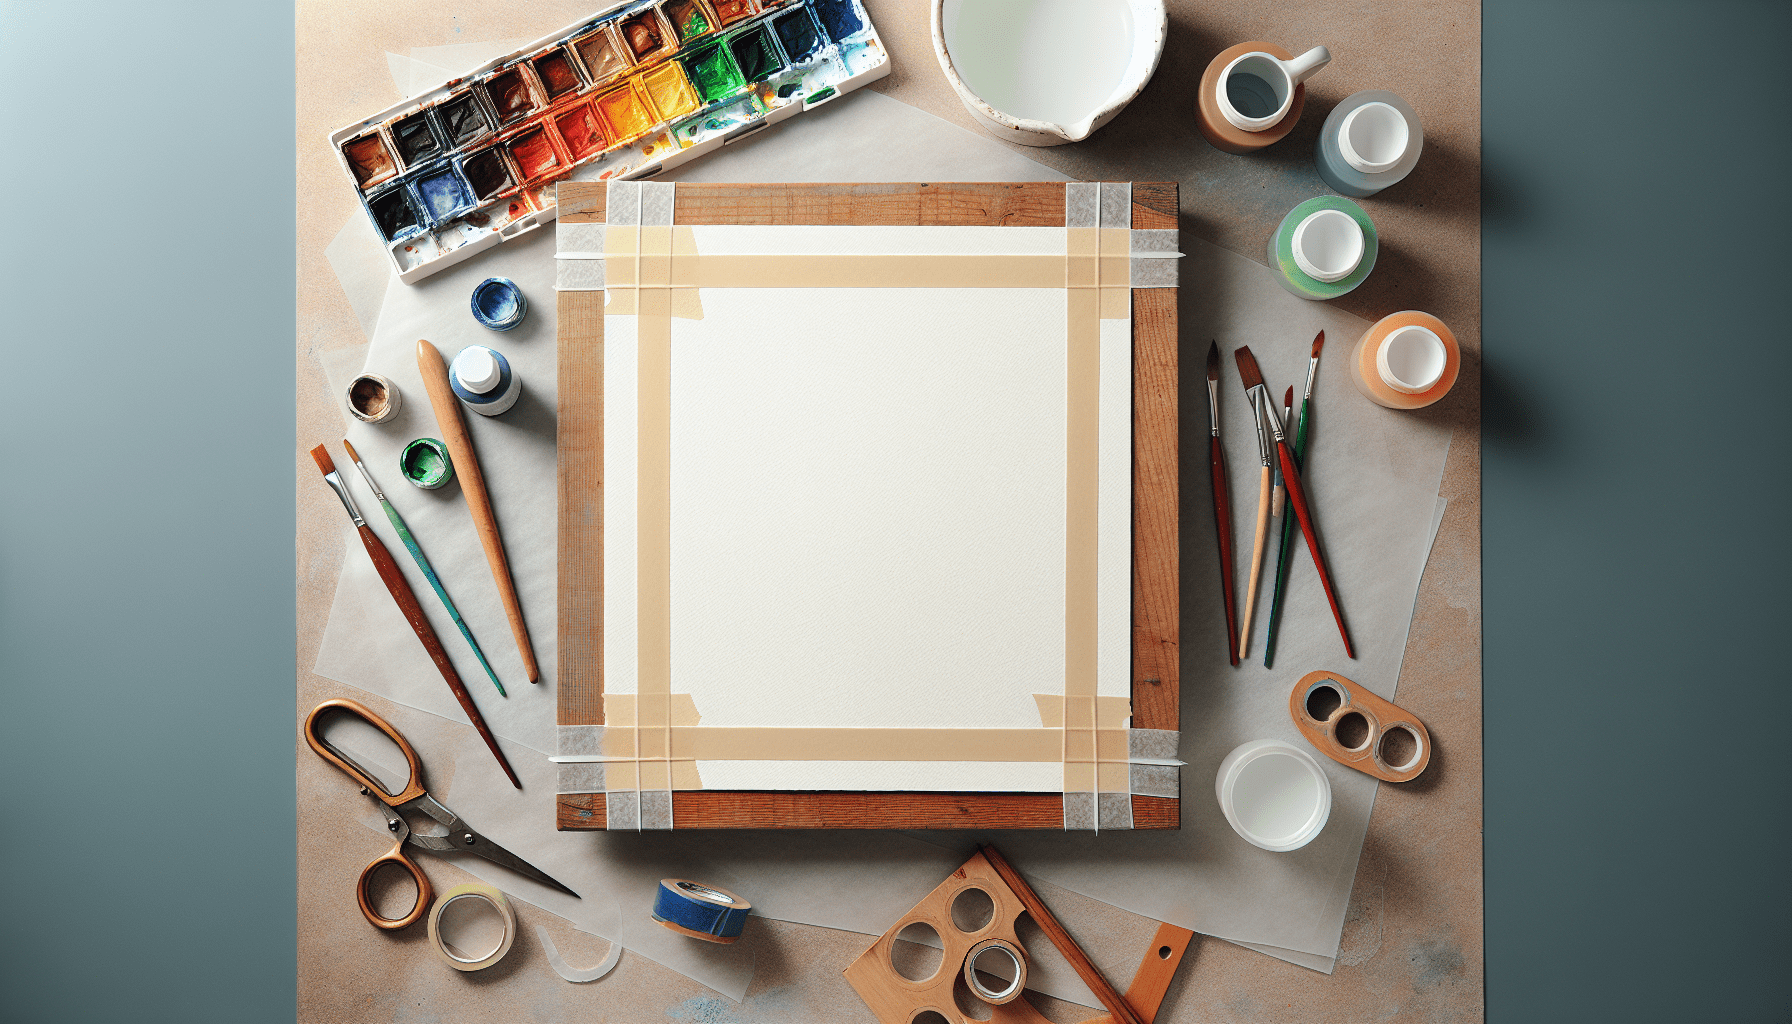
Preparing Your Workspace
A well-prepared workspace can significantly enhance your painting experience. Make sure you have good lighting and a comfortable chair. Gather all your materials, including a palette, water jars, and a paper towel.
Setting Up Your Area
- Lighting: Natural light is perfect, but if that’s not possible, use a daylight lamp.
- Materials: Have everything within arm’s reach to maintain your workflow.
Sketching Your Rose
Before diving into painting, sketch a light outline of your rose. This serves as a guide and helps you place your colors accurately.
Observing Your Subject
Choose a reference photo or a real rose. Notice the petal shapes, the way they overlap, and the play of light and shadow on the petals.
Light Sketching
Use a light pencil, preferably an HB or 2B, to sketch the outline. Focus on the larger shapes first before adding details.
Beginning with Light Washes
Start with light washes to establish the basic shapes and colors of your rose. This will create an underpainting that you can build upon.
Mixing Your Colors
Mix a pale pink or red for the petals and a light green for the leaves. Using a palette, create a thin, watery mixture.
Applying the Base Layer
Using a round brush, apply the paint to your sketch. Allow it to dry fully before proceeding to the next layer. This prevents the colors from blending and becoming muddy.

Building Up Layers
Layering is a fundamental technique in watercolor painting. By building up layers, you can create depth and dimension in your rose.
Adding Depth with Mid-Tones
Once the base layer is dry, mix a slightly darker version of your initial color. Apply this next layer to areas where petals overlap or where shadows naturally fall.
Creating Highlights and Shadows
To create highlights, you can lift off some paint using a dry brush or a paper towel. For shadows, use a deeper, more concentrated color and apply it sparingly.
Working on Details
Details bring your rose to life. As you add details, your painting will start to look more realistic.
Detailing Petals
Use a fine-tipped round brush to add lines and textures to the petals. Look at your reference to place these lines accurately. Quick, light strokes mimic the delicate texture of rose petals.
Enhancing Leaves and Stems
Mix a darker green for the leaves and stems. Use a flat or angular brush to paint these parts, paying attention to the veins on the leaves and the shading on the stems.
Final Touches
The final touches can make a substantial difference in your painting. Evaluating your work and making careful adjustments will ensure your rose stands out.
Evaluating Your Work
Step back and observe your painting from a distance. This gives you a fresh perspective and helps you spot areas that may need improvement.
Making Adjustments
Use a damp brush to soften any harsh edges or to blend colors more smoothly. Add any final touches of highlights, shadows, or detailing to complete your composition.
Signing Your Artwork
Proudly sign your artwork in a corner. A small, subtle signature is ideal so it doesn’t distract from the painting.
Practice and Patience
Mastering watercolor painting takes practice and patience. Don’t be discouraged by initial challenges, as each painting is an opportunity to improve and learn new techniques.
Practicing Regularly
Set aside a little time each day or week to practice. The more you paint, the more comfortable you’ll become with the medium and your techniques.
Learning from Mistakes
Each mistake is a learning opportunity. Reflect on what went wrong and how you can improve. Keeping a journal of your progress can be very helpful.
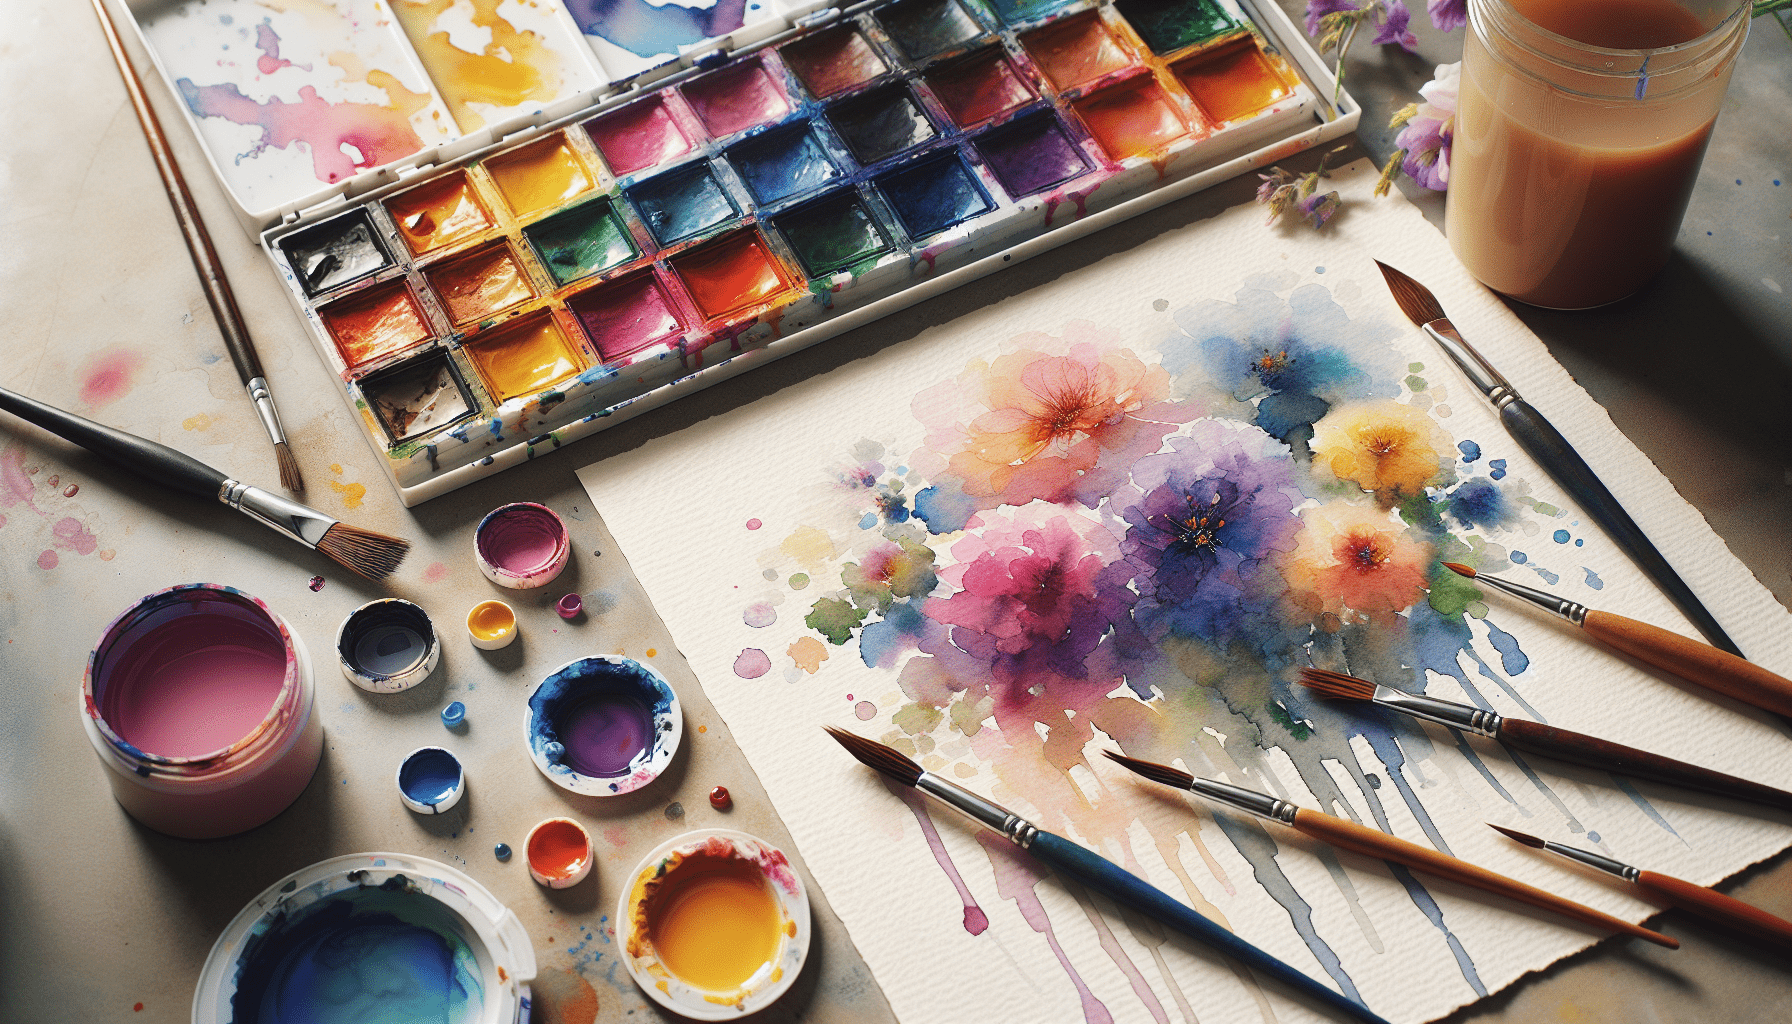
Conclusion
Painting a rose watercolor is an art that combines observation, technique, and a bit of creativity. By understanding your materials, preparing your workspace, and following a structured approach, you can create stunning watercolor roses. Remember to be patient with yourself and enjoy the process. Each stroke brings you closer to mastering this beautiful art form.
Thank you for taking the time to learn about watercolor painting. With dedication and practice, soon you’ll be creating breathtaking watercolor roses with ease. Happy painting!