In “How To Paint A Portrait In Watercolor,” you will find a comprehensive guide designed to elevate your artistic skills and help you master the delicate art of watercolor portraiture. The article intricately covers essential techniques, from selecting the right materials to understanding color theory, and offers step-by-step instructions to bring your subject to life with depth and realism. By exploring this detailed tutorial, you will gain invaluable insights and practical advice that will allow you to create stunning and lifelike watercolor portraits. Have you ever gazed at a stunning watercolor portrait and wondered how you could create such an exquisite piece of art? Painting a portrait in watercolor can indeed appear daunting, but with a structured approach and the right techniques, you can achieve remarkable results. This guide will walk you through the step-by-step process of painting a watercolor portrait, transforming what might seem like an elusive art form into an enjoyable and rewarding experience.

Understanding the Basics of Watercolor Painting
Understanding the medium you are working with is vital. Watercolor paints have unique characteristics that set them apart from other types of paints, like oils or acrylics.
What is Watercolor Paint?
Watercolor paint is made of pigments suspended in a water-soluble vehicle. This means that the paint can be re-wetted and reactivated even after it dries. This characteristic allows for various techniques like wet-on-wet, wet-on-dry, and lifting, which are essential to master when painting portraits.
Why Choose Watercolor for Portraits?
Watercolor offers a unique luminosity and delicacy that can elevate your portrait work. The transparency of watercolor paints allows light to pass through and reflect off the paper, creating a glowing effect that can be challenging to achieve with other mediums.
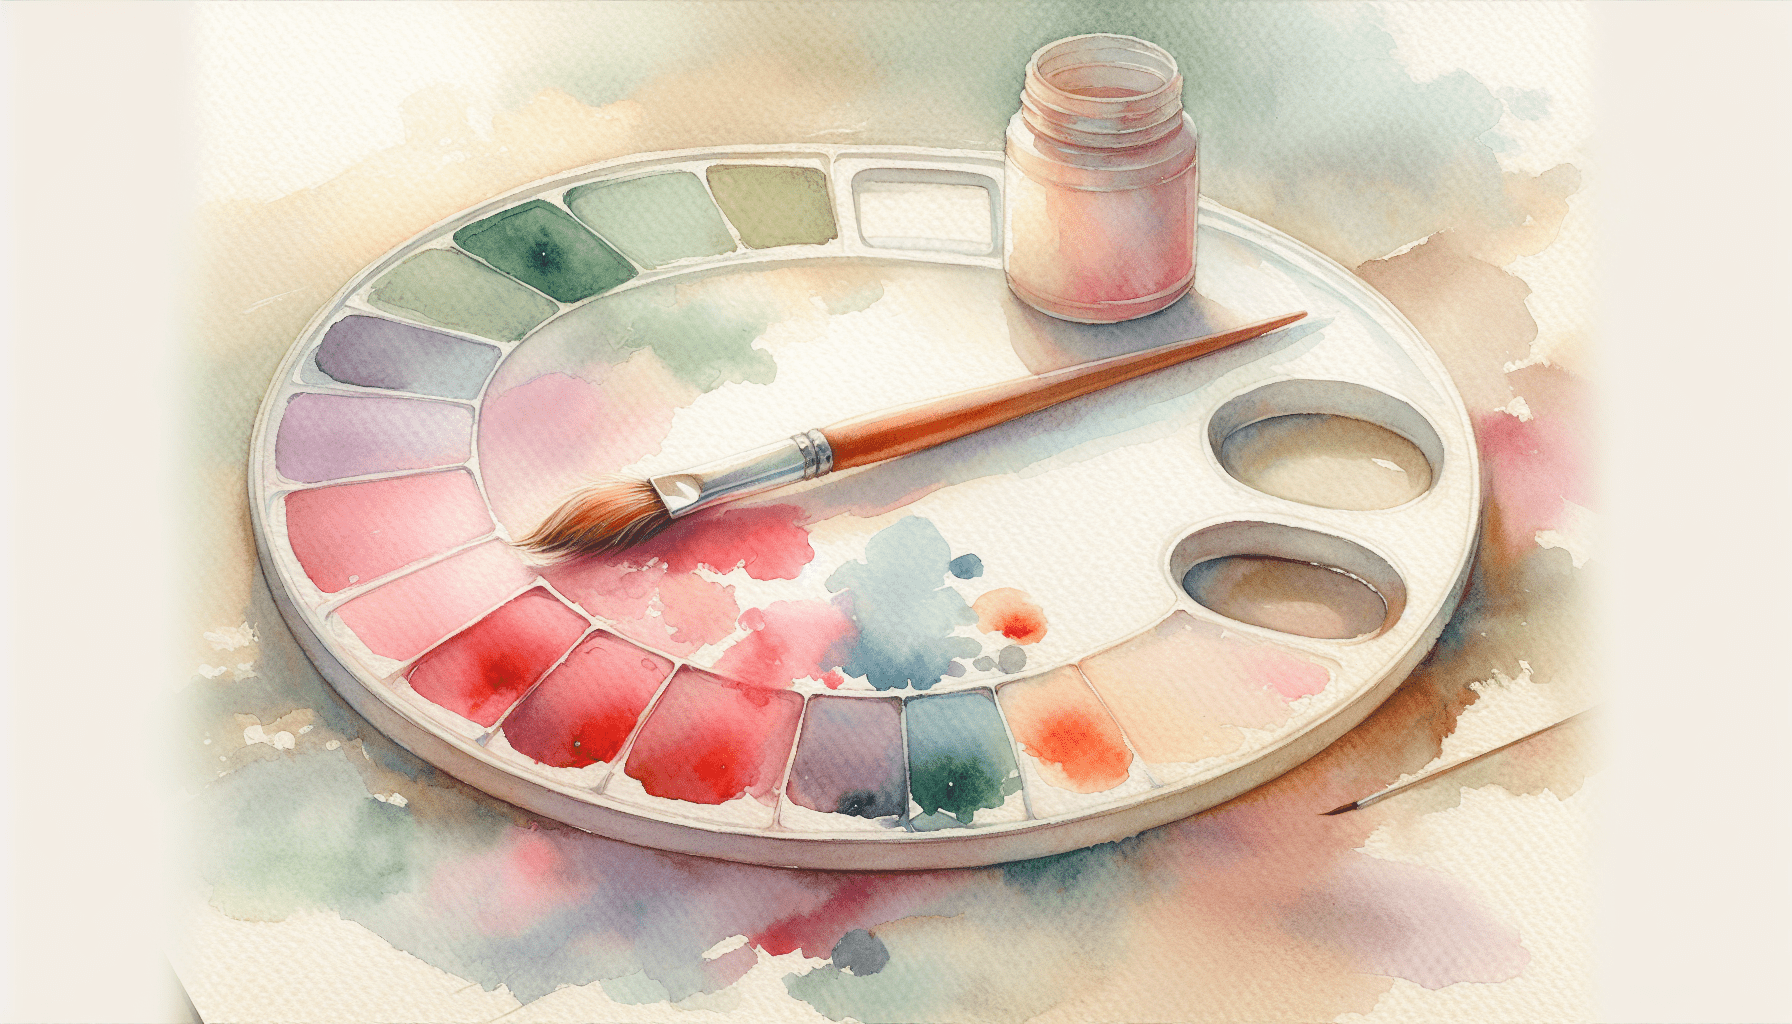
Essential Materials for Watercolor Portraits
Before you begin painting, ensure you have all the necessary materials. The quality of your materials can significantly impact the outcome of your portrait.
| Material | Description |
|---|---|
| Watercolor Paper | A high-quality, heavyweight paper (140 lb. or more) with a rough texture. |
| Watercolor Paints | Both tube and pan watercolors can be used, but choose professional-grade for better pigments. |
| Brushes | A variety of brushes, including round, flat, and detail brushes. |
| Palette | For mixing colors. |
| Water Containers | At least two for clean and dirty water. |
| Masking Fluid | To preserve white areas on your paper. |
| Pencil and Eraser | For sketching your portrait initially. |
| Paper Towels or Sponges | Useful for blotting and correcting mistakes. |
Step-by-Step Guide to Painting a Watercolor Portrait
Now that you have all your materials ready, let’s dive into the process of creating a watercolor portrait.
Step 1: Preparing Your Workspace
A well-organized workspace is crucial for a smooth painting process. Make sure you have plenty of light, preferably natural light, to accurately see your colors and values. Arrange your materials within easy reach and cover your workspace to protect it from water and paint spills.
Step 2: Choosing Your Subject and Reference Photo
Select a subject that inspires you and find a high-quality reference photo. A good reference photo is well-lit, with clear details and distinct shadows and highlights. If possible, work from life as it can give you a better understanding of the subject’s dimensions and colors.
Step 3: Sketching Your Portrait
Start with a light pencil sketch to outline the primary features of your portrait. Pay close attention to proportions and placement of the facial features. Use a soft pencil (HB or 2B) to avoid making deep marks that could damage your paper or show through the paint.
Step 4: Applying the First Wash
Begin by applying a light wash to your portrait to establish the basic skin tones and general color blocks. Use a diluted mixture of your paint, allowing the white of the paper to shine through. This step sets the foundation for all subsequent layers.
Step 5: Building Up Midtones and Shadows
Once the initial wash is dry, start building up the midtones and shadows. Work in layers, using the wet-on-dry technique for more control. Gradually add depth to your portrait, ensuring that each layer is completely dry before applying the next one.
Advanced Techniques for Watercolor Portraits
As you become more comfortable with basic watercolor techniques, you can start incorporating more advanced methods to enhance your portrait.
Wet-on-Wet Technique
This involves painting onto a wet surface, allowing colors to blend seamlessly. This technique is excellent for creating soft transitions in skin tones. However, it requires a good understanding of how water and pigment interact.
Glazing
Glazing involves applying thin, transparent layers of paint over a dry surface. This technique allows you to build up color and create a glowing effect. It is particularly useful for adding warmth to the skin and depth to the shadows.
Lifting Color
Lifting involves removing pigment from the paper using a damp brush, sponge, or paper towel. This technique can be used to correct mistakes or create highlights and texture in your portrait.
Using Masking Fluid
Masking fluid can preserve the white areas of your paper that you want to remain untouched by paint. Apply it carefully with an old brush, and ensure it is completely dry before painting over it. Remove the fluid once your painting is dry to reveal crisp, white highlights.

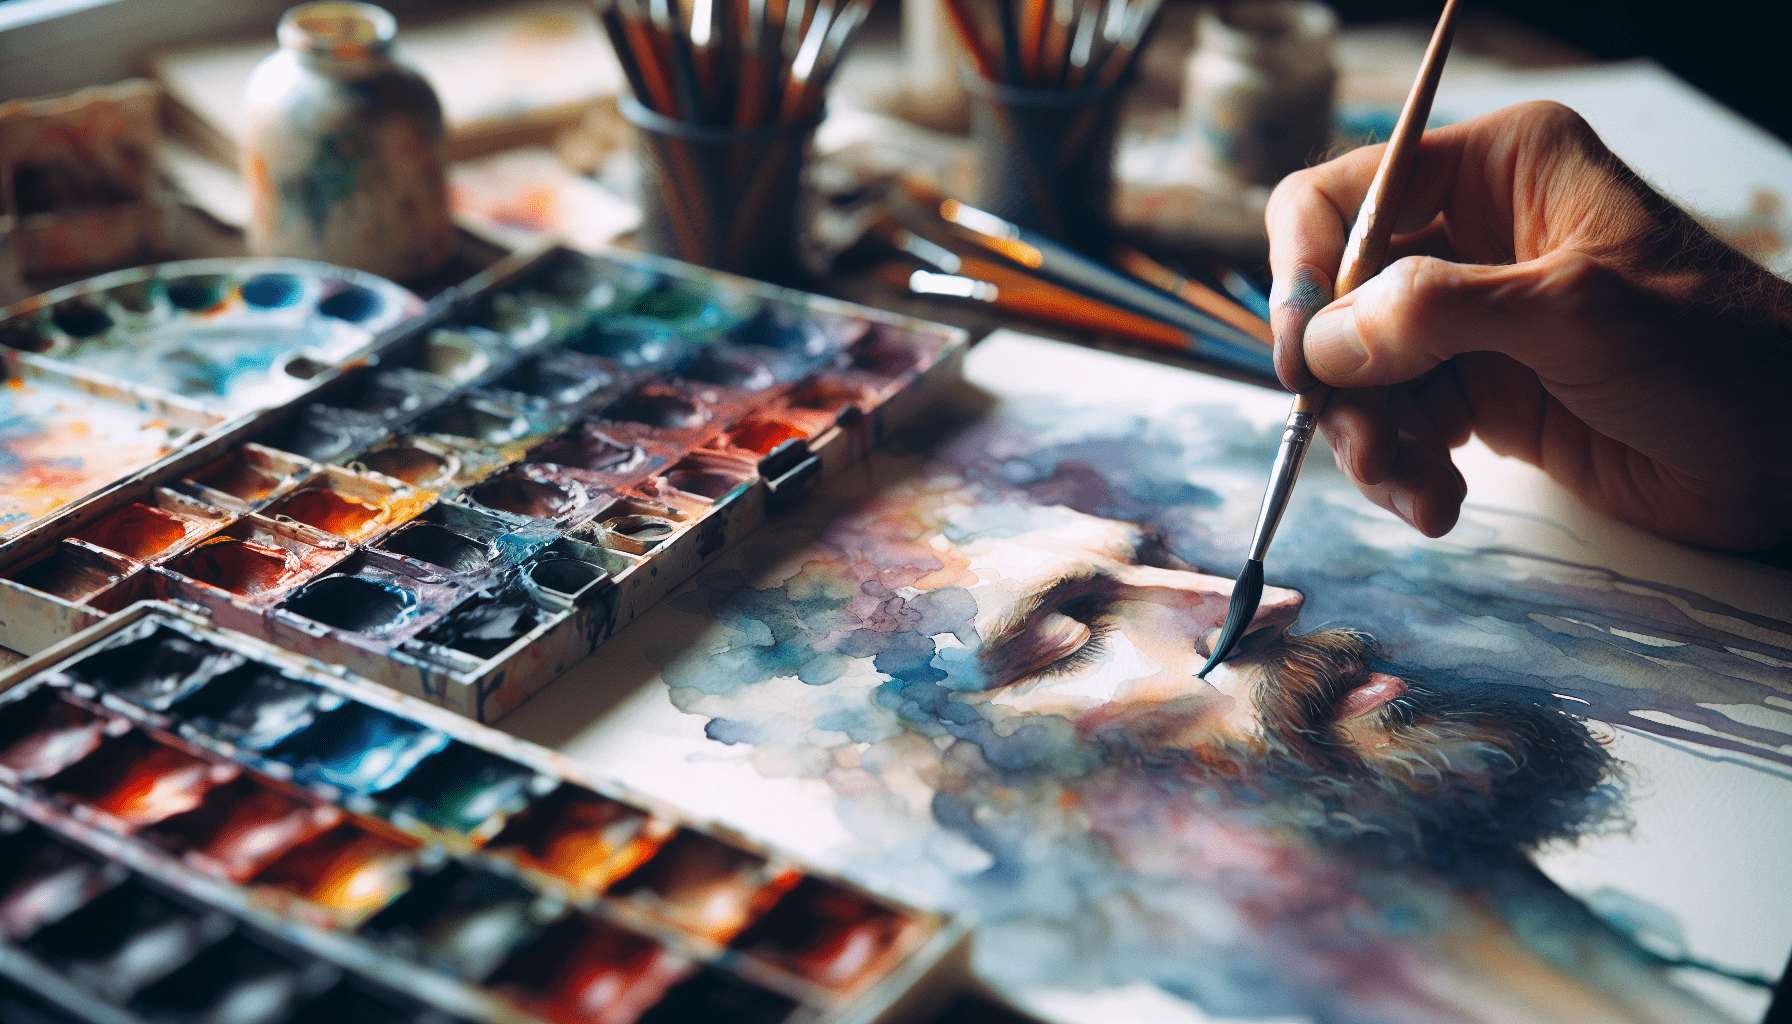
Fine Details and Final Touches
Once you are satisfied with the overall structure and color of your portrait, it’s time to add the fine details that will bring it to life.
Detailing the Facial Features
Use a fine brush and a steady hand to add details to the eyes, nose, and mouth. Pay attention to the direction of light and shadow to create a realistic effect. Remember, less is often more in watercolor painting—avoid overworking the details.
Adjusting Values and Contrast
Step back and evaluate your portrait from a distance. Adjust the values and contrast by deepening the shadows or enhancing the highlights where necessary. This step can dramatically increase the realism and impact of your portrait.
Final Touches
The final touches can include adding subtle textures to the skin, refining the hair, and ensuring that the edges of your portrait are balanced. Take your time with this step, as it can make a significant difference in the overall quality of your painting.
Common Challenges and How to Overcome Them
Even experienced artists face challenges when working with watercolor. Understanding these challenges and learning how to overcome them can help you improve your skills and avoid frustration.
Bleeding and Blooming
Bleeding occurs when wet paint spreads on a wet surface in an uncontrolled manner. Blooming (or backruns) happens when excess water pushes the pigment aside, creating unwanted marks. To prevent these issues, control the amount of water on your brush and work in manageable sections.
Muddy Colors
Muddy colors result from over-mixing or layering too many colors. To avoid this, use a limited palette and ensure each layer is dry before adding another. Clean your palette and brushes frequently to maintain pure colors.
Uneven Washes
Achieving an even wash can be tricky. Use a large brush and work quickly, keeping a consistent amount of water and pigment on your brush. If you notice streaks or uneven areas, you can smooth them out while the paint is still wet.
Preserving Highlights
Preserving the highlights in watercolor is crucial for creating depth and dimension. Plan your highlights before you start painting and use masking fluid to protect these areas. Alternatively, you can lift color from the paper to create highlights if you have painted over them by mistake.
Practicing and Developing Your Style
Practice is essential for mastering watercolor portrait painting. The more you paint, the more you will understand how the medium behaves and how to manipulate it to achieve your desired results.
Regular Practice
Set aside time regularly to practice painting portraits. Start with simple studies focusing on specific features like eyes, noses, or mouths. Gradually increase the complexity of your subjects and compositions.
Studying Other Artists
Study the work of accomplished watercolor portrait artists. Analyze their techniques, color choices, and how they handle light and shadow. This can provide inspiration and insight into different approaches to watercolor portrait painting.
Experimentation
Don’t be afraid to experiment with different styles and techniques. Try painting loose, more abstract portraits as well as tightly rendered ones. Experiment with different color palettes and unconventional approaches to see what resonates with you.
Seeking Feedback
Seek feedback from other artists, whether through online communities, art classes, or local art groups. Constructive criticism can provide valuable insights into areas you might need to improve and can encourage your artistic growth.
Conclusion
Painting a portrait in watercolor is a satisfying and enriching endeavor that combines technical skill with creative expression. By understanding the basics, practicing regularly, and continuously challenging yourself, you can create stunning watercolor portraits that capture the essence and character of your subjects. Remember, every artist’s journey is unique, so embrace your progress and enjoy the process of developing your watercolor portraiture skills.