In this article, you will learn how to perfectly paint a mason jar with chalk paint. By following these simple steps, you will be able to transform a plain mason jar into a stylish and elegant piece of decor that is perfect for any home. From preparing the jar to applying the paint and finishing touches, this guide will take you through the process step by step, ensuring that you achieve professional-looking results every time. Whether you are a beginner or an experienced crafter, this article will provide you with all the information you need to create a beautiful chalk painted mason jar.
How To Paint A Mason Jar With Chalk Paint
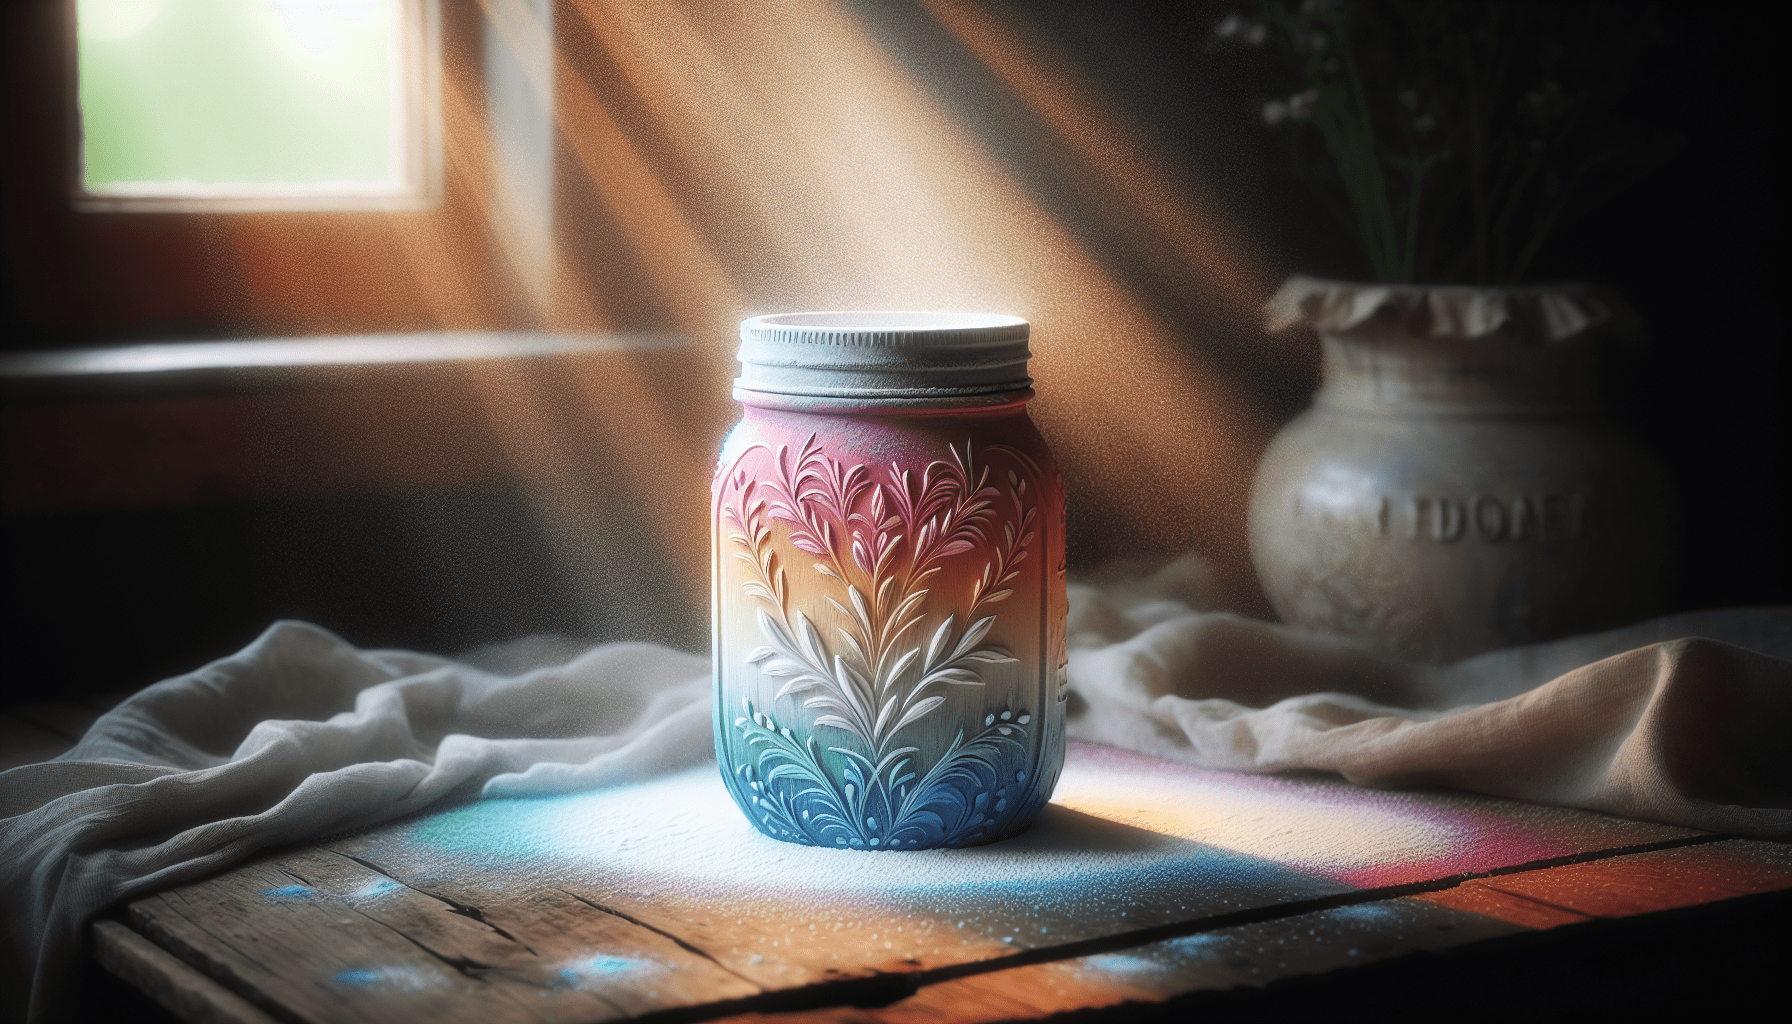
Wondering how to transform a plain mason jar into a beautiful piece of home decor? In this article, you will learn step-by-step instructions on how to paint a mason jar with chalk paint, giving it a rustic and shabby chic look that will add charm to any room in your home. Follow along and unleash your creativity with this fun and rewarding DIY project.
Materials Needed
Before you start painting your mason jar, make sure you have all the necessary materials on hand. Here’s a list of what you will need:
- Mason jar
- Chalk paint in desired color
- Paintbrush
- Sandpaper
- Wax or sealant (optional)
- Paper towels or rag
Gathering all your materials before you begin will ensure a smooth painting process and help you achieve the best results.
Preparing the Mason Jar
To ensure that the chalk paint adheres properly to the mason jar, it is essential to prepare the surface beforehand. Follow these steps to prepare your mason jar for painting:
-
Clean the Jar: Start by washing the mason jar with soap and water to remove any dirt, dust, or residue.
-
Dry Thoroughly: Once clean, dry the mason jar completely using a paper towel or rag to ensure that the paint will adhere smoothly.
-
Sand the Surface: Lightly sand the surface of the mason jar with fine-grit sandpaper to create a rough texture that will help the paint stick better.
Preparing the mason jar before painting will help the chalk paint adhere evenly and create a professional-looking finish.

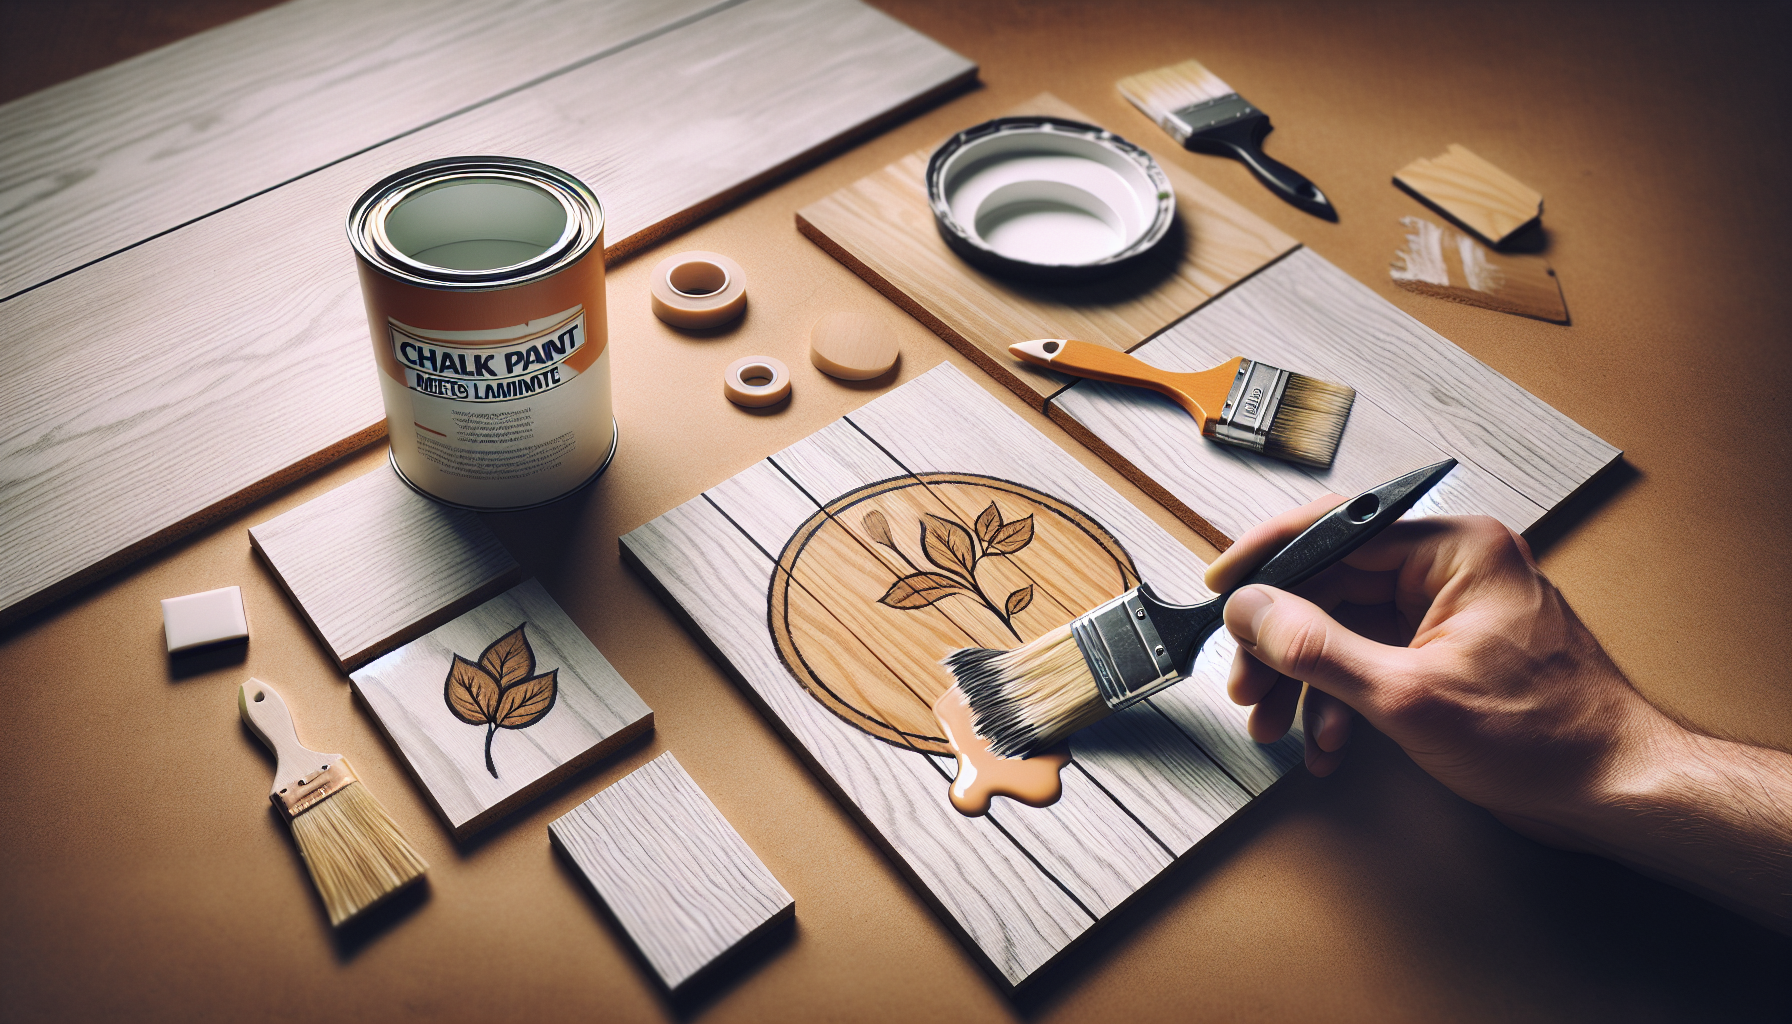
Applying Chalk Paint
Now that you’ve prepared the mason jar, it’s time to start painting. Here are the steps to apply chalk paint to your mason jar:
-
Stir the Paint: Before you begin, make sure to stir the chalk paint thoroughly to ensure an even consistency.
-
Apply the First Coat: Using a paintbrush, apply the first coat of chalk paint to the mason jar in smooth, even strokes. Make sure to cover the entire surface of the jar.
-
Let it Dry: Allow the first coat of paint to dry completely according to the instructions on the paint can. This may take a few hours, depending on the brand of chalk paint you are using.
-
Apply Additional Coats: Depending on the desired opacity and coverage, you may need to apply one or two additional coats of chalk paint. Allow each coat to dry completely before applying the next.
-
Sand Between Coats: For a smoother finish, lightly sand the mason jar between coats of paint using fine-grit sandpaper.
By following these steps, you will achieve a flawless finish and create a beautifully painted mason jar that is sure to impress.
Finishing Touches
After you have applied the final coat of chalk paint and allowed it to dry completely, you may choose to add some finishing touches to enhance the look of your mason jar. Here are a few options to consider:
-
Distressing: If you prefer a distressed look, use sandpaper to gently distress the raised edges and corners of the mason jar.
-
Sealant: To protect the paint and give it a more durable finish, you can apply a wax or sealant over the chalk paint. This will also enhance the color and add a subtle sheen to the mason jar.
-
Decorative Accents: Get creative and add decorative accents like stencils, decals, or ribbons to personalize your painted mason jar and make it uniquely yours.
Adding these finishing touches will take your painted mason jar to the next level and make it stand out as a stunning piece of decor in your home.

Maintenance Tips
Now that you have successfully painted your mason jar with chalk paint, it’s important to know how to care for and maintain it to ensure its longevity. Here are some maintenance tips to help you preserve the beauty of your painted mason jar:
-
Hand Wash Only: To prevent the paint from chipping or peeling, avoid putting your painted mason jar in the dishwasher. Instead, hand wash it gently with mild soap and water.
-
Avoid Harsh Chemicals: Be cautious when cleaning your painted mason jar and avoid using harsh chemicals or abrasive cleaning products that could damage the paint.
-
Touch-Ups: If you notice any chips or scratches on your painted mason jar, you can easily touch up the paint by applying a small amount of chalk paint with a paintbrush.
By following these simple maintenance tips, you can keep your painted mason jar looking fresh and vibrant for years to come.
Get Creative!
Painting a mason jar with chalk paint is a fun and creative way to add a personalized touch to your home decor. Whether you choose to paint a single mason jar or create a collection in different colors and finishes, the possibilities are endless.
Get creative, experiment with different techniques, and let your imagination run wild to create unique and beautiful painted mason jars that will add charm and character to any room in your home. Have fun with this DIY project and enjoy the process of transforming an ordinary mason jar into a work of art!