In this article, you will learn the step-by-step process of painting a captivating landscape using the versatile medium of gouache. Gouache, known for its vibrant colors and opaque finish, allows artists to create realistic and expressive landscapes. With a focus on technique and composition, this guide will provide you with the essential tools and knowledge to confidently create your own stunning landscape paintings with gouache. From selecting the right materials to mastering blending and layering techniques, you will discover a world of possibilities in this immersive art form. Whether you are a beginner or an experienced artist, this article will equip you with the skills needed to bring breathtaking landscapes to life on your canvas.
Choosing the Right Materials
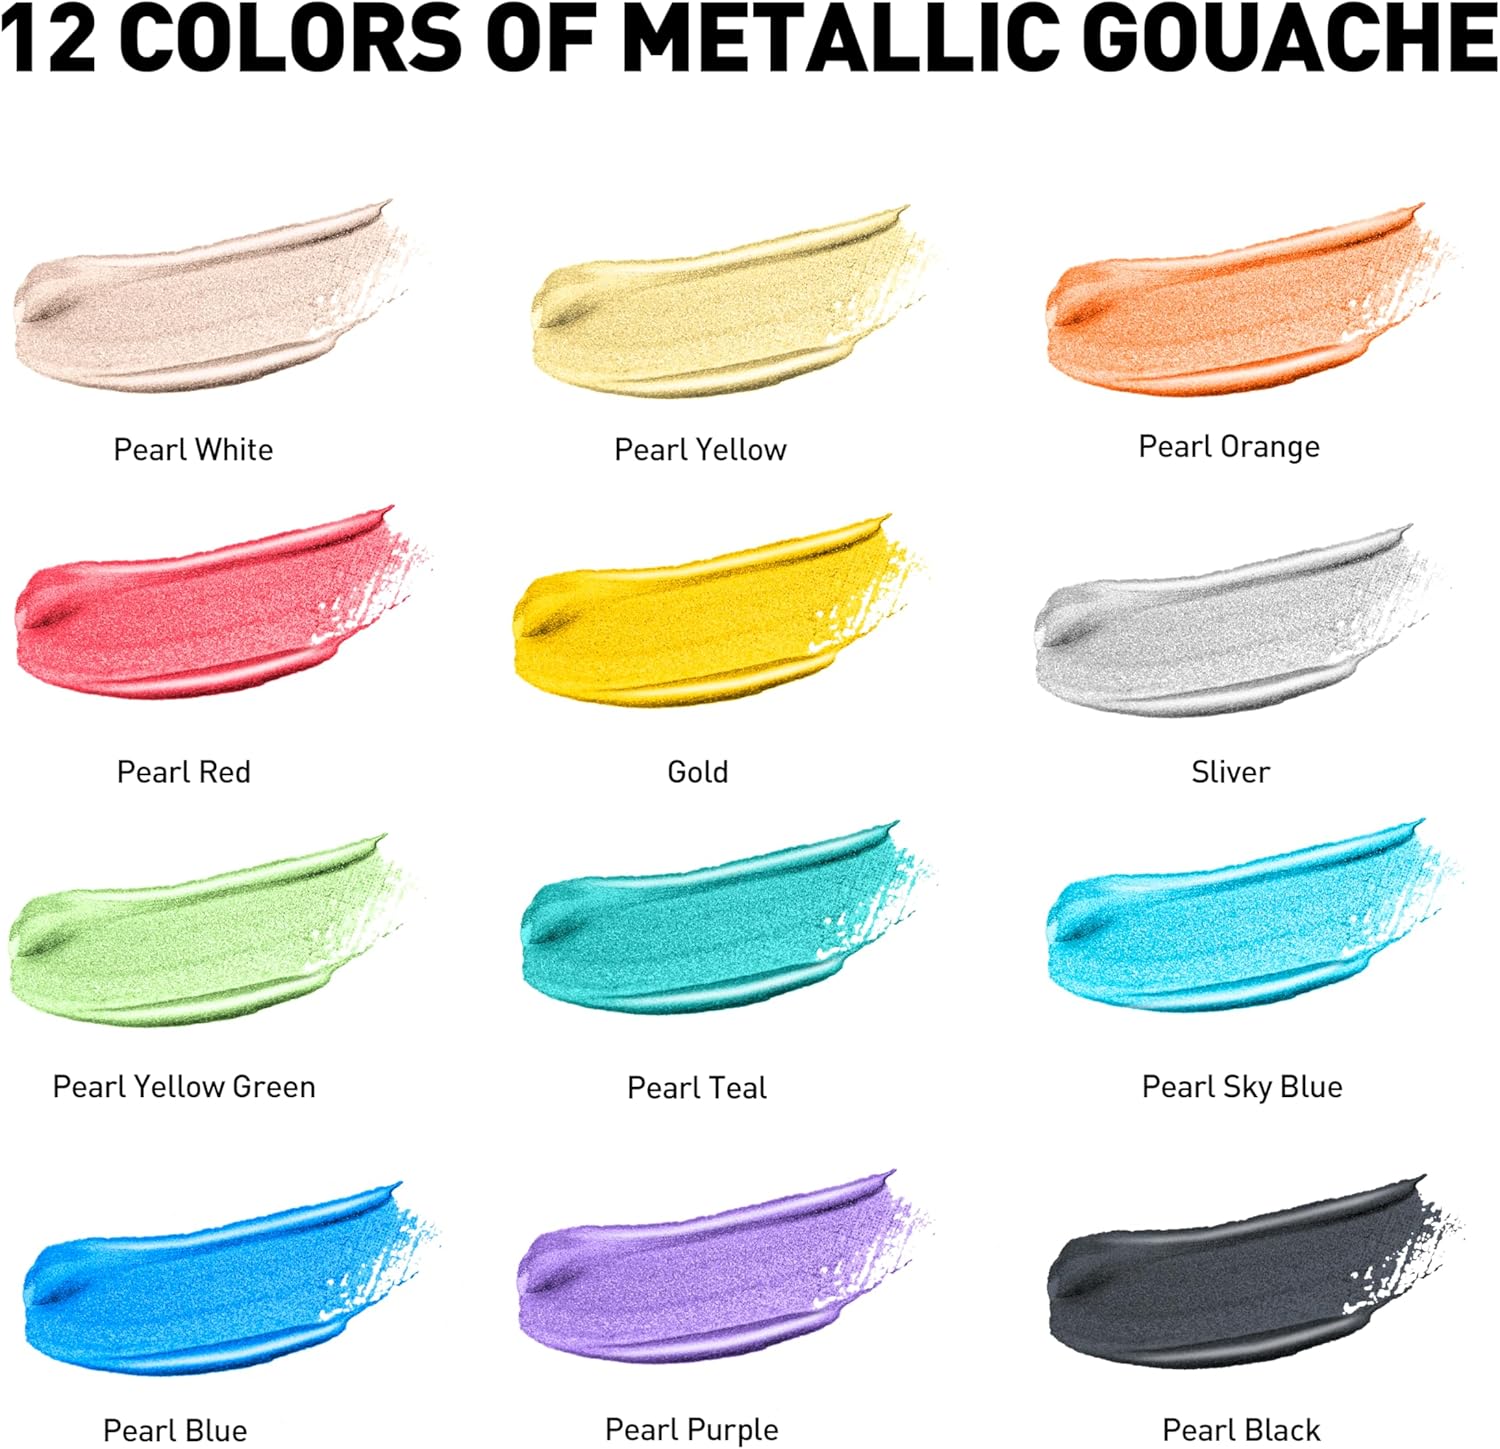
Selecting Gouache Paints
When it comes to selecting gouache paints, there are a few factors to consider. First, you’ll want to choose high-quality gouache paints that offer vibrant colors and good coverage. Look for paints that are lightfast, meaning they won’t fade over time. Additionally, consider the range of colors available in the set. It’s important to have a variety of hues to accurately depict the landscape you’re painting. Finally, consider the size of the paint tubes. Larger tubes may be more cost-effective if you plan on painting large-scale landscapes regularly.
Choosing Brushes
The brushes you choose can greatly impact the outcome of your landscape painting. Gouache paints work well with soft synthetic brushes or natural hair brushes. Synthetic brushes offer more control and a smoother application, while natural hair brushes can hold more paint and create interesting textures. Consider having a variety of brush shapes and sizes to create different effects. Round brushes are ideal for detailed work, while flat brushes are great for larger areas and bold strokes. Experiment with different brushes to find the ones that best suit your painting style.
Picking the Right Paper
Choosing the right paper for your gouache landscape painting is crucial. Look for a heavyweight paper that is specifically designed for gouache or watercolor painting. Gouache requires a paper that can withstand water and heavy layers of paint without buckling or warping. Cold-pressed or hot-pressed papers are great options as they offer a smooth surface and are able to handle multiple layers of paint. It’s also important to consider the size of the paper. If you’re planning on creating a larger landscape painting, opt for a larger sheet of paper to ensure you have enough space to work freely.
Preparing Your Workspace
Setting Up Your Easel
Before you start painting, it’s important to set up your easel in a comfortable and well-lit area. Make sure your easel is stable and adjust it to a height that allows you to work comfortably without straining your neck or back. Position your easel near a natural light source, such as a window, to ensure you have adequate lighting for your painting. If natural light is not available, consider using a daylight lamp to replicate the effect of natural light.
Organizing Your Paints
Keeping your paints organized will not only make your painting process smoother but also help you find the colors you need easily. Arrange your paint tubes by color or in a way that makes sense to you. Consider using a palette with separate wells or compartments to keep your colors separate and prevent them from mixing unintentionally. Labeling each color can also be helpful, especially if you’re using multiple sets of gouache paints. This organizational step will save you time and frustration when you’re in the middle of a painting.
Preparing the Surface
Before you begin painting, you need to prepare the surface on which you’ll be working. If you’re using paper, stretching it prior to painting can prevent it from buckling when wet. To stretch the paper, wet it thoroughly by submerging it in water or using a spray bottle. Then, secure the wet paper to a flat surface, such as a drawing board, using staples or masking tape. Allow the paper to dry completely before starting your painting. If you’re using a canvas or a panel, make sure it’s clean and free from any dust or debris. Gently wipe the surface with a clean cloth or brush to ensure a smooth painting surface.

This image is property of images.unsplash.com.
Planning Your Composition
Determining the Focal Point
The focal point is the area of the painting that attracts the viewer’s attention first. When planning your landscape composition, it’s important to determine the focal point and position it strategically within the frame. Consider what element of the landscape you want to highlight or emphasize. It could be a striking tree, a mountain peak, or a body of water. Place the focal point off-center to create a more visually interesting composition. Remember to consider the rule of thirds, dividing your painting into a grid and placing the focal point along one of the intersections for optimal visual impact.
Establishing the Horizon Line
The horizon line is the line where the sky meets the land or water in a landscape painting. It plays a crucial role in establishing the sense of depth and perspective. When determining the horizon line, think about the vantage point or viewpoint of the viewer. If you want to create a sense of distance and openness, position the horizon line lower in the painting. On the other hand, a higher horizon line can create a sense of closeness and intimacy. Experiment with different horizon line placements to see how they affect the overall mood and composition of your landscape.
Creating Depth and Perspective
To create a sense of depth and perspective in your landscape painting, you’ll need to consider various techniques. One such technique is utilizing size and scale. Objects that are closer to the viewer should be larger, while those in the distance appear smaller. This size difference helps create the illusion of depth. Another technique to consider is atmospheric perspective, which involves using lighter and cooler colors for distant objects and darker and warmer colors for objects near the viewer. This contrast in color temperature helps create the illusion of depth and distance. Experiment with these techniques to create a visually engaging landscape painting.
Mixing Colors
Understanding the Color Wheel
Understanding the color wheel is crucial for mixing colors effectively in your landscape painting. The color wheel consists of primary colors (red, blue, and yellow), secondary colors (orange, green, and purple), and tertiary colors (the combinations of primary and secondary colors). By understanding the relationship between these colors, you can create a wide range of hues and tones. Familiarize yourself with the color wheel and how different colors interact with each other. This knowledge will help you mix colors more accurately and achieve the desired shades and tints in your landscape painting.
Mixing Primary Colors
To create different colors, you can mix primary colors together. For example, mixing red and blue will result in purple, while mixing red and yellow will create orange. Experiment with different combinations of primary colors to achieve the exact colors you need for your landscape painting. It’s important to mix colors gradually and test them on a separate piece of paper before applying them to your painting. This allows you to adjust and fine-tune the colors as needed.
Creating Different Shades and Tints
Shades and tints are variations of a color created by adding black or white to the original color. Adding black to a color creates a shade, making it darker and richer. On the other hand, adding white to a color creates a tint, making it lighter and softer. Experiment with adding different amounts of black or white to your colors to create a range of shades and tints. This versatility will allow you to capture the complexities of the landscape and create depth and dimension in your painting.

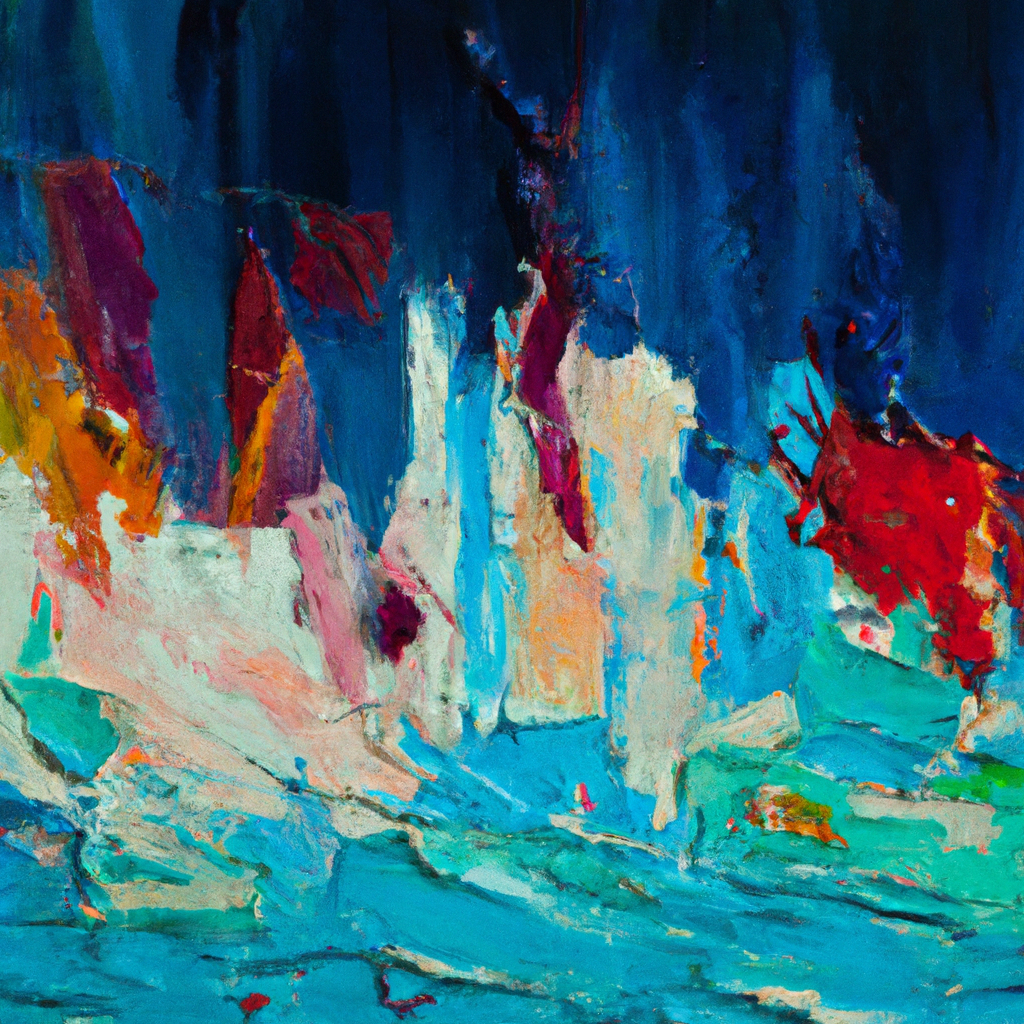
This image is property of images.unsplash.com.
Building Layers
Creating an Underpainting
An underpainting is a foundational layer of paint that helps establish the overall composition and tonal values in a painting. Start by applying a thin wash of paint to cover the entire canvas or paper. This initial layer can be a single color or a basic representation of the dominant colors in your landscape. The purpose of the underpainting is to provide a base on which you can build subsequent layers of paint. It helps establish the values and color relationships, providing a solid foundation for the rest of your painting process.
Building Layers of Color
Building layers of color adds depth and richness to your landscape painting. Start by applying broad strokes of color to establish the general shapes and forms in your landscape. As you progress, gradually add more layers of paint to refine the details and capture the complexities of the scene. Remember to let each layer dry before applying another layer to prevent colors from getting muddied. Building layers allows you to create a sense of depth and texture, bringing your landscape to life.
Adding Details and Texture
Details and texture are what make a landscape painting truly captivating. Use smaller brushes and finer strokes to add intricate details to specific elements of your painting, such as leaves on a tree or ripples in water. Experiment with different brush techniques, such as stippling or dry brushing, to create texture and add visual interest. It’s important to strike a balance between capturing realistic details and leaving room for interpretation. Find the right level of detail that enhances your overall composition without becoming overwhelming.
Creating Light and Shadow
Observing Light Sources
Observing light sources is essential for creating realistic light and shadow in your landscape painting. Consider the time of day and the direction of the light source in the scene you’re depicting. The angle and intensity of the light will determine how shadows are cast and where highlights appear. Take note of how the light interacts with different elements in the landscape, such as trees, buildings, or bodies of water. Observe how the light changes as it hits different surfaces and use that knowledge to accurately represent the interplay of light and shadow in your painting.
Understanding Light and Shadow
Understanding how light and shadow work together is crucial for creating a sense of depth and dimension in your landscape painting. Light areas tend to be brighter and warmer, while shadow areas are darker and cooler in color. Shadows are not simply black or gray, but rather take on the colors of their surroundings. This concept, known as reflected light, adds realism to your painting. Observe how light interacts with the objects and surfaces in your landscape, and use a variety of colors to represent the subtle shifts in light and shadow.
Applying Shadows and Highlights
Applying shadows and highlights is the key to creating volume and three-dimensionality in your landscape painting. Begin by identifying the areas that are in shadow and apply darker tones accordingly. Gradually build up the shadows by layering multiple colors to represent the complexity of light and shadow. Similarly, identify the areas that are catching the most light and add highlights to those areas. This contrast between light and shadow adds visual interest and helps create a realistic representation of the landscape. Keep in mind the direction and intensity of the light source as you apply shadows and highlights.

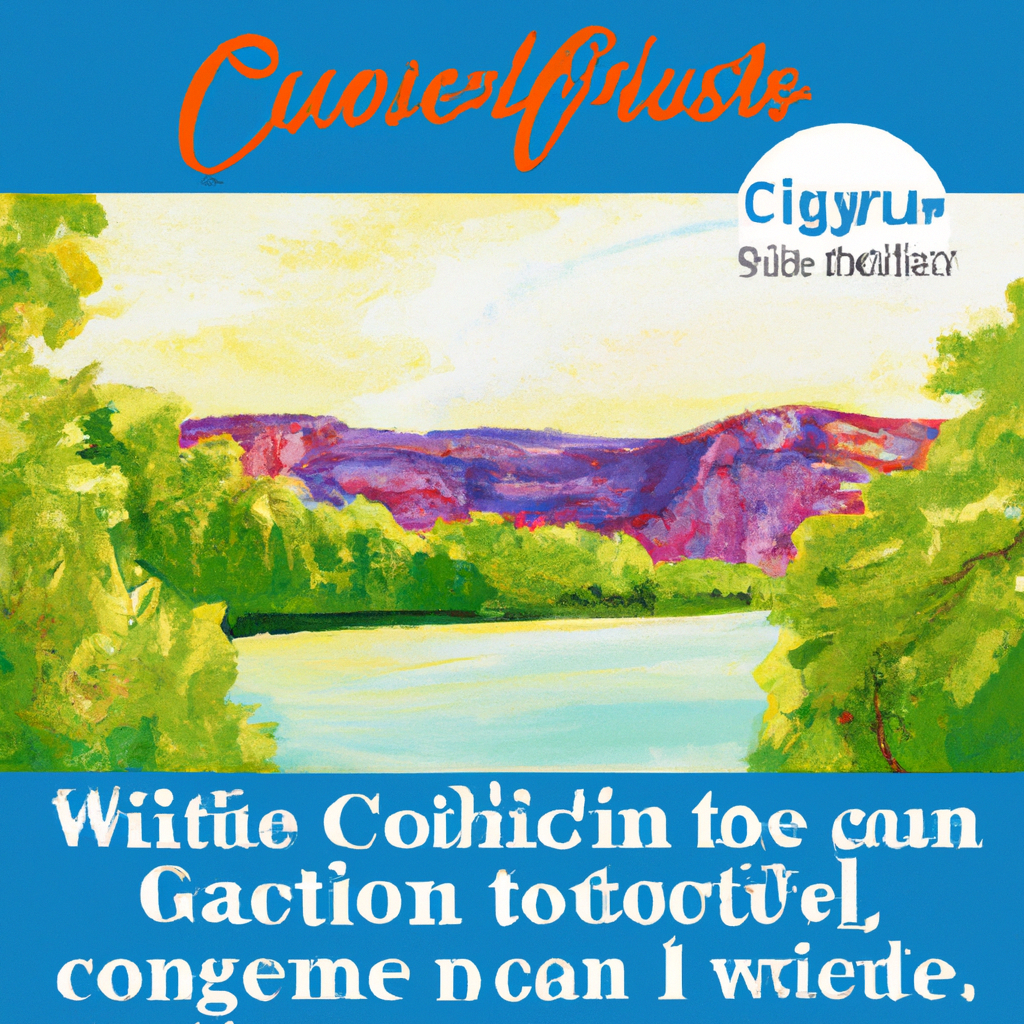
This image is property of images.unsplash.com.
Painting Landscape Elements
Painting the Sky
The sky is an integral part of a landscape painting and sets the tone for the entire composition. Start by determining the color palette for the sky, considering factors such as time of day and weather conditions. Use broad brushstrokes to create the overall shape and color of the sky, gradually building up layers to achieve a smooth gradient. If there are clouds in the sky, carefully observe their shapes and colors, and paint them using a combination of light and dark tones. Pay attention to the transitions between the sky and other landscape elements to ensure a seamless integration.
Adding Mountains and Hills
Mountains and hills add visual depth and interest to a landscape painting. Start by sketching the basic shapes and outlines of the mountains or hills using a light pencil or the same color as the underpainting. Use cool and muted colors for distant mountains or hills, gradually intensifying the colors as they come closer to the viewer. Consider the play of light and shadow on the slopes of the mountains or hills, paying attention to the direction of the light source. Use a combination of broad strokes and finer details to capture the texture and contour of the landscape.
Including Trees and Vegetation
Trees and vegetation bring life and character to a landscape painting. Begin by sketching the basic shapes and positions of the trees using a dark pencil or paint. Mix a variety of green tones and apply them to represent the foliage of the trees. Experiment with different brush techniques to create the texture and appearance of leaves. Pay attention to the structure and branching patterns of the trees, as well as the variation in color and value throughout the foliage. Add finer details, such as individual leaves or branches, to enhance the realism of your trees.
Depicting Bodies of Water
Bodies of water, such as rivers, lakes, or oceans, present a unique set of challenges in landscape painting. Start by determining the color and mood of the water, keeping in mind reflections from the surrounding landscape. Use long, horizontal brushstrokes to create the illusion of movement in the water. Lightly blend and soften the edges of the brushstrokes to replicate the appearance of ripples or waves. To depict still water, apply smooth and even brushstrokes, paying attention to the reflections of objects and the play of light and shadow on the surface. Experiment with different techniques to master the art of painting water.
Introducing Structures and Buildings
Structures and buildings add a sense of human presence and architectural interest to a landscape painting. Sketch the basic shapes and outlines of the structures using a light pencil or paint. Pay attention to the perspective and scale of the buildings in relation to the rest of the landscape. Use straight lines and precise brushwork to create the architectural details. Consider the materials and colors of the buildings, capturing the interplay of light and shadow on their surfaces. Experiment with different brush techniques to add texture and depth to the structures, enhancing their realistic representation.
Representing Atmospheric Perspective
Using Color and Value to Suggest Distance
Atmospheric perspective is a technique used to convey depth and distance in a landscape painting. By using color and value changes, you can create the illusion of objects appearing closer or farther away. Objects in the distance should appear cooler in color and lighter in value, while objects in the foreground should be warmer and darker. This change in color temperature and value creates a sense of atmospheric haze, mimicking the way objects appear less defined as they recede into the distance. Experiment with variations in color and value to suggest depth in your landscape painting.
Softening Edges and Details
To create a sense of depth and atmosphere, it’s important to soften edges and details in your landscape painting. Distant objects tend to have softer edges and less defined details, while objects in the foreground have sharper edges and more defined details. Use a dry brush technique or a light touch with a clean brush to gently blend and soften edges in the background. This blurring effect adds to the illusion of distance and creates a more atmospheric mood. Preserve the crisp edges and intricate details in the foreground to maintain visual interest and focal points in your painting.
Blurring Distant Objects
To enhance the sense of distance in your landscape painting, consider blurring or simplifying distant objects. This technique helps create a sense of depth and pushes those objects into the background. Use a soft brush or a light touch with a clean brush to blur and simplify shapes or details of distant elements, such as distant trees or mountains. Focus on capturing their basic forms and colors rather than intricate details. This blurring effect helps create a visual hierarchy and directs the viewer’s attention towards the more defined and detailed elements in the foreground.

Adding Final Touches
Refining Details
Adding final details to your landscape painting is an important step in bringing your artwork to a polished finish. Take some time to examine your painting and identify areas that could benefit from additional refinement. Use smaller brushes and a steady hand to add intricate details to specific elements of the painting, such as leaves on a tree or textures in the landscape. Be mindful not to overwork the painting, as too many details can sometimes detract from the overall composition. Focus on capturing the essential details that enhance the realism and visual interest of your landscape.
Enhancing Contrast and Saturation
To create a visually impactful landscape painting, consider enhancing the contrast and saturation of certain elements. Increasing the contrast between light and dark areas can add drama and depth to your painting. Use darker shadows and brighter highlights to create a greater sense of three-dimensionality. Additionally, selectively increasing the saturation of certain colors can make them appear more vibrant and eye-catching. Be cautious not to overdo these adjustments and maintain a balance that complements the overall composition.
Sign and Date Your Artwork
As a professional artist, it’s important to sign and date your artwork. Signing your painting adds a personal touch and indicates that you are the creator of the artwork. Choose a discreet location, such as the bottom corner of the painting, and sign your name using a small brush or a fine-tip pen. Additionally, include the date or the year of creation to provide a sense of chronological context. Signing and dating your artwork not only adds a professional touch but also helps establish your identity as an artist.
Troubleshooting and Tips
Fixing Mistakes
Mistakes happen, even to the most experienced artists. If you encounter a mistake in your landscape painting, don’t panic. There are various ways to fix errors or make adjustments. To correct a small mistake, you can gently lift the paint using a clean, damp brush or a Q-tip. For larger mistakes, you can carefully scrape away the paint using a palette knife or a similar tool. If the mistake cannot be completely corrected, consider incorporating it into the overall composition or finding a creative way to work around it. Remember, mistakes can often lead to new discoveries and unexpected artistic outcomes.
Experimenting with Techniques
As you grow as an artist, it’s important to experiment with different techniques and approaches in your landscape painting. Don’t be afraid to try new brush techniques, use unconventional tools, or explore different painting styles. Embrace the spirit of experimentation and allow yourself to make mistakes. This willingness to explore will help you find your unique artistic voice and develop a style that is distinctly yours. Remember to take notes and document your experiments, as these experiences can be invaluable in your artistic journey.
Practicing Regularly
Like any skill, landscape painting with gouache requires regular practice to improve and refine your technique. Set aside dedicated time to paint every day or as frequently as possible. By committing to a regular practice, you’ll not only build your technical skills but also develop a deeper understanding of the medium and its possibilities. Treat each painting as a learning experience and embrace the process rather than focusing solely on the end result. With consistent practice, you’ll see noticeable improvement in your artwork and gain confidence in your abilities as a landscape painter.