Embracing the yuletide spirit with a splash of creativity, this article outlines a skillful yet simplified process to paint a Christmas tree using acrylic paint. Acrylic is an ideal medium for this project due to its smooth, fast-drying properties and versatility. As you progress through this guide, you’ll be led effortlessly through each stage, from the early preparation phase to the finishing touches. This instructive journey will promote your artistic exploration and fulfillment, helping you to manifest a vibrant, hand-painted Christmas tree that shines with festive cheer.

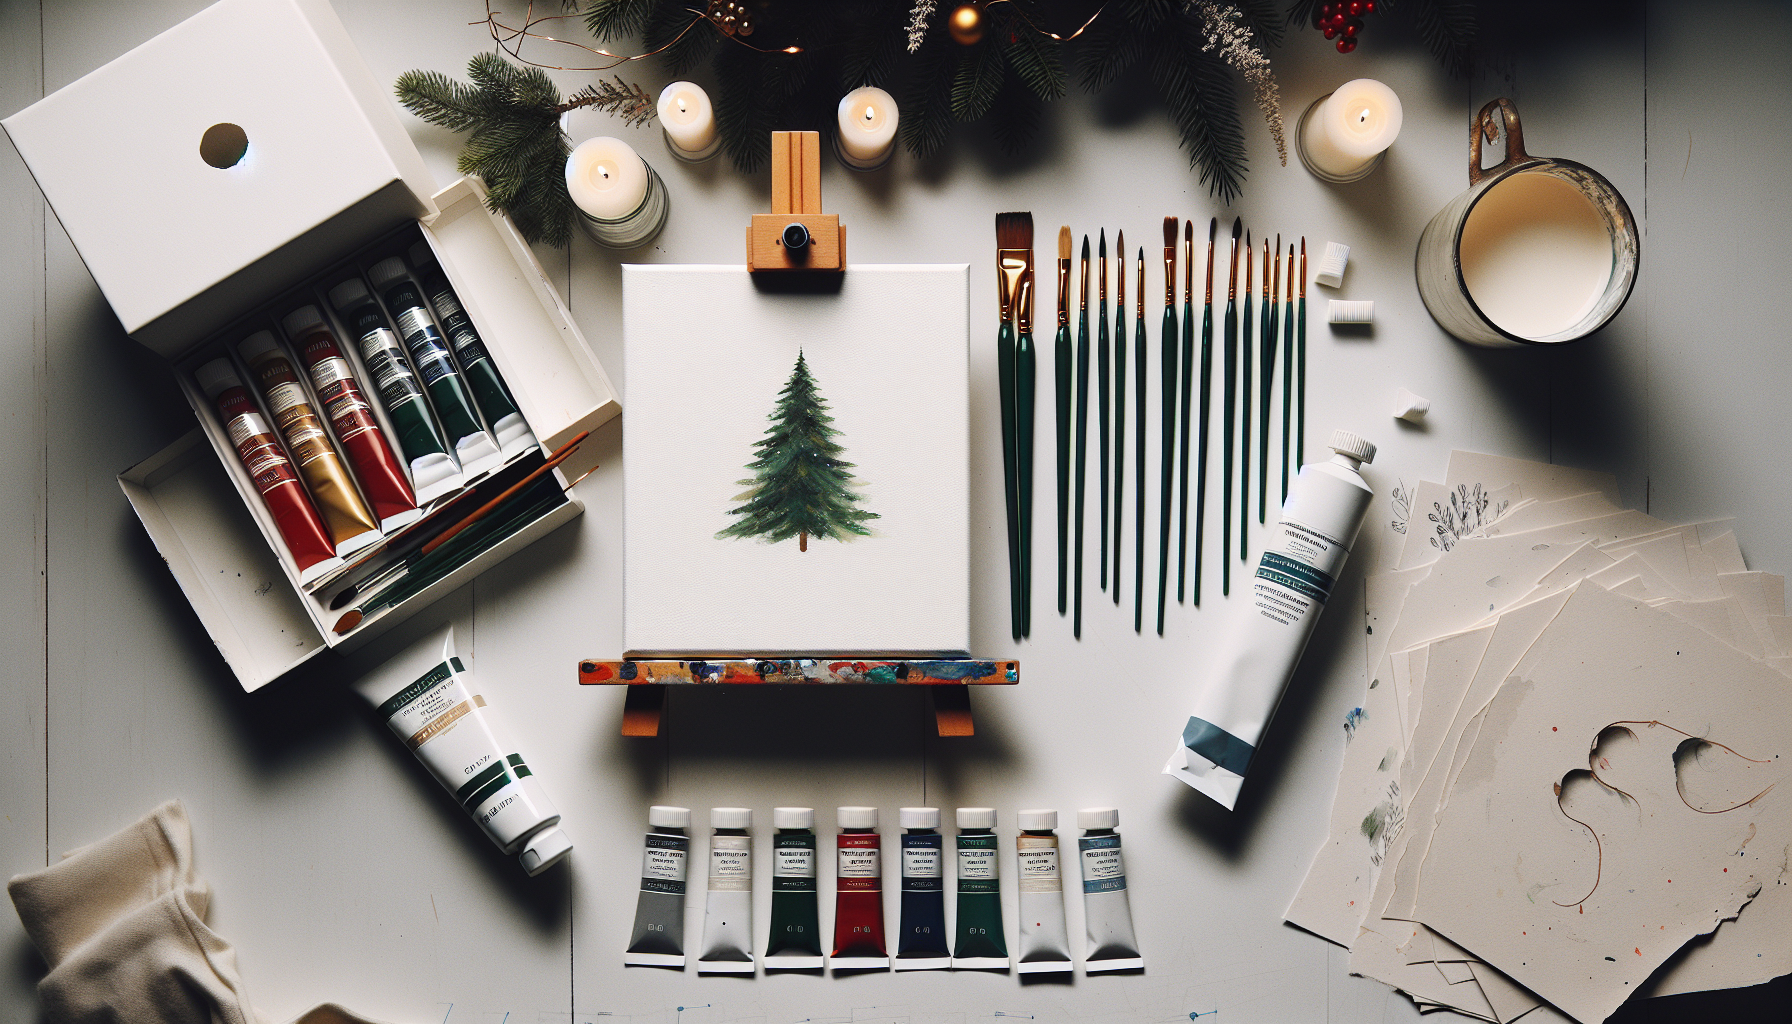
Materials Needed
Before beginning to paint any piece, especially a Christmas tree with acrylic paint, it is imperative to ensure you’re equipped with all the necessary materials. These materials include acrylic paint, which is a mediums preferred due to its versatility and the vibrant colors it offers.
As you set out on this artistic journey, ensure you have a canvas or painting surface of your choice. The beauty of such painting is the freedom it affords you, whether you fancy a traditional stretched canvas or an unconventional surface, such as wood or fabric.
When it comes to applying paint, paintbrushes are indispensable. Depending on your style and what you’re painting, your arsenal may need different types of brushes. Your palette might merely be a plate, but it’s vital in mixing your paints to achieve the desired colors and effects.
Other essentials include a water cup for cleaning your brushes in between different colors, paper towels to dab your brushes dry, painter’s tape for clean edges, a pencil for pre-painting sketches, and if you’re feeling adventurous, glitter or other embellishments to give your painting that extra sparkle.
Preparing the Canvas
Choose a Canvas or Painting Surface
Choosing your canvas or painting surface is the first step in this artistic exercise. Depending on the desired outcome, you should settle on a surface that best suits the occasion. Canvas is the most popular choice for its capacity to hold paint well and its availability in various sizes.
Prepare the Surface by Applying a Layer of Gesso
After selecting a canvas, the next step involves preparing the surface. By applying a layer of gesso, you prime it to accept the acrylic paint well. This layer also prevents paint from seeping into the canvas, thereby enhancing durability.
Sketch the Outline of the Christmas Tree
Once your canvas is properly prepped, sketch the outline of the Christmas tree. It serves as a preliminary guide, ensuring that you keep your Christmas tree painting proportionate and symmetrical.
Mixing the Colors
Select the Colors for Your Tree and Ornaments
To bring your Christmas tree to life, you need to decide on the colors. Keep in mind that your selection should not be restricted to traditional Christmas colors.
Squeeze Out the Acrylic Paint Onto the Palette or Plate
To prepare your selected colors, squeeze them out onto your palette or plate. You want enough paint to complete your piece without running out.
Mix Colors to Achieve Different Shades and Hues
Once your paints are on the palette, the mixing begins. Creating diverse shades and hues adds depth and interest to your Christmas tree painting.
Painting the Background
Paint the Background of the Canvas
With a clear and detailed sketch and your colors ready, it’s time to paint. Although often overlooked, the background forms an integral part of any painting. You could opt for a simple, one-tone background, or be creative and dramatic with a fusion of different colors.
Blend Colors or Create a Gradient Effect
Introduce a smooth blend of colors or create a gradient effect for extra depth and contrast. This helps your Christmas tree stand out and gives your work a professional touch.
Let the Background Dry Completely
Once your background is complete, set aside your canvas to dry fully before proceeding. A dry background prevents the blending of colors and preserves each’s integrity.

Creating the Christmas Tree Shape
Outline the Shape of the Christmas Tree Using a Pencil
Revisit your pencil sketch and solidify the shape of the Christmas tree. It should be distinctive and clear.
Use Painter’s Tape to Create Clean Edges for the Tree
Painter’s tape is an essential tool in this process. Applying it to the edges of your tree’s outline ensures clean, sharp lines and saves you from any unfortunate painting mistakes.
Fill in the Tree Shape with a Base Coat of Paint
With a clearly outlined Christmas tree shape, fill it in with a base coat of paint. This will set the stage for layers of texture and color variations later on.
Adding Texture and Depth
Add Texture to the Tree by Dabbing or Stippling the Paintbrush
A Christmas tree is never flat; it’s brimming with texture and depth. Achieve this effect by dabbing or stippling your paintbrush, thereby creating the illusion of foliage.
Create Depth by Adding Darker Shades to the Tree
Adding darker shades of green to your tree gives it that much-needed depth. Pay attention to areas that would naturally be in shadow and apply darker hues to mimic this.
Blend the Colors for a Realistic Look
To avoid harsh lines between different shades of green, seamlessly blend your colors. This gives your tree a realistic, three-dimensional appearance.
Painting the Ornaments
Choose Colors for the Ornaments
Constantly engaging your artistic discretion, decide on the colors of your ornaments. They could be traditional reds and golds, or any combination that suits your creative vision.
Paint Small Circles or Shapes to Represent the Ornaments
Paint small circles or shapes on the tree, representing the various ornaments. Your ornaments can take any form or size, all depending on your preference.
Add Details and Highlights to the Ornaments
Just like the tree, the ornaments need depth, achieved by painting details and highlights. This enhances their realistic appearance and gives your painting an added touch of professionalism.
Decorating the Tree
Add Garlands, Tinsel, or Other Decorations
Decorating is a crucial part of a Christmas tree. Add garlands and tinsel, or any other decorations you desire. Your painting, your rules.
Use a Small Brush to Paint Strings or Ribbons
A small brush is ideal for painting intricacies like strings or ribbons. These smaller details contribute significantly to the overall aesthetical appeal.
Add Glitter or Other Embellishments for Extra Sparkle
To give your painting that festive cheer, consider adding glitter or other embellishments. They provide extra sparkle, making your Christmas tree stand out all the more.
Painting the Tree Trunk
Paint the Trunk of the Tree using Brown or a Dark Color
No Christmas tree is complete without a trunk. Using a shade of brown or any dark color, paint the trunk, grounding your tree realistically.
Add Texture to the Trunk with Brushstrokes
Add texture to your trunk by playing around with your brushstrokes. This adds to the realistic effect, and gives your painting a professional touch.
Add Shading to Create Dimension
A tree trunk isn’t a flat, two-dimensional object; it has curves and rims where shadows naturally fall. Paint these shades to create the illusion of dimension.
Finishing Touches
Check for Any Areas that May Need Touch-ups
Once your masterpiece appears complete, examine it for any areas that may need touch-ups. Don’t hesitate to adjust things; after all, it’s your work of art.
Let the Painting Dry Completely
After making all the adjustments and final touches, let your painting dry completely. This is a critical stage, as inadequate drying can damage the painting.
Sign and Date Your Artwork
Finally, to claim your work, sign and date it. This practice is an artist’s personal touch, adding authenticity to the painting. Now, sit back and enjoy your beautiful Christmas tree painting made from acrylic paints! Not only is it a fun process, but it also results in a meaningful piece to display during the holiday season.