Have you ever wondered how to capture the beauty and intricacies of a bird using watercolor? Painting birds with watercolor can be both a fulfilling and challenging endeavor, as it requires a combination of patience, skill, and attention to detail. Whether you are a budding artist or have some experience with watercolors, this guide will provide you with comprehensive insights and techniques to create a stunning avian artwork.
Understanding Watercolor and Its Properties
Watercolor is a versatile medium known for its transparency and fluidity. To effectively use watercolor, you must understand its properties, which will influence how you approach your painting.
Watercolor pigments come in two forms: tubes and pans. Tubes offer a more saturated color, while pans are convenient and portable. Watercolor paints are also categorized into transparent, semi-transparent, and opaque, which will affect the layering and blending techniques.
The Importance of Water and Pigment Ratio
The ratio of water to pigment is crucial in watercolor painting. Balancing these elements will determine the translucency and flow of your colors. Experiment with varying amounts of water to see how it impacts the paint’s behavior on paper.
Paper Selection
The choice of paper can greatly impact your painting’s outcome. Watercolor papers are typically categorized by texture: hot-pressed (HP), cold-pressed (CP), and rough. HP paper offers a smooth surface, CP has a slight texture, and rough paper has a pronounced texture. Additionally, the paper weight (measured in GSM) affects its absorbency and durability.
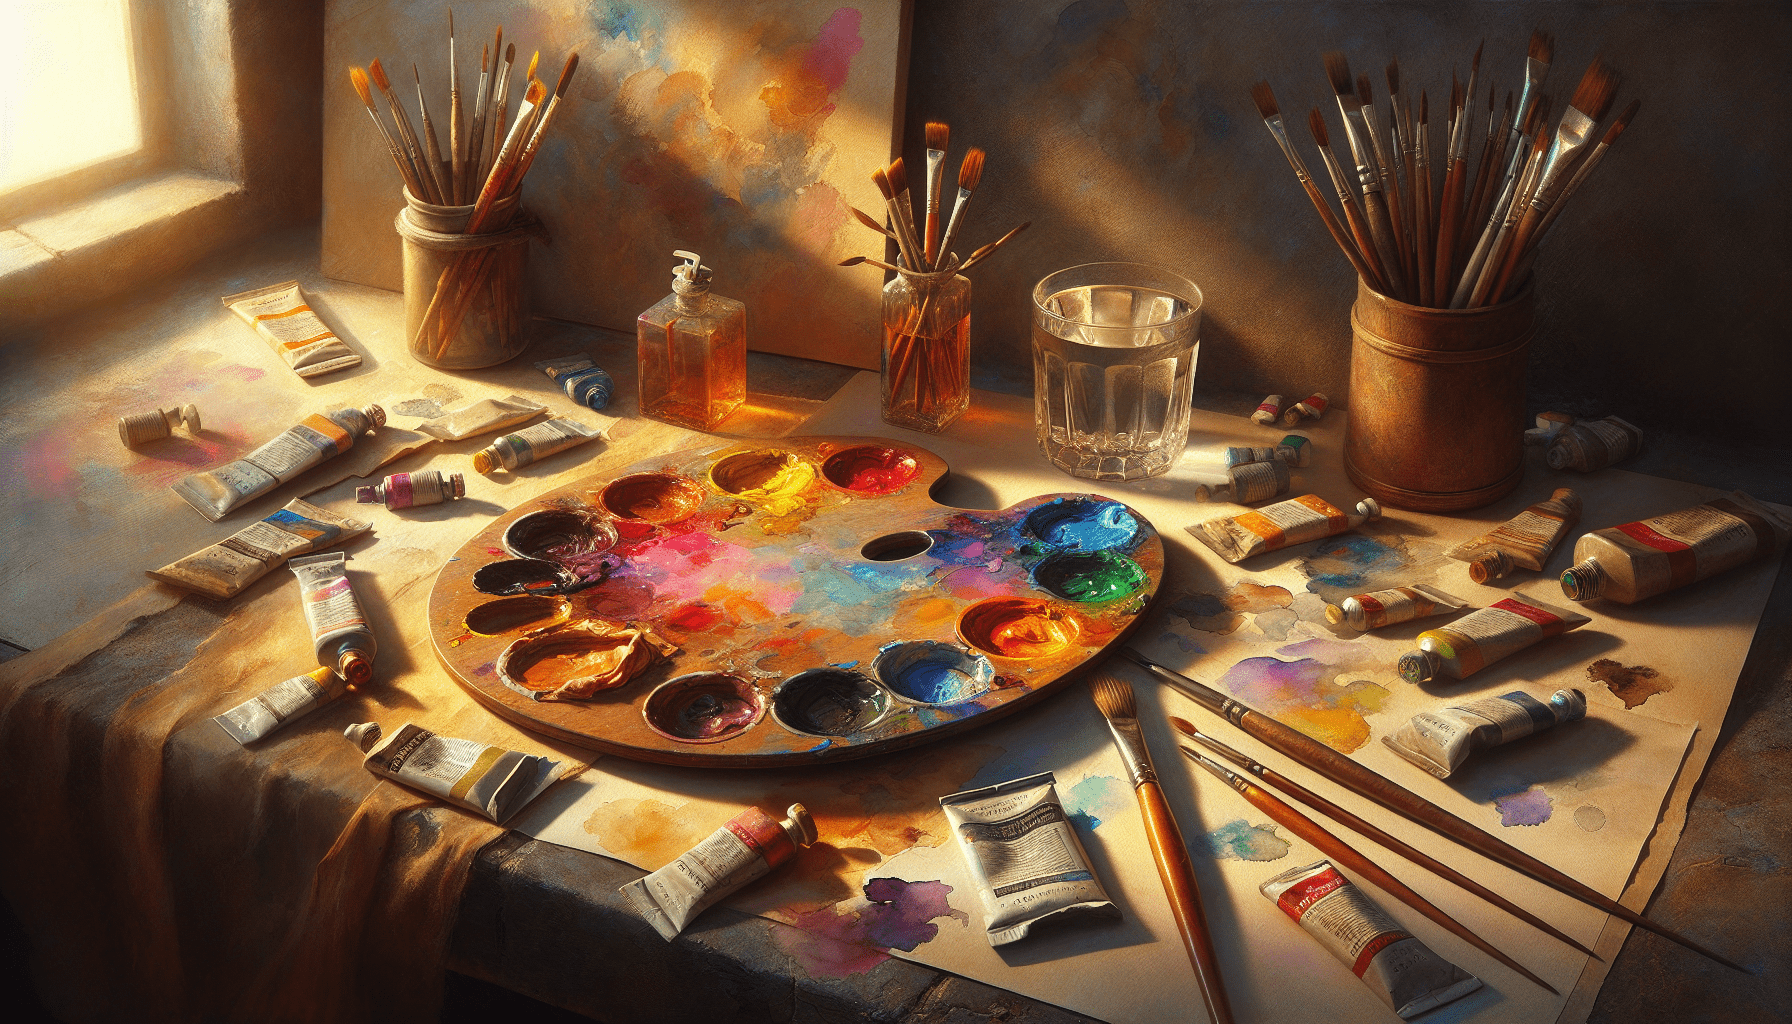
Essential Tools
To get started, you’ll need the following tools:
| Tool | Description |
|---|---|
| Brushes | Round, flat, and detail brushes in varying sizes |
| Palette | For mixing colors |
| Water | Two jars: one for washing brushes, one for clean water |
| Masking Tape | To secure the paper and create clean edges |
| Pencil and Eraser | For initial sketches |
Preparing Your Workspace
A well-organized and clean workspace will help you focus on your painting. Make sure you have ample natural light or a good quality lamp. Layout all your materials within easy reach and tape down your watercolor paper to a flat surface to prevent warping.
Setting Up the Palette
Arrange your palette with the colors you plan to use for your bird painting. Begin with primary colors and mix secondary and tertiary hues as needed. Take note of which colors are transparent, semi-transparent, or opaque.
Reference Material
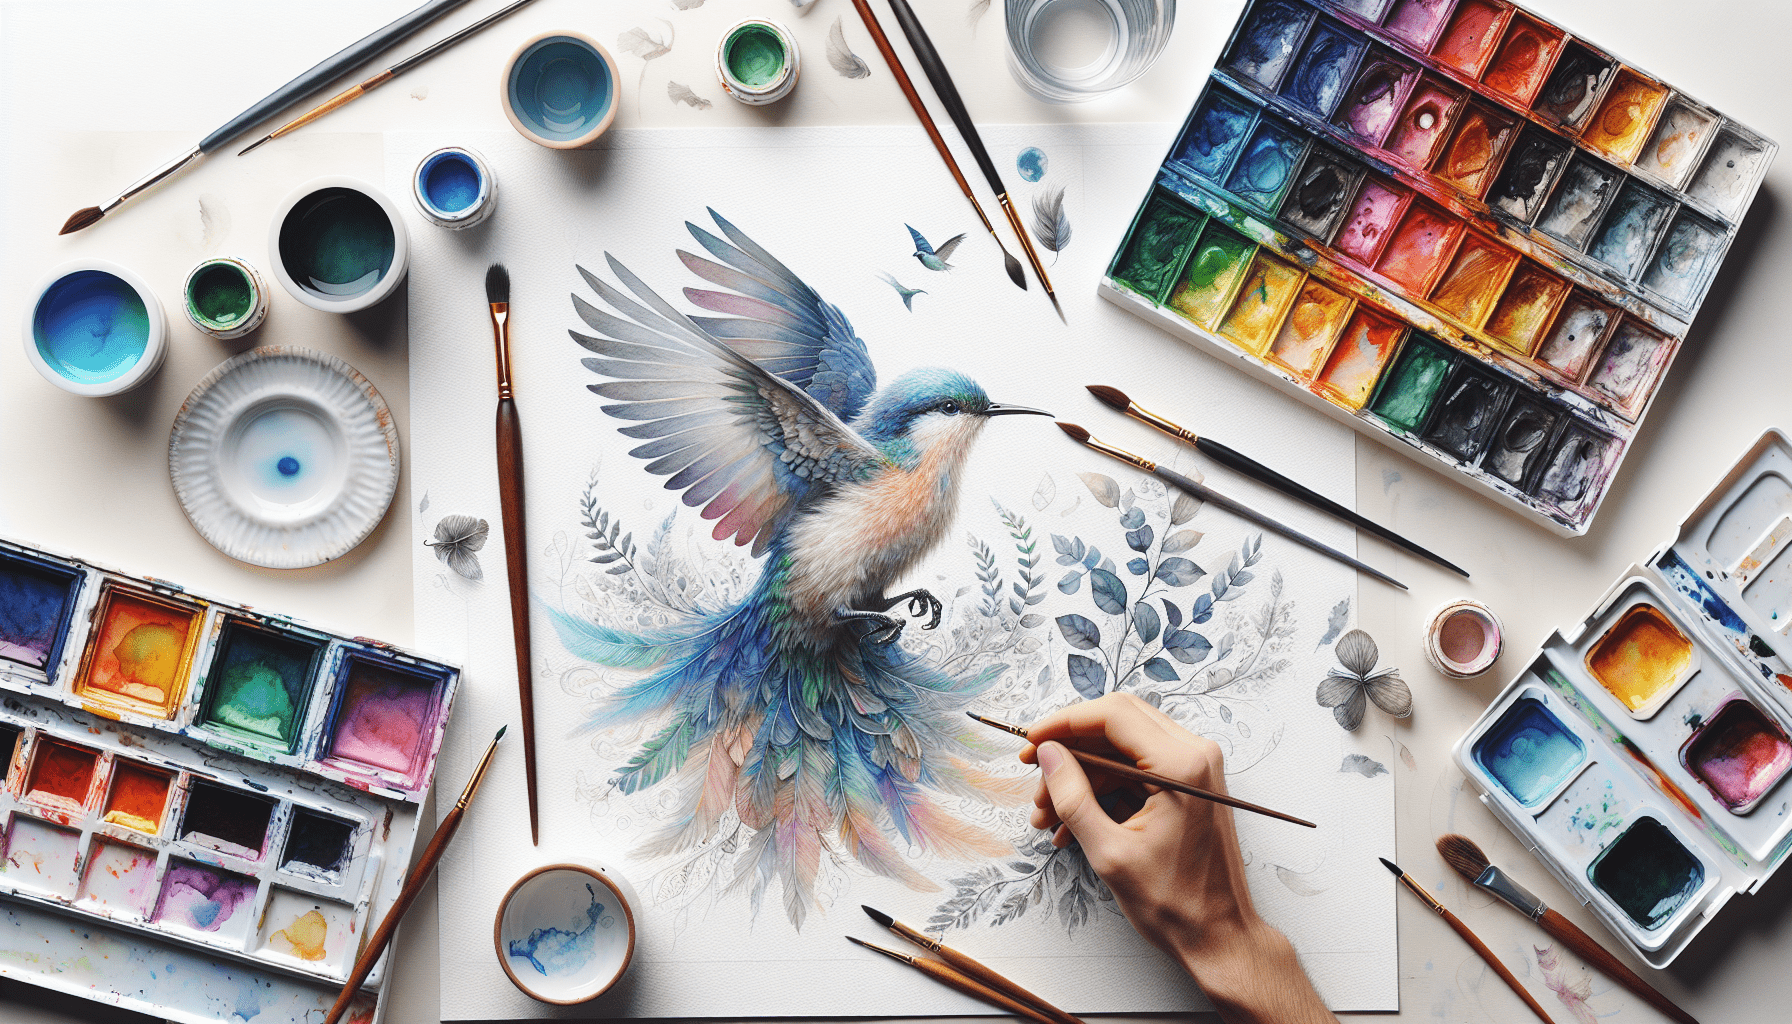
Using high-quality reference photos of birds will provide you with the details needed for accuracy. Observe the bird’s anatomy, plumage patterns, and color variations. Studying the bird’s habitat can also inspire your background scenery.

Sketching the Bird
An accurate and well-proportioned sketch is the foundation of a successful watercolor painting. Use a light-handed approach with your pencil to sketch the bird, focusing on basic shapes and forms.
Proportions and Anatomy
Understanding the anatomical structure of birds is essential. Birds have unique proportions, and recognizing these will help you achieve a realistic representation. Pay attention to the beak, eyes, wings, and tail—each component should be proportionate to the overall size of the bird.
Simplifying Shapes
Break down the bird’s form into simple geometric shapes. This technique simplifies the complexity and helps you maintain correct proportions. For example, the body can be visualized as an oval, and the head as a circle.
Adding Details
Once you have the basic shapes and proportions, refine your sketch by adding details such as feathers, beak contours, and eyes. Keep the lines light to ensure they don’t show through the watercolor.
Applying the First Wash
The first wash, also known as the underpainting, sets the base tones and values of your painting. This stage involves applying light and transparent layers to establish the general color scheme.
Wet-on-Wet Technique
The wet-on-wet technique involves applying wet paint to a wet surface. This method creates soft edges and natural blending. Start by lightly wetting the paper where the bird will be painted and then apply diluted colors.
Establishing Base Colors
Choose the lightest hues for your first wash. For example, if painting a bluebird, start with a diluted blue for the body and soft yellows for highlights. This layer should be light, as it will be built upon in subsequent stages.

Building Up Layers
Building up layers gradually adds depth and texture to your painting. This approach involves working from light to dark, allowing each layer to dry before adding the next.
Wet-on-Dry Technique
The wet-on-dry technique involves applying wet paint on a dry surface, allowing for more control and defined edges. Use this method to add details and build intensity in certain areas.
Developing Mid-Tones
Introduce mid-tones to your painting, gradually increasing the pigment concentration. For example, add more blue to the areas in shadow, enhancing the three-dimensional appearance.
Layering Feathers
To achieve a realistic depiction of feathers, layer colors gradually. Start with the lighter feather shades and progressively add darker tones. Pay attention to the feather direction and overlap, as this detail can elevate the realism of your work.
Detailing and Texturing
The detailing and texturing stage brings your bird painting to life. This involves adding fine details and textures that define the bird’s unique features.
Using Fine Brushes
Fine brushes, such as liner or detail brushes, are ideal for adding intricate details. These brushes allow you to create fine lines and precise strokes, which are essential for painting feathers, beaks, and eyes.
Creating Texture
Texture can be created using various techniques:
- Dry Brush: Load your brush with pigment and remove excess water. Lightly drag the brush across the paper to create a textured effect.
- Lifting: Use a damp brush or paper towel to lift wet paint from the paper, creating highlights and texture.
- Salt: Sprinkle salt on wet paint to create a granular texture, ideal for background or feather details.
Adding Shadows and Highlights
Shadows and highlights add dimension and depth. Use darker colors to emphasize shadows under wings, around the beak, and where the body curves. Conversely, use a clean, damp brush to lift paint and create highlights where light naturally hits the bird.
Final Touches
The final touches are crucial in refining your artwork and ensuring all elements are cohesive.
Checking Proportions and Details
Step back and examine your painting. This perspective can help you identify any proportional inaccuracies or areas needing more detail. Adjust as required to ensure accuracy.
Adding Background Elements
A well-composed background can enhance your bird painting. Whether you add a simple gradient wash or detailed foliage, ensure the background complements the bird without overpowering it.
Sealing Your Artwork
Once your painting is completely dry, consider sealing it with a fixative spray to protect it from smudging and fading. This step is optional but can add longevity to your artwork.
Troubleshooting Common Issues
Everyone encounters challenges when painting with watercolor. Here are some common issues and solutions to help you troubleshoot your work.
| Problem | Solution |
|---|---|
| Paint Bleeding | Allow layers to dry fully before adding new colors |
| Uneven Washes | Use a consistent amount of water and pigment |
| Overworking | Take breaks and avoid repeatedly working on the same area |
| Muddy Colors | Clean your palette and water jars frequently |
Practice and Patience
Mastering watercolor takes time and practice. Patience is key, as is a willingness to learn from mistakes and experiment with techniques.
Continuously Learning
Expand your knowledge by studying other watercolor artists, taking classes, and practicing regularly. Each painting adds to your experience, and over time, your skills will improve.
Keeping a Sketchbook
Maintain a sketchbook to practice different elements of bird painting. Use it to experiment with colors, practice techniques, and sketch new birds. This habit will help you grow as an artist.
Conclusion
Painting a bird with watercolor is a rewarding experience that combines technical skill with artistic expression. By following the steps outlined in this guide and continually practicing, you will develop the ability to create beautiful, lifelike bird paintings. Remember that every artist progresses at their own pace, so embrace the learning process and enjoy the journey of creating art. With patience and dedication, your watercolor bird paintings will come to life, capturing the stunning essence of avian beauty.