As an artist, your talent is only as good as your technique. In the realm of oil painting, there’s a world of subjects waiting to be explored by your skilled hand, but few are as challenging as capturing the ephemeral wisps and vibrant hues of clouds. In the “How To Oil Paint Clouds” article, you’ll get a detailed step-by-step guide, providing you critical insights, practical tips, and expert techniques to master this visually stunning aspect of your craft. It’s a comprehensive look into portraying one of nature’s most beautiful sights on your canvas. Let’s explore the artistry in the sky, shall we?
Supplies Needed
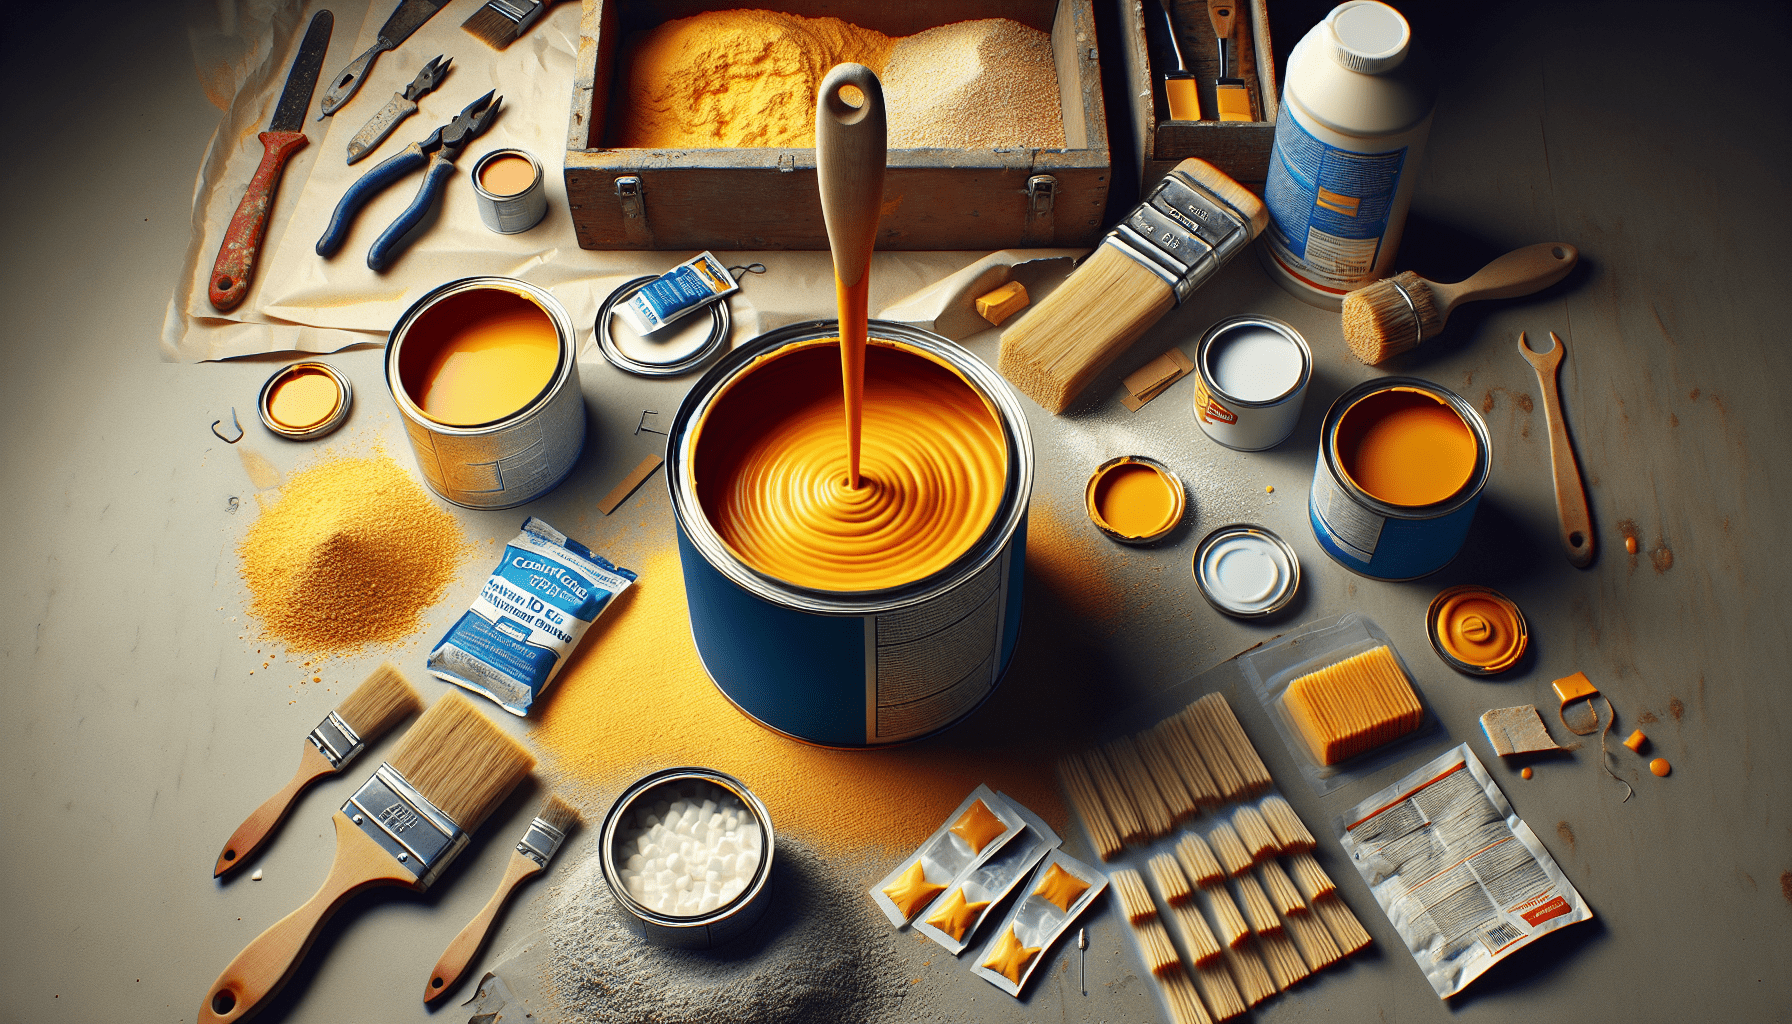
To embark on your journey of oil painting clouds, you will be requiring a few basic supplies. These tools will enable you to create a mesmerizing masterpiece that will reflect your skills, inspiration, and the ethereal beauty of diverse cloud formations.
Oil paints
Invest in a set of high-quality oil paints. It is the primary tool that will add color to your imagination. Depending on your preferences and requirements, you can purchase these in starter packs with a variety of color options, or as individual tubes.
Paintbrushes
Different types of paintbrushes serve different purposes – large brushes for creating broader strokes or base layers, and smaller, fine-tip brushes for detailing. Make sure you have both soft and stiff brushes to create diverse effects.
Palette
You will need a palette for mixing and preparing your colors before applying them. This could be made of wood, plastic, or even glass.
Palette knife
A palette knife is useful not just for mixing colors, but also for creating texture and lines in your painting. It adds a tactile quality to your work that a brush cannot achieve.
Canvas or painting surface
Your canvas is your stage. You can choose from different sizes and types – pre-stretched, roll, canvas panel or board. Each has its own characteristics and can affect the final look of your painting.
Easel or support
An easel can provide you the stability to paint with precision. It’s optional, but can make the experience more comfortable and professional.
Medium or solvent
These are used to thin your paint, change the drying time, or alter the texture and finish of your paint.
Rags or paper towels
These are essential for wiping off excess paint, blotting brushes, or even modifying the paint on your canvas.
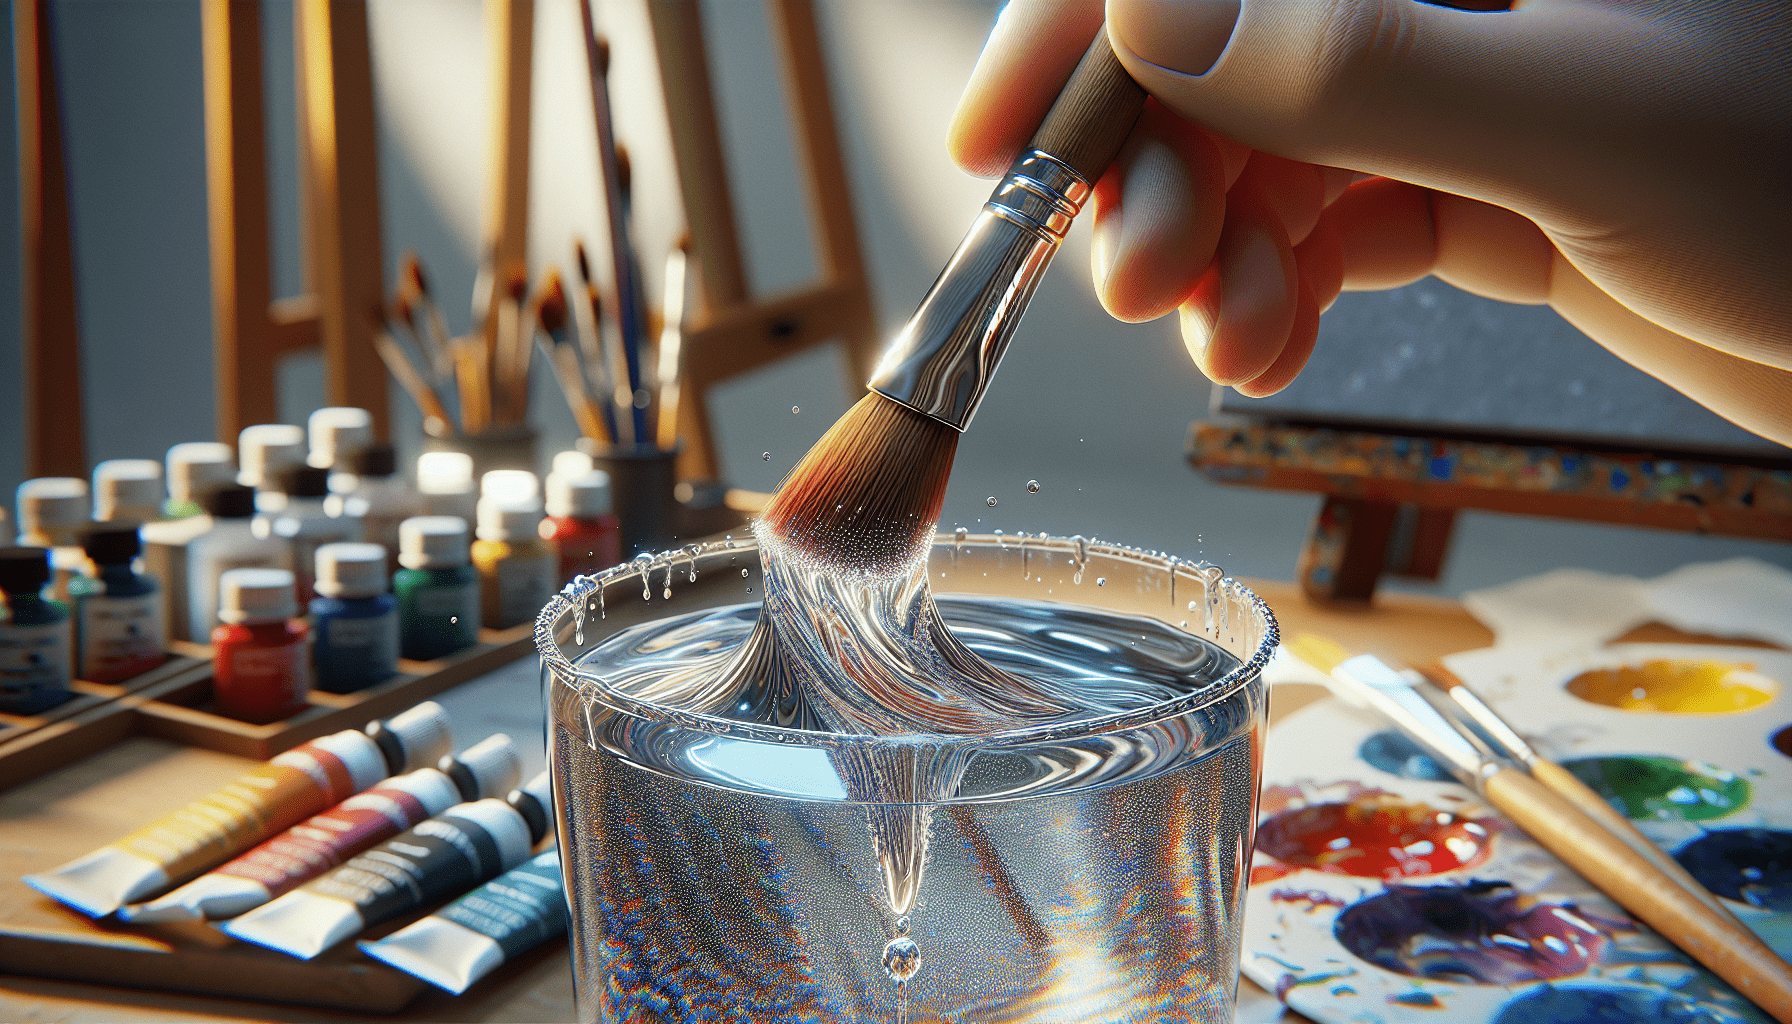
Container for cleaning brushes
This will hold the solvent used to clean your brushes in between colors.
Reference photo or sketch
A reference photo can guide your painting process, especially if you are new. You can sketch out your cloud first before beginning with oil paint, reducing your chances of error.
Preparing the Canvas
Choose a canvas size
Choosing the right canvas size is important. Larger canvases can accommodate more detail, but smaller ones can help you complete your painting faster. Your choice should depend on your comfort, the level of detail you want to include, and the space where the painting will be displayed.
Prepare the surface
Preparing your canvas with one or more base coats can make the surface more receptive to oil paints. Gesso is commonly used as a primer as it helps to prevent the oil paint from soaking into the canvas, promoting a richer color display and longer longevity.
Apply an underpainting
Underpainting involves applying a base layer of paint, usually monochrome, to bring out the tonal values in your painting and importantly, guiding the color composition in later stages.
Sketch the basic composition
Before you dive into painting, it’s a good idea to sketch out your composition. This drafting can provide an outline for your painting, helping you identify the placement of elements and maintain proportions.

Mixing Paint Colors
Selecting the colors
When painting clouds, you aren’t limited to just white. Depending on the time of day, weather, and lighting, clouds can be many different colors. You might need a range of blues, greys, yellows, pinks, purples and of course, whites.
Understanding color temperature
Color temperature refers to how warm or cool a color appears. It can influence the mood of your painting. Warm colors like red, orange, and yellow can add vibrancy, while cool colors like blue and green can create a calming effect.
Mixing different hues
Understanding the color wheel will help you mix different hues effectively. Remember that less is more when it comes to mixing paint. Always start with the lighter color and gradually add the darker color to avoid muddying your hues.
Creating variations for realistic clouds
Creating a realistic cloud impression isn’t just about shape but also about color variation. Adding shades of gray, blues, or even purples can give your cloud depth and texture. Highlights and lowlights help in creating a three-dimensional feel.
Basic Techniques
Blocking in the sky
Blocking in involves painting the general shapes and colors, helping set the foundation for your painting. Start with the largest areas first, typically the sky, using a large brush and appropriately mixed colors.
Painting with glazes
Painting with glazes involves applying a thin, transparent layer of color over another dry layer. This helps in adjusting colors and values, adding depth to the painting.
Using dry brushing
Dry brushing, where a minimal paint is used on a brush, resulting in a broken or scratchy look can create a fluffy, light appearance, perfect for clouds.
Blending and softening edges
While clouds have defined shapes, their edges are usually soft and blended. Use a blending brush to fade the edges of your clouds into the sky.
Adding depth and perspective
To add depth, paint the clouds that are far away smaller and less detailed than those that are supposed to be closer. Also, remember that objects appear lighter in color when they are farther away.

Painting Cloud Shapes
Observing cloud formations
Understanding and studying different cloud formations from real life or photographs will help form the foundation of painting clouds. Analyzing how light and shadow behave on different cloud shapes is crucial.
Breaking down complex shapes
Breaking down complex shapes into simpler forms can help you tackle the task of painting intricate cloud formations. Instead of viewing the cloud as a whole, break it down to basic shapes.
Building layers of paint
Starting with thin layers for the base and gradually adding thicker layers can provide your clouds with a more realistic appearance with a subtle light diffusion effect.
Utilizing different brushstrokes
Different brushstrokes can create different effects. Short, dabbing strokes can create a fluffy texture, long strokes can create wispy clouds, and circular strokes are perfect for cumulus clouds.
Creating highlights and shadows
Successful cloud painting involves creating volume and form using light and shadow. Brighter highlights and darker shadowed parts add depth and avoid a flat appearance.
Creating Texture
Using impasto technique
Impasto technique involves applying thick layers of paint, adding layers and textures to your cloud formations.
Adding visible brushstrokes
Leaving some brushstrokes visible can add to the texture and dynamism of your clouds.
Applying palette knife strokes
A palette knife can be used to apply thick blobs of paint giving the clouds texture and dimension.
Experimenting with different tools
Don’t limit yourself to just brushes. Using different tools like sponges, bunched up cloth, or your fingers can be an excellent way to create unique textures.
Enhancing Realism
Working with value and contrast
Work with different values – the lightness or darkness of colors – to create contrast in your painting. Contrasting values can bring your clouds to life.
Adjusting color saturation
Based on the atmosphere you want to create, adjust the saturation of your colors. Highly saturated colors bring vivacity while lower saturation provides a more subdued, calm mood.
Adding atmospheric effects
Consider adding atmospheric effects such as the warm glow of a sunset or the ominous grey of a storm brewing to enhance your painting’s visual appeal.
Painting details and wisps
Details like fluffy edges, the light hitting specific parts of a cloud, or wisps of cloud detached from the main formation can add a further touch of realism.
Troubleshooting
Fixing muddy colors
Muddy colors are often a result of over-mixing or using too many colors. Always clean your brush between transitions to avoid unwanted blending.
Correcting proportions
Pay attention to scale and perspective to ensure that proportions look correct.
Dealing with overworking
Overworking is applying too many layers or continuously tweaking portions of the painting. Taking breaks between sessions can help manage this.
Rescuing mistakes
Mistakes are part of the painting process. Keep in mind that you can always paint over your mistakes once the paint dries.
Finishing Touches
Evaluating your painting
Once your painting is complete, step back and evaluate your work from a distance. Check for any areas that need adjustments and make necessary touch ups.
Applying final glazes
Applying final glazes can help adjust colors, values, or add a touch of glow to your painting.
Signing and varnishing
Don’t forget to sign your artwork to mark its authenticity. A final layer of varnish can protect your painting and enhance color vibrancy.
Experimentation and Practice
Exploring different cloud types
Experiment with different types of clouds – fluffy cumulus, wispy cirrus, or layered stratus, to name a few. Each brings its own unique appeal.
Trying different techniques
Don’t limit yourself to a single style or technique. Trying out various techniques can make you a versatile painter and enrich your arsenal of skills.
Painting en plein air
Painting outdoors or “en plein air” helps you understand and capture the lighting and setting of a real landscape.
Developing your own style
The goal of art is not just to replicate exactly what’s seen but to develop your own creative interpretation. As you become more confident, strive to create a style that is uniquely yours.