In your artistic endeavors, achieving the perfect skin tone with oil paints can be a nuanced and intricate process. This article, titled “How To Mix Skin Tones Oil Paint,” offers you a comprehensive guide to mastering this essential skill. It delves into the fundamental principles of color theory, providing you with practical techniques for blending and adjusting pigments to create lifelike and vibrant skin tones in your artwork. Encompassing both the theoretical and practical aspects of color mixing, this guide will empower you with the knowledge and confidence to enhance the realism and depth of your portraits and figure paintings. Have you ever wondered how to mix skin tones with oil paint to create lifelike portraits? Achieving realistic and nuanced skin tones can be one of the most challenging aspects of painting with oils, but it is also one of the most rewarding. By understanding the principles of color theory, the properties of your materials, and some tried-and-true techniques, you can master this essential skill. This guide aims to provide a detailed and professional roadmap for artists at any level looking to improve their color-mixing abilities for skin tones.
Understanding Skin Tones
What Constitutes Skin Tone?
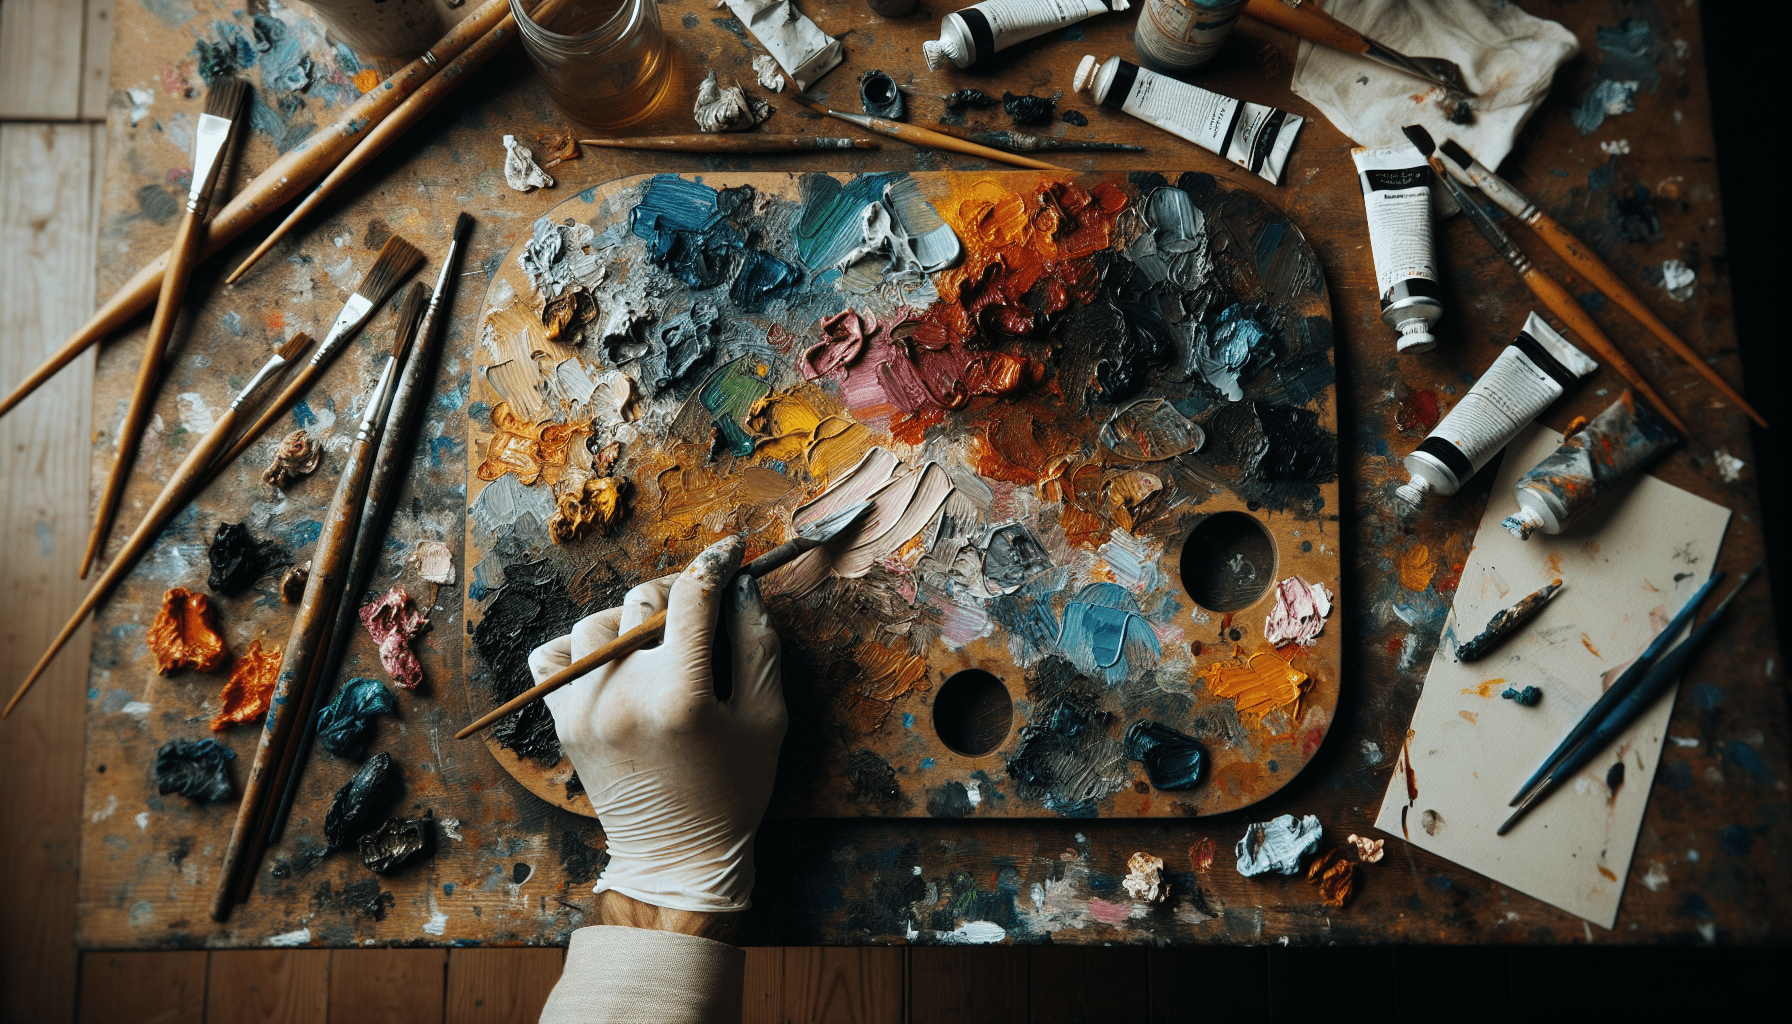
Skin tone is a complex combination of colors that reflect various pigments such as melanin (brown/black pigments) and carotene (yellow pigments), along with the red hues from blood vessels. The challenge for an artist is to recreate this complexity using a limited palette. The essential goal is to achieve a balance of warmth and coolness, light and shadow.
Primary Colors for Mixing Skin Tones
Generally, you will use the primary colors—red, yellow, and blue—as your foundation. It’s also important to have a good understanding of white and black pigments, which will help you adjust the tones.
| Color | Example Pigments |
|---|---|
| Red | Cadmium Red, Alizarin Crimson |
| Yellow | Cadmium Yellow, Yellow Ochre |
| Blue | Ultramarine Blue, Cobalt Blue |
| White | Titanium White |
| Black | Ivory Black |
Secondary Colors and Complementary Colors
Knowing how to mix secondary colors (orange, green, and purple) and understanding complementary colors (colors opposite each other on the color wheel) is crucial. These combinations enable you to neutralize and balance your skin tones effectively.
The Importance of Temperature
Skin tones can be categorized into warm and cool tones. Warm colors include reds, yellows, and oranges, whereas cool colors consist of blues, greens, and purples. Adjusting the temperature of your skin tones can make a significant difference in the portrayal of different lighting conditions and individual characteristics.
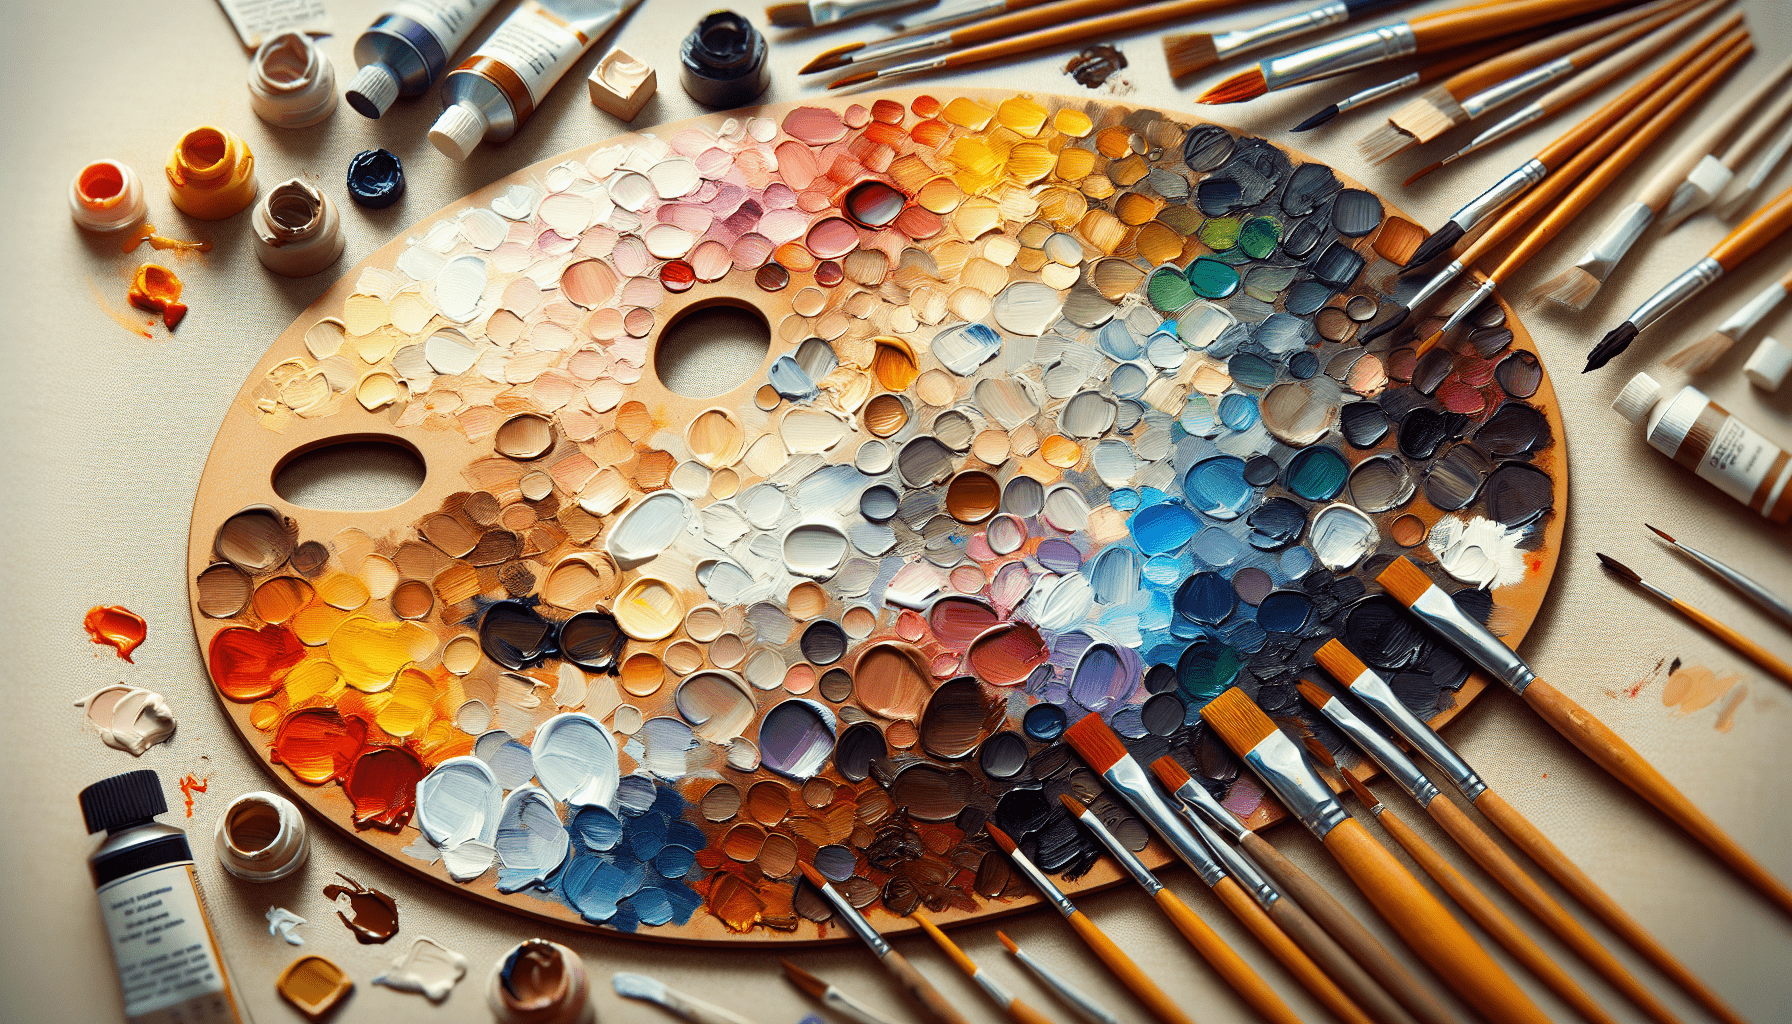
Preparing Your Palette
Basic Palette Setup
A basic palette for mixing skin tones should include a range of warm and cool primary colors and some earth tones. Here’s a recommended setup for beginners:
| Warm Colors | Cool Colors | Earth Tones |
|---|---|---|
| Cadmium Red | Alizarin Crimson | Burnt Sienna |
| Cadmium Yellow | Yellow Ochre | Raw Umber |
| Titanium White | Ultramarine Blue | Burnt Umber |
Advanced Palette
For more advanced painters, incorporating a broader range of colors can offer greater versatility:
| Warm Colors | Cool Colors | Earth Tones | Supplemental Colors |
|---|---|---|---|
| Cadmium Orange | Cobalt Blue | Indian Red | Naples Yellow |
| Flake White | Pthalo Blue | Mars Black | Transparent Oxide Red |
| Venetian Red | Cadmium Lemon | Light Red |
Mixing Mediums
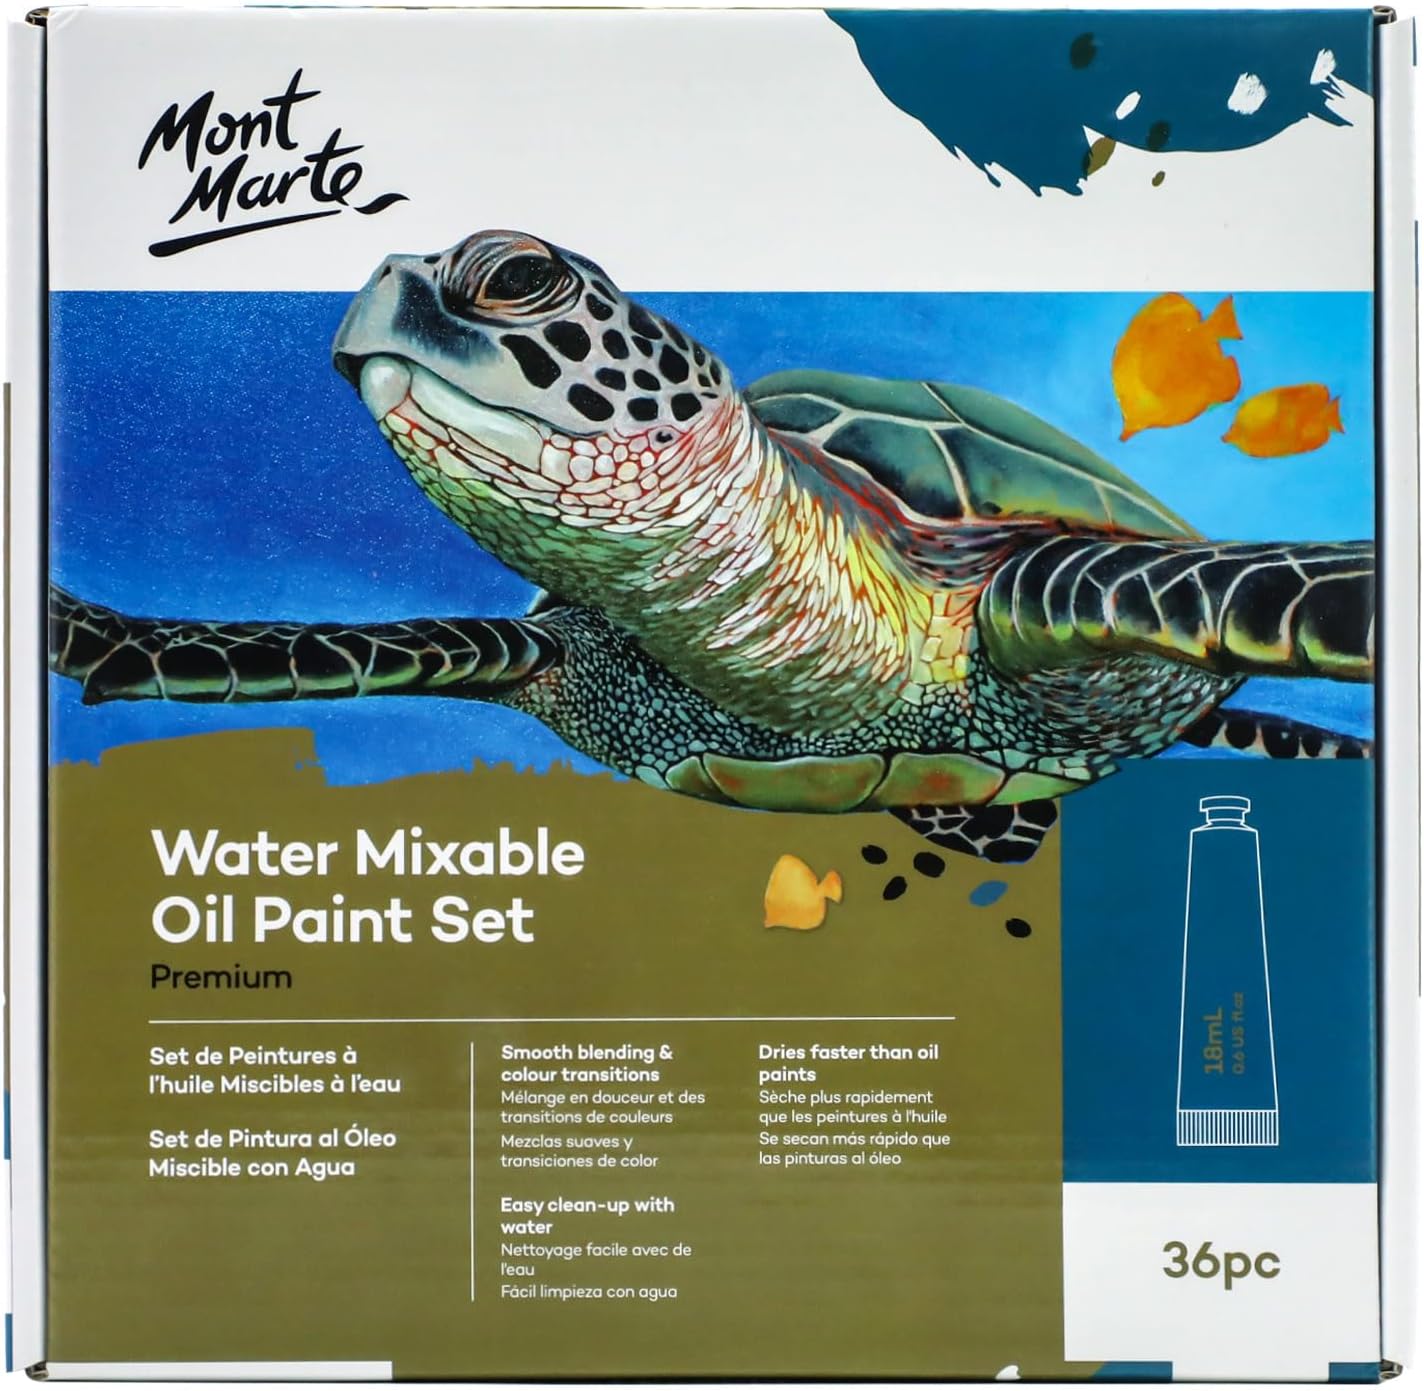
Using mixing mediums can extend the drying time of oil paints and allow for smoother transitions between colors. Common mediums include linseed oil, stand oil, and a mixture of turpentine and oil.

Practical Mixing Techniques
Mixing Primary Skin Tones
To get started, try mixing a basic “flesh tone” by combining about equal parts of red, yellow, and white. You can then fine-tune this mixture by adding small amounts of blue to cool it down or more red and yellow to warm it up.
Basic Flesh Tone Recipe
- Mix equal parts Cadmium Red and Cadmium Yellow to get a vibrant orange.
- Add Titanium White to lighten the color.
- Adjust the color by adding small amounts of blue (such as Ultramarine Blue) to cool it down if necessary.
Adjusting for Light and Shadow
Once you have your basic flesh tone, you need to adjust it to illustrate light and shadow. Adding white will lighten the tone, whereas adding earth tones like Burnt Sienna or Raw Umber will create shadows.
Highlight Recipe
- Take your mixed flesh tone.
- Gradually add Titanium White to this base to achieve your highlight colors.
Shadow Recipe
- Take your mixed flesh tone.
- Gradually add Raw Umber and a touch of blue (Ultramarine or Pthalo Blue) to create shadow colors.
Creating Diversity in Skin Tones
To create a more comprehensive range of skin tones, experiment with different ratios and combinations of your primary and secondary pigments.
| Skin Tone | Recipe |
|---|---|
| Light Skin | More Titanium White, Cadmium Yellow, and a touch of Cadmium Red |
| Olive Skin | Yellow Ochre and Raw Umber with small amounts of Cadmium Red and Blue |
| Deep Skin | Larger amounts of Burnt Sienna and Alizarin Crimson with less Titanium White |
Nuances and Subtle Changes
Skin tones vary greatly between individuals and can change under different lighting conditions. For example, adding a touch of green can neutralize overly red hues and create more variations.
Subtle Adjustments Example
- If your color is too orange, add a touch of blue to cool it down.
- If your color is too pale, add a bit more red or yellow.
Advanced Techniques
Layering and Glazing
One advanced method to add depth to your skin tones is by layering and glazing. This technique involves applying thin layers of semi-transparent paint, allowing each layer to dry before adding another.
How to Layer
- Start with a mid-tone base.
- Apply highlights and shadows in thin layers.
- Use a glazing medium to add subtle color changes and transparency where needed.
Correcting Mistakes
Even experienced artists make mistakes, and knowing how to correct them is crucial. If you’ve applied a skin tone that doesn’t quite work, you can scrape it off with a palette knife, wipe the area clean with a rag, and start over.
Correction Tips
- Carefully scrape off the offending section.
- Wipe the area clean with a solvent like turpentine.
- Let it dry before reapplying paint.
Practicing with Models
Practicing with real-life models or high-resolution photographs can greatly improve your eye for color. Observe how light and shadow interact with the skin and try to replicate these nuances in your artwork.

Common Challenges and Solutions
Muddy Colors
One of the frequent issues artists face is ending up with muddy colors. This usually happens when too many different hues are mixed together, neutralizing each other and resulting in a dull, lifeless tone.
Solution:
- Simplify your palette and limit the number of colors you mix together.
- Clean your brushes regularly to prevent color contamination.
Overly Saturated Colors
Another common problem is overly saturated or bright colors, which can make a portrait look unnatural.
Solution:
- Use complementary colors to neutralize excessively vibrant areas.
- Incorporate more earth tones to achieve more realistic skin tones.
Final Touches
Fine Details
To add realism to your portraits, pay attention to fine details such as freckles, moles, veins, and other skin imperfections. Use a thin brush and carefully apply these details with diluted paint.
Varnishing
Once your painting is complete and fully dry, adding a varnish can protect the surface and enhance the colors. Choose a varnish suitable for oil paints and apply following the manufacturer’s instructions.
Conclusion
Mastering the art of mixing skin tones in oil painting is a journey. By understanding the principles of color theory, preparing your palette effectively, and applying practical techniques, you can achieve more lifelike and nuanced portraits. Remember that practice is essential, and over time, you will develop an instinct for creating the perfect skin tones.
Whether you are a seasoned painter or just starting out, this comprehensive guide will equip you with the knowledge and confidence to tackle one of the most rewarding challenges in oil painting. Happy painting!