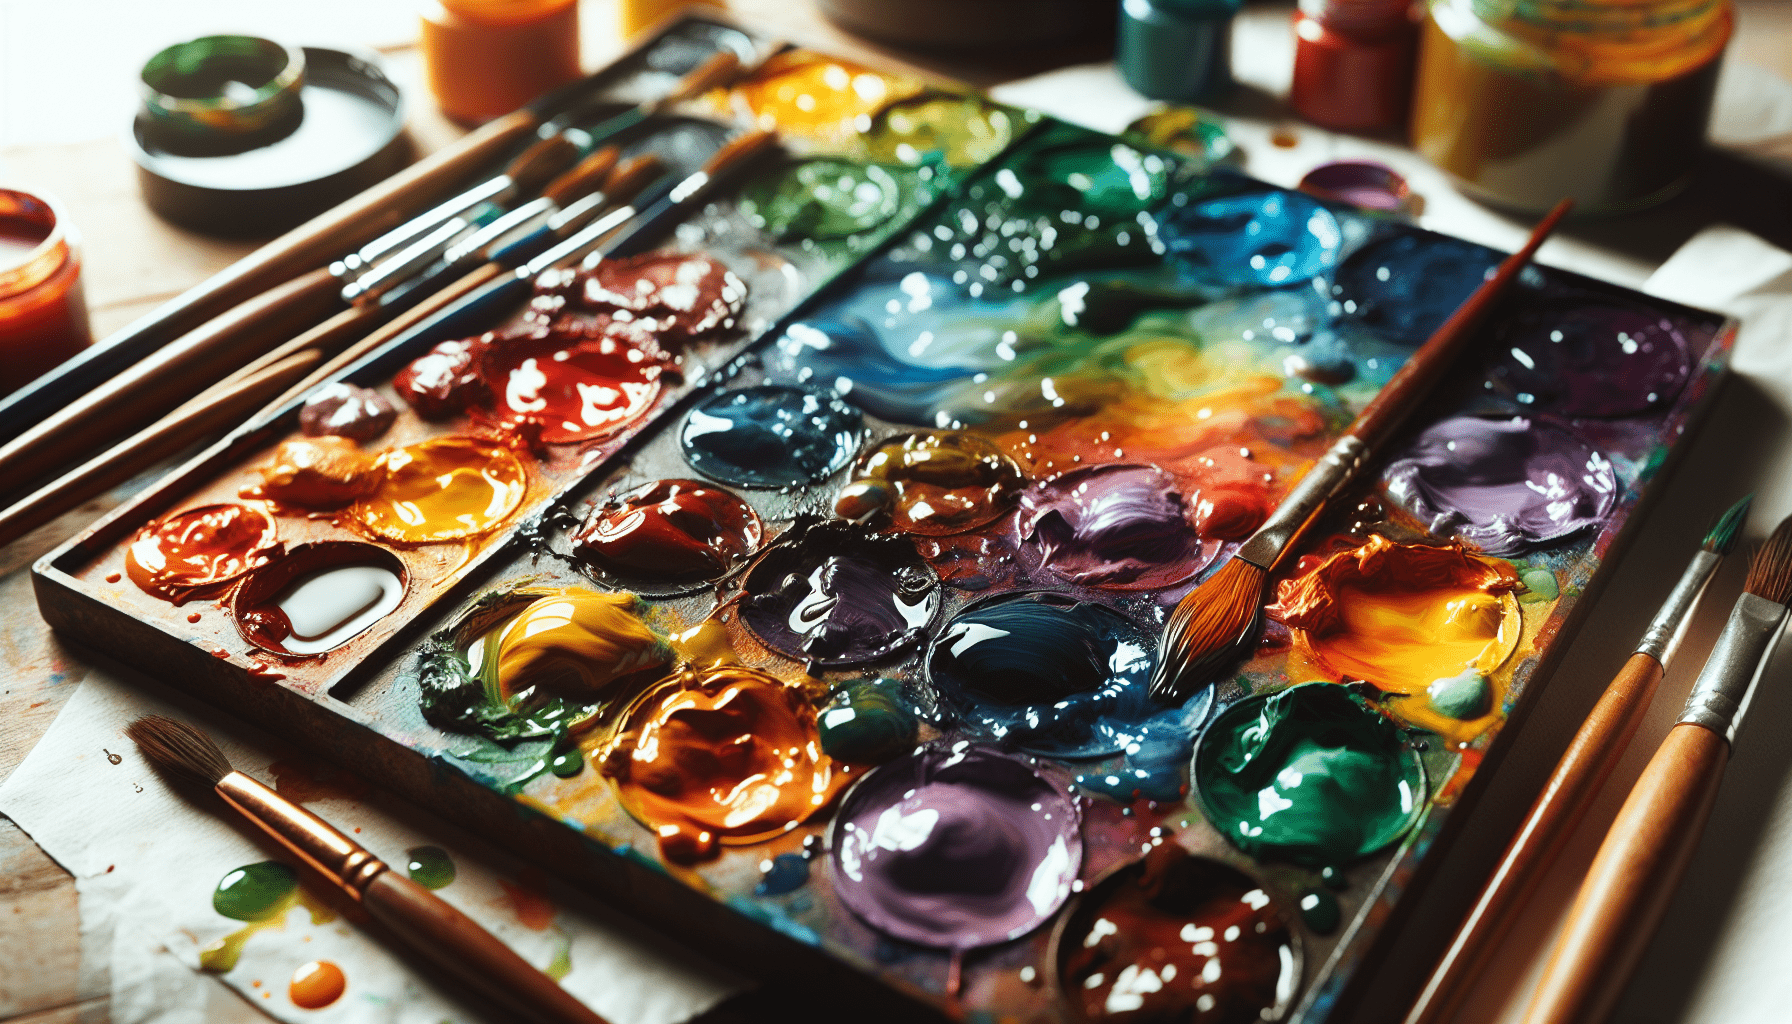
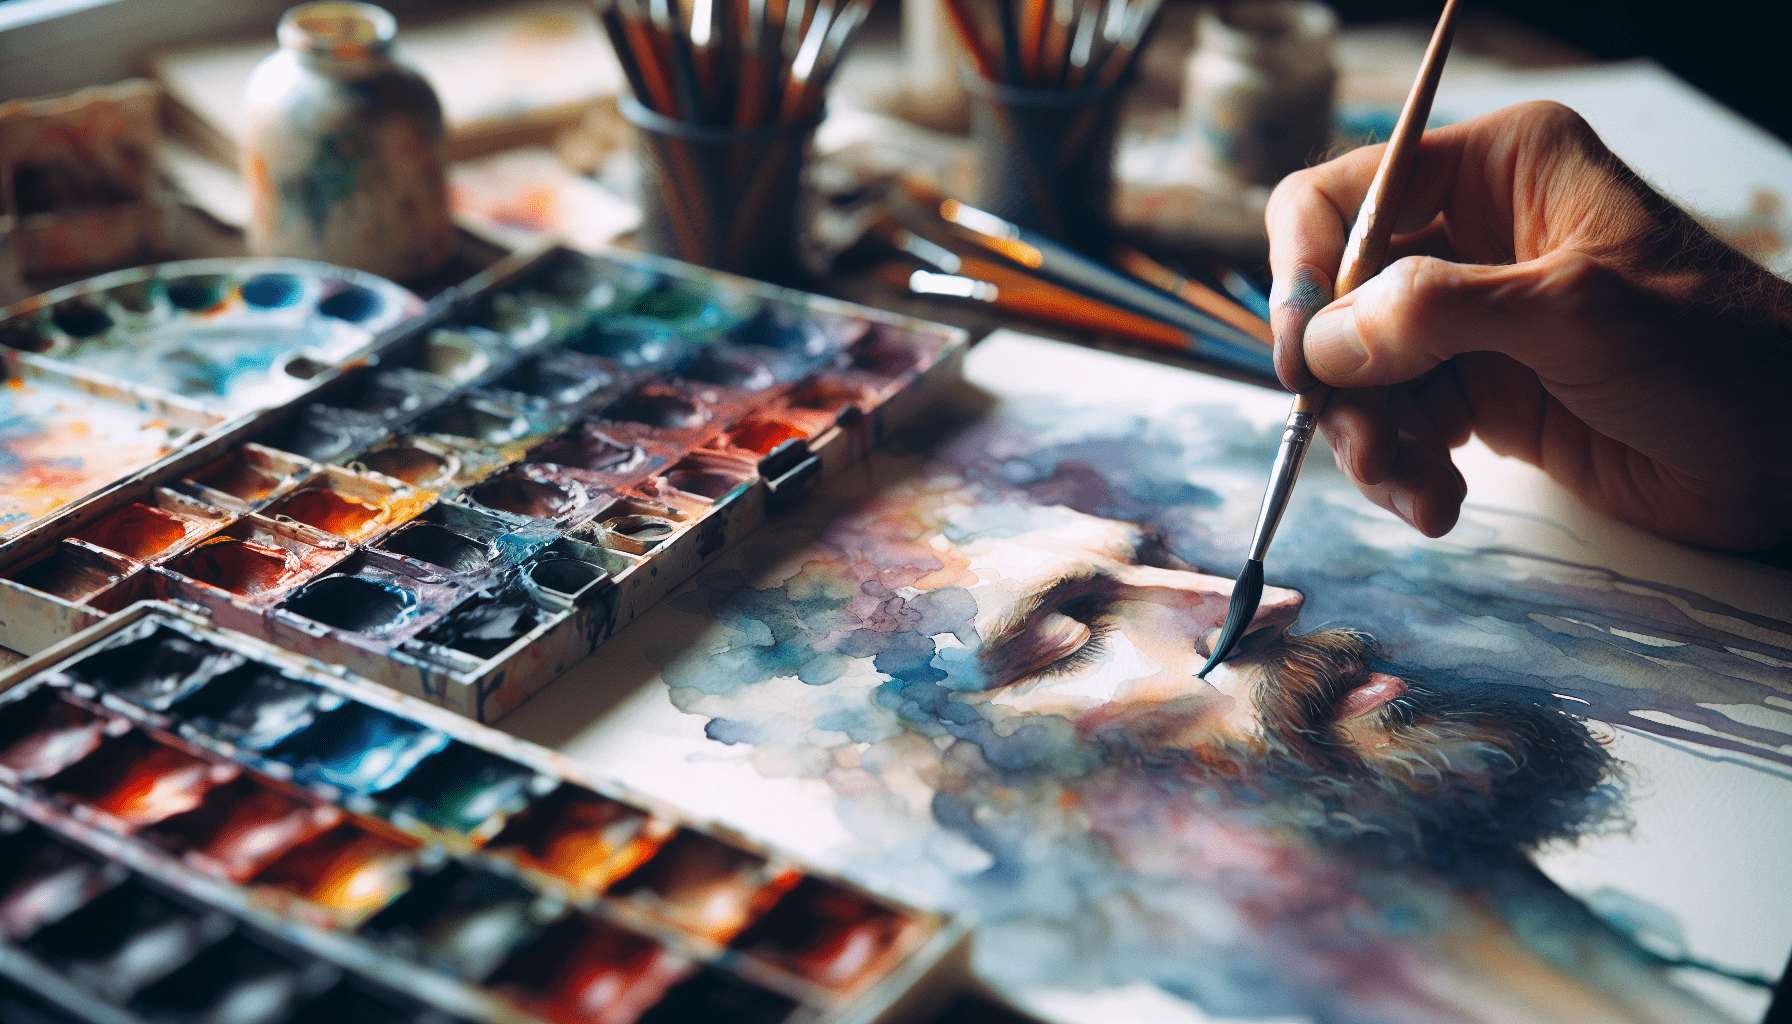
In the article “How To Make Your Own Watercolor Paint,” you will discover a comprehensive guide to crafting personalized watercolor paints right from the comfort of your home. The instructions elaborately detail the selection of essential ingredients, the precise mixing techniques, and the appropriate storage methods to ensure optimal quality and longevity of the paint. With expert tips and step-by-step procedures, this guide is designed to empower artists of all levels, enhancing your creative journey with custom-made tools that reflect your unique artistic vision. Have you ever considered making your own watercolor paint? Whether you’re a seasoned artist or a beginner looking to explore new creative avenues, crafting your own watercolor paints can be both an enriching and rewarding experience. Not only does this give you full control over the quality and ingredients, but it also allows you to experiment with unique color combinations and textures.
What You Need to Get Started
Creating your own watercolor paint involves a few basic materials and tools, which are easy to source and relatively inexpensive. Here’s a comprehensive list to help you gather everything you need:
Basic Ingredients
- Pigments: The essential component of your watercolor paint. Pigments are finely ground colored powders and can be derived from natural or synthetic sources.
- Gum Arabic: A natural binder that helps the pigment adhere to the paper.
- Distilled Water: Ensures that no impurities interfere with the quality of your paint.
- Glycerin: Acts as a humectant to help retain moisture.
- Honey: Enhances the brightness and preserves the paint.
- Preservative (optional): Prevents mold and bacteria growth in your paints.
Tools and Equipment
- Glass Mullers: For grinding and mixing the pigments with the binder.
- Mixing Slab: A flat glass or marble surface to mix the ingredients.
- Pipettes or Droppers: Handy for controlling the amount of water and other liquids.
- Measuring Spoons: Ensures precise measurements of ingredients.
- Containers: Small jars or pans to store your finished paints.
Step-by-Step Guide to Making Watercolor Paint
Step 1: Preparing the Pigment
Grinding Pigments
If you’re using dry pigments, you’ll need to grind them to a fine powder. This ensures that the pigment particles are small and uniform, resulting in a smooth paint. Place a small amount of the pigment on the mixing slab and use the glass muller to grind them.
| Step | Action |
|---|---|
| 1 | Place a small amount of pigment on a mixing slab. |
| 2 | Use a glass muller to grind the pigment into a fine powder. Apply even pressure and use circular motions. |
Step 2: Creating the Binder
Combining Related Ingredients
The binder is essential for making your watercolors adhere to the paper. Here’s how to create a standard binder solution:
| Ingredient | Amount |
|---|---|
| Gum Arabic | 1 part |
| Distilled Water | 2 parts |
| Glycerin | A few drops |
| Honey | A small amount |
| Preservative | As required by product instructions |
Mix these ingredients thoroughly until you have a smooth and consistent solution.
Step 3: Mixing Pigment and Binder
- Transfer the Pigment: Move the ground pigment to the center of your mixing slab.
- Liquid Proportions: Add a small amount of distilled water to the pigment, enough to create a thick paste.
- Adding Binder: Slowly add your binder solution to the pigment paste.
| Step | Action |
|---|---|
| 1 | Transfer pigment to the center of the mixing slab. |
| 2 | Add a small amount of distilled water to make a paste. |
| 3 | Gradually incorporate the binder solution into the paste. |
Continue to thoroughly mix the pigment and binder until you achieve a smooth consistency.
Adjusting the Consistency
Thick vs. Thin Paints
Adjusting the consistency of your watercolor paint is crucial for achieving the desired effect. If the texture is too thick, add a few drops of distilled water. Conversely, if your paint is too thin, consider adding more pigment or gum arabic.
| Consistency | Adjustment |
|---|---|
| Too Thick | Add distilled water |
| Too Thin | Add pigment or binder |
Testing Your Paint
Dip a brush into your newly mixed paint and create swatches on watercolor paper. This test will reveal the transparency, color strength, and texture of your paint. Tweak the mixture as needed based on the results.
Storing Your Homemade Watercolor Paint
Dry Storage
Using half-pans or full pans is an effective way to store your homemade watercolor paint. Pour the paint into these containers and allow it to dry completely. This method also allows you to create a custom palette tailored to your artistic needs.
Wet Storage
If you prefer to keep your paints in a semi-liquid state, store them in airtight jars. This approach makes them easier to use right away but requires occasional checking to ensure moisture levels are consistent.
Avoiding Contamination
Always use clean tools and containers to avoid introducing contaminants. Using a small amount of preservative in your binder can also prolong the life of your homemade paints.
Troubleshooting Common Problems
Mold and Mildew
Using high-quality ingredients and adding a preservative to your binder can prevent mold and mildew. Store your paints in clean, dry areas to minimize the risk.
Cracking
If your paints crack once dried, it might be due to a lack of binder. Adding a bit more gum arabic or glycerin to your mixture should solve this problem.
Granulation and Separation
Poor-quality pigments or improper mixing can cause granulation and separation. Ensure you thoroughly grind your pigments and mix your ingredients well before storing.
Advanced Tips for Customizing Your Watercolor Paints
Creating Unique Shades
Experiment with different pigment combinations to create a unique color palette. Mixing primary colors in varying proportions can yield a wide range of secondary and tertiary shades.
Enhancing Texture
Adding ingredients like powdered marble or fine sand can give your watercolor paint a unique texture. Use these sparingly to avoid altering the paint’s core properties.
Adjusting Opacity
Different pigments have varying levels of transparency. For more opaque watercolors, use highly pigmented powders or mix in opaque whites such as Chinese white.
Benefits of Making Your Own Watercolor Paints
Cost-Effective
Purchasing high-quality watercolor paints can be expensive. By creating your own, you control the cost and quantity of each color.
Customization
Making your own paints allows for endless customization. You can create colors that are unique to your artwork, giving it a distinct and personal touch.
Environmental Consideration
By choosing sustainable and natural ingredients, you can reduce your environmental impact significantly. This is particularly crucial in a time when eco-friendly practices are more important than ever.
Conclusion
Embarking on the journey to create your own watercolor paint can be incredibly fulfilling. Not only will you enhance your artistic skills, but you will also gain a deeper understanding of the materials you’re using. With some basic ingredients, simple tools, and a bit of patience, you can develop a wide range of custom watercolor paints that suit your specific artistic needs. So why not give it a try and see where your creativity takes you?
By following this guide, you’ll have all the knowledge you need to start making your own watercolor paints. Enjoy the process, experiment with different ingredients, and most importantly, have fun! Happy painting!
