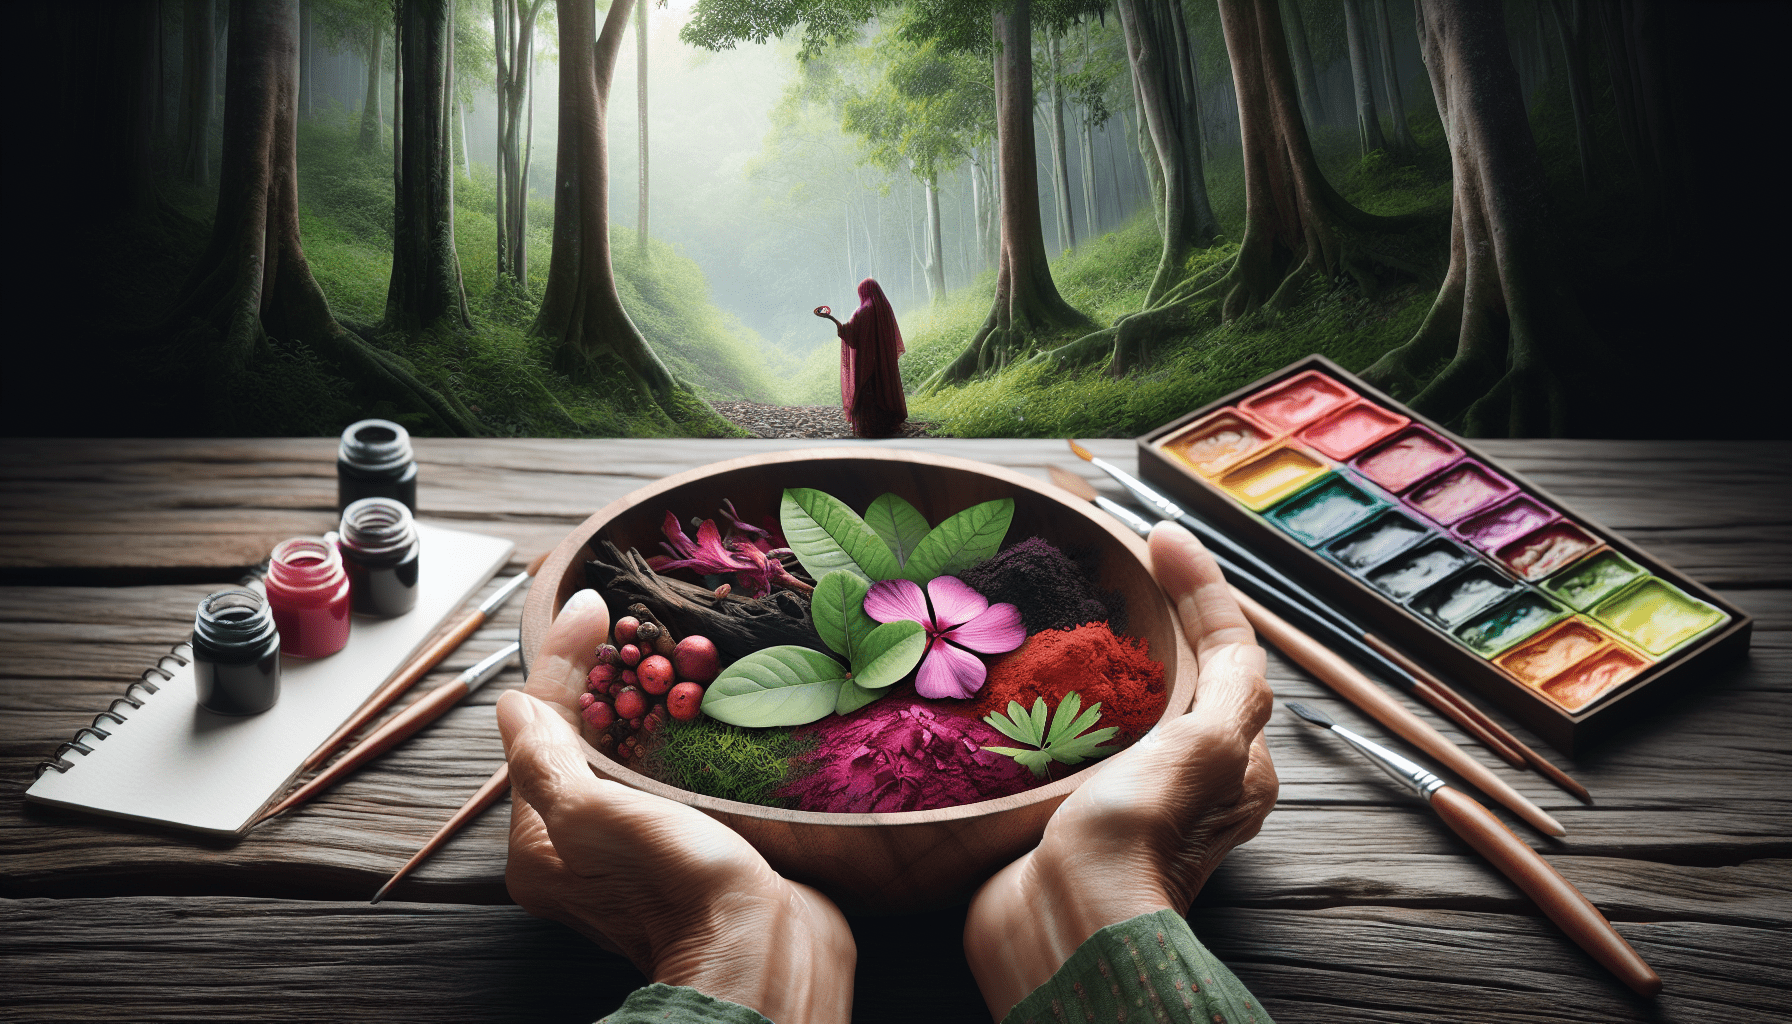
In the article “How To Make Watercolor Paint From Nature,” you will explore the fascinating process of creating your own watercolor paints using natural ingredients. You will be guided through the selection and preparation of various plant materials, offering you a sustainable and eco-friendly alternative to store-bought paints. By following these steps, you will not only engage with the artistry of painting but also deepen your connection to the natural world. This comprehensive guide equips you with the knowledge to produce vibrant, organic colors, providing an enriching experience for artists of all levels.
How To Make Watercolor Paint From Nature
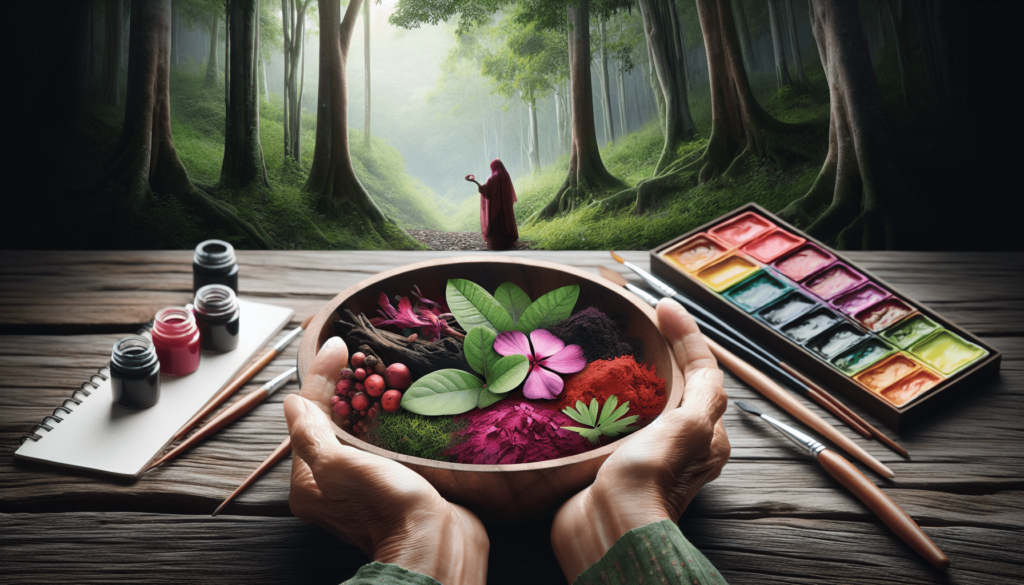
Have you ever wondered how artists create vibrant and captivating watercolor paintings using natural resources? If so, you’re not alone. The process of making watercolor paint from ingredients sourced from nature is not only exciting but also enriches your connection with the very materials you use. In this article, you’ll discover a comprehensive guide that will help you create your own natural watercolor paints. This journey will take you through the essentials of gathering materials, processing them, and finally creating beautiful, eco-friendly paints.
The Essence of Natural Watercolor Paints
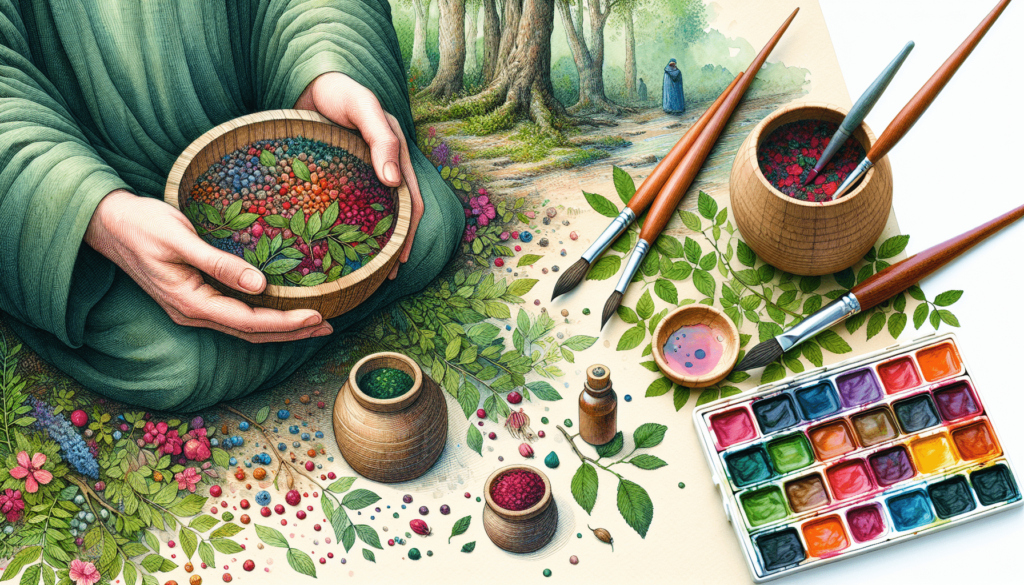
Before diving into the process, you should understand what natural watercolor paints are all about. Essentially, these paints are made from pigments derived from natural sources like plants, minerals, and even certain insects. These pigments are then mixed with a binder, usually gum arabic or another type of glue, to create the paint.
Why Choose Natural Watercolor Paints?
There are several benefits to making your own watercolor paints from natural materials. Here are a few:
Eco-friendly: By using natural materials, you reduce reliance on synthetic chemicals that could harm the environment. Cost-effective: You might find that sourcing materials from nature costs less than buying pre-made paints. Unique Colors: Natural pigments often have a vibrancy and uniqueness that can’t be replicated by factory-produced paints. Personal Satisfaction: There’s an undeniable joy in creating something from scratch.
Understanding these benefits can motivate you to begin your painting adventure with natural watercolors.
Getting Started: Gathering Materials
To create watercolor paints from nature, you’ll first need to gather your materials. The items you need can broadly be categorized into pigments, binders, and tools.
Sourcing Pigments
Pigments are the heart of your watercolor paints and can be derived from various natural sources.
Plant-Based Pigments
Plants are a rich source of pigments. Here are some commonly used plants and the colors they produce:
| Plant | Part Used | Color Produced |
|---|---|---|
| Turmeric | Root | Bright Yellow |
| Beetroot | Root | Deep Red |
| Spinach | Leaves | Green |
| Red Cabbage | Leaves | Purple to Blue |
| Hibiscus | Flowers | Pink |
Mineral Pigments
Minerals offer a diverse palette of colors:
| Mineral | Color Produced |
|---|---|
| Hematite | Red |
| Malachite | Green |
| Lapis Lazuli | Blue |
| Ochre | Yellow, Red |
| Sienna | Brown |
Insect-Based Pigments
Certain insects like cochineal can also be used to extract unique pigments:
| Insect | Color Produced |
|---|---|
| Cochineal | Red |
Choosing the Right Binder
The binder is what holds the pigment particles together and helps them adhere to the paper. The most commonly used binder for watercolor paints is gum arabic, but other options include honey or corn syrup for added quality and texture.
Essential Tools
To successfully make your own watercolor paint, you’ll need a few essential tools:
- A mortar and pestle for grinding pigments
- Bowls and containers for mixing
- Brushes and palette knives
- Distilled water to avoid impurities
- Muslin cloth for straining
- Measuring spoons and cups
Step-by-Step Guide to Making Watercolor Paints
Now that you’ve gathered all your materials, let’s dive into the process of making your own watercolor paints.
Preparing the Pigments
The first step in making watercolor paints is to prepare the pigments.
Plant-Based Pigment Extraction
- Harvesting: Gather the plant parts you need, such as roots, leaves, or flowers.
- Drying: Allow the plant material to dry completely to make it easier to grind later.
- Grinding: Use a mortar and pestle to grind the dried material into a fine powder.
- Extracting Dye: Place the ground material into a bowl and cover it with distilled water. Let it sit for several hours or overnight.
- Straining: Pour the mixture through a muslin cloth to strain out the solid material. Collect the liquid dye.
Mineral Pigment Preparation
- Selecting Minerals: Choose your desired minerals and ensure they are free from impurities.
- Crushing: Use a hammer or other hard object to break the minerals into smaller pieces.
- Grinding: Crush and grind the minerals with a mortar and pestle until they become a fine powder.
Insect-Based Pigment Extraction
- Collecting Insects: Gather the cochineal insects, often found on cactus plants.
- Drying: Dry the insects thoroughly before grinding.
- Grinding: Use a mortar and pestle to grind the insects into a fine powder.
- Extracting Dye: Mix the powder with distilled water and allow it to sit.
- Straining: Strain the mixture to separate the liquid dye from the solid materials.
Making the Paint
With your pigments ready, it’s time to create the paint.
Mixing the Pigments
- Dilution: Add a small amount of distilled water to the pigment powder to form a paste.
- Mixing: Use a palette knife to mix the pigment paste until it’s smooth.
Adding the Binder
- Binder Preparation: Dissolve gum arabic powder in distilled water to make a solution. The ratio is usually 1 part gum arabic to 2 parts water.
- Combining: Gradually add the gum arabic solution to the pigment paste. Mix thoroughly until you achieve a smooth consistency.
Preserving the Paint
- Optional Additives: You can add a few drops of honey or corn syrup to the mixture to improve the paint’s flow and preservation.
- Final Mixing: Ensure all components are well-mixed.
Testing Your Paint
Before you store your paint, test it on watercolor paper:
- Application: Use a brush to apply the paint to a test sheet.
- Adjustment: If necessary, adjust the consistency by adding more binder or water.
Storing the Paint
Once you’re satisfied with your paint, store it in airtight containers to maintain its quality.
Advanced Techniques and Tips
Creating Different Textures
You can experiment with various textures by altering the amount of binder and pigment. More pigment results in richer, more opaque colors, while less pigment creates lighter shades.
Layering Colors
Understanding transparency and layering is crucial in watercolor painting. Natural pigments often have unique layering properties, enabling you to achieve depth and complexity in your artwork.
Using Natural Modifiers
Modifiers like vinegar or alum can alter the colors of natural dyes. For instance, red cabbage dye can turn blue with the addition of a little baking soda.
Experimenting with Combinations
Feel free to mix different natural pigments to achieve unique colors. The possibilities are endless.
Troubleshooting Common Issues
Even with meticulous preparation, you may encounter issues. Here’s how to handle some common problems:
Grainy Paint
If your paint is grainy, it likely wasn’t ground finely enough. Pass the pigment through a finer sieve or grind it more thoroughly.
Weak Colors
Weak colors may result from insufficient pigment concentration. Add more pigment to your mixture to intensify the color.
Mold Growth
Natural paints can sometimes attract mold. Adding a few drops of essential oil like clove or tea tree can act as a preservative.
Environmental Considerations
While making your own watercolor paints is generally eco-friendly, there are still some environmental factors to consider:
Ethical Sourcing
Ensure that the natural materials you collect are gathered sustainably. Avoid over-harvesting and ensure the minerals or plants you use are not endangered.
Disposal
Properly dispose of any waste materials. Avoid dumping residues into water sources, as even natural substances can disrupt local ecosystems.
Renewable Materials
Whenever possible, use renewable resources. For instance, plant-based pigments should ideally come from plants that can be replanted or are abundant.
Conclusion
Creating your own watercolor paints from nature not only affords you a deeper connection to your materials but also imbues your artwork with a unique and personal touch. By following these detailed steps, you can harness the rich palette that nature offers. The process, while requiring some time and effort, is immensely rewarding and can even add an extra layer of meaning to your art.
Whether you’re an aspiring artist or a seasoned painter, the journey of making watercolor paints from natural materials can enrich your creative process and provide you with unique, vibrant colors that are both eco-friendly and deeply personal. Now that you’re equipped with the knowledge and steps to make your own natural watercolor paints, what’s stopping you from starting this exciting adventure today?
