In this article, you will learn a step-by-step process on how to transform tempera paint into acrylic paint. By following these instructions, you will be able to achieve a more vibrant and durable result, enhancing your artistic creations. Whether you are a professional artist or an enthusiastic hobbyist, this technique will expand your creative possibilities and allow you to experiment with the properties of different paint mediums. Get ready to elevate your artwork as we guide you through the process of converting tempera paint into acrylic paint.
Materials Needed
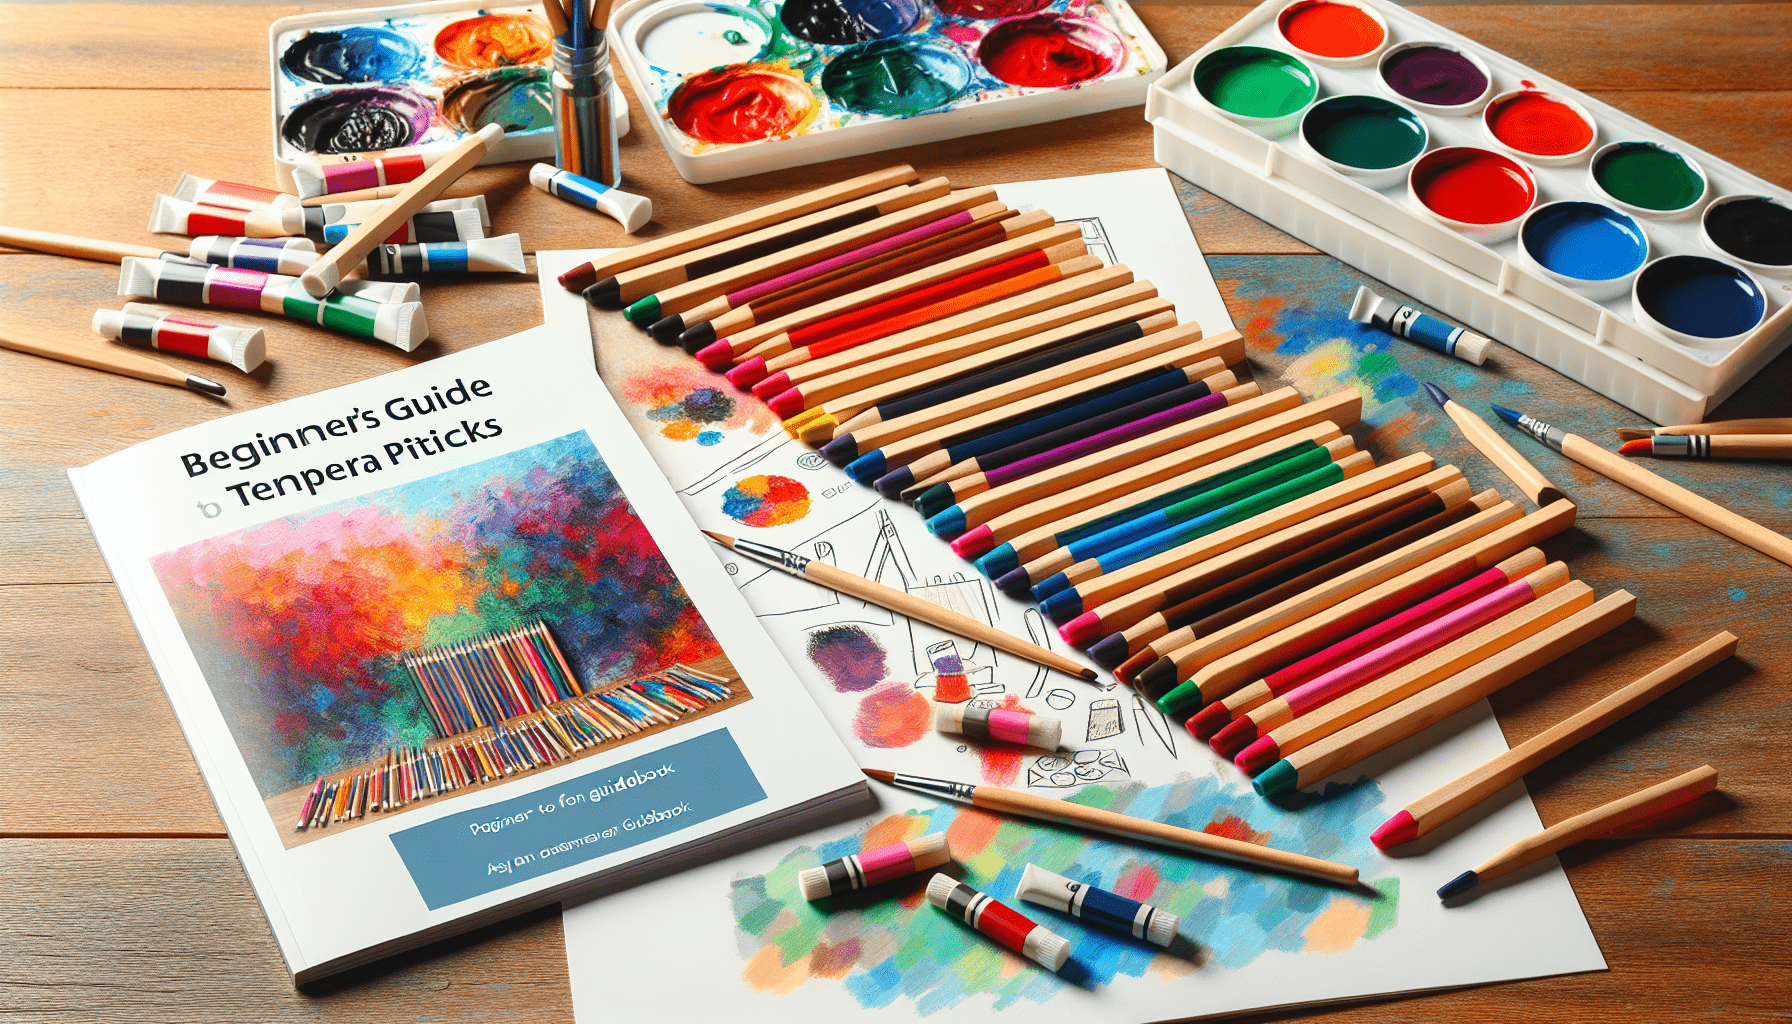
To make tempera paint into acrylic, you will need the following materials:
Tempera paint
First and foremost, you will need tempera paint. This is the base paint that you will be transforming into acrylic paint. Make sure to choose a high-quality tempera paint for the best results.
Acrylic medium
Acrylic medium is an essential ingredient in turning tempera paint into acrylic. It helps to give the paint a smoother consistency, better adhesion, and increased durability. Make sure to choose the appropriate acrylic medium for your project, whether it be gloss, matte, or satin finish.
Paintbrush
A good paintbrush is crucial for applying the paint mixture to your canvas or surface. Consider using synthetic brushes, as they work well with both tempera and acrylic paints. Choose a brush size that suits your needs, whether you’re creating fine details or broad strokes.
Palette
A palette is where you will mix and blend your paint. It can be a traditional artist palette made of wood or a disposable palette pad. Ensure that the palette is clean and provides enough space for mixing the paint colors.
Container for mixing
You will need a container to mix the paint and acrylic medium. This can be a small cup or jar, preferably with a lid to prevent the paint from drying out. A container with measurements can be helpful for precise mixing ratios.
Water
Water is used to adjust the consistency of the paint mixture. It helps to thin out the paint if it becomes too thick. Having a small container of water nearby during the painting process is essential for making adjustments as needed.
Preparing the Work Area
Before you begin, it’s important to prepare your work area to avoid any mess or damage. Follow these steps to ensure a clean and organized workspace:
Cover your workspace with a drop cloth or newspaper
Spills and splatters are inevitable when working with paint. By covering your workspace with a drop cloth or newspaper, you can protect your table or floor from accidental paint drips or stains.
Gather all the necessary materials
Before you dive into the painting process, gather all the materials you need. Having everything within reach will help streamline the painting process and prevent interruptions or delays.

Mixing the Paint
Now that you have prepared your work area, it’s time to mix the tempera paint and acrylic medium to create your own acrylic paint. Follow these steps for a successful mixture:
Squeeze a small amount of tempera paint onto the palette
Start by squeezing a small amount of tempera paint onto your palette. The amount you use will depend on the size of your painting or the amount of coverage you desire.
Add an equal amount of acrylic medium to the paint
Next, add an equal amount of acrylic medium to the paint. The ratio of paint to medium can vary depending on the desired consistency and opacity. It’s essential to use equal amounts to ensure the proper transformation from tempera to acrylic.
Mix the paint and medium together using a paintbrush
Using a paintbrush, mix the tempera paint and acrylic medium together. Be sure to thoroughly blend the two substances until they combine to form a smooth and even mixture. This may take a bit of time and effort, but this step is crucial for achieving the desired acrylic paint consistency.
Continue mixing until the paint has a smooth and even consistency
Continue mixing the paint and medium until you achieve a smooth and even consistency. Avoid any lumps or clumps in the mixture. The paint should be free-flowing and easy to work with, similar to traditional acrylic paint.
Adjusting the Consistency
Once you have mixed the paint and medium, you may need to adjust the consistency to suit your painting style or technique. The following steps will guide you through the process:
Add a few drops of water if the paint is too thick
If the paint mixture appears too thick or difficult to manipulate, add a few drops of water to thin it out. Water helps to make the paint more flowable and easier to spread on the canvas.
Mix well to incorporate the water
After adding water, mix the paint mixture well to incorporate the added moisture. Again, aim for a smooth and well-blended consistency. Take care not to add too much water, as it can dilute the paint and affect its color and opacity.
Add more paint or medium to adjust the consistency as desired
On the other hand, if the paint mixture appears too thin or watery, you can adjust the consistency by adding more paint or acrylic medium. These additions will help thicken the mixture and provide better coverage. Gradually add small amounts until you achieve the desired consistency.

Experimenting with Colors
One of the joys of working with acrylic paint is the ability to experiment with colors and create unique shades. Follow these steps for a rewarding exploration of color mixing:
Start with a small amount of paint and medium for experimentation
When experimenting with colors, it’s best to start with small amounts of paint and acrylic medium. This way, you can easily adjust or discard the mixture if it doesn’t meet your expectations. Starting small also helps conserve your resources, especially if you’re using expensive or limited colors.
Mix different colors together to create new shades
To create new shades, mix different colors together on your palette. Utilize various combinations of tempera paint, acrylic medium, and water to create a range of hues. Observe how the colors interact and keep track of the proportions used for each mixture.
Take note of the proportions used for each color to replicate later
As you experiment, make note of the proportions used for each color mixture. This will allow you to replicate successful combinations in future projects. Having a color mixing chart or journal can be helpful in keeping track of your discoveries.
Painting Techniques
Now that you have your acrylic paint mixture and have experimented with colors, it’s time to explore different painting techniques. Try out these techniques to enhance your artwork:
Apply the paint mixture to a canvas or other surface using a paintbrush
Using your paintbrush, apply the acrylic paint mixture to your canvas or chosen surface. Start with broad strokes or small details, depending on your artistic vision. Take your time and work methodically to achieve the desired effect.
Experiment with different brushstrokes, layering, and blending techniques
Acrylic paint offers versatility in its application. Experiment with different brushstrokes, layering techniques, and blending methods to create depth and texture in your artwork. Play with dry brushing, stippling, glazing, or impasto techniques to achieve different effects.
Allow each layer to dry before adding additional layers
To avoid smudging or mixing colors unintentionally, allow each layer of paint to dry completely before adding additional layers or details. Patience is key when working with acrylics, as they dry quickly but require time to cure fully.
Clean Up
Now that you have finished your painting session, it’s important to clean up your materials properly to prolong their lifespan and maintain their quality:
Clean your brushes with water before the paint dries
Clean your paintbrushes thoroughly with water before the paint has a chance to dry. Rinse each brush under running water, massaging the bristles to remove any remaining paint. Be gentle while cleaning to avoid damaging the brushes.
Wash the palette and container used for mixing
Clean any palettes or containers used for mixing the paint. Use warm water and mild soap to remove any dried paint or residue. Scrub gently to ensure a thorough clean.
Dispose of any leftover paint properly
If you have any leftover paint that you do not wish to keep, dispose of it properly according to local regulations. Avoid pouring excess paint down the drain or disposing of it in regular trash bins. Look for options such as recycling facilities or paint disposal programs in your area.
Sealing Your Artwork
To protect your finished artwork and enhance its longevity, it’s essential to seal it properly:
Once your painting is complete and fully dried, apply a layer of acrylic sealer or varnish to protect it
Once your painting has dried completely, apply a layer of acrylic sealer or varnish to protect the surface. This will help protect your artwork from dust, moisture, and UV rays, ensuring its longevity and vibrancy.
Follow the instructions on the sealer product for best results
Different acrylic sealers or varnishes may have specific instructions for application. Follow the guidelines provided by the manufacturer to achieve the best results. Some may require multiple coats or specific drying times between applications.
Tips and Tricks
Consider these tips and tricks to enhance your experience and achieve the best results:
Start with small amounts of paint and medium to avoid wasting materials
When first experimenting or mixing colors, start with small amounts of paint and medium to avoid wasting materials. It’s easier to adjust a small mixture than to discard a large one. Starting small also allows for better control and precision.
Mix thoroughly to ensure a consistent and uniform paint mixture
Thoroughly mix the paint and medium to ensure a consistent and uniform paint mixture. Pay attention to any lumps or clumps and continue mixing until they are fully blended. This step is crucial for achieving a smooth finish in your artwork.
Keep a wet cloth or paper towel nearby to wipe off excess paint from brushes or palette
Having a wet cloth or paper towel nearby during your painting session is essential for wiping off any excess paint from your brushes or palette. This will prevent the paint from drying and clogging the bristles or hardening on the palette.
Conclusion
With the right materials and a little experimentation, you can easily transform tempera paint into acrylic paint. By following the steps outlined in this article, you can create vibrant and versatile acrylic paint mixtures that will take your artwork to the next level. Enjoy the new world of possibilities that acrylic paint offers and let your creativity shine through in every stroke.