Have you ever wondered how you can make poster paint permanent? Poster paints are vibrant, easy to use, and often used in various art projects. However, their tendency to wash away or deteriorate over time can be frustrating. By implementing the right techniques and materials, you can prolong the life of your artwork and make poster paint more durable.

Understanding Poster Paint
Poster paint, also known as tempera paint, is a water-based medium that is popular in schools and with amateur artists. It’s known for its bright colors and ease of use, but it lacks the permanence of other paint types like acrylics or oils.
Composition of Poster Paint
Poster paint primarily consists of pigments, a binder (such as casein or gum arabic), and water. The pigments provide color, while the binder helps the paint adhere to surfaces. However, the water content makes poster paint prone to washing away and fading over time.
Advantages and Limitations
Poster paint is affordable, accessible, and easy to clean up, making it ideal for educational settings and beginners. Nevertheless, its water-soluble nature is a key limitation when it comes to longevity and durability.
Techniques to Make Poster Paint Permanent
There are several techniques you can employ to increase the permanence of poster paint. Each method has its own set of steps and required materials, which will be discussed in the following sections.
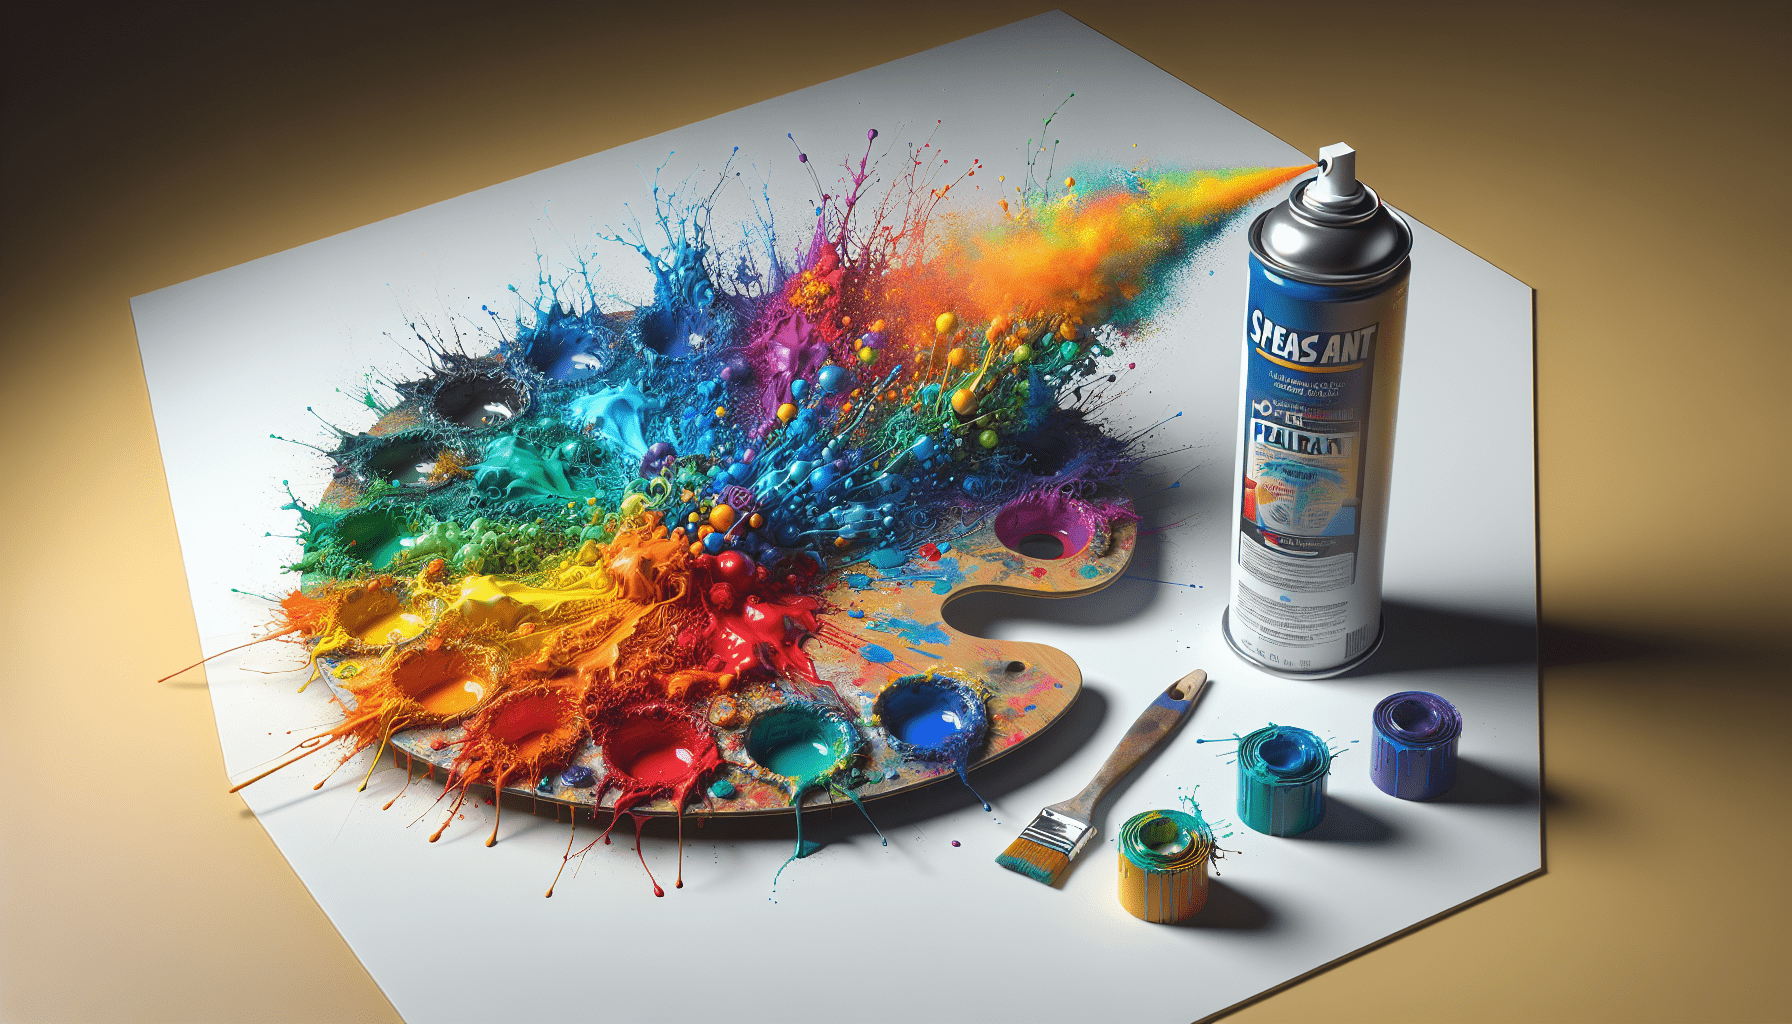
Using a Fixative Spray
A fixative spray can effectively make poster paint more permanent by creating a protective layer over the artwork. Fixatives are commonly used in various art forms to preserve the integrity of different mediums.
Steps to Use a Fixative Spray
- Choose the Right Fixative: Opt for a clear, matte or gloss acrylic fixative, depending on your preference.
- Test the Fixative: Before applying the fixative to your main artwork, test it on a small sample to ensure it reacts well with your paint.
- Prepare the Work Area: Ensure you are in a well-ventilated area and cover any surfaces you want to protect.
- Application: Hold the can about 12 inches from the artwork and spray in a steady, sweeping motion. Apply multiple thin coats rather than one heavy coat.
- Drying Time: Allow each layer to dry thoroughly before applying another coat. This typically takes around 15-30 minutes.
- Final Inspection: Once fully dried, inspect the artwork for any missed areas and apply a final coat if necessary.
Table: Pros and Cons of Fixative Spray
| Pros | Cons |
|---|---|
| Easy to apply | Requires a well-ventilated area |
| Provides a glossy or matte finish | Can be costly |
| Increases paint longevity | May alter colors slightly |
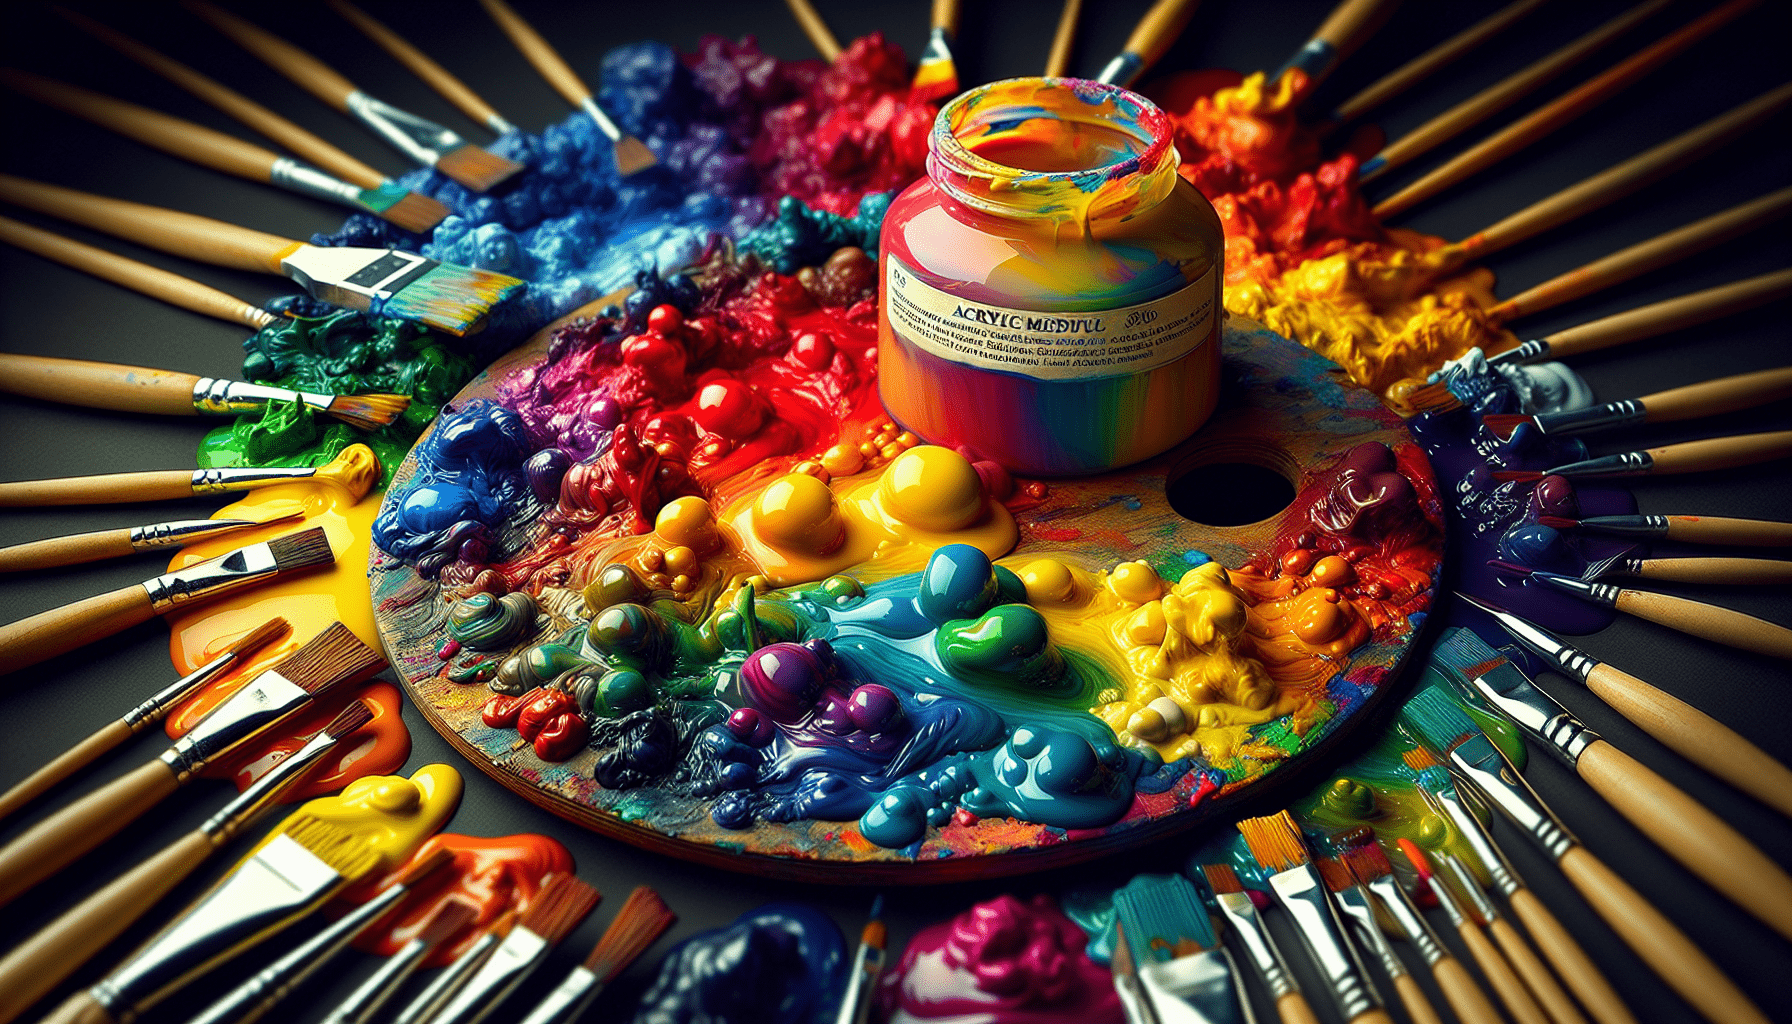
Mixing with Acrylic Medium
Another effective method is mixing your poster paint with an acrylic medium. This combination enhances the paint’s adhesion and durability.
Steps to Mix with Acrylic Medium
- Select the Medium: Choose an acrylic medium compatible with your poster paints.
- Mix the Medium: In a palette, mix the acrylic medium with your poster paint. A typical ratio is 1:1, but you can adjust depending on desired consistency.
- Application: Paint as you normally would, applying the mixture to your surface.
- Drying: Allow the paint to dry thoroughly before handling. Acrylic medium can extend drying time slightly.
- Sealing: For added permanence, consider sealing the artwork with an acrylic varnish after it has fully dried.
Table: Pros and Cons of Mixing with Acrylic Medium
| Pros | Cons |
|---|---|
| Enhances paint durability | May change paint texture |
| Flexible finish | Can be messier to work with |
| Maintains vibrant colors | Requires additional materials |
Applying Varnish
Applying varnish over your finished artwork is another effective method to ensure permanence. Varnish acts as a protective barrier, safeguarding against environmental factors and wear.
Steps to Apply Varnish
- Choose Varnish Type: Select between gloss, matte, or satin varnish based on the desired finish.
- Testing: Perform a patch test to ensure the varnish does not adversely impact your artwork.
- Prep Area: Use in a well-ventilated area and lay down protective coverings.
- Application: Apply the varnish using a wide, soft brush. Use long, even strokes to avoid streaks.
- Drying: Allow the varnish to dry according to the manufacturer’s instructions, typically 24-48 hours.
- Reapplication: Apply additional coats if desired, allowing proper drying time between each layer.
Table: Pros and Cons of Varnish
| Pros | Cons |
|---|---|
| Strong protective layer | Requires careful application |
| Enhances color depth | Longer drying time |
| Various finish options | May yellow over time |
Factors That Affect Permanency
Certain factors significantly influence the effectiveness of these techniques in making poster paint permanent. Consider the following aspects when working on your project.
Type of Surface
The type of surface you paint on plays a crucial role in the paint’s permanence. Porous surfaces like paper and cardboard are more prone to wear and damage, while non-porous surfaces like glass or metal may require additional preparation to ensure paint adhesion.
Environmental Conditions
Environmental factors such as humidity, temperature, and light exposure can affect the drying time and durability of poster paint. Ideally, store your artwork in a cool, dry place away from direct sunlight.
Paint Quality
The quality of the poster paint itself can influence its longevity. Higher-quality paints often contain better pigments and binders, increasing their durability when properly sealed or mixed with mediums.
Additional Tips for Preservation
In addition to the techniques mentioned above, the following tips can help you preserve your poster paint artwork for years to come.
Proper Storage
Store your finished artwork in a manner that minimizes exposure to environmental factors that cause deterioration. Use archival-quality materials like acid-free paper for wrapping and storage.
Regular Maintenance
Regularly inspect your artwork for signs of wear or damage. Touch up any areas where the paint may be fading or chipped, and consider reapplying a protective layer if necessary.
Handle with Care
Handle your artwork with clean, dry hands to avoid transferring oils or dirt onto the surface. Use support when transporting larger pieces to prevent bending or warping.

Frequently Asked Questions (FAQs)
Can I use a hairdryer to speed up the drying process?
While a hairdryer can speed up the drying process, it is essential to use it on low heat to avoid causing cracks or bubbles in the paint.
Is it possible to waterproof poster paint?
You can make poster paint more water-resistant by applying a waterproof sealant once the paint has dried. However, it will never be completely waterproof since it is fundamentally water-based.
Does adding salt to poster paint increase its permanence?
Adding salt to poster paint can alter its texture and create interesting effects, but it does not significantly increase the paint’s permanence.
Which surfaces work best for poster paint longevity?
Canvas, wood panels, and thick watercolor paper are excellent choices for longer-lasting poster paint projects. These surfaces provide better adhesion and durability compared to thinner, more fragile papers.
How many coats of fixative should I apply?
Typically, two to three thin coats of fixative are sufficient for protecting your artwork. Ensure each layer dries completely before applying another.
Conclusion
Making poster paint permanent involves a combination of proper techniques, materials, and attention to detail. Whether using fixative sprays, mixing with acrylic mediums, or applying varnish, each method offers unique benefits and challenges. By understanding these approaches and the factors that impact paint permanence, you can significantly extend the life of your poster paint creations. With the right care and preservation methods, your artwork can remain vibrant and enduring for years to come.