Have you ever wondered how you can create your own metallic gold paint? This process blends art and chemistry, allowing you to achieve stunning results for a variety of creative projects. Whether you’re a professional artist, hobbyist, or involved in crafts and DIY, understanding how to make metallic gold paint can open up a realm of possibilities for your work.
Understanding Metallic Gold Paint
Before diving into the process, it’s important to understand what metallic gold paint is and why it’s different from standard paints. The key component that sets metallic paints apart is the inclusion of metallic particles, which give the paint its characteristic sheen and reflective qualities.
What is Metallic Gold Paint?
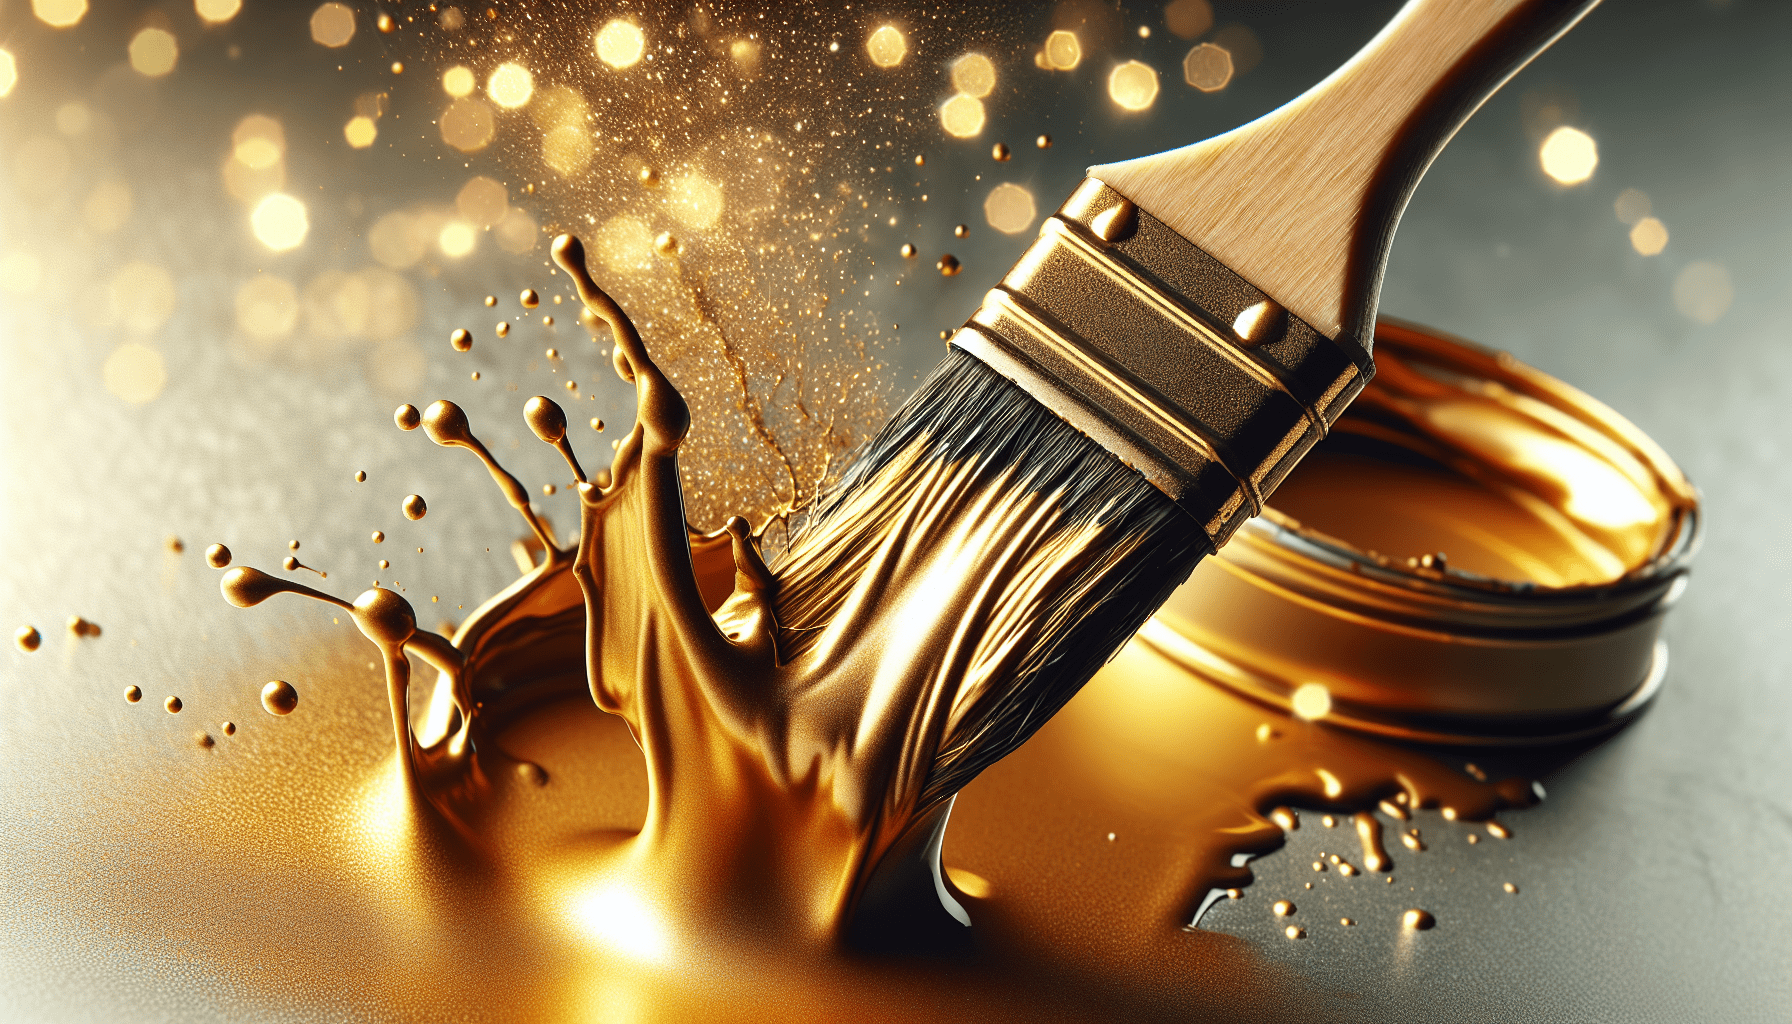
Metallic gold paint, as the name suggests, mimics the appearance of gold. It achieves this effect through the use of metallic flakes, powders, or pigments suspended in a medium. The reflective properties of these elements create a shimmering effect that resembles real gold.
Why Use Metallic Gold Paint?
Metallic gold paint is widely appreciated for its luxurious and elegant look. It is used in various applications, such as fine art, interior design, and crafts. Using metallic gold paint can add a touch of sophistication and richness to your projects, making them stand out.
Materials Needed for Making Metallic Gold Paint
To create your own metallic gold paint, you will need specific materials. Having the right ingredients ensures that you achieve the desired effect and finish.
Key Ingredients
Here is a list of essential materials required:
| Material | Description |
|---|---|
| Gold Pigment | This is the primary ingredient. Choose a high-quality gold pigment or powder containing real metal particles for the best results. |
| Binder | The binder holds the pigment together and adheres it to the painting surface. Acrylic mediums, oils, or water-based binders are commonly used. |
| Solvent | Depending on the binder, you may need a compatible solvent, such as water for acrylics or mineral spirits for oil-based paints. |
| Mixing Container | Use a clean, non-reactive container to mix the paint. |
| Mixing Tool | A palette knife or stir stick works well for blending the materials. |
Optional Additives
You may want to consider some additives to enhance the properties of your paint:
| Additive | Purpose |
|---|---|
| Flow Improver | Ensures smooth application and reduces brush strokes. |
| Drying Retarder | Slows down drying time, especially useful in hot climates or for detailed work. |
| Varnish | Adds an extra layer of protection and can modify the finish (matte, satin, or glossy). |

Preparation Steps
Preparation is key to ensuring that your metallic gold paint turns out perfectly. Ensuring your workspace and materials are ready before you start will streamline the process.
Setting Up Your Workspace
-
Clean and Organize: Ensure your workspace is clean and free of dust. Organize all materials so that they are within easy reach.
-
Protective Measures: Lay down a protective covering on your work surface and wear gloves and a mask to protect yourself from inhaling fine particles.
Measuring Ingredients
Precision is crucial when mixing your paint components. Here’s a guideline to get started:
- Pigment to Binder Ratio: Generally, a 1:2 ratio by volume (1 part pigment to 2 parts binder) works well. However, this can be adjusted based on the desired opacity and texture.
- Solvent Addition: Start with a small amount, adding more as needed to achieve the right consistency.
Mixing the Paint
Now that you’re prepared, it’s time to mix the materials. This step-by-step process will guide you through creating metallic gold paint.
Adding the Pigment
-
Measure the Pigment: Start by measuring the desired amount of gold pigment. As mentioned, it’s best to begin with a small quantity.
-
Transfer to Mixing Container: Carefully pour the measured pigment into your mixing container to avoid spilling and wasting the material.
Introducing the Binder
-
Measure Binder: Measure the appropriate amount of binder based on your pigment quantity. Double-check your measurements for accuracy.
-
Mix with Pigment: Slowly introduce the binder into the mixing container with the pigment. Stir continuously as you add to ensure thorough blending.
Achieving Desired Consistency
-
Mixing: Use your mixing tool to blend the two components until the mixture is smooth and homogeneous.
-
Add Solvent: Gradually add the solvent while stirring, until you reach the desired consistency. Be cautious not to over-thin the paint.
Testing and Adjusting
-
Test Application: Apply a small amount of the mixed paint to a test surface to evaluate its consistency, coverage, and finish.
-
Make Adjustments: If necessary, tweak the mixture by adding more pigment for opacity, binder for adhesion, or solvent for consistency.
Application Techniques
Applying metallic gold paint correctly can significantly affect the final appearance. Here’s how to achieve the best results.
Surface Preparation
-
Cleaning the Surface: Ensure the surface you intend to paint is clean, dry, and smooth. Remove any dust, grease, or old paint.
-
Priming: Apply a primer suitable for the material you’re painting. A white or beige primer is usually recommended for metallic gold to ensure the paint’s brilliance.
Painting Methods
Using Brushes:
- Select a soft, high-quality brush to avoid visible brush strokes.
- Apply the paint in thin layers, allowing each layer to dry before applying the next.
Using Rollers:
- If covering larger areas, a foam roller can provide an even coat.
- Roll gently to avoid air bubbles and streaks.
Spray Application:
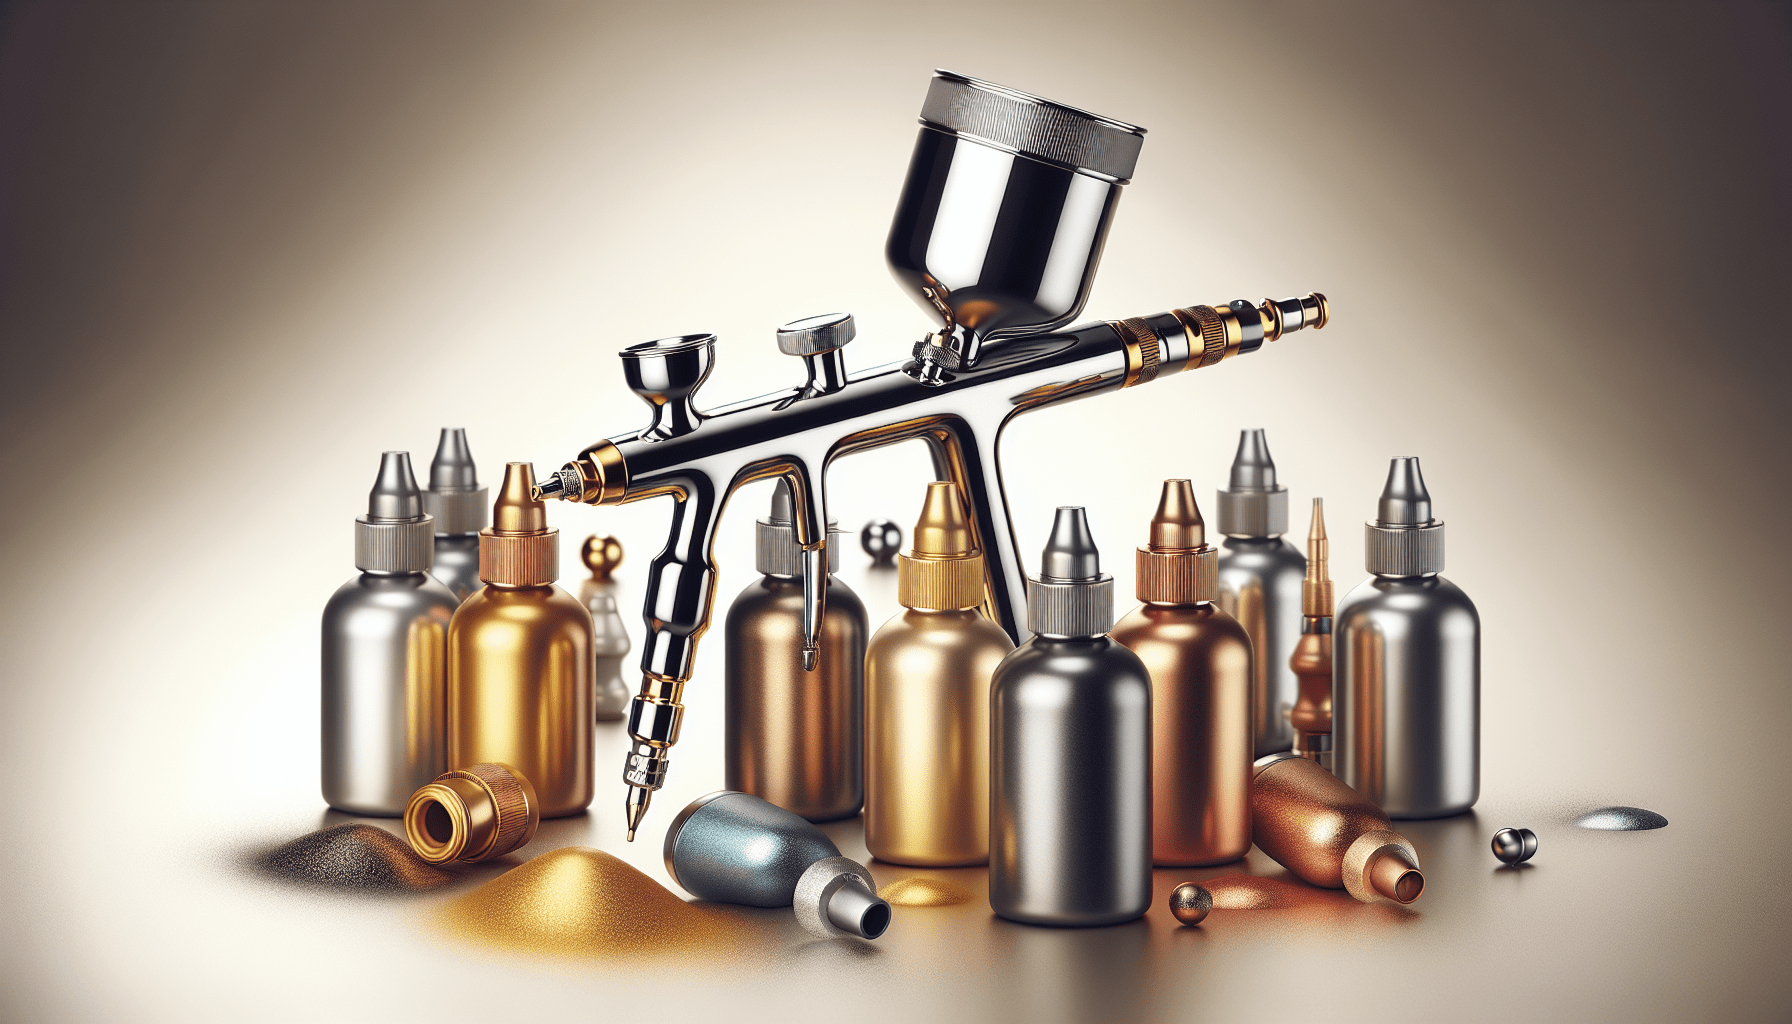
- For a smoother, more professional finish, consider using a spray gun.
- Ensure even coverage by maintaining a consistent distance from the surface while spraying.
Drying and Curing
Proper drying is essential to the durability and finish of metallic gold paint. Different binders have different drying times, so be sure to follow specific guidelines.
Air Drying
- Ventilation: Ensure the painted area is well-ventilated to facilitate air drying. Avoid exposing the paint to dust until it is fully dry.
Heat Curing
- Optional: Some projects might benefit from heat curing, especially when using oil-based paints. Follow the binder’s instructions for safe curing temperatures and durations.
Adding Protective Coatings
- Varnish Finish: Once the paint is dry, consider applying a varnish to protect the surface and enhance the finish. Choose between matte, satin, or glossy based on your preference.
Common Issues and Troubleshooting
Even with careful preparation and application, issues can arise. Here’s how to troubleshoot some common problems you might encounter.
Problem: Streaks or Brush Marks
Solution:
- Use a brush with softer bristles.
- Apply multiple thin layers instead of one thick layer.
- Consider adding a flow improver or extender.
Problem: Uneven Coverage
Solution:
- Mix the paint thoroughly to ensure even pigment distribution.
- Apply a consistent primer layer before painting.
- Use a spray application for smoother results.
Problem: Paint Peeling or Cracking
Solution:
- Ensure the surface is well-prepared and primed.
- Avoid over-thinning the paint with too much solvent.
- Allow adequate drying time between coats.
Enhancing Your Metallic Gold Paint
Once you master the basic mixture, you can enhance your paint to suit specific needs or artistic visions.
Color Adjustments
You can alter the hue or intensity of the gold paint by adding different pigments.
- Brighter Gold: Add a small amount of yellow pigment.
- Antique Gold: Introduce a hint of brown or bronze pigment for a more aged appearance.
Texture Modifications
To create different textures and effects, consider these additives:
- Thickeners: For a more textured gold paint, add a thickening agent to increase the viscosity.
- Glitter or Mica Flakes: Add fine glitter or mica flakes for an extra sparkling effect.
Custom Blending
Mix metallic gold paint with other metallic colors, such as silver or bronze, to achieve unique, custom shades. This can be particularly useful for special artistic effects.
Safety and Storage
Safety should always be a priority when handling pigments and solvents. Proper storage can prolong the life of your metallic gold paint.
Safety Precautions
Protective Gear:
- Wear gloves, a mask, and protective eyewear when mixing and applying the paint.
Ventilation:
- Work in a well-ventilated area to reduce exposure to fumes and fine particles.
Handling Solvents:
- Store solvents in a cool, dry place away from direct sunlight and flames.
Storage Tips
Container:
- Store your metallic gold paint in airtight containers to prevent drying out.
Labeling:
- Clearly label containers with the date and contents for easy identification and to keep track of shelf life.
Practical Applications of Metallic Gold Paint
Understanding the applications of metallic gold paint can inspire various creative projects.
Art and Crafts
Use metallic gold paint to:
- Highlight Artwork: Accentuate highlights or create backgrounds with a luxurious gold sheen.
- Enhance Crafts: Decorate items such as frames, sculptures, or candles for an elegant touch.
Interior Design
Metallic gold paint can add a touch of luxury to interiors:
- Walls and Furniture: Create accent walls or refurbish old furniture with metallic gold for a modern yet timeless look.
- Decorative Elements: Paint moldings, picture frames, or light fixtures to match your gold-themed decor.
Fashion and Accessories
In fashion, metallic gold paint can be used to:
- Customize Clothing: Add gold accents to fabric for unique, eye-catching designs.
- Design Accessories: Paint shoes, handbags, or jewelry components for a coordinated and chic appearance.
Conclusion
Creating metallic gold paint allows for a high degree of customization and creativity. Understanding the basic principles and techniques can help you achieve the desired effect, whether you’re working on fine art, craft projects, home decor, or fashion items. By carefully selecting high-quality materials and following precise preparation and application methods, you can produce stunning, professional-quality metallic gold paint that elevates your work.
Remember, the process involves more than just mixing pigments and binders; it requires attention to detail, patience, and practice. With this comprehensive guide, you’re well-equipped to embark on a rewarding journey to create your own metallic gold paint.
