Have you ever wanted to turn a simple wall into an interactive surface? Imagine the possibilities of having magnets stick to any wall in your home. With magnetic paint, you can create a surface that not only adds a fun twist to your decor but also allows for creativity and organization. Let’s find out just how you can make your own magnetic paint!
What is Magnetic Paint?
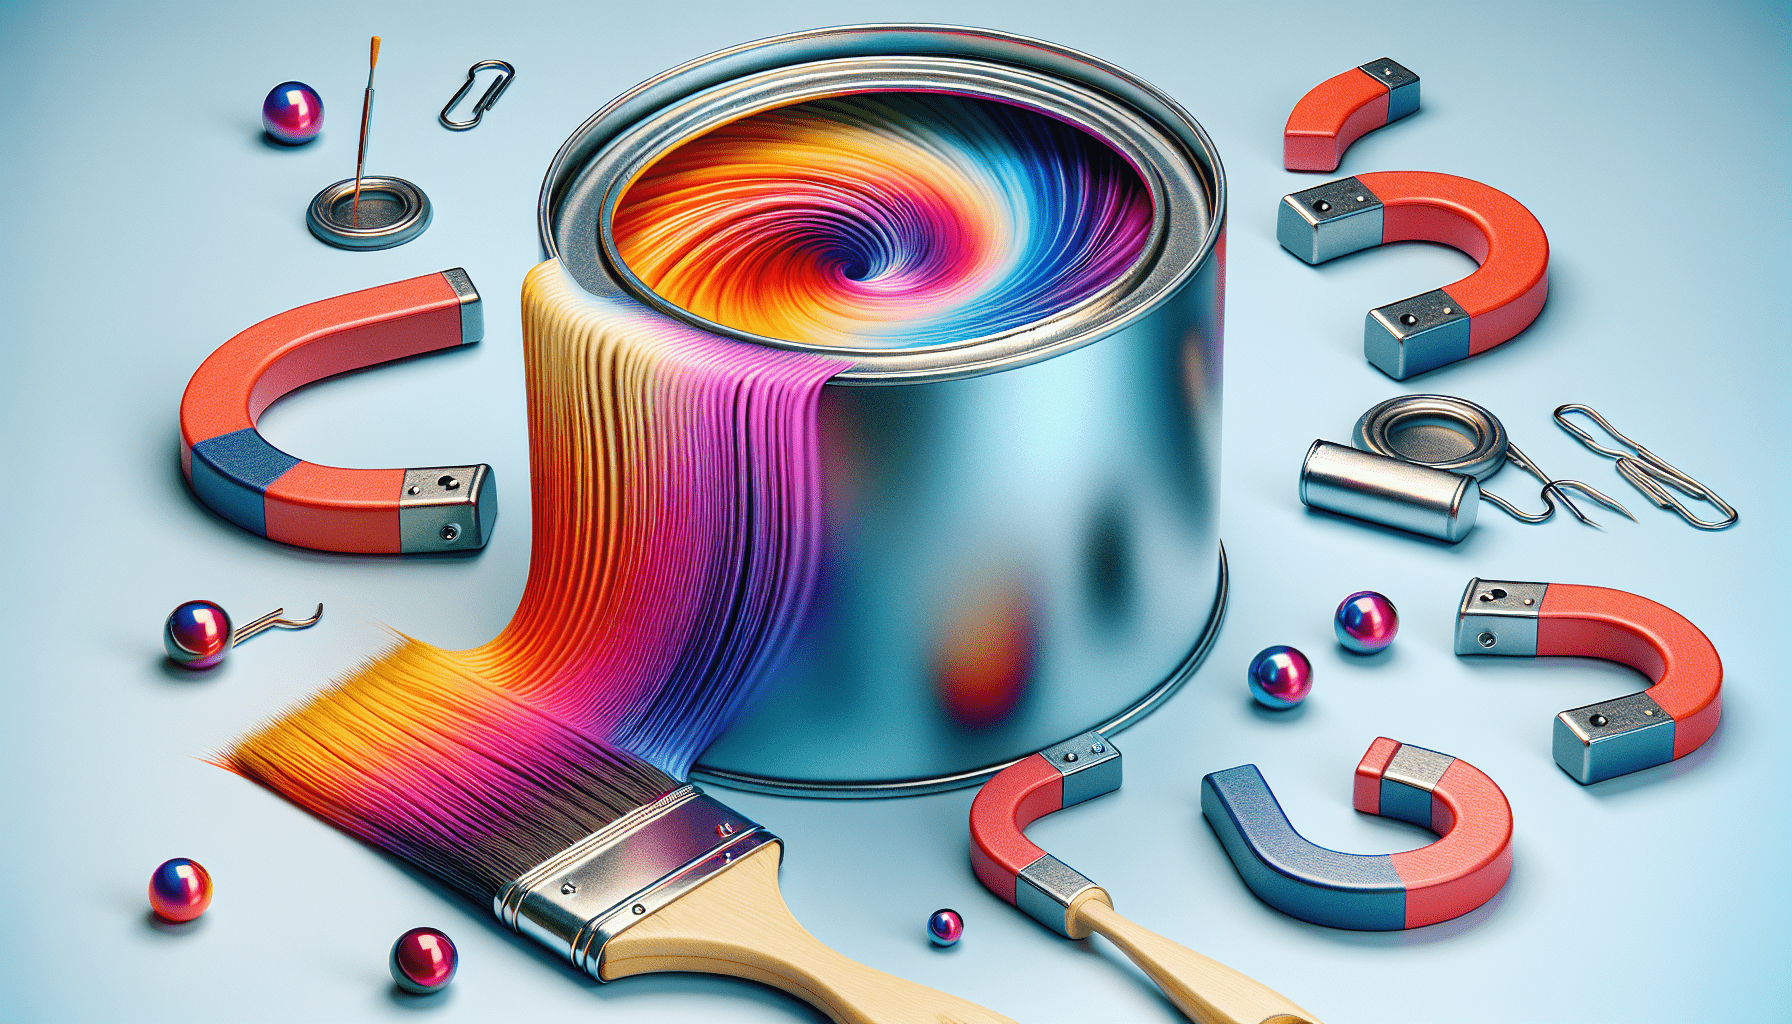
Magnetic paint is a special type of paint that has magnetic properties. It contains tiny metal particles that enable magnets to adhere to the painted surface. This innovative paint transforms a dull wall into a functional and educational space, making it perfect for kids’ rooms, offices, or creative studios. You can use it to stick artwork, reminders, or even tools. It’s a fantastic way to make any wall in your home more interactive!
The Benefits of Using Magnetic Paint
Before we jump into how to create magnetic paint, let’s look at the benefits it brings to your space.
Enhances Creativity
With magnetic paint, your walls become a canvas for creativity. Children can display their art projects, and you can decorate your space with notes, pictures, or anything else that inspires you.
Organization Made Easy
Forget about corkboards or cluttered desks. When you paint a wall with magnetic paint, you can easily stick things like schedules, shopping lists, or important reminders right where you need them.
Versatile Use
Magnetic paint is not limited to one particular style or room. You can use it in playrooms, kitchens, home offices, or crafting spaces. The versatility of this paint means it can fit into any part of your life.
Eco-Friendly Options
Many magnetic paints available now are made with environmentally friendly materials. By choosing eco-conscious products, you can help protect the planet while enhancing your living space.

What You’ll Need
Creating your own magnetic paint is a fun DIY project, and fortunately, it doesn’t require a lot of complicated ingredients. Here’s what you’ll need to gather before you get started.
Basic Materials
| Material | Purpose |
|---|---|
| Paint (satin or eggshell finish) | Base for your magnetic paint |
| Iron Filings or Magnetic Powder | Provides magnetic properties |
| Mixing Container | To combine the paint and iron filings |
| Stir Stick | For mixing the ingredients |
| Paint Roller or Brush | For applying the paint |
| Drop Cloth or Newspaper | To protect your surfaces |
| Masking Tape | For clean edges and preventing mess |
| Primer (optional) | For better adhesion |
Choosing the Right Paint
When selecting your base paint, consider using a satin or eggshell finish, as these finishes help to create a smoother surface and enhance the adhesion of the magnetic properties. It’s best to stick to non-toxic options where available.
Selecting Magnetic Powder
Your choice of iron filings or magnetic powder will impact the effectiveness and texture of the final product. Magnetic powder might be less messy and offer a better finish than traditional iron filings. Aim for a fine, even consistency for the best results.
Step-by-Step Guide to Making Magnetic Paint
Now that you have everything ready, let’s walk through the steps to create your own magnetic paint. Preparing your materials correctly and following each step carefully will lead to a successful DIY project.
Step 1: Prepare Your Workspace
Start by setting up your workspace. Lay down a drop cloth or some old newspapers on the floor to protect it from paint spills. Make sure to work in a well-ventilated area. If you’re painting indoors, open windows or doors for fresh air.
Step 2: Tape Off the Area
Using masking tape, tape off the sections of the wall you want to paint. This will give you clean lines and prevent any accidental splashes on surrounding areas. You might want to map out how large an area you want to cover ahead of time.
Step 3: Mix the Paint and Magnetic Powder
In a mixing container, combine your satin or eggshell paint with the iron filings or magnetic powder. A good rule of thumb is to add about one part magnetic powder to three parts paint.
- Measure carefully: Use a measuring cup or a similar tool to ensure you’re adding the right proportions.
- Stir thoroughly: This is crucial! Make sure to mix it thoroughly until there are no clumps of powder in the paint. The more evenly mixed it is, the better the magnetic quality.
Step 4: Test the Mixture
Before applying it to an entire wall, it’s a good idea to test out a small area. Choose a discreet spot or cardboard and see how well your magnets hold. This test allows you to adjust the mixture if needed by adding more magnetic powder if you find it’s not strong enough.
Step 5: Apply the Magnetic Paint
Now, it’s time for the fun part — applying the paint!
- Use a roller or brush: For larger areas, a roller will speed things up, whereas a brush is great for corners and fine edges.
- Apply in even coats: It’s best to apply at least two coats for optimal magnetic strength. Allow the first coat to dry completely before applying the second. Follow the paint manufacturer’s guidelines for dry times, usually around 1 to 2 hours.
Step 6: Let It Cure
After applying your final coat, give the paint ample time to cure. Ideally, you should let it sit for 24 to 48 hours before attempting to stick anything to it. This ensures that everything is properly set and will give you the best results when it comes time to use your new magnetic surface.
Step 7: Test Your Magnetic Surface
Once the paint has cured fully, you can start testing your magnets. Grab some of your favorite magnets and see how well they stick to your newly painted wall. If you’ve mixed and applied correctly, you’ll find that they should hold up without any issue!

Tips for Success
Make your project even easier with these handy hints.
Choose the Right Location
When selecting a wall to paint, consider its intended use and accessibility. A wall that has frequent foot traffic may be the perfect spot for a family organization wall.
Experiment with Colors
While many people opt for standard colors, you can get creative! Consider using colorful base paints or designs underneath your magnetic paint layer.
Know Your Magnets
Different magnets have different strengths. The heavier the item you want to attach, the stronger the magnet will need to be.
Keep It Clean
Always clean up any spills immediately with soap and water. If the paint dries on surfaces you didn’t intend to paint, it can be tricky to remove later on.
Maintenance of Magnetic Paint
Maintaining your magnetic wall is simple, but a few tips can help enhance its longevity and functionality.
Regular Dusting
Just like any painted surface, magnetic walls collect dust and debris. Regularly dust your painted area with a damp cloth to keep it looking fresh.
Avoid Heavy Objects
While magnets can hold most light-to-medium items, avoid attaching excessively heavy objects to prevent damage to your wall or the paint itself.
Repaint and Refresh as Needed
Over time, wear and tear can occur. If you notice your magnetic properties fading, consider repainting the area or adding additional magnetic paint for reinforcement.
Conclusion
Magnetic paint is a revolutionary way to add a fun and interactive element to any space. By following the steps outlined above, you can create your own magnetic paint that opens up a world of creative possibilities. Whether for your home, office, or a children’s play area, you’ll find that magnetic paint turns your walls into dynamic surfaces ideal for displaying art, organizing, and inspiring creativity.
When you think about the dual function of aesthetics and utility, magnetic paint is one of the best transformations you can make at home. So, gather your materials, get creative, and enjoy the myriad ways you can use this amazing paint!