In the article “How To Make Liquid Watercolor Paint,” you will learn the essential steps and materials required to create vibrant, homemade liquid watercolor paint. By following a straightforward process, you can transform basic, readily available ingredients into high-quality, customizable paint suitable for a variety of artistic applications. This guide is designed to help both novice artists and seasoned painters enhance their creative endeavors with personally crafted materials, ensuring that your artwork reflects your unique style and vision.
How To Make Liquid Watercolor Paint
Have you ever wondered how you can make your own liquid watercolor paint at home? Creating your own watercolor paints can be an enriching and economical venture. Whether you’re an aspiring artist, an educator, or simply someone with a deep appreciation for craftsmanship, understanding the process of making liquid watercolor paint can elevate your artistic pursuits to new heights.
In this comprehensive guide, you’ll learn how to create your very own liquid watercolor paint from a variety of materials, and you’ll discover tips and techniques that can help ensure a successful outcome every time. Let’s dive in.

Why Make Your Own Liquid Watercolor Paint?
Cost-Effective
One of the primary benefits of making your own liquid watercolor paint is the cost savings. Commercial watercolor paints can be expensive, especially if you need a wide range of colors. By making your own, you can significantly cut down on expenses without compromising on quality.
Customization
Homemade watercolor paint allows you the freedom to customize colors to your exact specifications. You can create unique hues and shades that might not be readily available in the market. This ability to customize can be particularly advantageous for professional artists looking to achieve a distinct style.
Educational Experience
For educators and parents, making liquid watercolor paint can serve as an excellent educational activity. It combines elements of science and art, providing a hands-on way to teach children about mixing, measuring, and color theory.
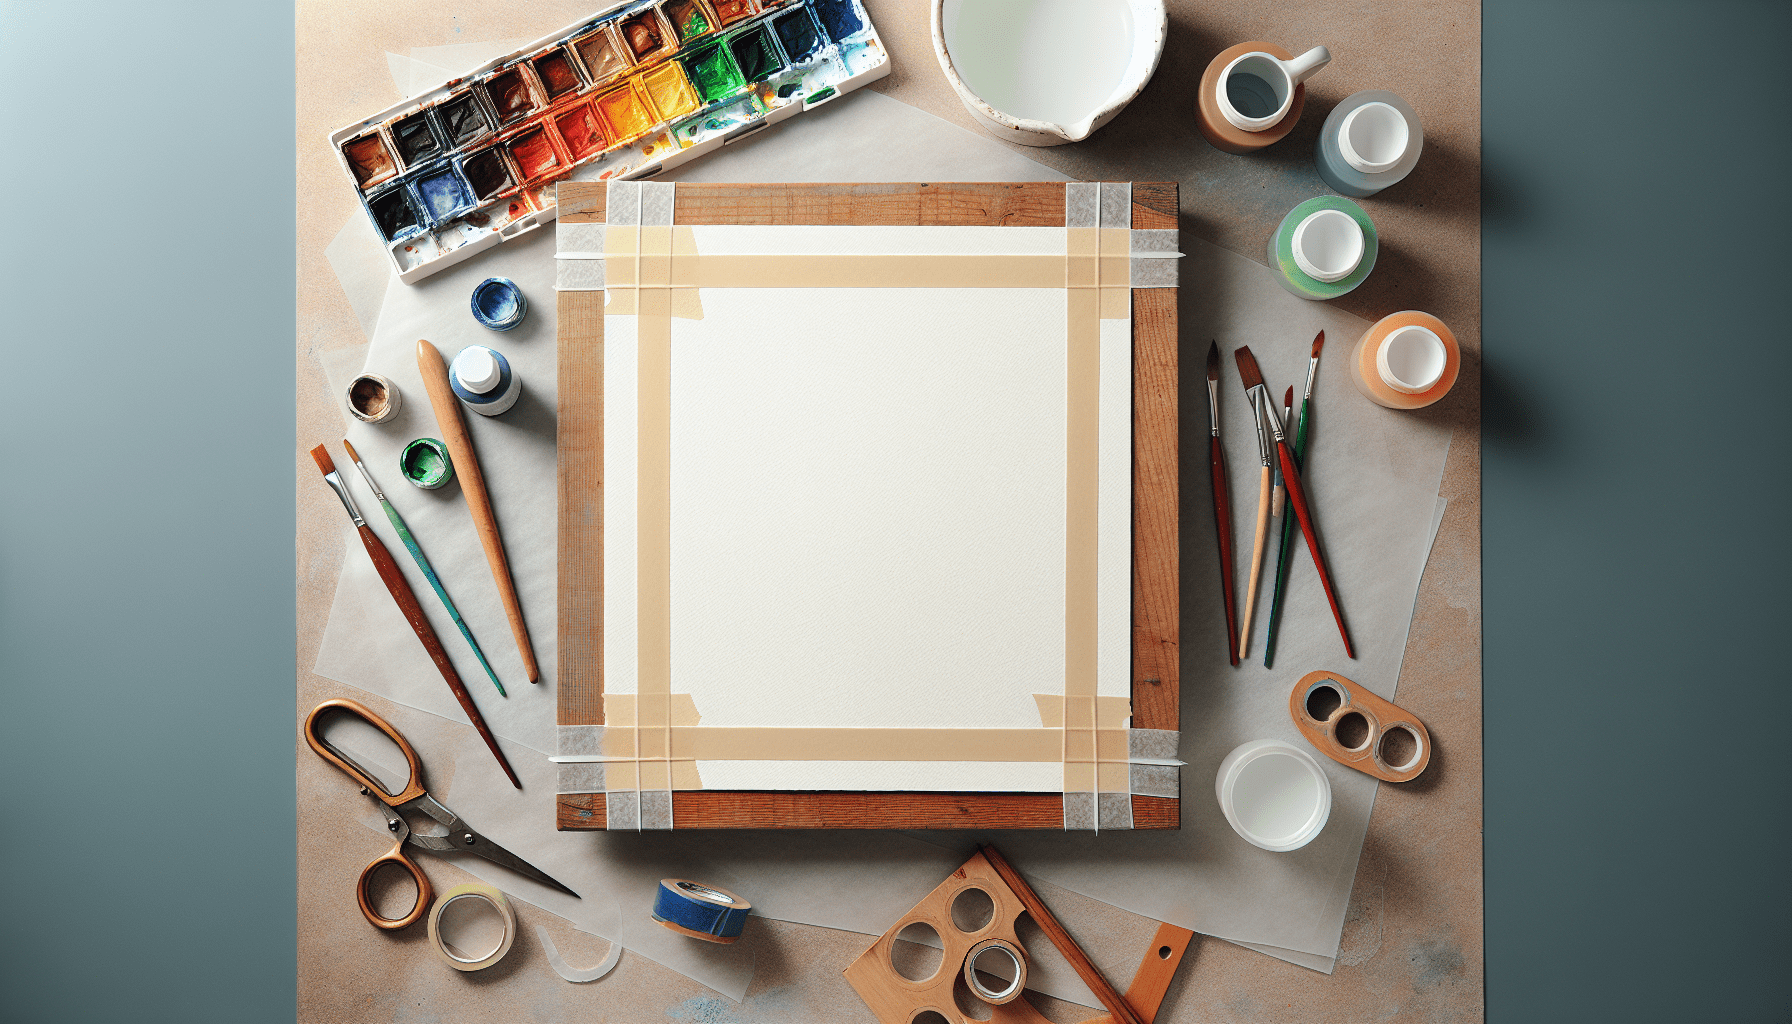
Materials Needed
Before diving into the process, it’s crucial to gather all the necessary materials. Here’s a list of what you’ll need:
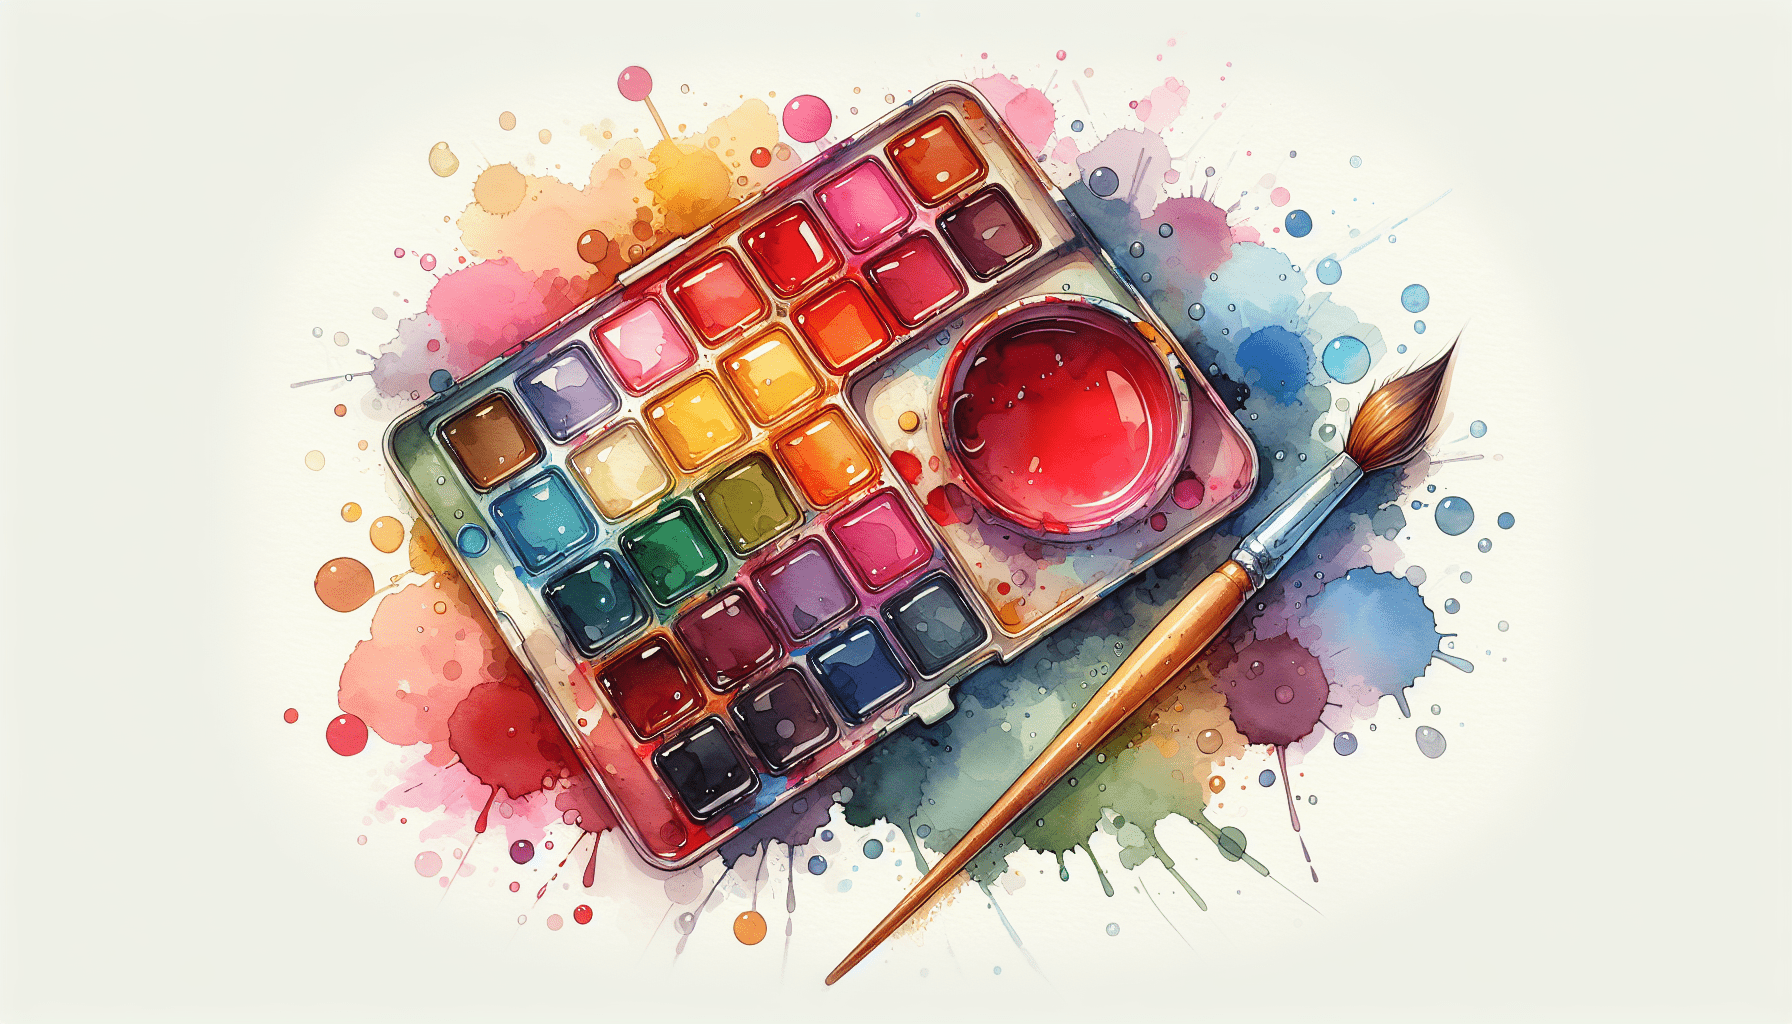
Basic Materials
- Pigments: These can be in the form of watercolor powders, food coloring, natural substances, or professional-grade pigments.
- Water: Distilled water is preferred for a purer and more consistent result.
- Binders: Common binders include gum arabic, glycerin, or honey to give the paint its fluid consistency and adhesion properties.
- Preservatives: To prevent mold and bacterial growth, you may wish to add a small amount of clove oil or other preservative.
- Mixing Tools: Mixing bowls, a glass or ceramic palette, and stirring sticks.
- Containers: Air-tight containers or dropper bottles to store the liquid watercolor paint.
Optional Materials
- Pipettes or Droppers: For precise measuring of liquids.
- Mullers and Slabs: For grinding pigments into finer particles.
- Labels: To label your finished paints for easy identification.
Preparing Your Workspace
Setting up your workspace before you start is essential for a smooth workflow. Make sure your space is clean and free from any materials that could contaminate your paint. Lay out all your tools and supplies within easy reach.
Step-by-Step Guide to Making Liquid Watercolor Paint
Step 1: Choose Your Pigments
Choosing the right pigment is critical as it will determine the quality and color of your final product. You can opt for professional-grade pigments for a high-quality finish, or you can use more readily available materials like food coloring or natural substances.
Types of Pigments
- Watercolor Powder: These are highly concentrated and can produce vibrant colors.
- Food Coloring: Easily accessible and safe, but may not offer the same vibrancy and longevity as other types.
- Natural Pigments: Created from plants, flowers, or other natural substances but may require more preparation.
Step 2: Prepare the Binder
Binders are essential in liquid watercolor paints as they hold the pigment particles together and bind them to the paper.
Common Binders
- Gum Arabic: Often used in traditional watercolors, this gives a smooth and glossy finish.
- Glycerin: Adds a slight sheen and improves the flow of the paint.
- Honey: Acts as a natural preservative and provides a glossy finish.
To prepare your binder, mix it thoroughly with distilled water. The ratio of binder to water typically ranges from 1:4 to 1:6, depending on the type of binder used.
Step 3: Mixing the Paint
Now that you’ve prepared your pigments and binders, it’s time to mix them together.
- Combine Pigment and Binder: Start by adding a small amount of pigment to your prepared binder. Mix thoroughly using your stirring stick. Continue adding pigment until you reach the desired color intensity.
- Adjust Consistency: Add more distilled water if the mixture is too thick, or add more binder if it is too thin.
- Strain the Mixture: For a smoother paint, strain the mixture through a fine mesh sieve to remove any lumps or undissolved pigment particles.
Step 4: Adding Preservatives
Preservatives are not always necessary but can help prolong the shelf life of your liquid watercolor paint. A few drops of clove oil or another suitable preservative should suffice.
Step 5: Store Your Paint
Transfer your freshly made liquid watercolor paint into air-tight containers or dropper bottles. Label each container with the color and date to keep track of their age and usage.

Troubleshooting Common Issues
Pigment Clumping
If your pigment is clumping, it’s likely due to improper mixing or insufficient grinding. Consider utilizing a muller and slab to achieve a finer texture. Alternatively, you can strain the mixture to remove the lumps.
Weak Color Intensity
In instances where your paint appears too light or washed out, add more pigment to boost the color intensity. Ensure thorough mixing to achieve a consistent tone.
Mold Growth
Mold can develop in water-based paints if they are stored over an extended period. To mitigate this, make sure you’re adding a sufficient amount of preservative, and always store paints in air-tight containers.
Advanced Techniques and Tips
Experimenting with Natural Pigments
Making watercolor paint from natural pigments can be particularly rewarding. Common sources include beetroot, turmeric, and spinach. To extract the pigment, you’ll typically need to blend the natural material and strain the juice.
Using Alcohol
Some artists add a small amount of isopropyl alcohol to the mixture to enhance the paint’s flow and prevent it from drying too fast. However, exercise caution when handling alcohol, and avoid overuse.
Layering Colors
Experiment with layering your homemade liquid watercolors. Because you control the composition, you can create translucent layers that add depth and complexity to your artwork.
Safety Considerations
While making your own watercolor paint can be a fun activity, it’s important to observe safety precautions:
Handling Pigments
Wear gloves and a mask when handling powdered pigments to avoid inhalation or skin contact. Some pigments can be toxic, so always consult safety data and use them in a well-ventilated area.
Storage
Store your finished paints out of reach of children and pets to prevent accidental ingestion.
Conclusion
Creating your own liquid watercolor paint is a fulfilling and educational endeavor that can save you money and provide you with unique and customized colors. From selecting pigments and preparing binders to mixing and storing your finished product, you now have all the knowledge to get started.
Innovation and experimentation are key. Don’t be afraid to try new mixtures and techniques to discover what works best for you. With practice and patience, you’ll not only gain a deeper understanding of the materials but also enrich your own artistic endeavors. Happy painting!