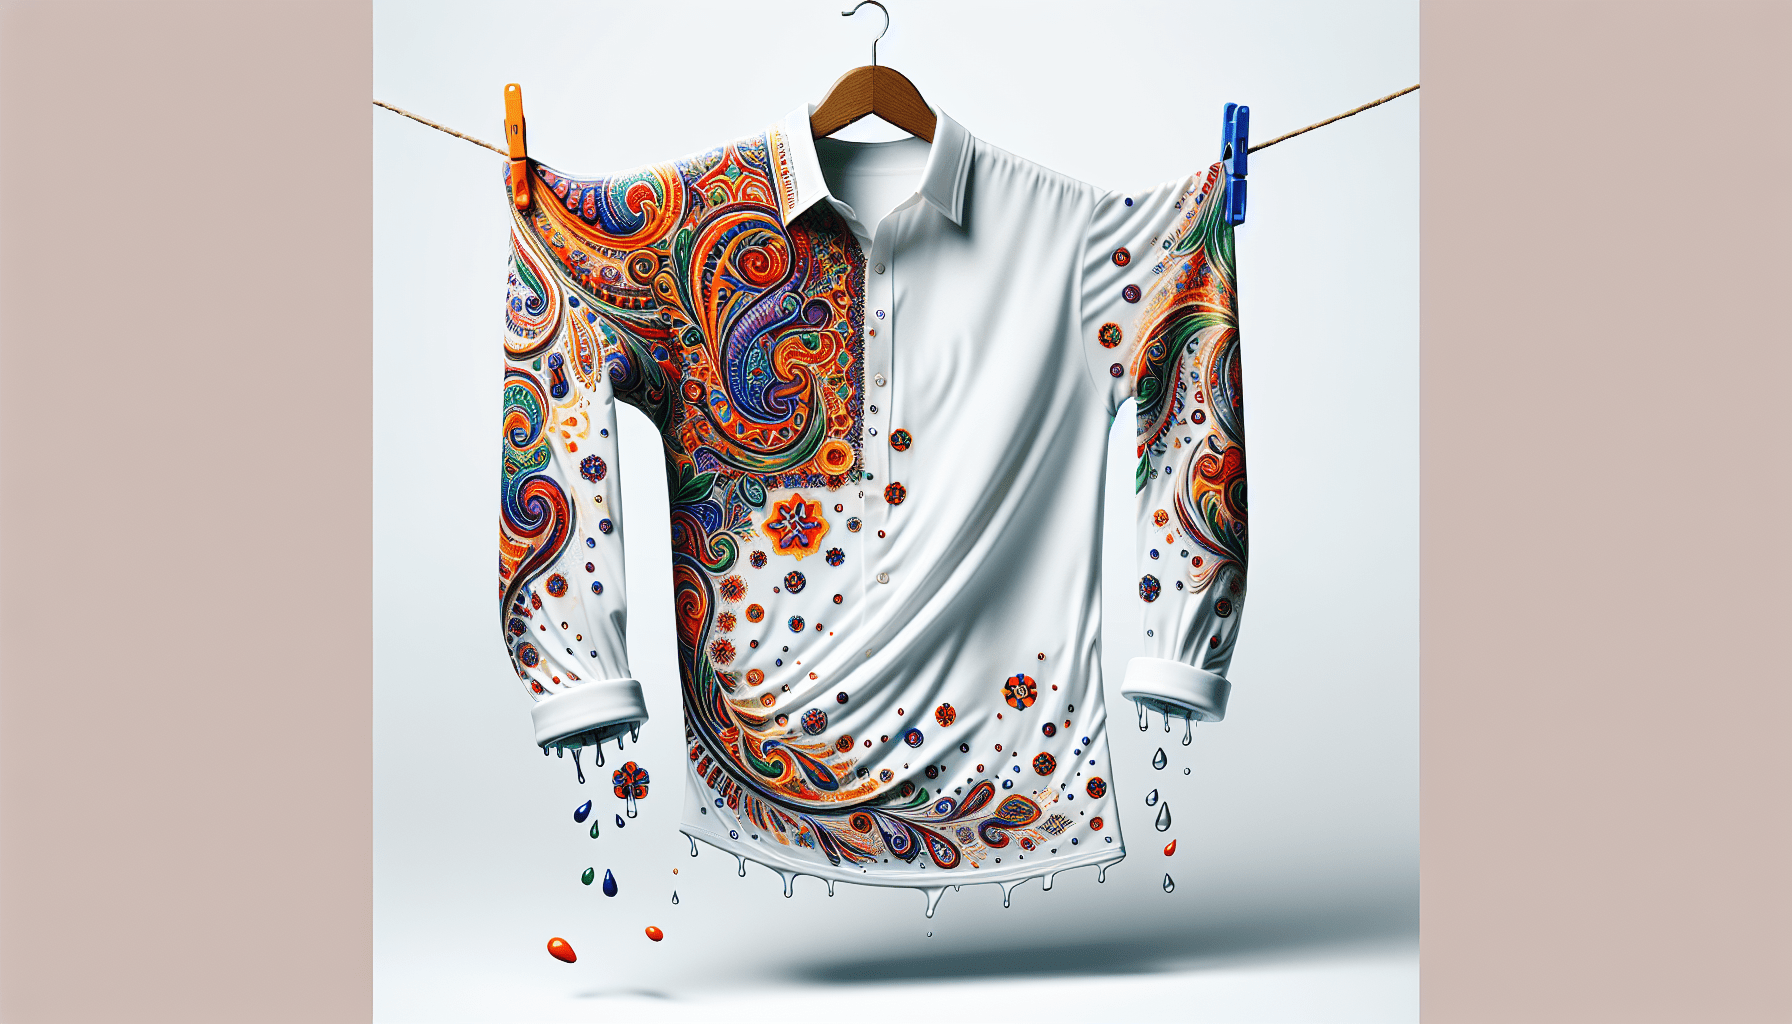
Fabric painting is a versatile and creative way to add a personal touch to your clothing or home decor. In this article, you will learn how to make fabric paint using acrylic and a few additional ingredients. With simple steps and a dash of creativity, you will be able to transform plain fabrics into vibrant works of art that are sure to grab attention. Let’s explore the process of making fabric paint from acrylic, unveiling the secrets to achieving stunning results that will leave a lasting impression.

Gather Supplies
When it comes to making fabric paint from acrylic, you will need a few supplies to get started. These supplies include acrylic paint in various colors, textile medium, water, squeeze bottles or containers, paintbrushes, a mixing palette or container, paper towels or cloth for cleanup, and protective gloves. By having these supplies on hand, you will be well-prepared to create your own custom fabric paint.
Choose Acrylic Paint Colors
Before you start mixing your fabric paint, it’s important to consider the fabric color and your desired design or pattern. These factors will help guide your choice of acrylic paint colors. If you’re working with a light-colored fabric, you may want to use vibrant and bold colors to create a striking contrast. On the other hand, if you’re working with a darker fabric, you may opt for lighter shades that will show up clearly. Take your time to select the acrylic paint colors that will best complement your fabric and achieve your desired artistic vision.
Prepare the Fabric
To ensure the best results with your fabric paint, it’s crucial to properly prepare the fabric before you begin painting. Start by washing and drying the fabric to remove any dirt or residue that may affect the adhesion of the paint. Iron the fabric afterwards to eliminate wrinkles and creases, as these can interfere with the smooth application of the paint. Additionally, place a cardboard or plastic sheet underneath the fabric to protect your work surface from any potential paint seepage or spills. By taking these preparatory steps, you’ll create an ideal canvas for your fabric paint project.
Mix Acrylic Paint with Textile Medium
Textile medium is a liquid additive that helps acrylic paint adhere to fabric and maintain its vibrancy and flexibility. To use textile medium with your acrylic paint, start by reading the instructions on the bottle to ensure you’re using the correct ratio. Typically, a one-part textile medium to two-parts acrylic paint ratio is recommended. Mix the textile medium and acrylic paint together in a mixing palette or container, making sure to stir well to ensure thorough mixing of the paint and medium. This step is crucial as it ensures that the fabric paint will have the necessary properties for long-lasting and durable designs.

Adjust Consistency of the Mixture
Once you’ve combined the acrylic paint and textile medium, you may need to adjust the consistency of the mixture to achieve the desired result. Adding water gradually to the paint and medium mixture can help achieve the perfect consistency. Stir the mixture well after each addition of water and test the consistency on a scrap fabric or paper. Repeat this process until you’ve achieved the desired consistency. It’s important to avoid making the mixture too watery, as this may compromise the effectiveness of the paint and result in a less durable design.
Transfer Mixture to Squeeze Bottles or Containers
To make it easier to apply the fabric paint, it’s a good idea to transfer the mixture into squeeze bottles or containers. This allows for better control and precision while painting. When pouring the fabric paint mixture into the squeeze bottles or containers, make sure they have secure lids to prevent any accidental spills. To make the transfer process smoother and avoid mess, you can use a funnel. Don’t forget to label the bottles or containers with the names of the colors to ensure easy identification during your painting process. This step will help keep your fabric paint organized and ready for use.
Protective Measures
Before you dive into your fabric painting project, take some time to take the necessary protective measures. Wear protective gloves to prevent any staining on your hands from the paint. Also, cover any areas of the fabric that you don’t want to be painted with tape or plastic. This will help you maintain clean and defined edges and prevent unintentional painting on unwanted areas. Additionally, it’s important to work in a well-ventilated area or use a mask to avoid inhaling any fumes that may be emitted by the paint and textile medium. Lastly, clean up any spills or splatters on surfaces immediately to prevent stains.
Test the Fabric Paint
Before you start applying the fabric paint to your main design, it’s essential to test it on a small area of the fabric. This allows you to assess the color, consistency, and adhesion of the paint. Apply a small amount of the fabric paint to the test area and allow it to dry. Once dry, check if the color is as expected and if the consistency is suitable for your desired design. Pay attention to how well the paint adheres to the fabric. If any adjustments need to be made to the paint, this is the time to do it. By testing the fabric paint beforehand, you can ensure that you’ll achieve the desired results on your final project.
Application Techniques
When it’s time to apply the fabric paint to your fabric, there are various techniques you can use to achieve different effects. For detailed work, such as fine lines or intricate designs, using paintbrushes is recommended. This allows you to have more control and precision during the painting process. On the other hand, if you’re working on larger areas or want to create a textured effect, a sponge or foam brush can be used. Experiment with different brush strokes and techniques to create unique patterns and textures. Remember to allow each layer of paint to dry before applying additional layers to avoid smudging or blending of colors.
Curing and Setting the Fabric Paint
To ensure that your fabric paint design stays vibrant and durable, it’s important to properly cure and set the paint. Follow the instructions on the textile medium or acrylic paint bottles regarding drying and setting times. Typically, the painted fabric needs to air dry for a specific duration recommended by the manufacturer. After the air drying period, heat set the design using an iron or clothes dryer as specified. This heat setting process helps the paint bond with the fabric fibers for long-lasting results. It’s crucial to avoid washing the fabric for at least 24-48 hours after heat setting to allow for proper curing. By following these steps, you’ll ensure that your fabric paint design withstands regular use and washing.
In conclusion, creating fabric paint from acrylic is a rewarding and creative way to add your personal touch to fabrics. By gathering the necessary supplies, choosing the appropriate acrylic paint colors, preparing the fabric, mixing the paint with textile medium, adjusting the consistency, transferring the mixture to squeeze bottles, taking protective measures, testing the paint, using different application techniques, and properly curing and setting the fabric paint, you’ll be well-equipped to create vibrant and long-lasting designs on your fabrics. Remember to have fun, experiment, and let your creativity shine through your fabric paint creations.