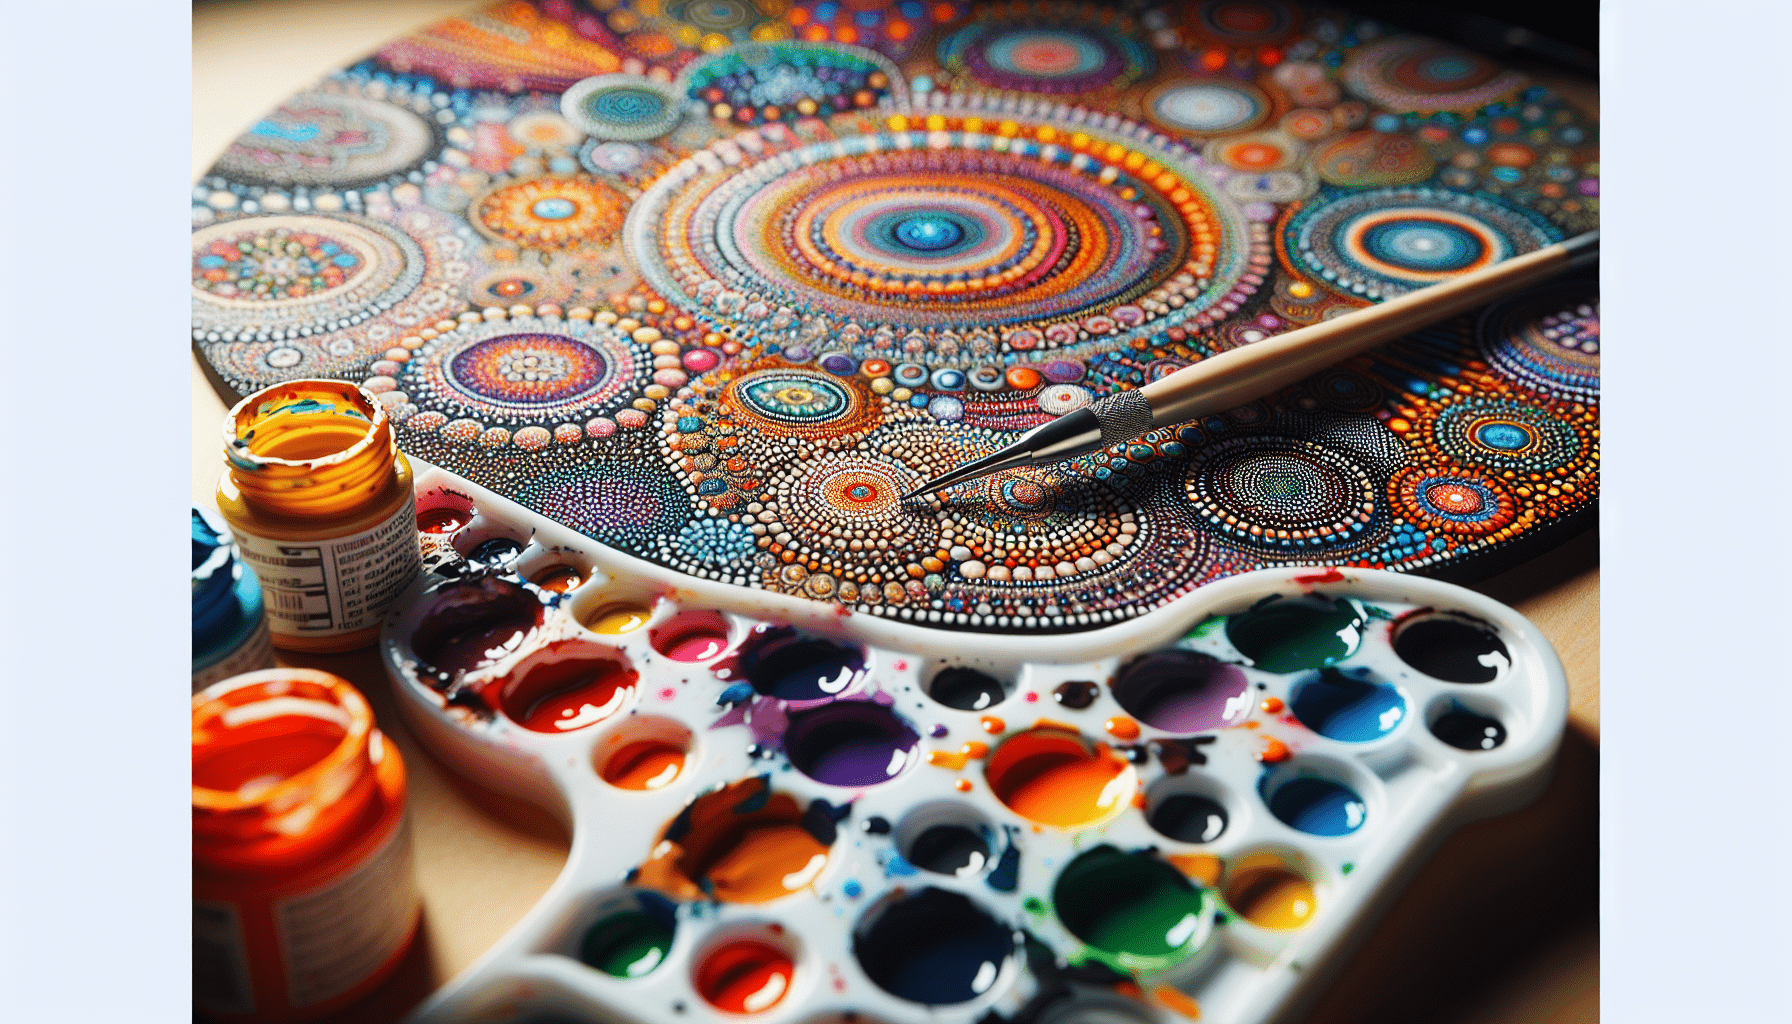
If you’ve ever dreamed of transforming your furniture into an antiqued treasure, “How To Make Chalk Paint With Acrylic Paint” is an essential read for you. This article outlines a detailed step-by-step process on how to revamp your favorite pieces using a simple blend of chalk and acrylic paint. Equipped with this knowledge, you’ll be able to achieve a sophisticated, matte finish that will take your home decor to new heights.

Materials Needed
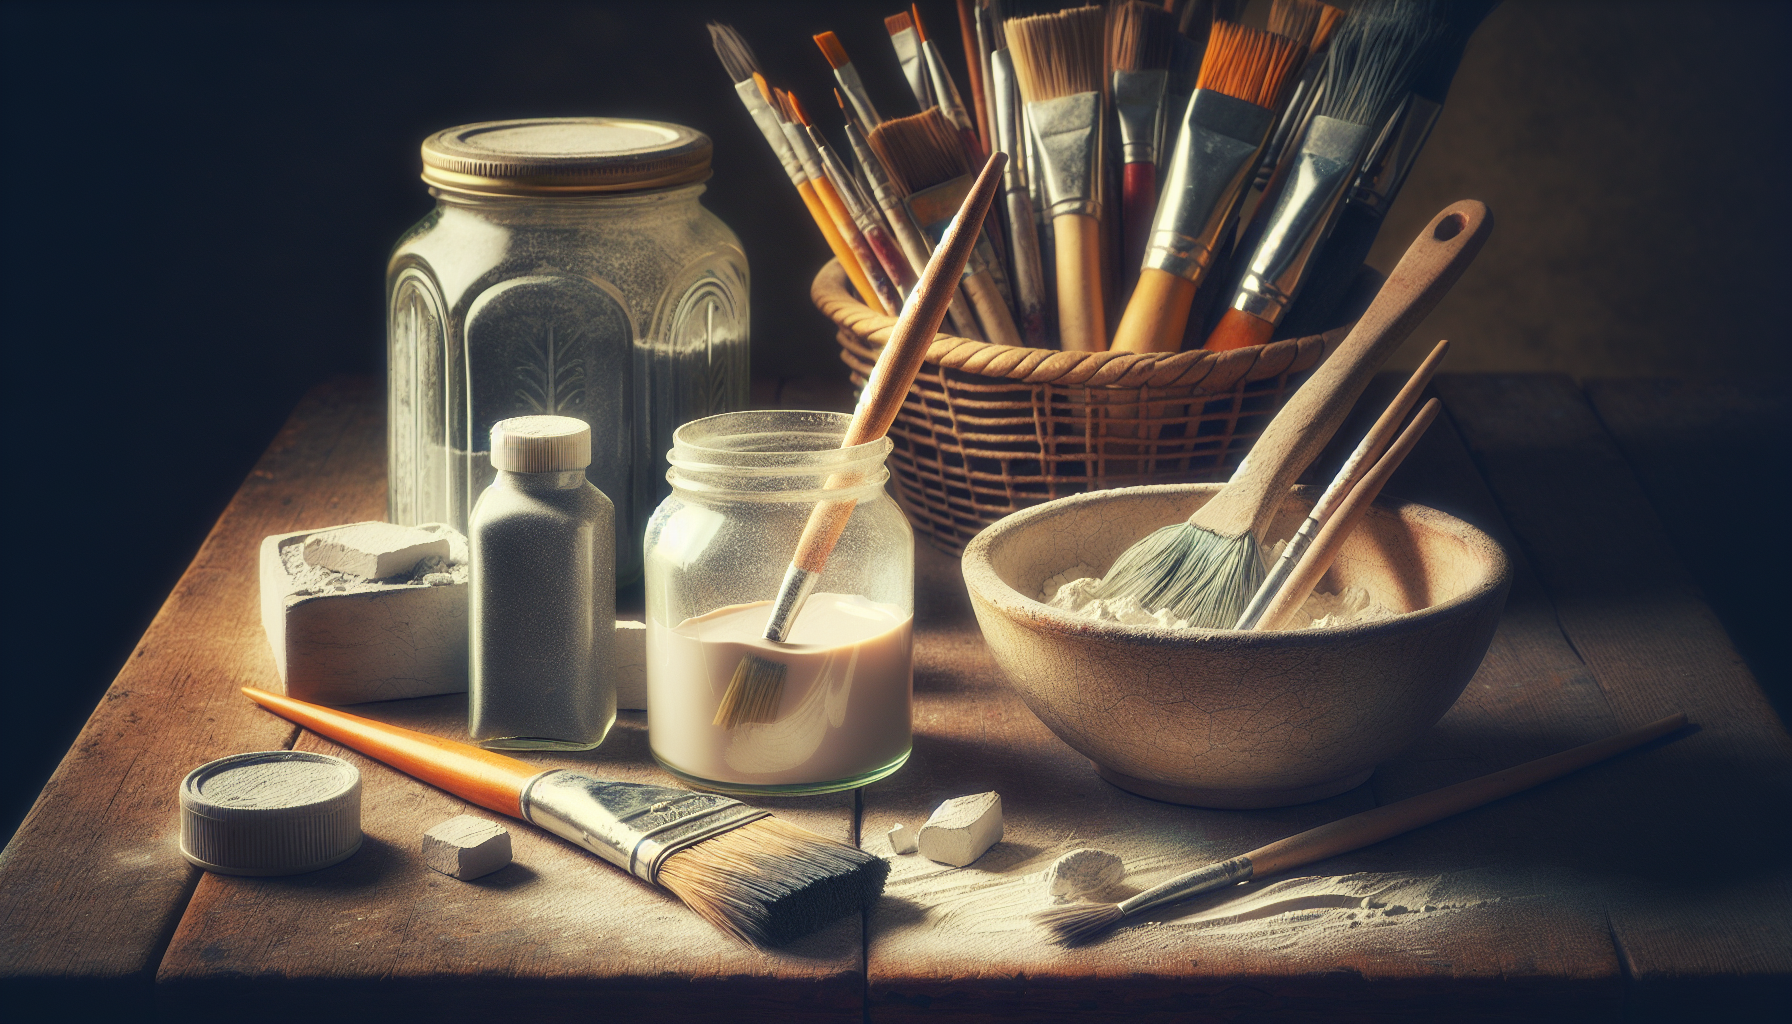
Before you begin your project of making chalk paint with acrylic paint, you must ensure you have all the necessary materials. These include acrylic paint, unsanded grout, water, measuring cups, a mixing bowl, and a whisk or spoon for thorough mixing. You also need disposable gloves to protect your hands from getting stained or irritated, an empty container for storing your ready chalk paint, a set of paintbrushes for application, and some sandpaper that is required for the preparation of the surface.
Acrylic paint
The choice of acrylic paint is up to you, it can be in any color of your preference. Just be sure that it is of good quality.
Unsanded grout
Unsanded grout is what gives the paint its chalk-like texture, making your paint suitable for an array of crafting and home improvement activities. It is also what allows you to write on the surface after painting.
Water
Water is used to dilute and mix the paint and grout. The amount used can affect the consistency of your final product.
Measuring cups
Exact measurements are important in achieving the right consistency for your chalk paint. It is advisable to have a dedicated set of measuring cups for your crafting endeavors.
Mixing bowl
A sizable mixing bowl is needed to mix your ingredients. Make sure the bowl is deep enough to prevent spillage.
Whisk or spoon
The whisk or spoon is instrumental in the thorough mixing of the grout and paint.
Disposable gloves
You are advised to wear gloves when handling paint and grout to protect your hands from stains and potential skin irritation.
Empty container for storage
You will need a sealable container where you can store the remaining paint for future use.
Paintbrushes
Good quality brushes are necessary for the application of the chalk paint to achieve a smooth finish.
Sandpaper
Sandpaper is used to prepare the surface before the application of the chalk paint.
Preparation
Before mixing your chalk paint, there are a few preparatory steps you should complete to ensure the process goes smoothly.
Choose the right acrylic paint
Choosing the right acrylic paint color that you want your chalk paint to be is essential. It is advisable to choose a high-quality acrylic paint for the best result.
Prepare the workspace
Make sure your workspace is clean, well-lit and has a flat surface for easy mixing. Cover the workspace with old newspapers or a drop cloth to protect it from paint spills.
Put on gloves
Before you begin mixing your paint and grout, put on your disposable gloves. This will keep your hands clean and protect them from any irritation that might be caused by the grout or paint.
Mixing the Chalk Paint
Now that you have prepared your workspace and materials, it is time to mix your chalk paint.
Measure the ingredients
You should follow a specific ratio when mixing your ingredients. For instance, you can use a one to one ratio of paint to grout and add water gradually until you achieve your desired consistency.
Combine acrylic paint and water
Pour your measured acrylic paint into the mixing bowl. Start by adding a small amount of water and stir using a whisk or spoon. The purpose of the water is to make the paint easier to mix with grout.
Add unsanded grout
Gradually add the unsanded grout into the mix. It’s recommended to add a little at a time while continuously mixing to prevent lumping.
Mix thoroughly
Mix all components thoroughly. Stir until you get a smooth consistency, with no visible clumps of grout. This is essential for a smooth and uniform paint application.
Adjusting Consistency
The consistency of your chalk paint can greatly affect its application and the end result.
Test the consistency
Test the consistency of your chalk paint by running a small amount off your spoon or whisk. The paint should flow smoothly but also hold onto the spoon well. Too runny and your paint will drip, too thick and it will be hard to apply.
Add more water for a thinner paint
If your chalk paint is too thick, you can add more water, little by little, and stir well after each addition.
Add more unsanded grout for a thicker paint
In case your chalk paint is too thin, you can add more unsanded grout. Just like adding water, only add a little at a time to ensure your mixture doesn’t become too thick.

Using the Chalk Paint
Once your chalk paint is mixed to your satisfaction, it’s time to start painting.
Prepare the surface
Use sandpaper to lightly roughen the surface you will be painting. This gives the paint something to adhere to and results in a more durable finish.
Apply the chalk paint
With your prepared brush, apply the chalk paint onto your selected surface. Be sure to apply evenly to avoid lines and streaks.
Allow drying time
After your first coat, allow the paint to dry completely. The waiting time would typically be around 2 hours, but it depends on the thickness of your paint layer.
Apply additional coats if needed
If, after drying, you determine that the color is not deep enough, or there are brush strokes or bare patches still visible, you may need to apply another coat. Apply as many coats as necessary until you achieve the desired look, allowing each coat to dry before applying another one.
Finishing Touches
After finishing your painting and allowing it to dry, there are a few additional steps you can take to personalize your work.
Distress the surface if desired
If you want to give your paintwork a vintage or worn-out look, use sandpaper or a sanding block to distress the surface. This is done by lightly rubbing the sandpaper over areas of the painted surface.
Seal the chalk paint
To protect your work, especially for furniture, you should seal the chalk paint. You can use a good quality wax or varnish for this. Simply brush it on and let it dry.
Buff the surface
Once the sealant has dried, you should buff the surface. A soft cloth can be used to achieve a smooth, gleaming surface.
Cleaning Up
Just as important as the painting itself is the clean-up process afterward.
Clean the brushes
If you wish to reuse your brushes, you should clean them immediately after use. You can do this by rinsing them in warm water till all the paint has washed out.
Dispose of excess paint
Don’t forget to safely dispose of any leftover paint and grout as they could be harmful to children, pets and the environment. You can find out local regulations on paint and grout disposal in your area.
Clean the workspace
Lastly, clean up your workspace. Remove any paint splatters and dispose of used newspapers or drop cloths, ensuring your workspace is left clean and ready for the next project.
Tips and Tricks
Here are some tips and tricks to help you achieve the best results in making and using chalk paint.
Experiment with different paint colors
Feel free to experiment with different color palettes. You can mix a few paints to come up with your own unique shades.
Use a primer on porous surfaces
If you are applying your chalk paint on porous surfaces like raw or unpainted wood, it would be advisable to apply a primer first. This helps to prevent the paint from soaking into the wood and resulting in an uneven finish.
Try different ratios for varied finishes
Feel free to play around with the paint-to-grout ratio. Remember, more grout results in a thicker paint that gives a grittier, rustic finish. Less grout provides a smoother, more modern finish.
Common Mistakes
By keeping the most common chalk paint mistakes in mind, you can ensure that you make the highest quality chalk paint.
Not mixing thoroughly
One of the common mistakes is not mixing the components thoroughly. This results in clumpy and grainy paint that is hard to apply.
Using too much water or grout
Using too much water or grout can lead to paint that is too thin or too thick, which is not ideal for application.
Not allowing enough drying time
Rushing the drying process and applying new coats before the previous one has completely dried is another common mistake. This can lead to peeling of the paint or an uneven, streaky finish.
Conclusion
In conclusion, making your own chalk paint using acrylic paint is a rewarding process that gives you the opportunity to customize your paint to your personal preference. It’s a versatile product that can be used for various projects, from painting furniture to creating chalkboard walls. By following the steps above, avoiding the common mistakes, and employing the suggested tips and tricks, you are sure to achieve quality results. Happy painting!