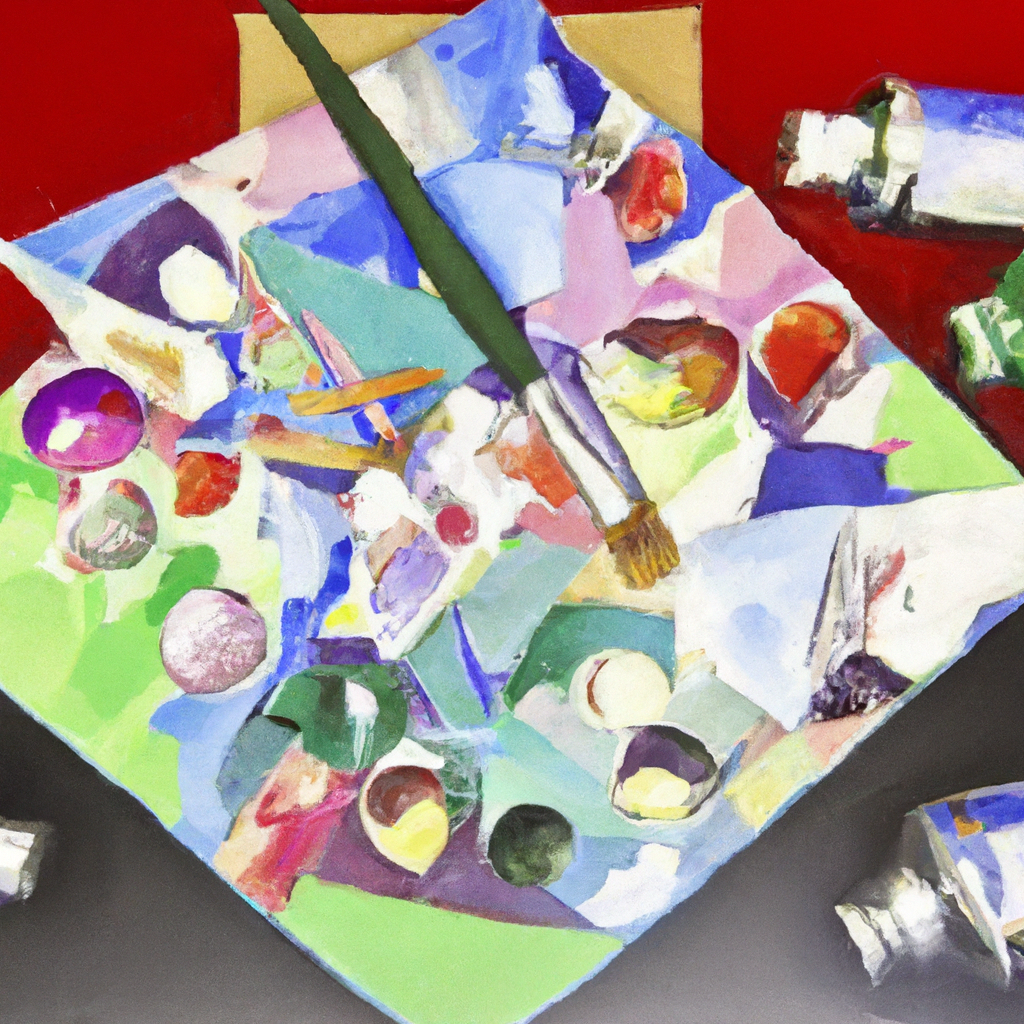
If you’ve ever dabbled in the world of art, you know that achieving vibrant and rich colors is key to creating stunning paintings. However, sometimes acrylic paint can appear dull and lack the intensity you desire. Luckily, there are simple yet effective techniques you can employ to make your acrylic paint more pigmented. From mixing in the right additives to layering techniques, this article will provide you with all the tips and tricks to enhance the vibrancy of your acrylic paintings. Say goodbye to dull colors and hello to striking masterpieces!
Choosing High-Quality Acrylic Paint
When it comes to choosing high-quality acrylic paint, there are a few factors to consider. One important aspect is understanding the concept of pigment load. Pigment load refers to the amount of pigment present in the paint. The higher the pigment load, the more intense and vibrant the colors will be. So, opt for paints with a high pigment load to ensure rich and vibrant results in your artwork.
Another consideration is whether to go for professional or artist grade paints. While both options offer high-quality pigments, professional grade paints often have a higher pigment concentration and use superior binders, resulting in more vibrant and longer-lasting colors. Artist grade paints are also excellent choices for most artists, providing a good balance between performance and cost. Ultimately, your choice will depend on your specific needs and budget.
Additionally, it is essential to check for lightfastness when selecting acrylic paints. Lightfastness refers to the paint’s ability to resist fading or changing color when exposed to light. Look for paints that have a high lightfastness rating to ensure your artwork retains its original vibrancy over time. This information is usually provided on the paint tubes or containers, so be sure to check for it before making your purchase.
Lastly, considering single pigment colors can greatly enhance your painting experience. Single pigment colors are made from a single pigment, resulting in more pure and vibrant hues. They also offer greater control when mixing colors, as they behave predictably and are less likely to muddy when combined. So, look for paints that explicitly state “single pigment” on the label, and consider incorporating them into your color palette.
Using a White or Light-Colored Ground
Preparing the surface before applying acrylic paint is crucial for achieving the best results. Using a white or light-colored ground offers several benefits. Firstly, a prepped ground provides a neutral base that allows the true colors of your paint to shine through. It enhances the brightness and vibrancy of the pigments, contributing to a visually appealing finished piece.
One way to achieve a suitable ground is by priming the surface with gesso. Gesso is a white paint mixture that serves as a preparatory layer before applying acrylic paint. It creates a smooth and even surface, ensuring that the paint adheres well and does not absorb excessively into the surface. Applying gesso also prevents the paint from soaking into the canvas or paper, allowing for easier manipulation and better control over the colors.
Alternatively, acrylic medium can also be used as a ground. Acrylic medium is a versatile product that can act as a clear or tinted ground layer. It provides a smooth and even surface, similar to gesso, but without the added layer of white. This is an excellent option if you prefer working on a transparent or colored ground, allowing for unique effects and textures in your artwork.

Preparing the Paint
Properly preparing your acrylic paint before use is essential for achieving optimal results. Here are some steps to follow:
-
Shake the Tube or Bottle: Acrylic paint can sometimes separate over time, with the pigment settling at the bottom. To ensure an even consistency, shake the tube or bottle vigorously before opening. This will help to remix the pigment and binder, resulting in a smooth and consistent texture.
-
Mix the Paint Thoroughly: Even after shaking, it’s a good practice to mix the paint thoroughly before using it. Use a palette knife or brush to blend the paint until the color is consistent throughout. This step ensures that any remaining pigment or binder separation is fully incorporated.
-
Adding a Stirring Stick or Ball Bearing: If you find that your acrylic paint has become too thick or dried out, you can add a stirring stick or a small ball bearing to the container. When shaken, the stick or ball will help break up any hardened portions and remix the paint, making it usable again.
-
Rescuing Dried or Hardened Paint: In case your acrylic paint has completely dried or hardened, don’t fret. There are ways to rescue it. You can try adding a small amount of water or acrylic medium to the dried paint and mix it thoroughly. This will help rehydrate the paint and make it workable again. However, keep in mind that the consistency may not be the same as fresh paint, so expect some differences in application and texture.
Using Fewer Diluents or Extenders
The use of diluents or extenders in acrylic painting can be beneficial but should be done judiciously to maintain the quality and integrity of the paint. Here are some aspects to keep in mind:
-
Understanding the Impact of Diluents: Diluents, such as water or acrylic medium, can be used to adjust the consistency and flow of the paint. However, excessive use of diluents can result in a loss of pigment intensity and color saturation. It can also negatively affect the paint’s adhesive properties and longevity. Remember to use diluents in moderation to maintain the vibrancy of your colors.
-
Minimal Use of Water or Acrylic Medium: When diluting your acrylic paint, start with a small amount of water or acrylic medium and gradually add more if needed. This gradual approach allows you to have better control over the amount of dilution and prevents over-thinning the paint. Keep in mind that different brands and colors of paint may require different amounts of dilution, so experimentation is key.
-
Avoiding Over-Thinning or Over-Extending: Over-thinning or over-extending the paint can result in weak and watery colors. It may also cause the colors to become transparent or lose their vibrancy. Be mindful of the consistency you desire for your artwork and avoid diluting the paint beyond what is necessary. Remember, you can always layer the paint if you want to create transparent effects or build up colors gradually.

Layering the Paint
Layering acrylic paint is a technique that allows you to add depth, dimension, and complexity to your artwork. Here are some tips for successful layering:
-
Building Up Layers Gradually: Start with thin, transparent layers and gradually build up the opacity and intensity of the colors. This approach helps to prevent a heavy or muddy appearance in your artwork. Allow each layer to dry before applying the next to avoid smudging or mixing of colors.
-
Allowing Sufficient Drying Time: Adequate drying time between layers is crucial to achieving clean and crisp results. acrylic paint dries quickly, but the drying time can vary depending on factors such as humidity and thickness of the paint layers. Remember to allow enough time for the paint to dry completely before proceeding with additional layers.
-
Using Thicker Applications: To create interesting textures and effects, consider using thicker applications of paint. Thicker paint can add dimension and visual interest to your artwork. Experiment with palette knives, brushes, or other tools to apply the paint with varying thicknesses for different effects.
-
Avoiding Over-Mixing or Over-Blending: While blending colors can create smooth and seamless transitions, over-mixing or over-blending can lead to a loss of vibrancy and distinctiveness. It’s important to strike a balance between blending and preserving the individual colors. Take care not to overwork the paint or reduce it to a uniform hue.
Applying the Paint with Proper Technique
The technique used for applying acrylic paint can greatly influence the outcome of your artwork. Here are some tips to ensure you apply the paint correctly:
-
Using Drybrush Technique: Drybrushing involves using a brush with a minimal amount of paint to create texture and highlights. This technique can be particularly effective when you want to achieve a more textured or layered appearance in your artwork. Use a dry or semi-dry brush with light strokes to build up texture gradually, adding depth and visual interest to your piece.
-
Avoiding Overworking or Scrubbing: Acrylic paint dries quickly, and overworking or scrubbing the paint can lead to the colors blending together or becoming muddy. Instead of scrubbing back and forth, strive for deliberate, intentional brush strokes. Allow the paint to dry between layers if you need to make adjustments or corrections.
-
Adding Multiple Translucent Layers: For a luminous and translucent effect, consider adding multiple layers of paint. This allows light to pass through the layers, creating a wonderful sense of depth. Apply thin layers of paint to maintain transparency and gradually build up color as desired.
-
Managing Brush or Tool Selection: The choice of brushes or tools can significantly impact the application of acrylic paint. Different brushes and tools produce varying textures and effects. Experiment with different brush sizes, shapes, and textures to discover the techniques that work best for you. Selecting the appropriate brush or tool for each application will help you achieve the desired outcome in your artwork.

Mixing Colors Correctly
Mastering the art of color mixing is essential for creating a wide range of hues and achieving harmonious palettes. Follow these tips to mix colors correctly:
-
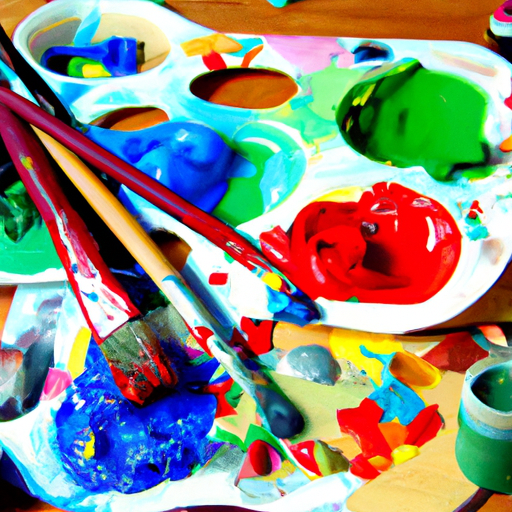
Using a Mixing Palette: A dedicated mixing palette provides a clean and controlled space for blending colors. It allows you to evaluate and adjust your color mixtures accurately. Choose a palette with a smooth surface that is easy to clean and maintain.
-
Creating Color Recipes: Keeping a record of your color mixtures by creating color recipes can be incredibly helpful. This allows you to replicate specific colors in the future and maintain consistency across your artwork. Jot down the proportions of each color used to achieve a particular hue, either digitally or in a physical journal.
-
Understanding Color Theory: Familiarize yourself with the basics of color theory to deepen your understanding of how colors interact with one another. Learn about primary, secondary, and tertiary colors, as well as complementary and analogous color harmonies. This knowledge will empower you to create nuanced and visually pleasing color palettes.
-
Avoiding Muddiness or Over-Mixing: When mixing colors, be cautious not to over-mix or blend too many colors together. Over-mixing can result in a muddy appearance, where the colors lose their vibrancy and clarity. Mix colors with intention, and when needed, use colors in small increments to avoid overwhelming mixtures.
Optimizing Drying Conditions
Properly drying acrylic paint is crucial for preserving the quality and longevity of your artwork. Consider these factors when optimizing the drying conditions:
-
Avoiding Direct Sunlight or Heat: Position your artwork away from direct sunlight or heat sources during the drying process. Excessive heat can cause the paint to dry too quickly, potentially leading to cracking or color shifts. Direct sunlight can also cause fading or yellowing over time.
-
Using Air Circulation: Adequate air circulation is essential for optimal drying. Ensure that the room or studio has good ventilation to facilitate proper drying. Air movement helps to prevent the formation of surface imperfections and ensures that the paint cures uniformly.
-
Controlling Humidity: High humidity levels can prolong the drying time of acrylic paint. It is best to work in a well-ventilated area with moderate humidity levels. If necessary, use dehumidifiers or fans to control the humidity in your workspace.
-
Optimal Room Temperature: Acrylic paint dries optimally within a specific temperature range. Aim for a room temperature of around 65-75°F (18-24°C) for best results. Extreme temperatures can affect the drying time and the overall quality of the paint film.

Exploring Different Brands and Colors
As an artist, it is valuable to explore a variety of brands and colors to expand your artistic possibilities. Consider the following when exploring different brands and colors:
-
Comparing Pigmentation Levels: Different paint brands vary in pigment load and color intensity. Experiment with different brands to find the ones that best suit your preferences and artistic goals. Pay attention to the pigmentation levels and how they affect the vibrancy and quality of the colors.
-
Seeking Recommendations: Reach out to fellow artists, art communities, or trusted art supply stores to gather recommendations. Artists with experience in using various acrylic paint brands and colors can provide valuable insights and suggestions based on their personal experiences and preferences.
-
Testing Various Brands and Colors: Conduct your own tests and experiments by purchasing small tubes or samples of different brands and colors. Paint swatches or small studies can help you assess the characteristics, performance, and color range of each brand. This exploration allows you to find the paints that resonate with your artistic style.
-
Experimenting with Professional Pigments: If budget allows, consider experimenting with professional-grade pigments alongside your regular paints. Professional pigments often offer superior color intensity, lightfastness, and long-term durability. This experimentation can provide a deeper understanding of the possibilities and potential of high-quality pigments.
Toxicity and Safety Considerations
While acrylic paints are generally safe to use, it is essential to take some precautions to ensure your well-being and safety. Keep the following considerations in mind:
-
Reading Safety Information: Familiarize yourself with the safety information provided by the paint manufacturer. Pay attention to any warnings or precautions related to toxicity, ventilation requirements, or allergies. Follow the instructions provided to ensure safe usage.
-
Using Protective Gear: Consider wearing protective gear such as gloves, aprons, or goggles when handling acrylic paint. This can help protect your skin from potential irritants or stains. If you are particularly sensitive to chemicals, consult a medical professional to determine the necessary precautions.
-
Proper Ventilation: Work in a well-ventilated area to minimize exposure to fumes or vapors. Open windows or use fans to improve air circulation. If working indoors, consider using exhaust fans or air purifiers designed for art studios. Ensuring adequate ventilation helps maintain a safe working environment.
-
Disposing of Paint and Related Materials: Be mindful of proper disposal methods for acrylic paint and related materials. Avoid pouring excess paint down the sink or drain, as it can harm the environment. Instead, allow leftover paint to dry out and dispose of it according to local regulations. Properly dispose of paintbrushes, palettes, and other tools in an environmentally responsible manner.
By considering these factors and following these guidelines, you can make informed decisions when it comes to choosing high-quality acrylic paint, preparing the paint for use, applying it with proper technique, and caring for your artwork. Remember to embrace experimentation, allow your creativity to flourish, and have fun exploring the vibrant world of acrylic painting!