As an artist or DIY enthusiast, making your acrylic artwork radiate with a glossy finish can add an exceptional ambiance. This article helps you explore tested methods of enhancing your acrylic paint output’s glossiness. It consolidates practical steps, professional tips and tricks, and recommended products that can be employed to your advantage. Broaden your painting expertise and make your acrylic renderings appear lustrously finished and professionally done. Here’s everything you need to know about making acrylic paint look glossy.
Choosing the Right Acrylic Paint
Choosing the right acrylic paint plays a critical role in achieving a glossy finish for your artwork. There are numerous brands of acrylic paint on the market, each offering their own unique consistency and finish.
Selecting a glossy acrylic paint
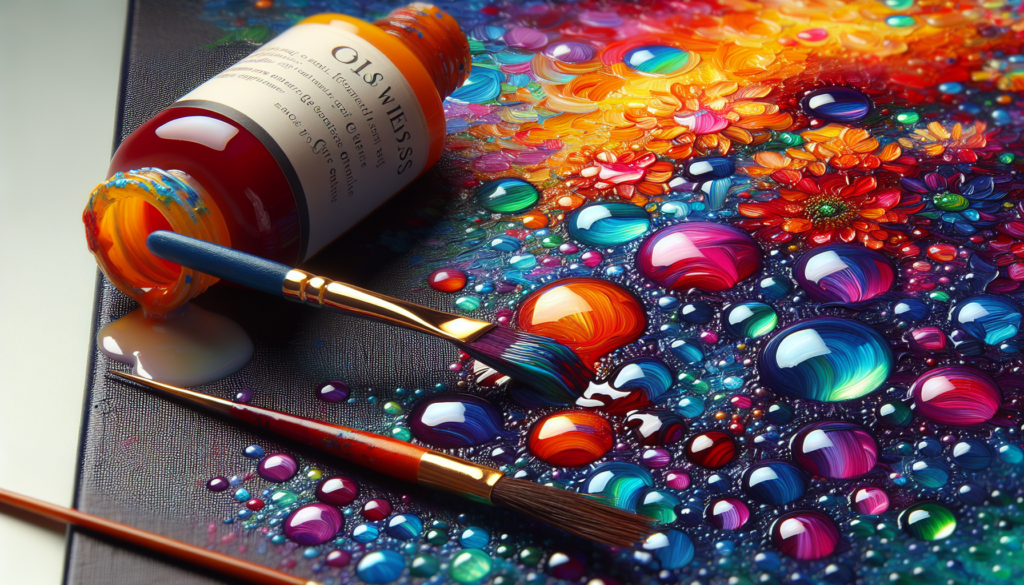
To begin, consider selecting a glossy acrylic paint. These are paints that have been designed with a particular type of pigment that reflects light, providing the paint with a shiny, lustrous finish. This is a great starting point for achieving the glossy effect you desire.
Consider using a high-gloss medium
When seeking to enhance the glossiness of your paint, you should consider using a high-gloss medium. A high-gloss medium is a substance that can be mixed with your acrylic paint to augment its glossy finish, thereby making your artwork more vibrant and reflective.
Use a glossy varnish on your finished painting
Last but not least, consider using a glossy varnish on your completed artwork. Glossy varnish can transform an ordinarily flat and matte artwork surface into one that boasts a radiant, glossy finish. This will not only augment the visual appeal of the artwork but also account for its protection against dust and grime.
Preparing Your Surface
Before you start your painting, it’s crucial to prepare your surface properly. A suitable painting surface will not only make your painting process easier but also enhance the finished look of your painting.
Clean and smooth your surface
The first step in preparing your surface is to clean and smooth it. By ensuring that the surface is clean and free of any dust or debris, you will be providing an optimal surface upon which to apply your acrylic paint.
Apply a primer for better adhesion
Next, application of a primer is recommended. Primer aids in better adhesion of the paint to the surface, enhancing the durability and longevity of your artwork. It also provides a uniform base for your paint, ensuring that the color and gloss are evenly distributed across the canvas.
Sand the surface to create a smooth base
Lastly, lightly sand your primed surface. Sanding creates a smooth base for your paints to glide across, concurrently aiding in the absorption of the paint and hence, improving the glossy finish.
Priming Techniques
Priming is an essential step to prepare the painting surface, ensuring consistent and durable color. Here we will discuss some techniques to create a flawless primed surface.
Apply a thin layer of primer
The best way to prime your surface is to apply a thin layer of primer. Applying too thick a layer can result in an uneven surface, which may affect the overall finish of your painting. Furthermore, it is not economical and can lead to wastage of primer.
Sand the primer for a smoother finish
After applying the primer, allow it to dry thoroughly. Once dry, sand the surface gently using fine-grit sandpaper. This will smoothen any rough spots and create an even, undisturbed surface for your acrylics.
Use a primer specifically designed for glossy surfaces
To aid in achieving a glossy finish, consider using a primer specifically designed for glossy surfaces. This primer will not only ensure smooth adhesion of your acrylic paint but also amplify the glossiness of your finished painting.
Acrylic Painting Techniques for Glossy Finish
Utilizing specific painting techniques can greatly enhance the glossy finish of your acrylic painting.
Layer your paint to create depth
Firstly, you can layer your paint to create depth. The layering technique involves applying multiple thin layers of paint, which creates a rich, complex color and enhances the sheen.
Blend colors to achieve a smooth glossy effect
Blending is another essential technique for achieving glossiness. By seamlessly merging one color into another, you create a smooth transition that reflects light evenly, thereby enhancing the glossy effect.
Use glazing techniques to enhance the shine
Glazing refers to layering transparent paint over dried layers to create depth and glossiness. The use of a transparent or semi-transparent color creates a luminous effect, which is perfect for achieving that glossy finish.
Adding a High-Gloss Medium
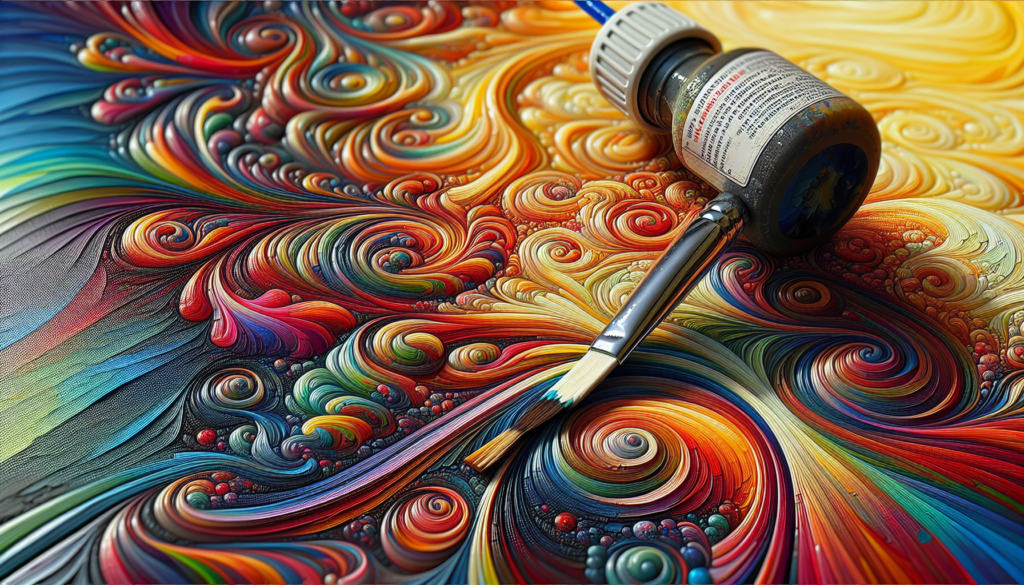
A high-gloss medium can further amplify the glossiness of your acrylic paint.
Mix the high-gloss medium with your acrylic paint
Start by mixing a high-gloss medium with your acrylic paint in a separate mixing palette. The medium does not only make the paint glossier but also improves its flow and transparency.
Apply the mixture in thin layers
Next, apply the paint-medium mixture in thin, even layers on your canvas. This application allows for consistency in color and glossy finish throughout the entire painting surface.
Experiment with different ratios to achieve desired glossiness
Finally, to attain a desired level of glossiness, experiment with different ratios of paint to medium. Start with less medium and gradually add more until you reach the desired level of shininess.
Applying a Glossy Varnish
Applying a glossy varnish can be another great way to achieve a glossy finish for your acrylic painting.
Wait for your painting to dry completely
Firstly, ensure your painting is entirely dry before moving ahead with the varnishing process. This is crucial to prevent smudging or damaging your artwork.
Apply the varnish in thin, even layers
Next, apply the varnish in thin, even layers. Ensure to apply the varnish uniformly across the painting to avoid patches of uneven glossiness.
Use a high-quality varnish for the best glossy finish
Lastly, use a high-quality, non-yellowing varnish to achieve the glossiest finish. Moreover, high-quality varnishes also provide added protection to your painting from dust, dirt, and UV rays.
Buffing and Polishing
To further enhance the glossy finish of your acrylic painting, polish your painting after the varnish is completely dry.
Wait for the varnish to dry completely
Allow the varnish to dry completely before attempting to buff and polish your painting. The varnish must be entirely set to avoid smearing or damaging your artwork.
Use a soft cloth to gently buff the surface
Next, use a soft cloth to gently buff the surface of your painting. This process smooths out any unevenness and enhances the glossiness of your painted surface.
Apply a thin layer of polish for extra shine
Finally, for an extra sheen, apply a thin layer of polish over your buffed painting. Be sure to apply the polish uniformly to ensure a consistent shine.
Caring for Your Glossy Acrylic Painting
Once you have completed your glossy acrylic painting, proper care is necessary to maintain its shiny and vibrant look.
Avoid touching the surface with bare hands
Avoid touching the surface of your painting with bare hands as the natural oils, sweat, and other residues can alter the finish and damage the painting over time.
Clean the painting gently with a soft, lint-free cloth
When cleaning your painting, use a soft, lint-free cloth. Wipe gently to avoid scratching or damaging the glossy finish.
Avoid direct sunlight to prevent fading
Prevent your painting from being exposed to prolonged periods of direct sunlight as it can cause fading and deterioration of the glossy finish.
Troubleshooting Glossy Acrylic Paintings
Despite your best efforts, you may occasionally face challenges with your glossy acrylic paintings. Here are a few troubleshooting steps you can take to correct any problems that may arise.
Dealing with brush strokes
Brush strokes can mar the smooth, glossy finish of your painting. If visible brush strokes become a problem, lightly sand the area with fine-grit sandpaper and reapply the paint using a softer brush or a painting knife.
Fixing uneven glossiness
If you find that some parts of your painting are glossier than others, you can fix this by reapplying a thin layer of high-gloss medium or varnish over the entire painting to create a uniform gloss throughout.
Removing dust or air bubbles
Dust or air bubbles can get trapped beneath the layers of paint, medium, or varnish, creating bumps or dimples in the finish. If this happens, gently sand the affected area smooth, then reapply the paint or varnish.
Experimenting with Different Techniques
Lastly, don’t be afraid to experiment with different techniques and materials to create your own unique glossy acrylic paintings. There’s no one right way to create art, and experimentation can lead to exciting new discoveries.
Trying out different acrylic mediums
Different mediums can create different effects in your work so don’t hesitate to try out different acrylic mediums. There are many available, from gels and pastes to liquids, each adding a unique touch to your work.
Mixing metallic or iridescent paints for added shine
Metallic or iridescent paints can add an extra shine to your painting that goes beyond the standard glossy finish. Mixing these paints with your regular acrylics can create a unique, multidimensional appearance.
Using textured additives for unique glossy effects
Finally, consider using textured additives. These substances, when mixed with your paint, can create unique textural effects that can further enhance the glossy appearance of your finished artwork. Remember, art is all about interpretation and individuality, and there’s always beauty in diversity.
