In “How To Make A Photo Look Like A Watercolor Painting,” you will learn the steps to transform digital photos into beautiful, watercolor-like artworks. The article provides a step-by-step guide to using photo editing software, offering tips on which filters and adjustments to apply for achieving the soft, blended effect characteristic of watercolor paintings. By following these techniques, you can enhance your creative projects and add a distinctive artistic touch to your photographs. Have you ever wondered how you can transform your ordinary photos into beautiful watercolor paintings without lifting a paintbrush? Achieving this artistic effect might seem like a complex task, but with current technology, it has become increasingly accessible to everyone.

Understanding the Basics
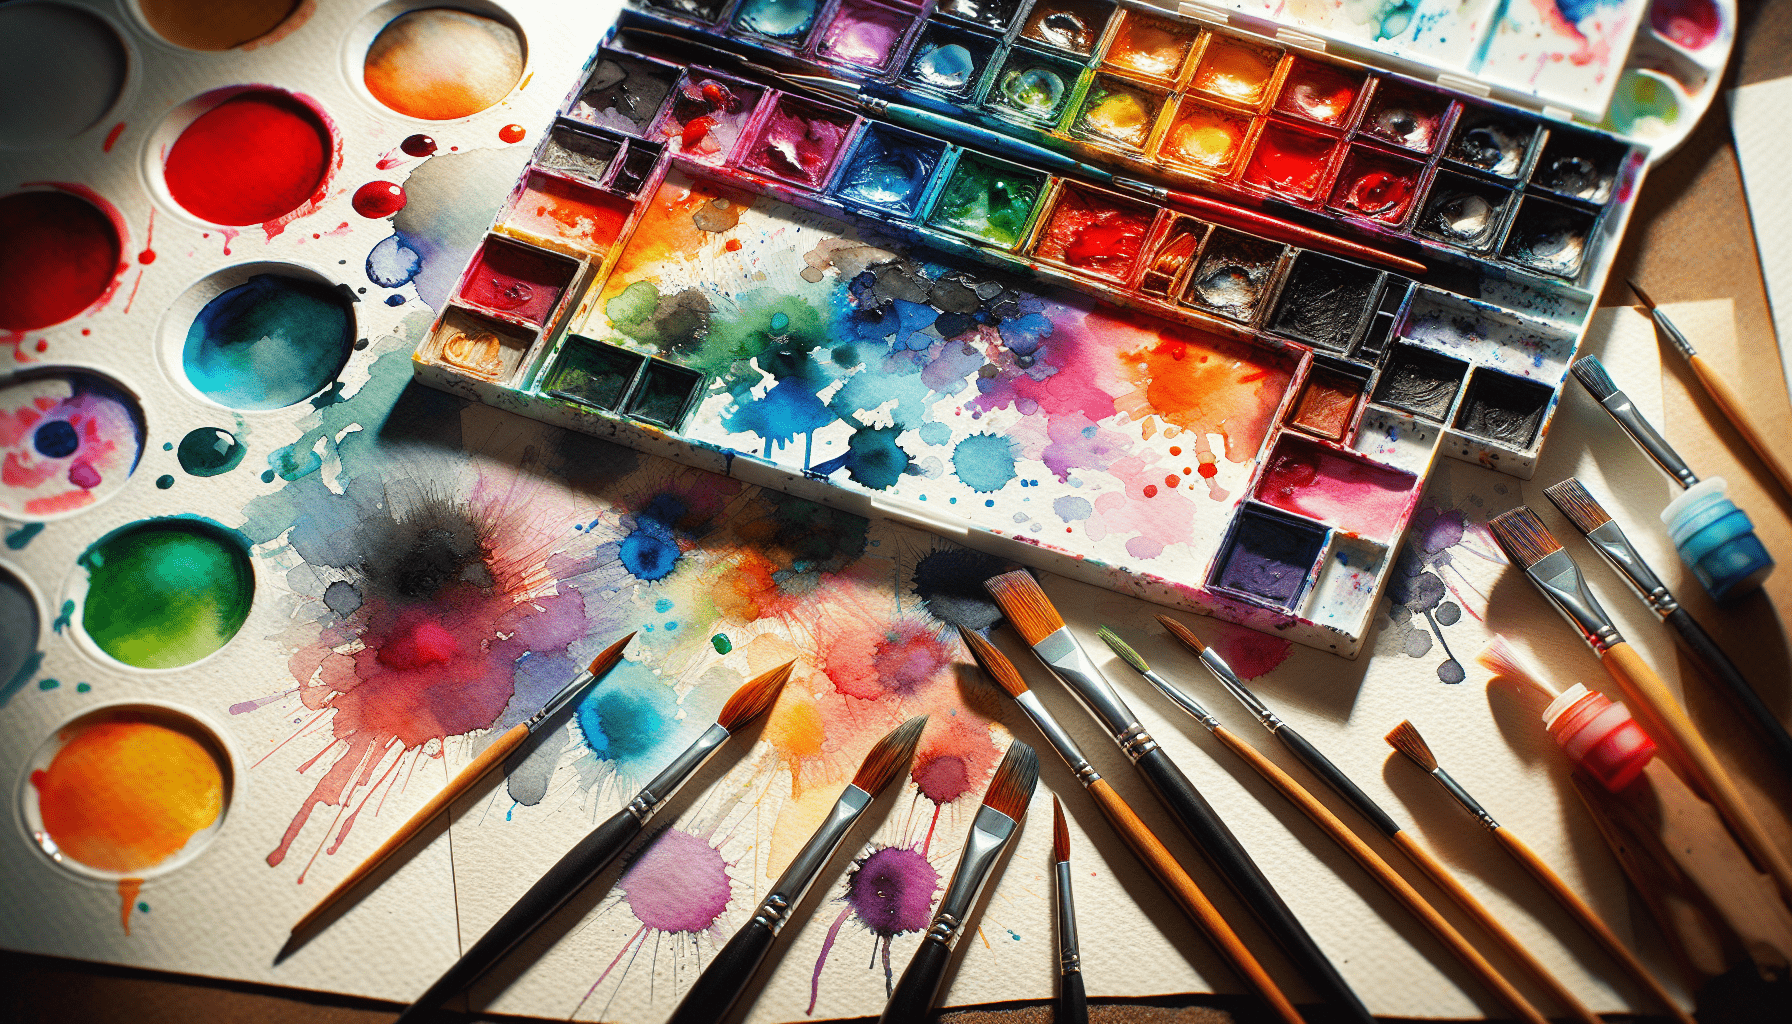
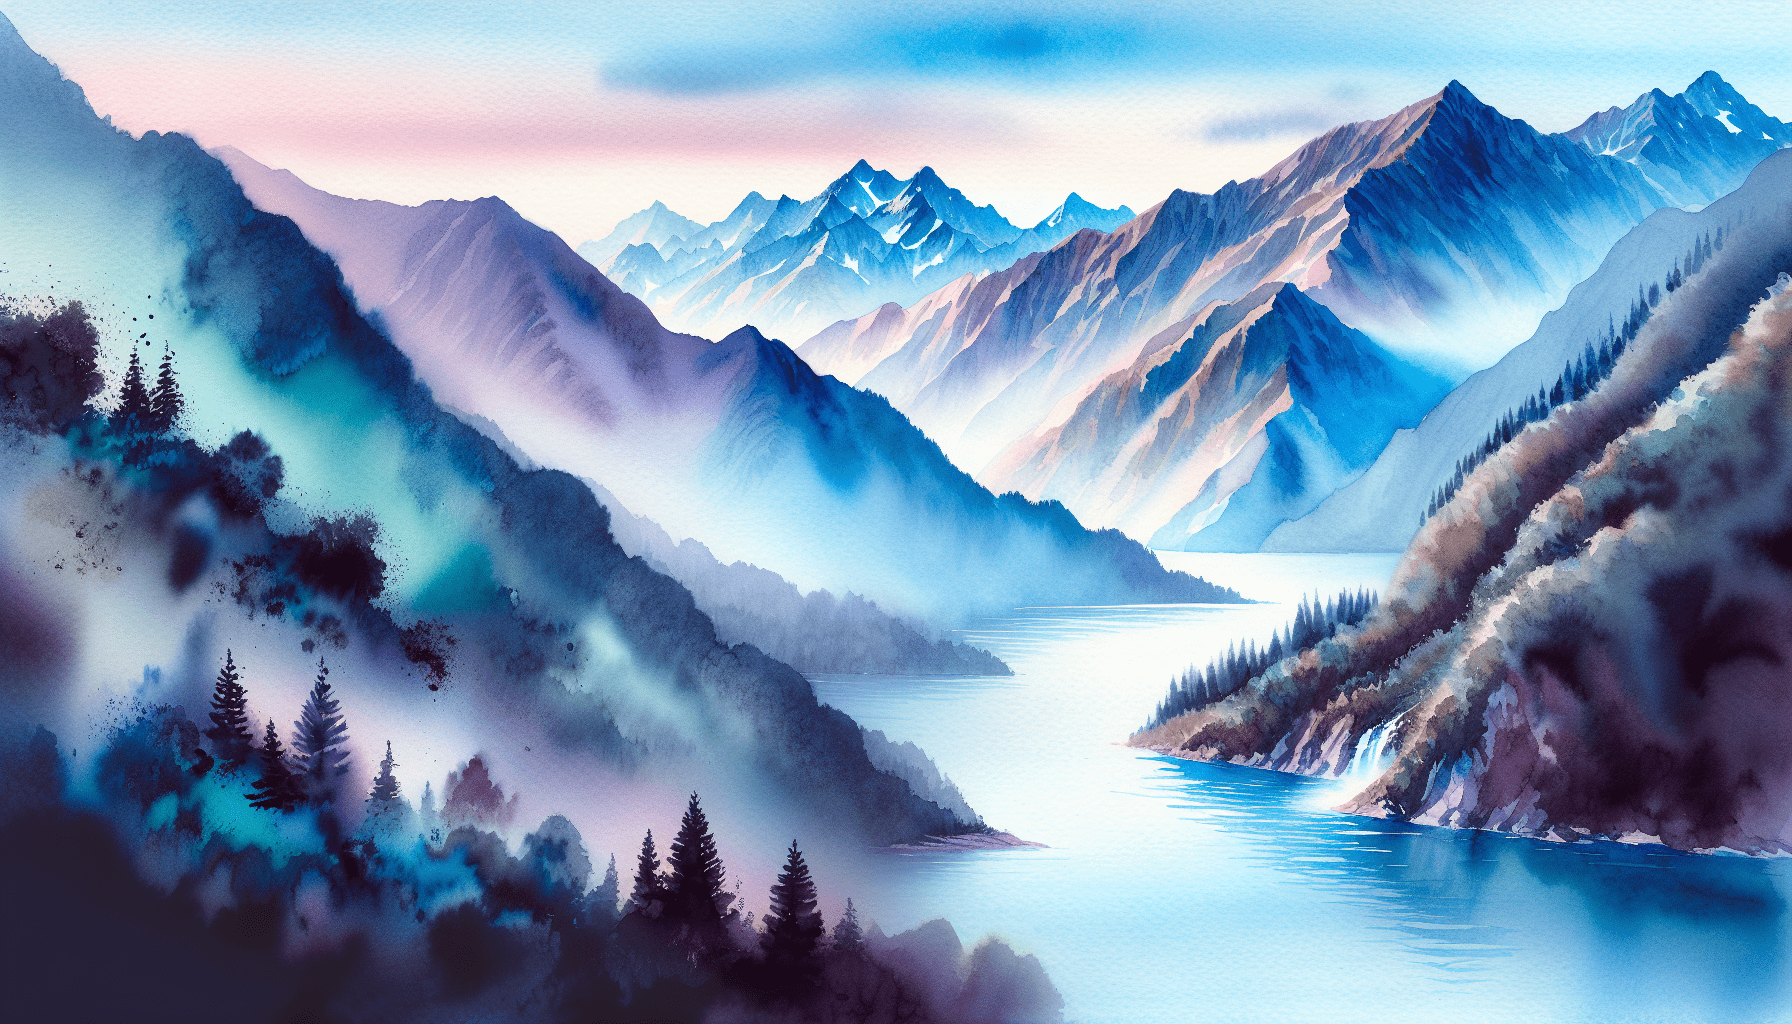
Before diving into the methods to transform your photo into a watercolor painting, it is essential to understand the key characteristics that make watercolor art unique. Watercolor paintings are known for their light, translucent quality, and their blend of colors that allows for soft transitions and fluidity.
Characteristics of Watercolor Paintings
- Transparency: One of the most distinct features of watercolor paintings is their transparency.
- Fluidity: Watercolor art often exhibits a flowing, blended look.
- Soft Edges: The soft, diffused edges in watercolor art are hallmarks of the medium.
- Color Layers A watercolor painting comprises several layers of semi-translucent colors.
- Texture: The texture created by the water and brush strokes makes each piece unique.
Understanding these characteristics will help guide your process in creating a watercolor-styled image.
Tools You Might Need
There are several tools and software options available that make transforming photos into watercolor paintings possible. Below are some common tools you may consider:
| Tool | Description | Price Range |
|---|---|---|
| Adobe Photoshop | A comprehensive photo editing tool with integrated filters. | $$$ (Subscription) |
| Corel Painter | Software specifically designed for digital painting. | $$$ (One-time) |
| GIMP (GNU Image Manipulation Program) | An open-source alternative to Photoshop. | Free |
| Waterlogue App (iOS) | Mobile app designed to turn photos into watercolors. | $ (One-time) |
| Prisma App | A mobile app that applies artistic filters to photos. | Free to $ |
Setting Up Your Workspace
A conducive workspace can make the process smoother. Ensure your computer or device has enough memory and processing power to handle photo editing tasks. Keep your work environment organized and free from distractions to enhance your focus and creativity.
Steps to Turn a Photo into a Watercolor Painting
Let’s delve into the practical steps of transforming your photo into a stunning watercolor painting using Adobe Photoshop as our primary example, while referencing alternative tools along the way.
Step 1: Choose a Suitable Photo
Select a photo that you believe would look appealing as a watercolor painting. High-contrast photos with clear subjects work best because the details will blend better during the processing.
Step 2: Prepare Your Photo
Open Adobe Photoshop and load the photo. Begin by adjusting the image quality:
- Resize: Adjust the dimensions if necessary.
- Adjust Brightness/Contrast: Use the “Image”> “Adjustments”> “Brightness/Contrast” to bring out the details.
- Sharpen: Apply a slight sharpening filter to make the edges more defined.
Step 3: Create a Duplicate Layer
Always create a duplicate of your photo layer to ensure you have the original intact for reference.
- Go to the “Layers” panel.
- Right-click the image layer and select “Duplicate Layer.”
Step 4: Apply the Watercolor Filter
Photoshop doesn’t have a built-in watercolor filter, but you can use multiple filters to achieve a similar effect:
Applying Filters:
-
Cutout Filter:
- Go to “Filter” > “Filter Gallery.”
- Choose “Artistic” > “Cutout.”
- Adjust the settings: Number of Levels (4-6), Edge Simplicity (2-3), Edge Fidelity (1-2).
-
Dry Brush Filter:
- Go to “Filter” > “Filter Gallery.”
- Select “Artistic” > “Dry Brush.”
- Adjust Brush Size, Brush Detail, and Texture to preference.
-
Blend Mode:
- Set the layer’s blend mode to “Multiply” or “Overlay” for better effect.
Step 5: Add a Paper Texture
Adding a paper texture can enhance the watercolor effect by simulating the appearance of watercolor paper.
- Download a high-resolution watercolor paper texture.
- Place the texture in your Photoshop file as a new layer.
- Set the blend mode of the texture layer to “Overlay” or “Soft Light.”
- Adjust the opacity to preference.
Step 6: Fine-Tune the Colors
Watercolor paintings often have a softer, pastel color palette. Fine-tune the colors in your photo to reflect this.
- Go to “Image” > “Adjustments” > “Hue/Saturation.”
- Lower the saturation slightly for a softer look.
- You can also use “Color Balance” to adjust the overall tone of the image.
Step 7: Additional Touches
To further enhance the effect, you can use various painting brushes within Photoshop to manually adjust certain areas.
- Select the Brush Tool (B).
- Choose a watercolor-style brush and set the opacity to around 50%.
- Paint over areas to enhance the watercolor appearance.
Alternative Tools and Methods
While Adobe Photoshop is robust, other tools can also effectively create watercolor effects:
Corel Painter:
Corel Painter provides realistic watercolor brushes and paper textures.
- Open your photo in Corel Painter.
- Use the Auto-Painting Palette to let the software paint over your photo.
- Customize using various brushstrokes and textures.
GIMP:
GIMP, a free alternative, offers several filters and brushes:
- Open your photo in GIMP.
- Duplicate the layer.
- Apply the Cartoon filter from “Filters” > “Artistic.”
- Use various brushes to enhance the effect manually.
Waterlogue and Prisma Apps:
For mobile users:
- Open the app (Waterlogue or Prisma).
- Upload your photo.
- Choose from various watercolor filters.
- Save and share your transformed photo.
Tips for Achieving the Best Results
Choose the Right Photo
Images with clear subjects and high contrast yield better results.
Fine-Tune Filter Settings
Experiment with different filter settings to get the desired effect.
Use High-Resolution Images
High-resolution images ensure the final result has sufficient detail and clarity.
Manual Enhancements
Don’t hesitate to manually adjust certain areas using painting brushes for a more authentic look.
Color Adjustment
Fine-tuning colors post-processing can drastically improve the watercolor look.
Experiment with Different Tools
Each tool offers unique strengths; trying out different software can provide different results.

Common Challenges and How to Overcome Them
Low-Quality Results
Using low-resolution photos can result in poor quality. Ensure you start with a high-resolution image.
Over-Processing
Too many filters can make the image look unnatural. Use a subtle touch to maintain balance.
Lack of Detail
Make use of sharpening and fine-tuning techniques to bring back detail in important areas.
Software Limitations
If a tool doesn’t produce satisfactory results, consider switching to another one with different or more advanced features.
Conclusion
Turning a photo into a watercolor painting is a creative process that combines the elements of both photography and digital painting. By understanding the characteristics of watercolor art and utilizing the appropriate tools, you can transform ordinary photos into stunning works of art. Whether you use professional software like Adobe Photoshop, mobile applications like Waterlogue, or free tools like GIMP, the key is to experiment and enjoy the process.
So go ahead, unleash your creativity, and watch your photographs transform into beautiful watercolor paintings, capturing the essence and fluidity of this timeless art form.