In the process of refining your skills as an oil painter, mastering the technique of glazing can significantly enhance the depth and luminosity of your artwork. This article, “How To Glaze Oil Painting,” delves into the step-by-step methods and essential tips that will enable you to achieve a professional finish. From selecting the right materials to applying thin, translucent layers of paint, you will learn the secrets to creating a stunning, multi-dimensional effect in your paintings. Have you ever wondered how to give your oil paintings that extra layer of depth and luminosity? Glazing is the technique that can elevate your artwork to a new level of sophistication and visual appeal. In this article, you will learn the essentials of glazing oil paintings. From the materials needed to the step-by-step application process, you’ll find comprehensive guidance to help you master this advanced art technique.
Understanding Glazing in Oil Painting
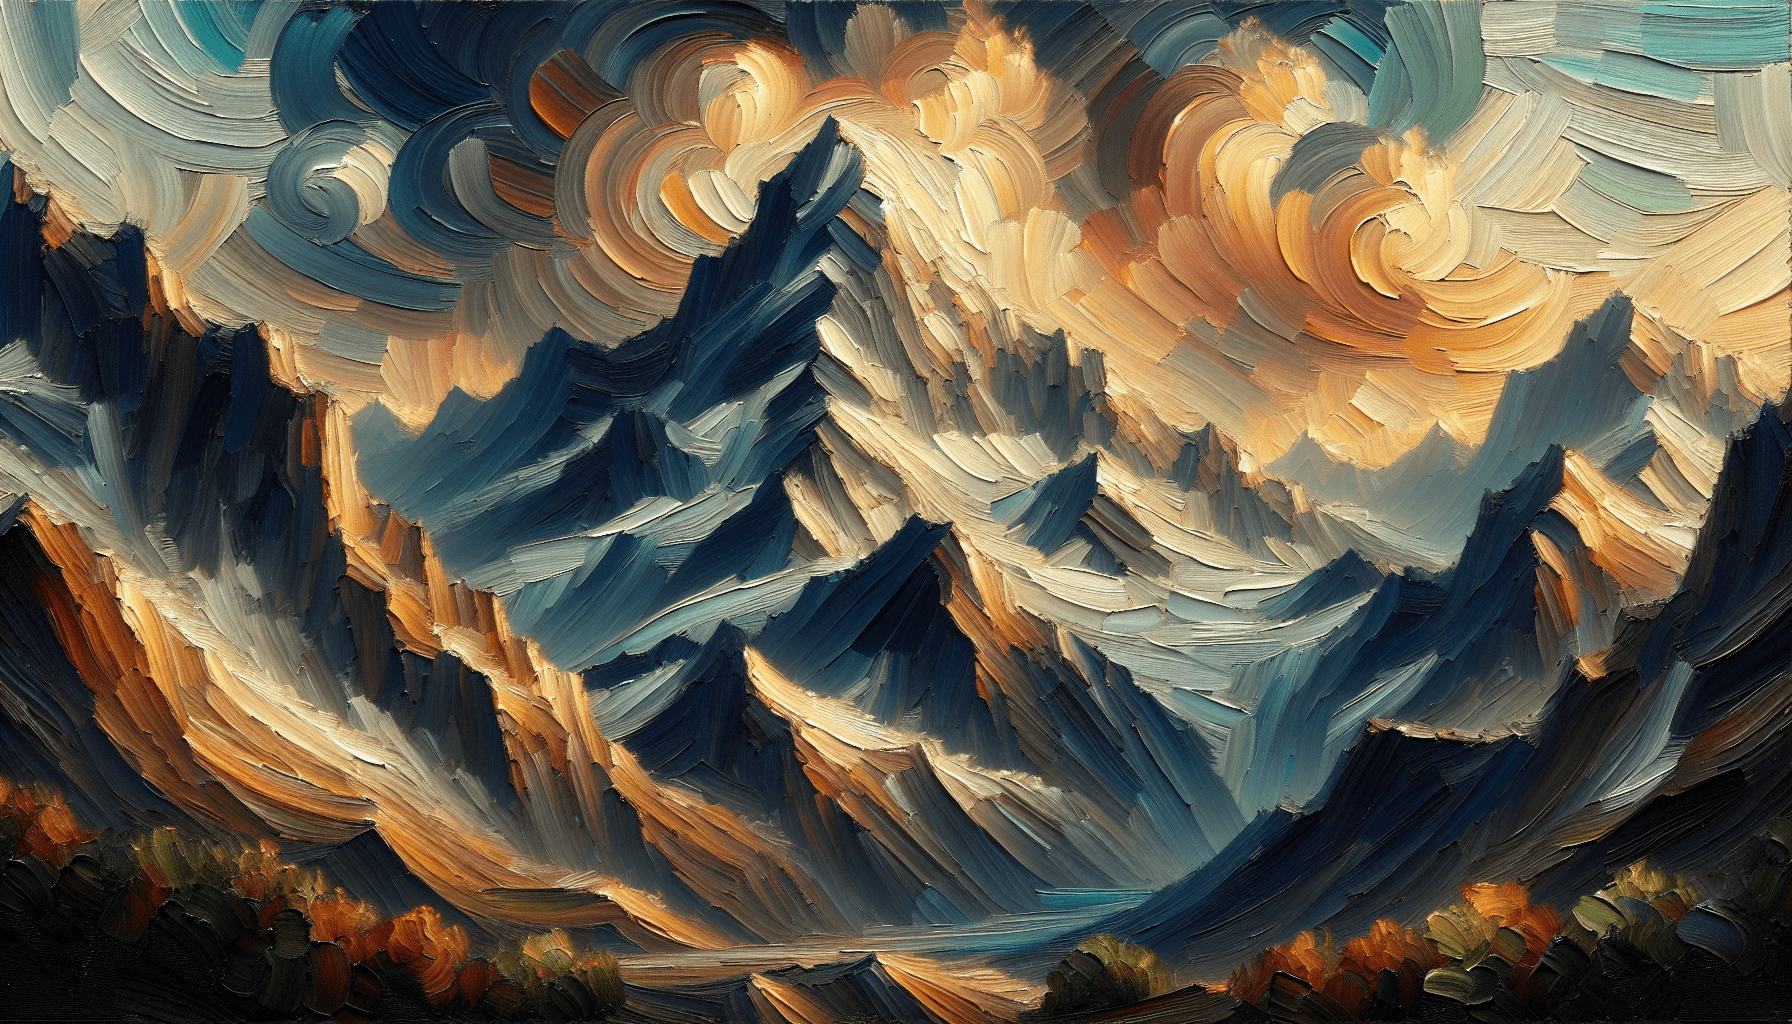
Glazing involves applying a transparent layer of paint over a dry layer of oil paint. This method has been employed by master artists for centuries to enrich color intensity, add depth, and create rich textures.
Why Glaze Your Oil Paintings?
One of the primary reasons for glazing is to create a sense of depth that can bring a painting to life. By applying multiple translucent layers, you can achieve vibrant colors and intricate textures that are difficult to accomplish with direct painting alone.
Benefits of Glazing
- Color Intensity: Multiple layers can enhance the vibrancy of the colors.
- Depth: Creates an illusion of depth and richness.
- Control: Allows for fine-tuning of the painting’s color and light balance.
- Protection: Adds an additional protective layer to your painting.
Materials Needed for Glazing
Before starting with glazing, it’s crucial to gather all required materials. Ensuring you have the correct supplies will facilitate a smoother glazing process.
Essential Materials
Paints and Mediums
- Transparent Oil Paints: These are essential for glazing as opaque paints won’t achieve the desired effect.
- Glazing Medium: A mixture of oil and solvent to thin the paint and enhance its transparency.
| Type | Recommended Product | Purpose |
|---|---|---|
| Oil Paint | Winsor & Newton Artists’ Oil Colors | High-quality color pigments |
| Glazing Medium | Liquin, Linseed Oil | Mixture to thin paint and increase gloss |
Tools
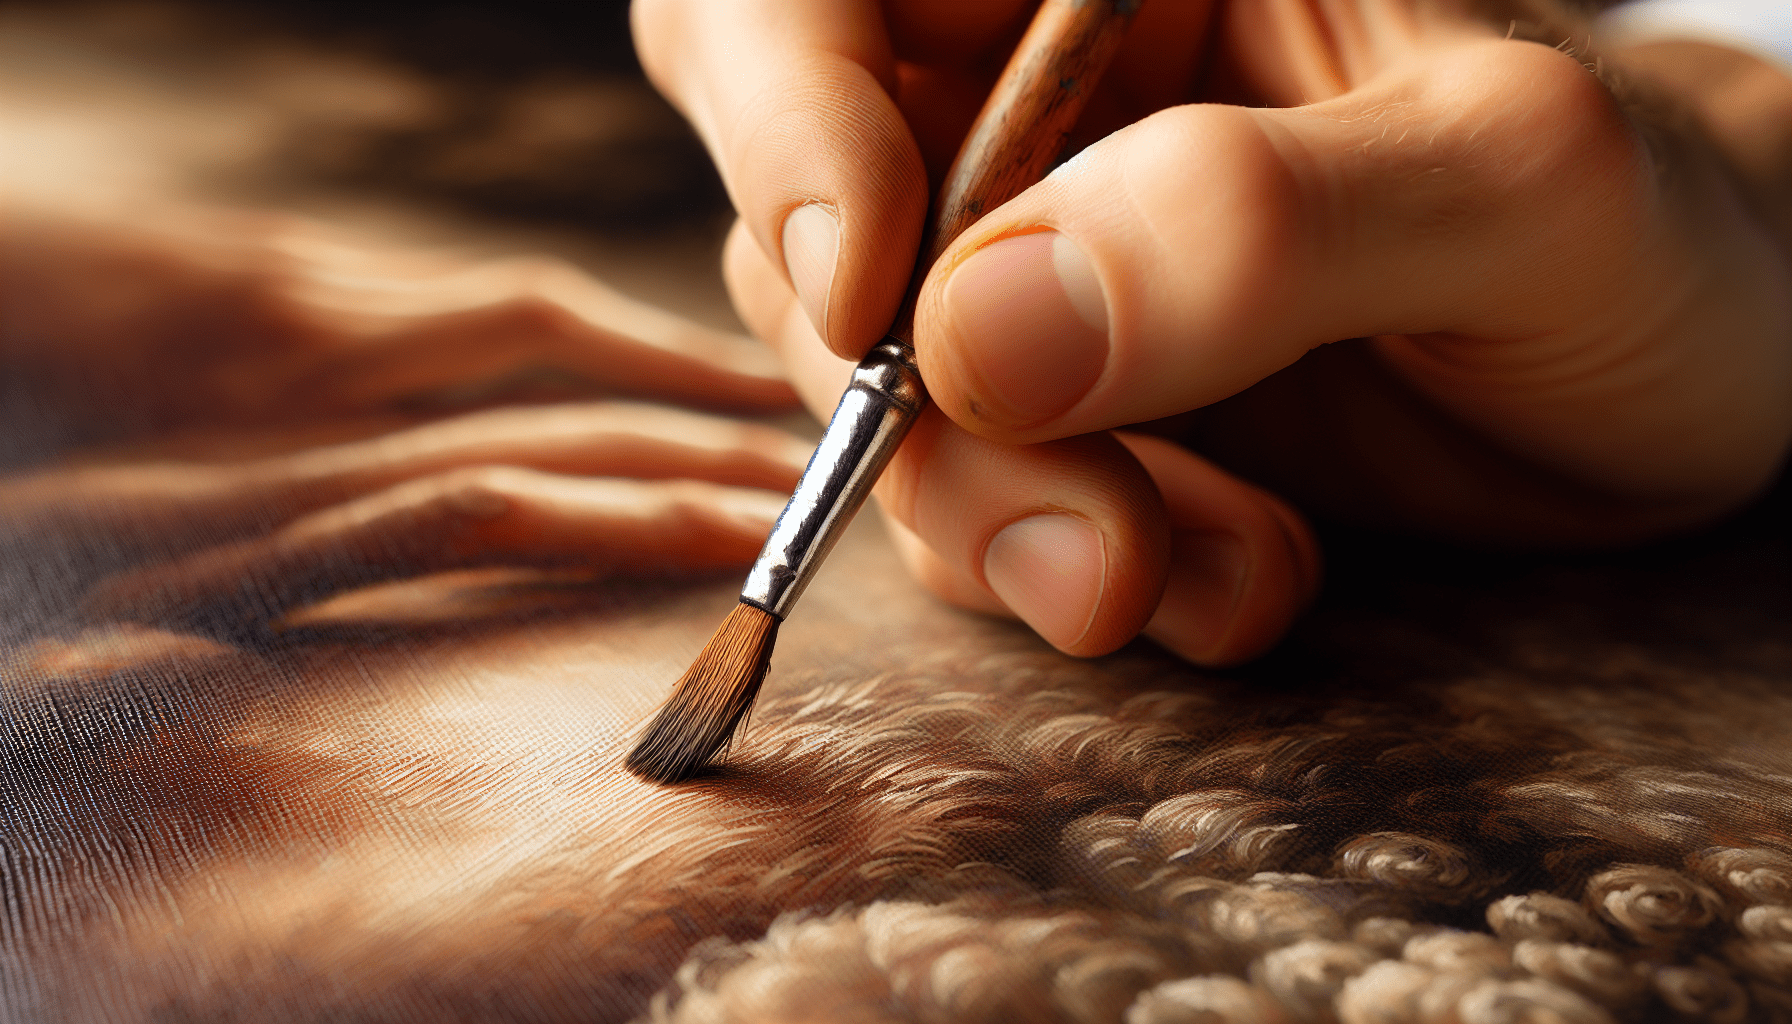
- Brushes: Soft-bristled brushes are ideal for applying thin, even layers.
- Palette: For mixing paints and mediums.
- Palette Knife: Useful for mixing colors and cleaning the palette.
- Rags or Paper Towels: For cleaning brushes and correcting mistakes.
- Palette Paper: To test the consistency and transparency of the glaze.

Preparing Your Painting
Before you start glazing, ensure that the lower layers of your painting are completely dry. This step is essential to prevent mixing colors inadvertently and to maintain the transparency of each layer.
Drying Time
The drying time for oil paints can vary depending on the thickness of the paint and the type of medium used. Generally, a waiting period of at least one week is recommended for the initial layers to dry adequately.
Surface Preparation
- Cleanliness: Ensure the surface of your painting is clean and free from dust or debris.
- Oil Retouch Varnish: Applying a light layer of retouch varnish can revitalize the colors and provide a more receptive surface for the glaze.
Mixing the Glaze
Mixing the glaze requires precision to achieve the right transparency and consistency.
Ratios and Consistency
The ratio of paint to medium is crucial. Typically, a mixture of 1 part paint to 2 or 3 parts medium is a good starting point. Adjust this ratio depending on the transparency you desire.
| Component | Ratio | Description |
|---|---|---|
| Transparent Paint | 1 | High-quality transparent oil color |
| Glazing Medium | 2-3 | Liquid medium to thin and increase gloss |
Testing Your Glaze
Before applying the glaze to your painting, test it on a piece of palette paper. This will give you a sense of its transparency and how it interacts with the underlying colors.

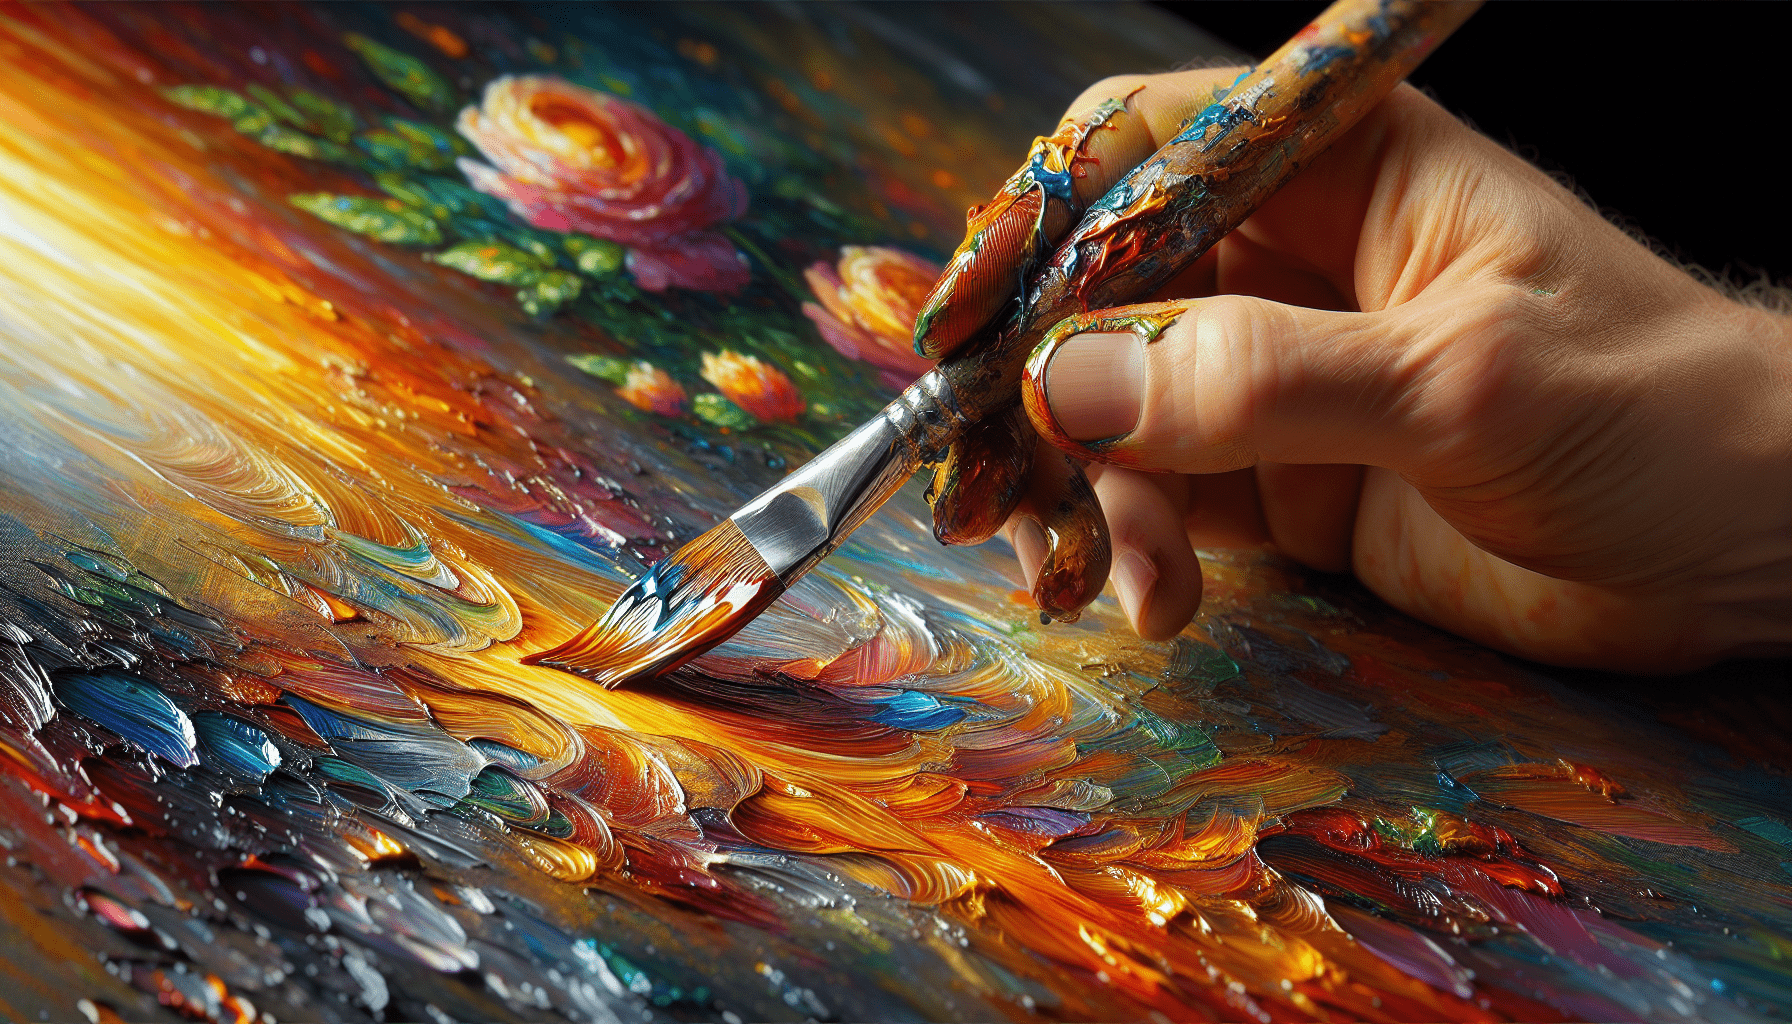
Applying the Glaze
Now that your glaze is prepared, it’s time to apply it to your painting. This step requires patience and control to ensure even coverage and avoid streaks or blotches.
Brush Technique
- Load your Brush: Dip your brush lightly into the glaze mixture, ensuring it is not overloaded.
- Apply Evenly: Apply the glaze in long, smooth strokes, maintaining even pressure.
- Feathering: Use a light touch to feather the edges of the glaze, avoiding harsh lines.
Layering
Glazing is typically a multi-layer process. Allow each layer to dry before applying the next to build depth gradually.
Drying Between Layers
Each glaze layer should be allowed to dry completely, which can take anywhere from a few days to a week depending on the thickness and medium used. Patience is key to achieving a flawless finish.
Troubleshooting Common Issues
Like any advanced technique, glazing comes with its challenges. Being aware of these potential issues can help you address them as they arise.
Uneven Coverage
If your glaze isn’t spreading evenly, the likely cause is improper mixing or an overloaded brush. Ensure your glaze is thoroughly mixed and lightly loaded onto your brush.
Muddy Colors
Muddy colors occur when the glaze mixes unintentionally with the underlying layers. To avoid this, ensure each layer is fully dry and use transparent paints specifically designed for glazing.
Streaks and Blotches
Uneven application can result in streaks or blotches. Keeping a consistent application technique and properly feathering the edges can help prevent these issues.
Enhancing the Visual Effects
The true beauty of glazing lies in the varied effects you can achieve. Experimentation with different techniques and colors can result in unique and captivating outcomes.
Color Enhancements
Using complementary colors can create a glowing effect, while analogous colors can subtly shift the hue and add complexity.
Light and Shadow
Glazing is excellent for manipulating light and shadow within a painting. Thin layers can create a soft transition between light and dark areas, enhancing the three-dimensional effect.
Textural Effects
Using different brushes and application techniques can introduce texture to your glazes. Experiment with stippling or cross-hatching to add visual interest.
The Final Varnish
Once you’ve completed all your glazing layers and they are fully dry, applying a final varnish can protect your painting and enhance the gloss and depth of the colors.
Choosing the Right Varnish
There are various types of varnishes available, including gloss, satin, and matte finishes. Gloss varnishes are typically preferred for glazed paintings as they tend to enhance color depth and provide a protective sheen.
| Varnish Type | Finish | Recommendation |
|---|---|---|
| Gloss | Shiny | Rembrandt Retouching Varnish |
| Satin | Semi-gloss | Winsor & Newton Artists’ Varnish |
| Matte | Non-shiny | Gamblin Gamvar Matte |
Application
Apply the varnish in a clean, dust-free environment to avoid particles sticking to the wet surface. Use a wide, soft-bristled brush for even coverage. Allow the varnish to dry completely according to the manufacturer’s instructions.
Conclusion
Glazing is a transformative technique in oil painting that enables you to create rich, complex layers of color and texture. By mastering the materials, mixing the perfect glaze, and applying it with patience and skill, you can add a profound sense of depth and luminosity to your paintings. Whether you’re an experienced artist looking to refine your techniques or a beginner eager to explore the potentials of oil painting, glazing offers a wealth of possibilities to enhance your creative endeavors.
By following this guide and practicing consistently, you will soon find that glazing becomes an invaluable part of your artistic toolkit. Happy painting!