In the article “How To Get Oil Based Paint Off Concrete,” you will be guided through effective methods for removing stubborn oil-based paint from concrete surfaces. You will learn about the necessary tools and materials, as well as step-by-step instructions on how to execute the process efficiently. Whether you’re dealing with small splatters or large spills, the techniques and tips provided in this article will equip you with the knowledge to restore your concrete to its original state. Have you ever encountered the challenge of removing oil-based paint from a concrete surface? Whether it’s a spill in your garage, an unintentional splatter on your driveway, or remnants from a painting project, oil-based paint can be incredibly stubborn to clean off concrete surfaces. However, with patience, the right tools, and a methodical approach, you can restore your concrete to its original state. This guide will walk you through each step of the process, ensuring you achieve the best results.
Understanding Oil-Based Paint
Before diving into the removal process, it’s essential to understand why oil-based paint is more challenging to remove compared to other types of paint. Oil-based paint is known for its durability, glossy finish, and resistance to water, making it a popular choice for high-traffic areas and surfaces that require a robust and long-lasting finish.
Characteristics of Oil-Based Paint
Oil-based paint is composed of pigments, a drying oil binder (usually linseed oil), and a solvent. Here are the key characteristics:
- Durability: This type of paint is designed to withstand wear and tear, making it difficult to remove.
- Water Resistance: Its resistance to water complicates removal using simple water-based solutions.
- Adhesion: It adheres strongly to surfaces, be they wood, metal, or concrete.
Why Should You Remove Oil-Based Paint?
There are several reasons you might need to remove oil-based paint from concrete:
- Renovation: You may want to redecorate or change the surface’s appearance.
- Maintenance: Spills and splatters can be unsightly and lead to uneven surfaces or trip hazards.
- Legal/Safety Compliance: In commercial spaces, maintaining a clean and hazard-free environment can be a legal requirement.
Preparation for Paint Removal
Before beginning the removal process, careful preparation is key. This ensures that the task is completed efficiently and safely.
Safety Precautions
Oil-based paints and the products used to remove them can be hazardous to your health. Follow these safety guidelines:
- Protective Gear: Wear gloves, goggles, and a respirator mask to protect your skin, eyes, and lungs.
- Ventilation: Ensure the area is well-ventilated to avoid inhaling fumes from solvents and strippers.
- Fire Safety: Keep the workspace clear of open flames and sparks, as many of the chemicals used are flammable.
Tools and Materials
You’ll need specific tools and materials for the job. Here’s a list to ensure you’re fully equipped:
| Tool/Material | Purpose |
|---|---|
| Scraper or Putty Knife | For manually scraping off paint layers |
| Wire Brush | For scrubbing and loosening paint from the surface |
| Heavy-duty Cleaner | To break down and loosen oil-based paint |
| Paint Stripper | A chemical solution to dissolve paint |
| Pressure Washer | For deep cleaning and removing residual paint |
| Absorbent Material | Such as cat litter, to soak up paint and oils |
| Bucket and Water | For rinsing and cleaning the area |
| Drop Cloths/Plastic Sheeting | To protect surrounding areas from spills and splatters |
| Sander (Optional) | For smoothing out the concrete after paint removal |
| Vacuum Cleaner | To remove dust and small paint particles |
Surface Preparation
Before applying any chemical or scrubbing the surface, take these steps:
- Clear the Area: Remove any objects from the working area to avoid damages and ensure safety.
- Sweep the Surface: Clean the concrete with a broom to remove dirt and debris, ensuring that the paint removal products work effectively.
- Protect Surrounding Areas: Use plastic sheeting or drop cloths to protect areas surrounding the paint that you do not wish to remove.

Step-by-Step Guide to Removing Oil-Based Paint
Everyone’s situation is unique, but the following steps offer a comprehensive method to remove oil-based paint from concrete effectively.
Step 1: Initial Cleaning
Start by cleaning the concrete surface to remove any loose debris and dirt. This helps the paint stripper and other cleaning solutions penetrate the paint better.
- Sweep: Use a broom to remove loose dirt and debris.
- Rinse: For better cleaning, use a hose or pressure washer to rinse the concrete.
Step 2: Apply Paint Strippers
Paint strippers are powerful chemicals designed to loosen and dissolve paint. Choose a stripper suitable for oil-based paints and concrete.
- Read Instructions: Always read the product’s instructions and warnings before use.
- Apply: Pour or brush the paint stripper onto the paint-stained area.
- Wait: Let the stripper sit for the time recommended by the manufacturer. This allows it to break down the paint.
Step 3: Scraping and Scrubbing
Once the paint stripper has had time to work, you can begin physically removing the loosened paint.
- Scrape: Use a putty knife or scraper to lift the paint off the surface.
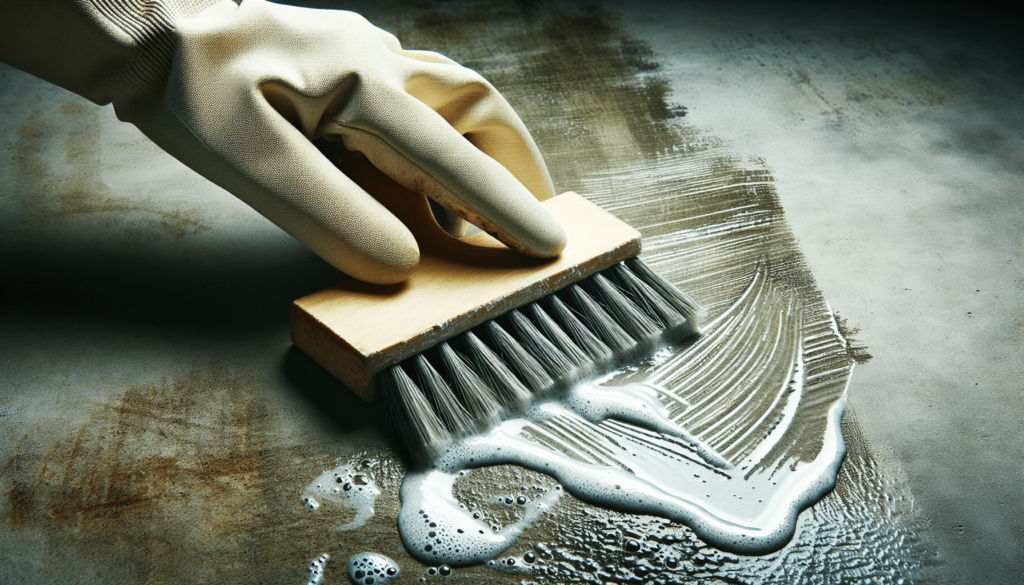
- Scrub: For stubborn spots, use a wire brush to scrub the area.
Step 4: Rinse and Repeat
After the initial scraping and scrubbing, rinse the area to remove the dissolved paint and stripper residue.
- Rinse: Use clean water and a sponge or a pressure washer.
- Repeat: If paint remains, you may need to reapply the stripper and repeat the process.
Step 5: Deep Cleaning
Once the bulk of the paint is removed, a deep clean is necessary to remove any residual paint and ensure a clean surface.
- Heavy-duty Cleaner: Use a heavy-duty cleaner to scrub the entire area.
- Pressure Wash: Use a pressure washer to thoroughly clean the surface.
Step 6: Finishing Touches
After removing the paint, it’s time to ensure the concrete is in good condition.
- Sanding: Use a sander to smooth out any rough spots on the concrete.
- Final Rinse: Give the surface one last rinse to remove any dust or small paint particles.
- Drying: Let the concrete dry completely before allowing foot traffic or replacing any objects.
Additional Tips and Troubleshooting
Despite following these steps, you might encounter persistent stains or challenging situations. Here are additional tips to help you overcome these obstacles.
Dealing with Persistent Stains
Sometimes, even after multiple attempts, some paint might remain. In such cases, consider these options:
- Heat Gun: Using a heat gun carefully can help soften and lift stubborn paint.
- Solvents: Stronger solvents like acetone may be used sparingly but consider testing them on a small area first.
Preventing Future Spills
Preventing paint spills can save you from the hassle of removal in the future. Here are some preventive measures:
- Protective Coverings: Use drop cloths or plastic sheeting while painting near concrete surfaces.
- Proper Storage: Store oil-based paints in sealed containers away from high-traffic areas.
Environmental and Legal Considerations
When using and disposing of chemicals, consider environmental and legal guidelines:
- Proper Disposal: Dispose of chemical waste and used paint responsibly according to local regulations.
- Environmentally Friendly Products: Whenever possible, choose eco-friendly paint strippers and cleaners.

Professional vs. DIY Approach
Deciding between a professional service and a DIY approach depends on several factors.
DIY Approach
Advantages:
- Cost-Effective: Doing it yourself can save money.
- Flexibility: You can work at your own pace and convenience.
Challenges:
- Skill Level: Requires time, effort, and some level of expertise.
- Safety Risks: Handling chemicals entails health risks.
Professional Service
Advantages:
- Expertise: Professional services have the tools and experience to handle the job efficiently.
- Safety: Reduces your exposure to hazardous chemicals.
Challenges:
- Cost: Professional services can be more expensive.
- Scheduling: May require scheduling and coordinating with the service provider.
Conclusion
Removing oil-based paint from concrete can seem daunting, but with the right tools, materials, and techniques, it is achievable. Starting with a thorough understanding of oil-based paint and preparing appropriately for the task ensures the best results. Remember to prioritize safety, follow the steps methodically, and consider professional help if needed. Your concrete surfaces can be restored to their pristine condition, free from unsightly paint stains.
By taking the time to execute these steps carefully, you can effectively remove oil-based paint from your concrete surfaces, enhancing both the appearance and the safety of your space.


