Achieving a flawless, silky smooth finish with chalk paint can seem like a daunting task, but with the right techniques, it can be easily mastered. In this article, you will discover a step-by-step guide on how to attain a professional-looking finish with chalk paint that will leave your surfaces looking effortlessly polished and stylish. By following these expert tips and tricks, you will be able to transform your furniture and décor into beautiful statement pieces with a smooth finish that exudes elegance and sophistication.

Choosing the Right Paint
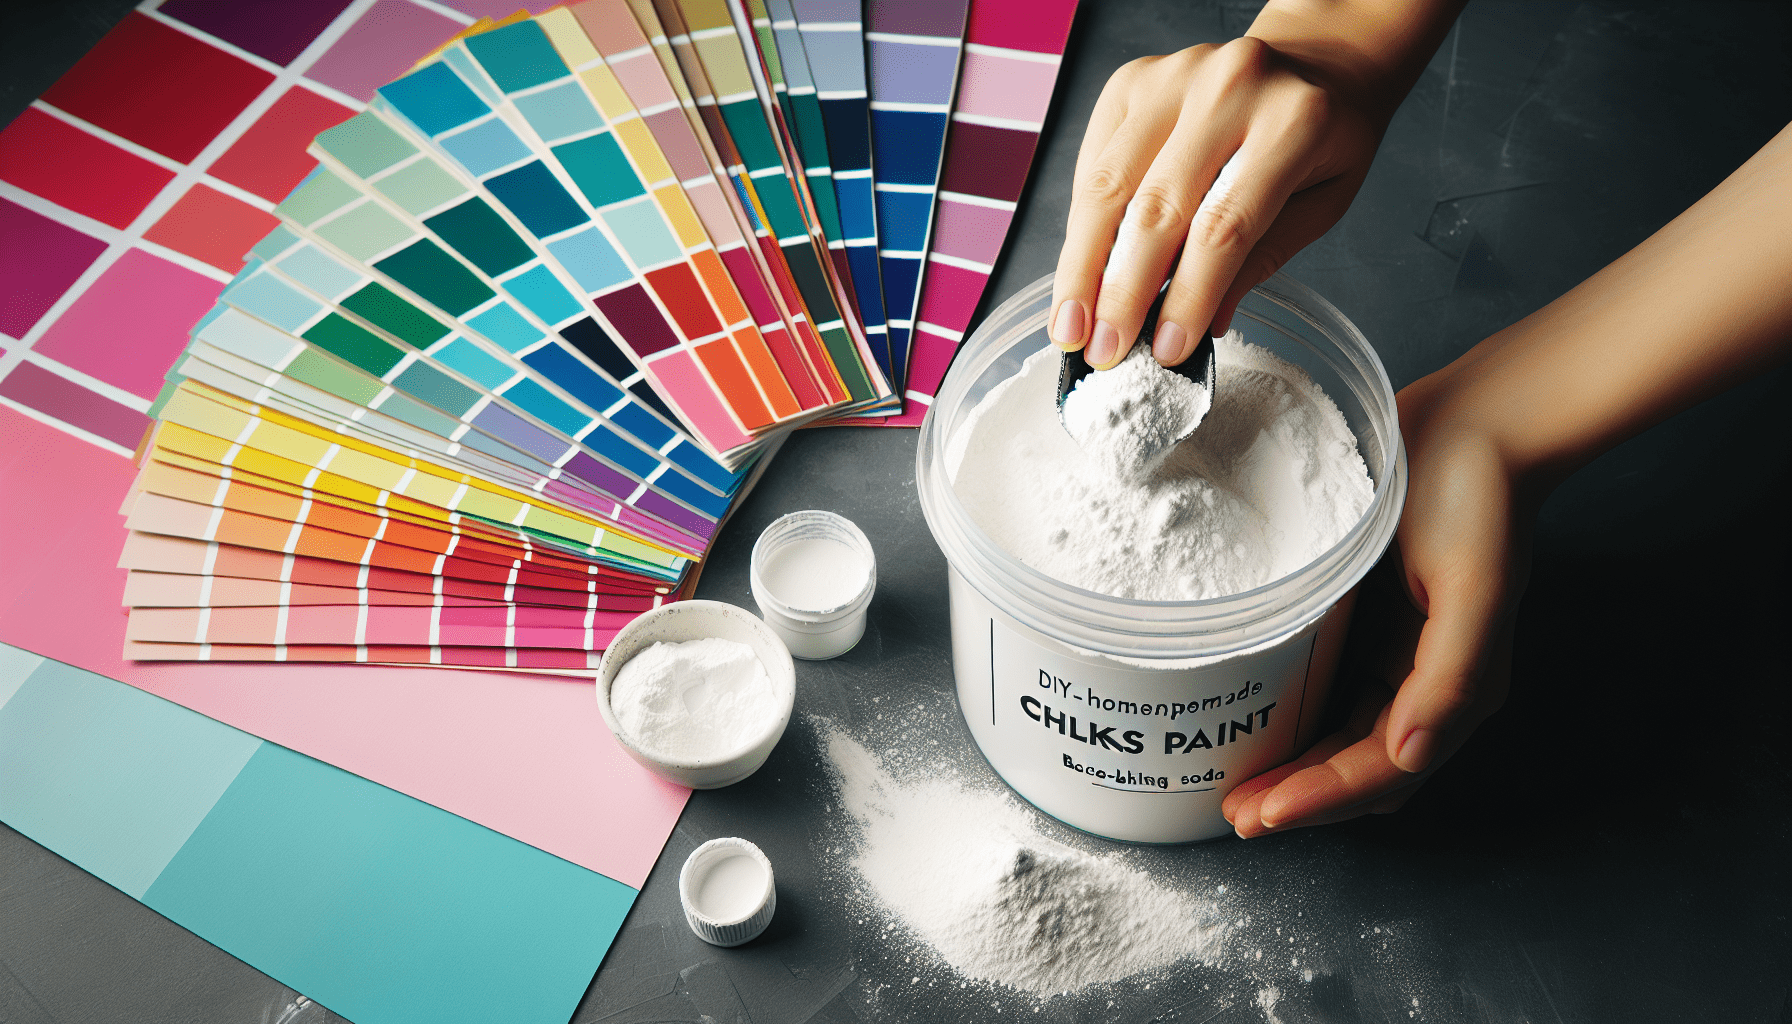
When it comes to achieving a smooth finish with chalk paint, one of the first and most crucial steps is to choose the right paint. Chalk paint is known for its matte and velvety finish, and it is a popular choice for furniture and other decorative items. However, not all chalk paints are created equal. It is important to select a high-quality chalk paint that will provide the desired smooth finish.
Understanding Chalk Paint
Before choosing the right chalk paint, it is essential to understand what exactly chalk paint is. Chalk paint is a unique type of paint that contains chalk particles within the formula. These particles give the paint a distinctive matte finish and excellent adhesion properties. Chalk paint is also known for its easy application and ability to cover imperfections. Understanding these characteristics will help you make an informed decision when choosing the right chalk paint for your project.
Selecting High-Quality Chalk Paint
When selecting chalk paint, it is crucial to opt for high-quality options. High-quality chalk paint will not only provide a smoother finish but also ensure better coverage and durability. Look for reputable brands that have a proven track record in producing excellent chalk paint. Consider reading reviews and seeking recommendations from professionals or experienced DIYers to find the best chalk paint for your project. Investing in high-quality paint will ultimately save you time and effort in achieving a smooth finish.
Preparing the Surface
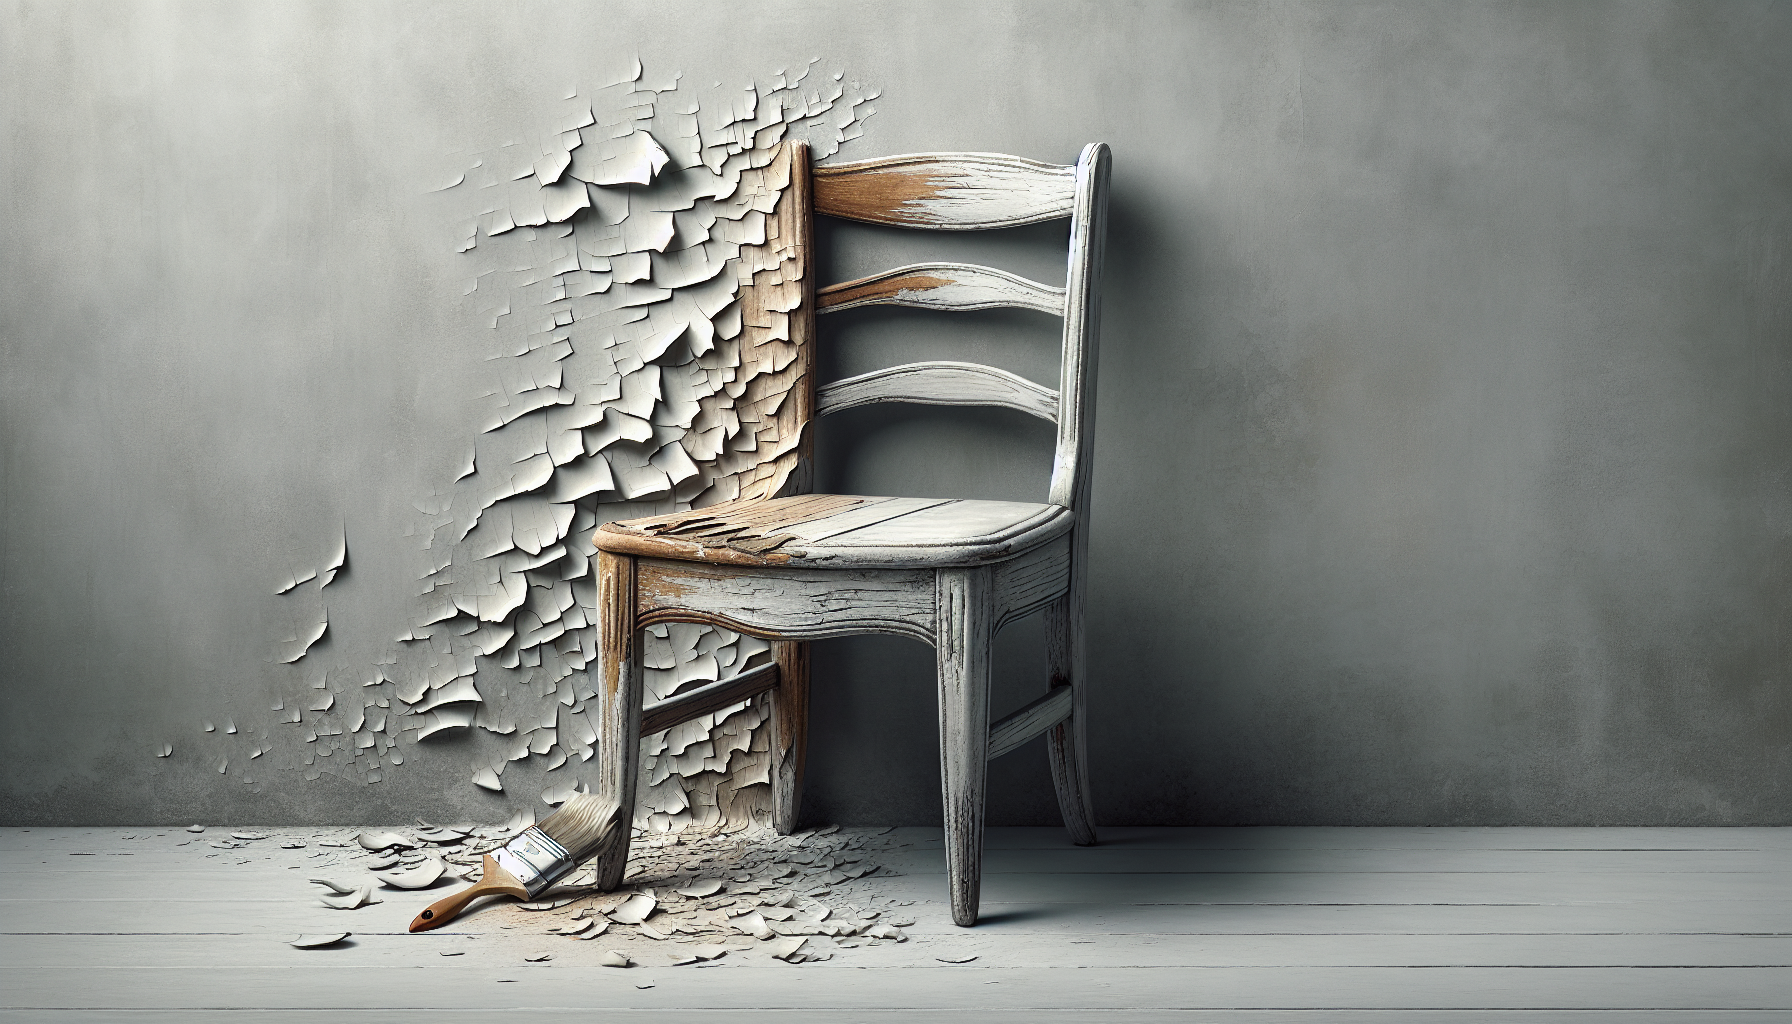
Achieving a smooth finish with chalk paint starts with proper surface preparation. Preparing the surface involves cleaning it thoroughly and addressing any imperfections that may be present.
Cleaning the Surface
Before applying chalk paint, it is essential to clean the surface you will be painting. Any dirt, dust, or grease on the surface can affect the paint’s adhesion and ultimately compromise the smooth finish. Use a mild detergent and warm water to clean the surface thoroughly. Avoid using harsh chemicals or abrasive cleaners that can damage the surface or leave residue.
Sanding and Patching Imperfections
Once the surface is clean, it’s time to address imperfections. Sanding the surface helps create a smooth and even base for the paint. Use fine-grit sandpaper to sand any rough areas or uneven surfaces. Pay special attention to any bumps, scratches, or old paint drips that may be present. After sanding, patch any holes or cracks using a suitable filler. Sand the patched areas again once they are dry to achieve a seamless surface.
Applying the Chalk Paint
After the surface is properly prepared, it’s time to apply the chalk paint. There are different techniques for applying chalk paint, and the method you choose can impact the final smoothness of the finish.
Using a Brush
One of the common methods of applying chalk paint is by using a brush. When using a brush, choose a high-quality brush with natural bristles, as they tend to work best with chalk paint. Start by loading the brush with an appropriate amount of paint. Apply the paint in thin and even coats, using long and smooth strokes. Avoid overloading the brush or applying excessive pressure, as this can lead to brush marks and an uneven surface.
Using a Roller
Another option for applying chalk paint is using a roller. A foam roller with a smooth surface is typically the best choice for chalk paint. Rollers can provide a smoother and more even finish compared to brushes. Load the roller with an adequate amount of paint and apply it to the surface in a consistent and controlled manner. Roll in one direction and avoid going back and forth or applying excessive pressure, as this can create roller marks.
Applying Thin Coats
Regardless of the application method you choose, it is vital to apply thin coats of chalk paint. Thick coats can lead to uneven drying and an excessive build-up of paint, resulting in a rough finish. By applying thin coats, you allow each layer to dry properly, ensuring a smoother and more professional-looking result. If the paint appears transparent after the first coat, do not be tempted to apply a thicker second coat immediately. Instead, allow the first coat to dry completely before applying subsequent coats.
Smoothing the First Coat
Once the first coat of chalk paint is applied, it is time to smooth it out before proceeding to additional coats. This step involves sanding the first coat and removing any dust particles that may have settled on the surface.
Sanding the First Coat
Take a fine-grit sandpaper and gently sand the surface after the first coat of chalk paint has dried. The goal is not to remove the paint entirely but to smooth out any brush or roller marks and create a more even finish. Use light pressure and sand in the direction of the grain if you are working on wood or the previous stroke if you are working on a flat surface like metal or plastic. After sanding, gently wipe away the sanding dust with a soft, lint-free cloth.
Removing Dust
Before moving on to applying additional coats, make sure to remove any dust or debris that may have accumulated on the surface. Dust particles can compromise the smoothness of the finish, so it is crucial to clean the surface properly. Use a soft brush or a tack cloth to remove any remaining dust, paying attention to corners and crevices. Ensuring a clean surface will help achieve a flawless result.

Applying Additional Coats
To achieve a truly smooth finish with chalk paint, it is often necessary to apply multiple coats. Applying additional coats allows for better coverage and a more consistent color. However, there are specific techniques to follow to maintain a smooth finish throughout the painting process.
Lightly Sanding Between Coats
Between each coat of chalk paint, it is advisable to lightly sand the surface. This step helps remove any imperfections that may have occurred during the previous coat and creates a smoother base for the next one. Use fine-grit sandpaper and sand gently in the direction of the grain or the previous stroke. After sanding, again remove any dust with a soft cloth before applying the next coat.
Applying Thinner Coats
As with the initial coat, it is essential to apply subsequent coats of chalk paint in thin and even layers. Thin coats allow for better control, faster drying, and a smoother finish. Avoid the temptation to apply thick coats, as they can lead to drips, brush marks, or an uneven surface. By applying thinner coats, you ensure that each layer dries properly and can be sanded and smoothed if necessary.
Sealing the Paint Finish
Once you have achieved the desired smoothness with multiple coats of chalk paint, it is essential to seal the finish. Sealing the paint helps protect it from wear and tear, enhances its durability, and provides an added layer of smoothness.
Choosing a Sealant
When selecting a sealant, consider the type of surface you have painted and the level of sheen you desire. There are various options available, including wax, polyurethane, and clear topcoats designed specifically for chalk paint. Each sealant has its unique characteristics, so make sure to choose one that suits your needs and complements the chalk paint finish.
Applying the Sealant
Follow the manufacturer’s instructions when applying the chosen sealant. Whether it is a wax, polyurethane, or topcoat, make sure to apply it evenly and in thin layers. Use a brush or applicator recommended for the specific sealant you are using. Apply the sealant in the same direction as the chalk paint strokes, and avoid applying excessive amounts or going over the same area repeatedly. Allow the sealant to dry completely before moving or using the painted surface.
Buffing for a Smooth Finish
To achieve an extra level of smoothness and sheen, buffing the sealed paint finish is an optional but effective step. Buffing helps to further smooth out any imperfections and bring out the desired shine.
Using Fine-Grit Sandpaper
To buff the sealed paint finish, use fine-grit sandpaper or sanding pads. Gently sand the surface in circular motions, applying even pressure. This process helps to smooth out any rough areas or texture and create a more polished appearance. Take care not to sand too aggressively, as this can remove the top layer of sealant and compromise the finish.
Using a Wax Brush
Another option for buffing a sealed chalk paint finish is using a wax brush. Using a clean and dry wax brush, lightly buff the surface in circular motions. The bristles of the brush will help bring out the shine and create a smooth and polished look. Always work in small sections, and ensure that the wax brush is clean and free from any residual wax or dirt to prevent streaks or smudges.
Tips for a Smooth Finish
While following the outlined steps will help you achieve a smooth finish with chalk paint, there are a few additional tips to keep in mind.
Avoiding Excessive Brush Strokes
When applying chalk paint with a brush, try to minimize brush strokes by using long and smooth strokes. Overworking the paint or going back over recently applied strokes can create visible brush marks on the surface. Using a high-quality brush and applying the paint in thin coats will also help reduce brush strokes and achieve a smoother finish.
Allowing Proper Drying Time
Ensure that each coat of chalk paint is allowed sufficient drying time before moving on to the next step. Rushing the process and applying additional coats before the previous one is fully dry can result in uneven drying, smudging, or even lifting of the paint. Patience is key when working with chalk paint to achieve a truly smooth and professional finish.
Common Mistakes to Avoid
To avoid any potential pitfalls that can compromise the smoothness of your chalk paint finish, it is important to be aware of common mistakes and how to avoid them.
Using Low-Quality Brushes
Using low-quality brushes can often lead to visible brush strokes and an unsmooth finish. Invest in high-quality brushes with natural bristles that are specifically designed for use with chalk paint. A good brush will not only provide better control and coverage but also help achieve a smoother final result.
Applying Too Thick Coats
Applying chalk paint in thick coats may seem like a time-saving strategy, but it can lead to a rough and uneven finish. Thick coats take longer to dry and can result in drips, brush marks, or an excessive buildup of paint. By applying thin and even coats of chalk paint, you ensure better adhesion, faster drying, and ultimately a smoother finish.
Final Thoughts
Achieving a smooth finish with chalk paint requires patience, attention to detail, and the right techniques. By choosing high-quality paint, properly preparing the surface, applying thin and even coats, and following the sealing and buffing steps, you can create a professional-looking finish. Remember to avoid common mistakes and take your time throughout the process. With practice and experimentation, you can enjoy the satisfaction of transforming furniture and decorative items with a smooth and beautiful chalk paint finish. So, get ready to unleash your creativity and explore the endless possibilities of chalk paint!