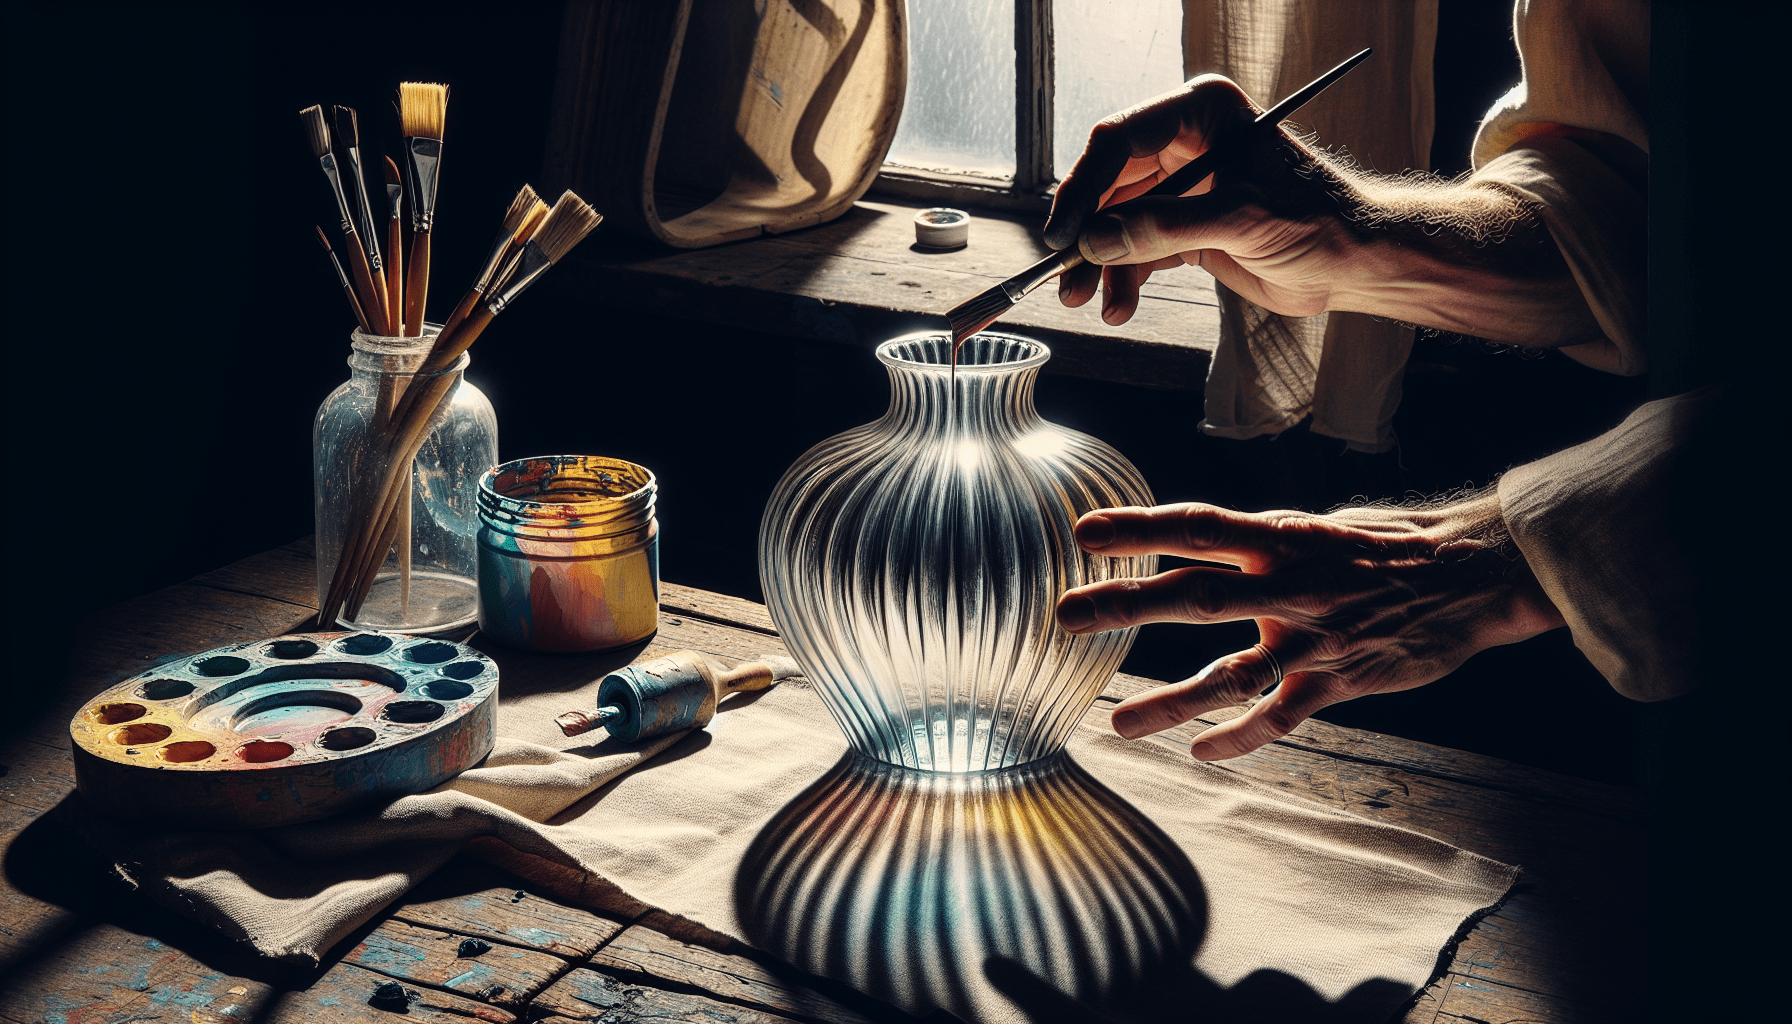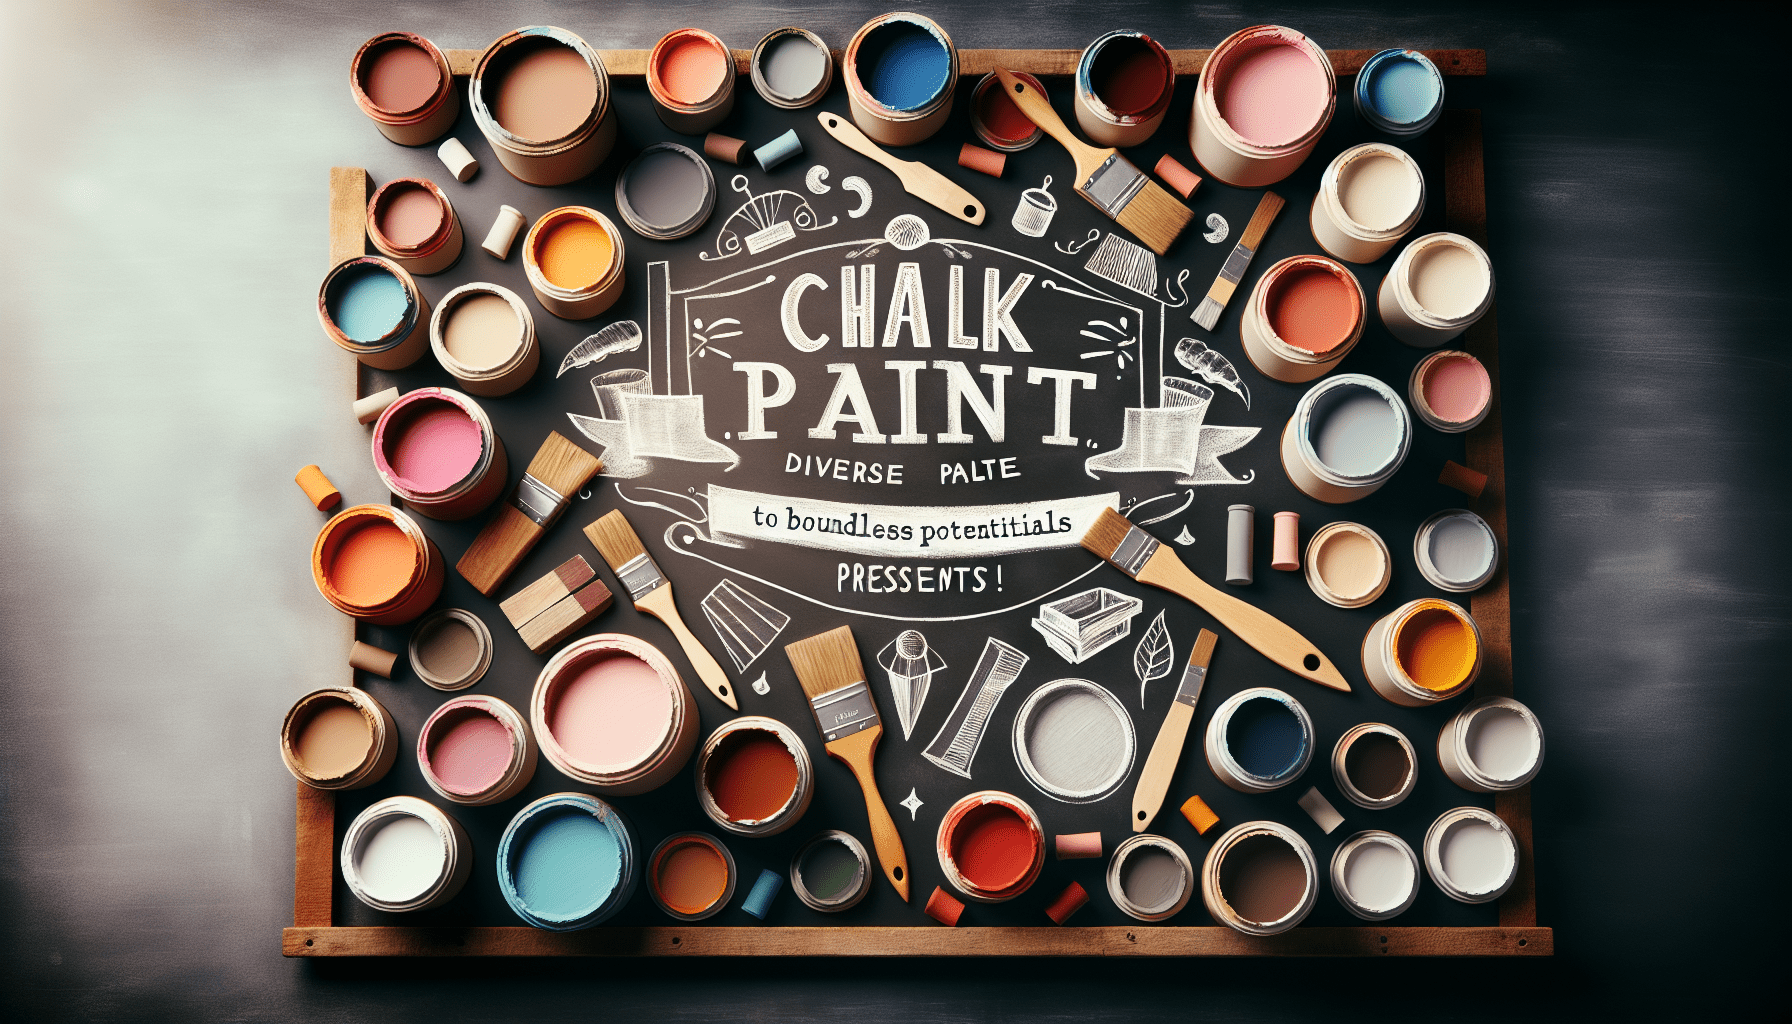
In the world of furniture restoration, achieving a flawless and even finish with chalk paint can sometimes be a challenge. Uneven application, streaks, and blotches can mar an otherwise beautiful piece. However, fear not, as there are effective techniques at your disposal to rectify these imperfections and achieve a smooth, professional look. In this article, you will discover the secrets of fixing uneven chalk paint, ensuring your furniture projects showcase a stunning and seamless result every time.
Understanding Uneven Chalk Paint
Uneven chalk paint refers to a finish that has inconsistencies in its appearance, with some areas appearing darker or lighter than others. This can be caused by a variety of factors and can significantly affect the overall look of your painted surface.
Causes of uneven chalk paint
Uneven chalk paint can be caused by several factors. One common cause is improper surface preparation. If the surface is not adequately cleaned or sanded before applying the chalk paint, it can lead to uneven absorption and adhesion, resulting in an uneven finish.
Another cause of uneven chalk paint is the application technique. Applying the paint too thickly or unevenly can create variations in color and texture. Additionally, if the paint is not properly mixed or shaken before application, it can result in uneven pigmentation and color distribution.
Effects of uneven chalk paint
Uneven chalk paint can have a significant impact on the overall aesthetic of your painted surface. It can make the finish look unprofessional and distract from the beauty of the piece. The unevenness can draw attention to certain areas or highlight imperfections, diminishing the desired effect of the paint.
Preparation
Proper preparation is key to achieving a smooth and even chalk paint finish. Taking the time to prepare your surface will ensure better adhesion and a more consistent appearance.
Clean the surface
Before you begin painting, make sure to thoroughly clean the surface you will be working on. Remove any dirt, grime, or grease using a mild detergent or a cleaner specifically designed for the material you are painting.
Sand the surface
After cleaning, lightly sand the surface to create a smooth and even texture. This will help the paint adhere better and eliminate any imperfections on the surface.
Apply primer
To further enhance adhesion and create a more even base, consider applying a primer before painting. The primer will help smooth out any unevenness in the surface and provide a better foundation for the chalk paint.

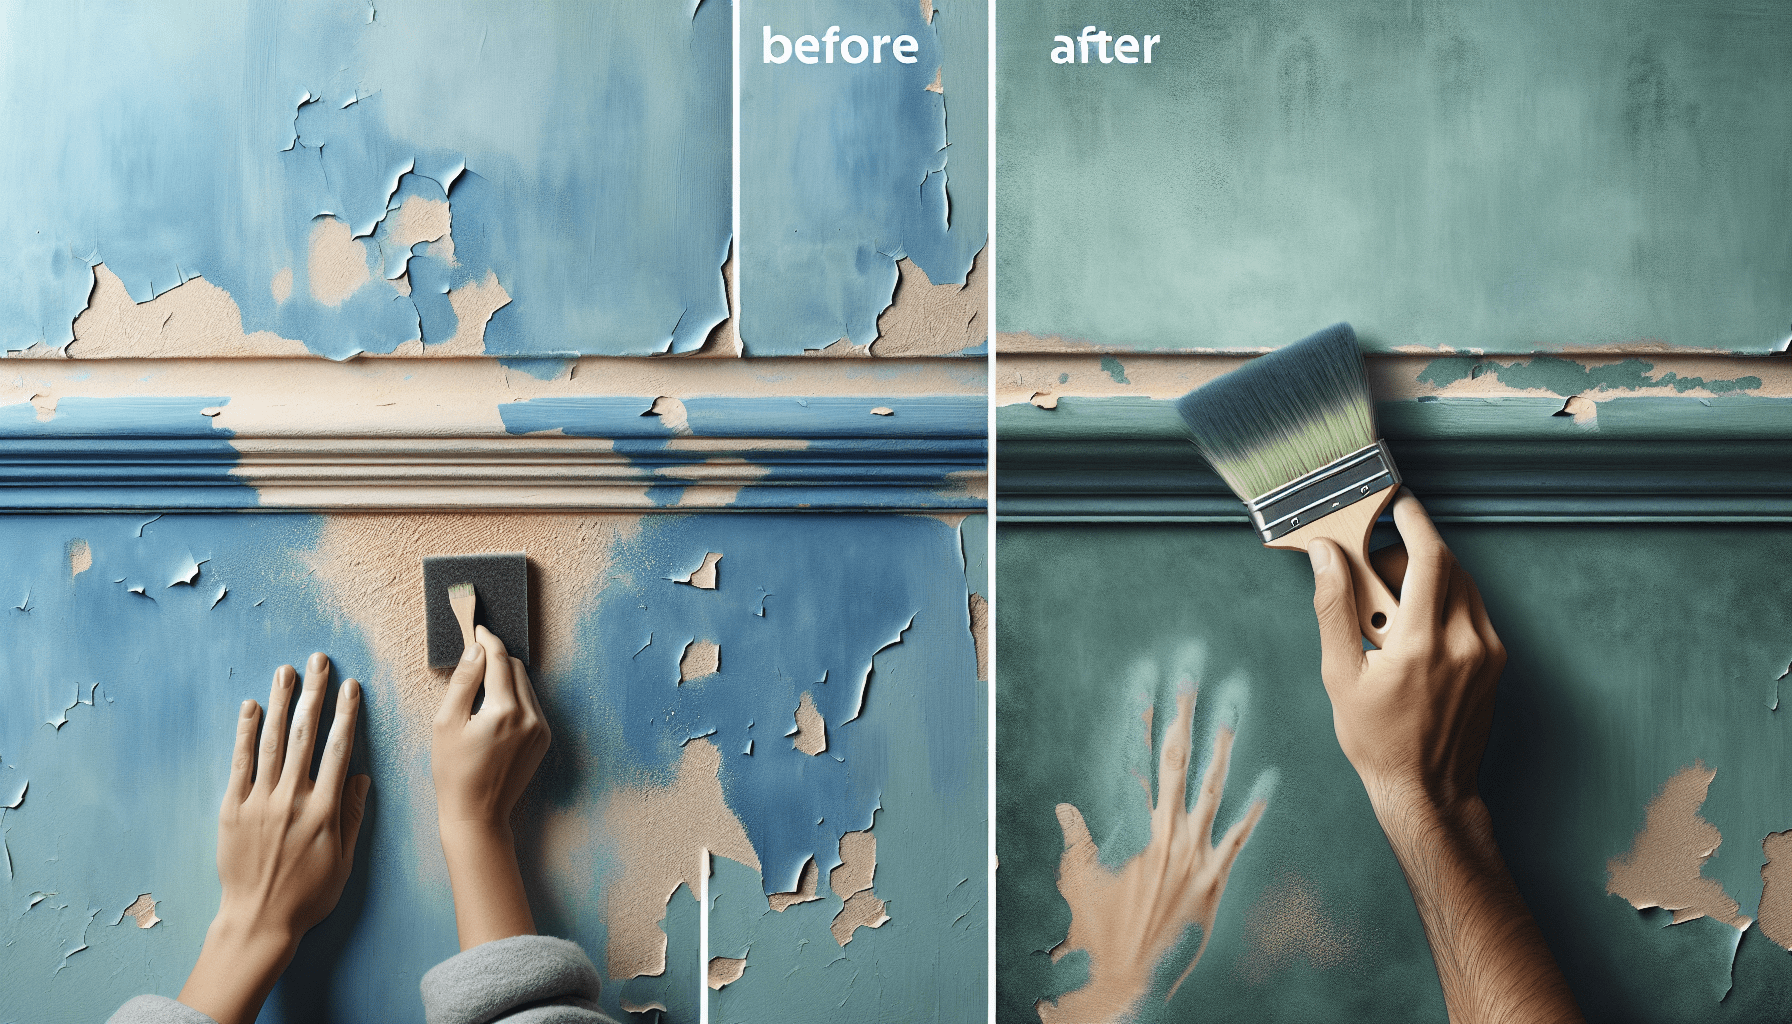
Evening out Chalk Paint
If you find that your chalk paint has dried with an uneven finish, there are steps you can take to even it out.
Evaluate the surface
Before making any adjustments, carefully evaluate the painted surface to determine the extent of the unevenness. Identify which areas require attention and consider the best approach for correcting them.
Sand the uneven areas
To even out the chalk paint, start by sanding the uneven areas. Use a fine-grit sandpaper to gently sand the surface, focusing on the areas that appear darker or lighter. This will help smooth out the unevenness and create a more consistent finish.
Apply another coat
After sanding, apply another coat of chalk paint to the entire surface. This will help blend the previously uneven areas with the rest of the finish, creating a smoother and more uniform appearance.
Practice feathering technique
To further improve the blending of the paint, consider using a feathering technique. Wet your paintbrush slightly and lightly feather the paint over the surface, focusing on the areas where the unevenness was more pronounced. This technique helps create a seamless transition between the uneven areas and the rest of the paint.
Blending Techniques
Blending techniques can be used to create a smoother and more even chalk paint finish. Here are three commonly used methods:
Dry brush blending
Dry brush blending involves using a dry brush to lightly apply paint onto the surface, creating a soft and subtle blending effect. This technique is especially useful for achieving a distressed or weathered look.
Wet brush blending
Wet brush blending involves applying paint to the surface while the brush is slightly damp. This technique allows for smoother and more controlled blending, resulting in a more even finish.
Color washing
Color washing is a technique that involves diluting the paint with water and applying it thinly to the surface using a brush or a cloth. This creates a translucent and layered effect, adding depth and dimension to the finish.

Layering and Distressing
Layering and distressing techniques can help add character and depth to your chalk paint finish.
Create a distressed look
To create a distressed look, gently sand the painted surface after it has dried. Focus on areas that would naturally wear over time, such as edges, corners, and raised details. This will reveal some of the underlying layers and create a vintage or aged appearance.
Layering for depth
Layering involves applying multiple coats of paint in different colors, allowing each layer to dry before applying the next. This technique adds depth and richness to the finish, creating a more dynamic and interesting look.
Use tinted waxes or glazes
Tinted waxes or glazes can be applied over the chalk paint to enhance the color and create an aged or antiqued effect. These products can be brushed on or wiped off, depending on the desired look.
Repairing Deep Uneven Issues
In some cases, the unevenness in chalk paint may be more pronounced or deeper. Here are some steps to address such issues:
Fill in uneven areas
For deep or noticeable uneven areas, fill them in with a suitable filler or putty. Use a putty knife to spread the filler evenly and allow it to dry according to the manufacturer’s instructions.
Sand and apply more paint
After the filler has dried, sand the surface to ensure it is smooth and level. Once sanded, apply more layers of chalk paint to the repaired areas, allowing each layer to dry before adding the next.
Utilize texture additives
To address a deep uneven texture, consider using texture additives. These can be mixed with the chalk paint to create a thicker and more textured consistency, helping to even out the surface.
Consider using a roller
When dealing with larger surfaces or areas with significant unevenness, using a roller can help achieve a more consistent coverage. Rollers can spread the paint more evenly, reducing the appearance of inconsistencies.
Using Top Coats
Once you have achieved the desired evenness in your chalk paint finish, it is important to protect it with a top coat. Here are some options:
Sealing with wax
Wax is a popular choice for sealing chalk paint. Apply a thin layer of clear furniture wax using a brush or a cloth, following the manufacturer’s instructions. This will help protect the paint and create a subtle sheen.
Applying clear coat
For a more durable finish, consider applying a clear coat such as polyurethane or polycrylic. These products provide a protective layer on top of the chalk paint, making it resistant to scratches and stains.
Using matte or satin finish
If you prefer a non-glossy look, opt for a matte or satin finish top coat. These finishes will preserve the chalk paint’s natural appearance while still providing protection.
Troubleshooting
Even with proper techniques and preparation, issues may still arise. Here are some common troubleshooting tips:
Identifying glossy or patchy areas
If you notice glossy or patchy areas in your chalk paint finish, it may be due to uneven application. To fix this, lightly sand the glossy areas with fine-grit sandpaper and apply another coat of paint.
Dealing with brush strokes
Brush strokes can be minimized by using high-quality brushes and applying the paint in thin, even coats. If brush strokes are still evident, lightly sand the surface and reapply the paint using a feathering technique.
Removing excess wax or sealer
If you accidentally apply too much wax or sealer, it may result in a streaky or uneven appearance. Use a clean cloth dampened with mineral spirits or a wax remover to carefully remove the excess product, gently rubbing in circular motions.
Learning from Mistakes
Don’t be discouraged by imperfections in your chalk paint finish. Accepting that mistakes happen is part of the learning process. Each project is an opportunity to refine your skills and explore different techniques.
Accepting imperfections
Embracing the imperfect nature of chalk paint can add charm and character to your finished piece. Remember that the beauty of chalk paint lies in its ability to create a unique and lived-in look.
Experimenting on small projects
To gain confidence and refine your technique, start with smaller projects or test pieces. This will allow you to experiment with different blending techniques, layering methods, and distressing effects before tackling larger or more important items.
Practice and Patience
Achieving a smooth and even chalk paint finish requires practice and patience. Consistency in technique and allowing sufficient drying time between coats are essential.
Practice your technique
Take the time to practice different blending techniques, layering methods, and distressing effects on a spare piece of wood or board. This will help you develop your skills and gain a better understanding of how the chalk paint behaves.
Allow sufficient drying time
Chalk paint requires adequate drying time between coats to ensure a smooth and even finish. Follow the paint manufacturer’s instructions for drying times and avoid rushing the process. Patience is key to achieving the desired result.
In conclusion, uneven chalk paint can be resolved through proper surface preparation, evaluation, sanding, and layering techniques. Blending methods, distressing, and the use of top coats can further enhance the overall appearance. It is essential to troubleshoot and learn from mistakes while practicing patience and allowing sufficient drying time. With dedication and practice, you can achieve a beautiful and consistent chalk paint finish.