In the world of DIY furniture painting, chalk paint has become increasingly popular for its ability to create a vintage and distressed look. However, even the most experienced painters can make mistakes when working with this unique medium. Whether it’s streaks, blotches, or a lackluster finish, it’s important to know how to fix chalk paint mistakes effectively. This article will guide you through common errors and provide expert tips to help you achieve a flawless and professional-looking result.

Identifying Chalk Paint Mistakes
Understanding common chalk paint mistakes
Chalk paint is a popular choice for furniture and decorative projects due to its matte finish and ease of use. However, despite its simplicity, there are common mistakes that can occur during the painting process. By understanding these mistakes, you can identify and address them effectively. Some of the most common chalk paint mistakes include uneven coverage, visible brush or roller marks, drips and paint runs, over-distressed appearance, stains or bleed-through, chipping or peeling paint, and cracking or flaking. By familiarizing yourself with these issues, you can easily recognize and rectify them in your own projects.
Examining paint application errors
One of the most common chalk paint mistakes is uneven coverage. This occurs when the paint is not applied evenly across the surface, resulting in patchy areas. Visible brush or roller marks are also a common issue, especially if the paint is not applied smoothly and evenly. Drips and paint runs can occur if too much paint is applied or if the paint is not properly mixed. These mistakes can detract from the overall finish and appearance of the piece.
Identifying surface preparation issues
Another area where mistakes can occur is surface preparation. Properly preparing the surface is crucial for ensuring a smooth and durable finish. Failure to clean the surface thoroughly or not sanding it properly can lead to adhesion problems and a less-than-desirable end result. Any imperfections or uneven surfaces should be addressed before applying the paint to achieve a professional finish.
Recognizing finishing problems
Finishing problems can also arise when working with chalk paint. Over-distressed or over-aged appearance is a common mistake, where the distressed areas may look excessive or unnatural. Stains or bleed-through can occur if the paint is not properly sealed or if the surface has oil or water-based stains that have not been adequately addressed. Chipping or peeling paint can be a result of inadequate adhesion or the wrong choice of protective topcoat. Cracking or flaking can also occur if there are issues with the paint application or if the surface was not properly prepared beforehand.
Solutions for Chalk Paint Mistakes
Light sanding and repainting
If you encounter uneven coverage or visible brush or roller marks, one solution is to lightly sand the affected areas and then repaint them. Sanding the surface will help smoothen it out, allowing for a more even application of paint. Once the surface has been sanded, apply a fresh coat of chalk paint, ensuring smooth and even strokes for a flawless finish.
Using paint additives or mediums
Another solution for addressing chalk paint mistakes is to utilize paint additives or mediums. These products can help improve the consistency and workability of the paint, allowing for a smoother application. Additives such as Floetrol can help reduce brush or roller marks, while mediums like Extender can extend the drying time, giving you more time to work with the paint and achieve a better finish.
Correcting uneven coverage
To fix uneven coverage, you can apply a second coat of chalk paint. Make sure to let the first coat dry completely before applying the second coat. By doing so, you can achieve a more consistent and uniform finish. Alternatively, you can also dilute the chalk paint with water to create a translucent effect, blending the uneven areas seamlessly with the rest of the piece.
Addressing drips and brush marks
To address drips and brush marks, sand the affected areas lightly to smooth out the imperfections. Once sanded, use a clean brush or roller to apply thin coats of paint. By applying multiple thin coats instead of one thick coat, you can minimize the risk of drips and achieve a smoother finish.
Dealing with excessive distressing
If you find that your piece has been over-distressed and has an aged appearance that is too pronounced, you can rectify it by adding additional layers of paint. Apply the paint in a color that matches or complements the existing finish, focusing on the over-distressed areas. By building up the layers of paint, you can tone down the excessive distressing and create a more balanced and subtle look.
Resolving bleed-through
To fix stains or bleed-through, it is important to address the underlying issue causing the problem. If the surface has oil or water-based stains, ensure that they are properly sealed or treated before applying the chalk paint. In some cases, using a stain-blocking primer can help prevent bleed-through. If the issue persists, apply additional coats of chalk paint or consider switching to a different type of paint that is better suited for preventing bleed-through.
Fixing chipping or peeling paint
If you notice that the paint is chipping or peeling, it is essential to address the underlying adhesion problem. Lightly sand the affected areas and ensure that the surface is clean and free of any dust or debris. Consider using a bonding primer before applying a fresh coat of chalk paint. This will provide better adhesion and help prevent future chipping or peeling.
Handling cracking or flaking
To handle cracking or flaking paint, sand the affected areas to remove any loose or chipped paint. Fill any cracks or gaps with wood filler or putty, and then sand the repaired areas until smooth. Apply a primer to seal the surface and promote adhesion, and then repaint with your chosen chalk paint color. This will help prevent further cracking or flaking and restore the integrity of the finish.
Preventing Chalk Paint Mistakes
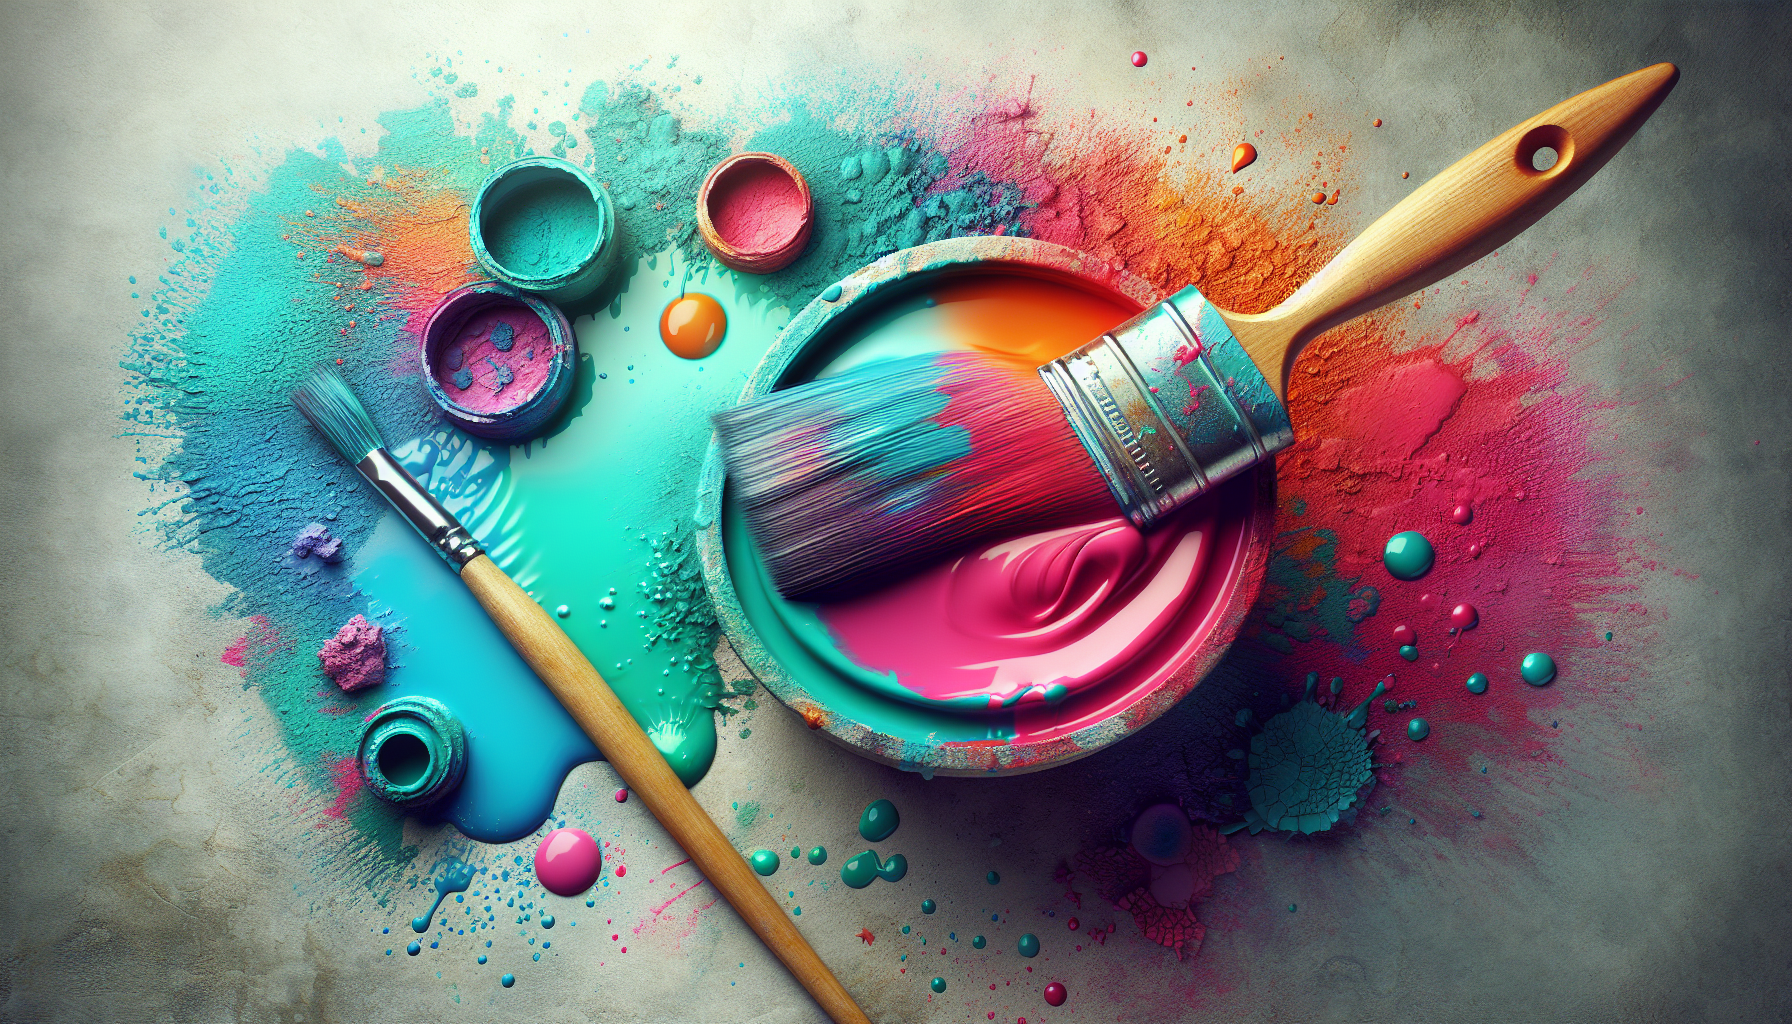
Choosing the right paint and materials
To prevent chalk paint mistakes, it is essential to choose the right paint and materials for your project. Ensure that you are using high-quality chalk paint that is specifically formulated for furniture and decorative applications. Cheap or low-quality paint can result in poor coverage, adhesion problems, and a subpar finish. Additionally, invest in good quality brushes, rollers, or spray guns that are suitable for chalk paint and will help you achieve smooth and even application.
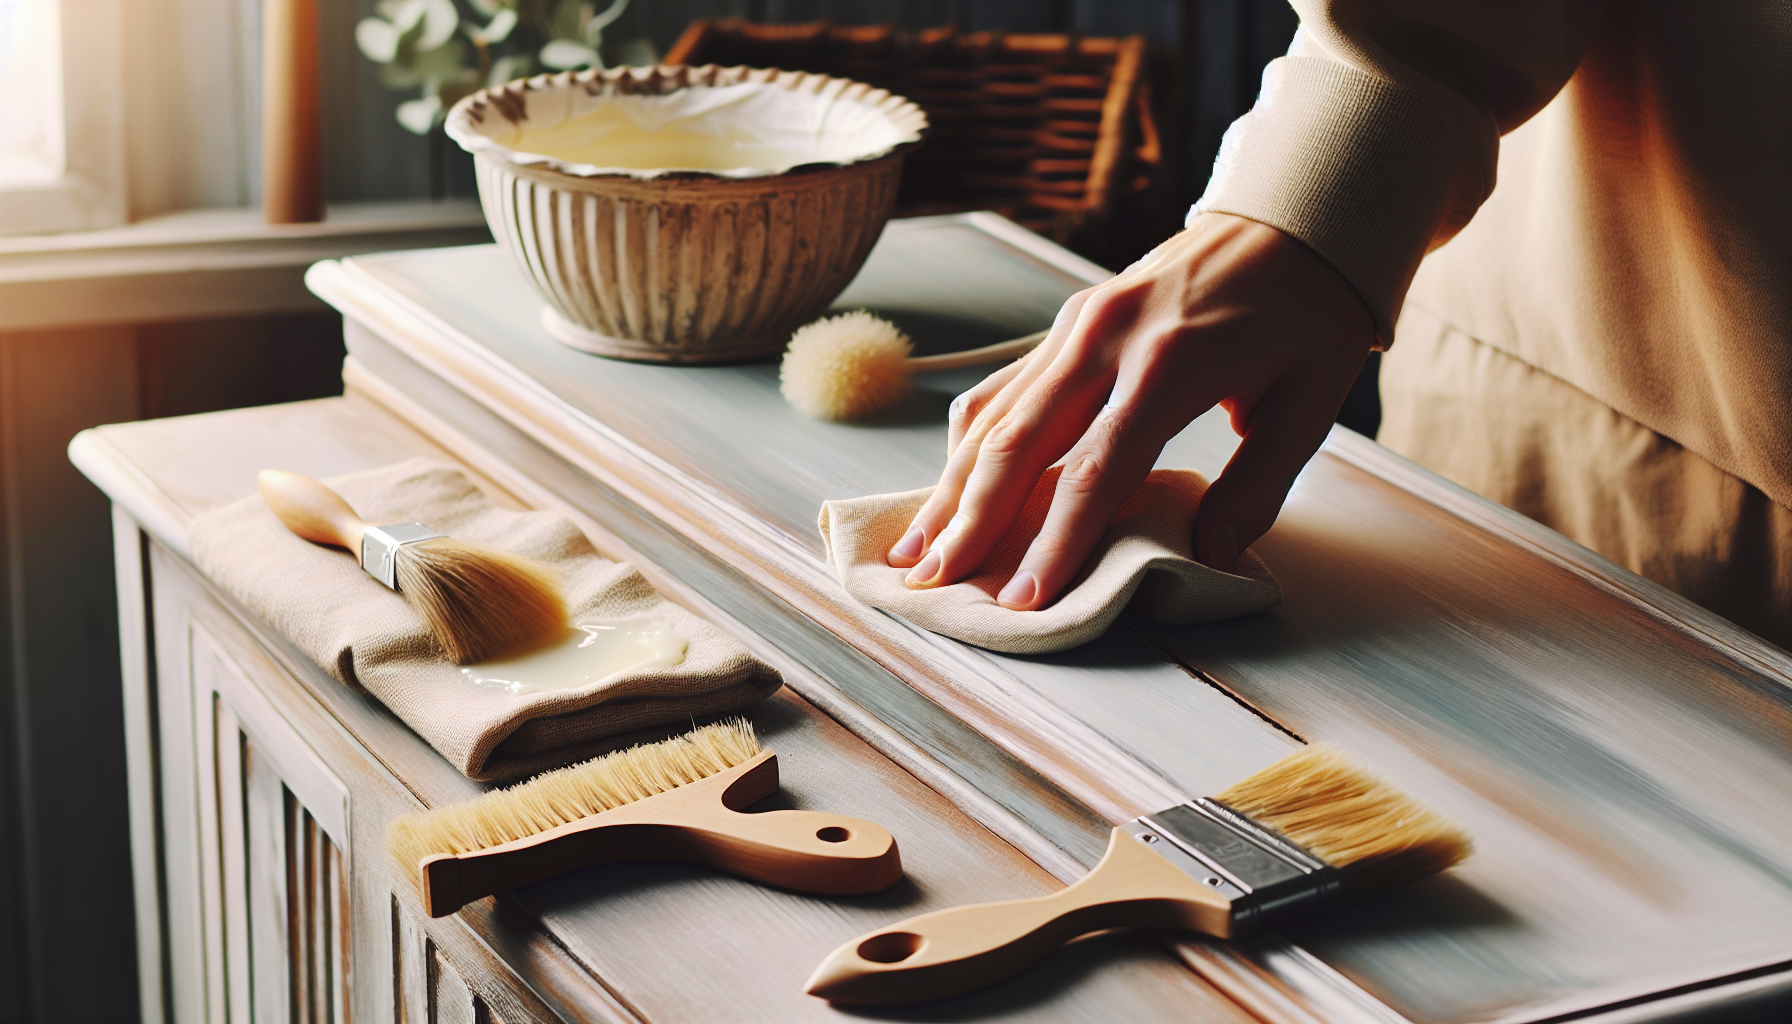
Properly preparing the surface
Proper surface preparation is critical for a successful chalk paint project. Clean the surface thoroughly to remove any dirt, grease, or debris. Use a mild detergent or a degreaser if necessary. Sand the surface lightly to create a slightly textured surface that will promote better adhesion. If there are any imperfections or uneven areas, fill them in with wood filler or putty, and sand them smooth before applying the paint.
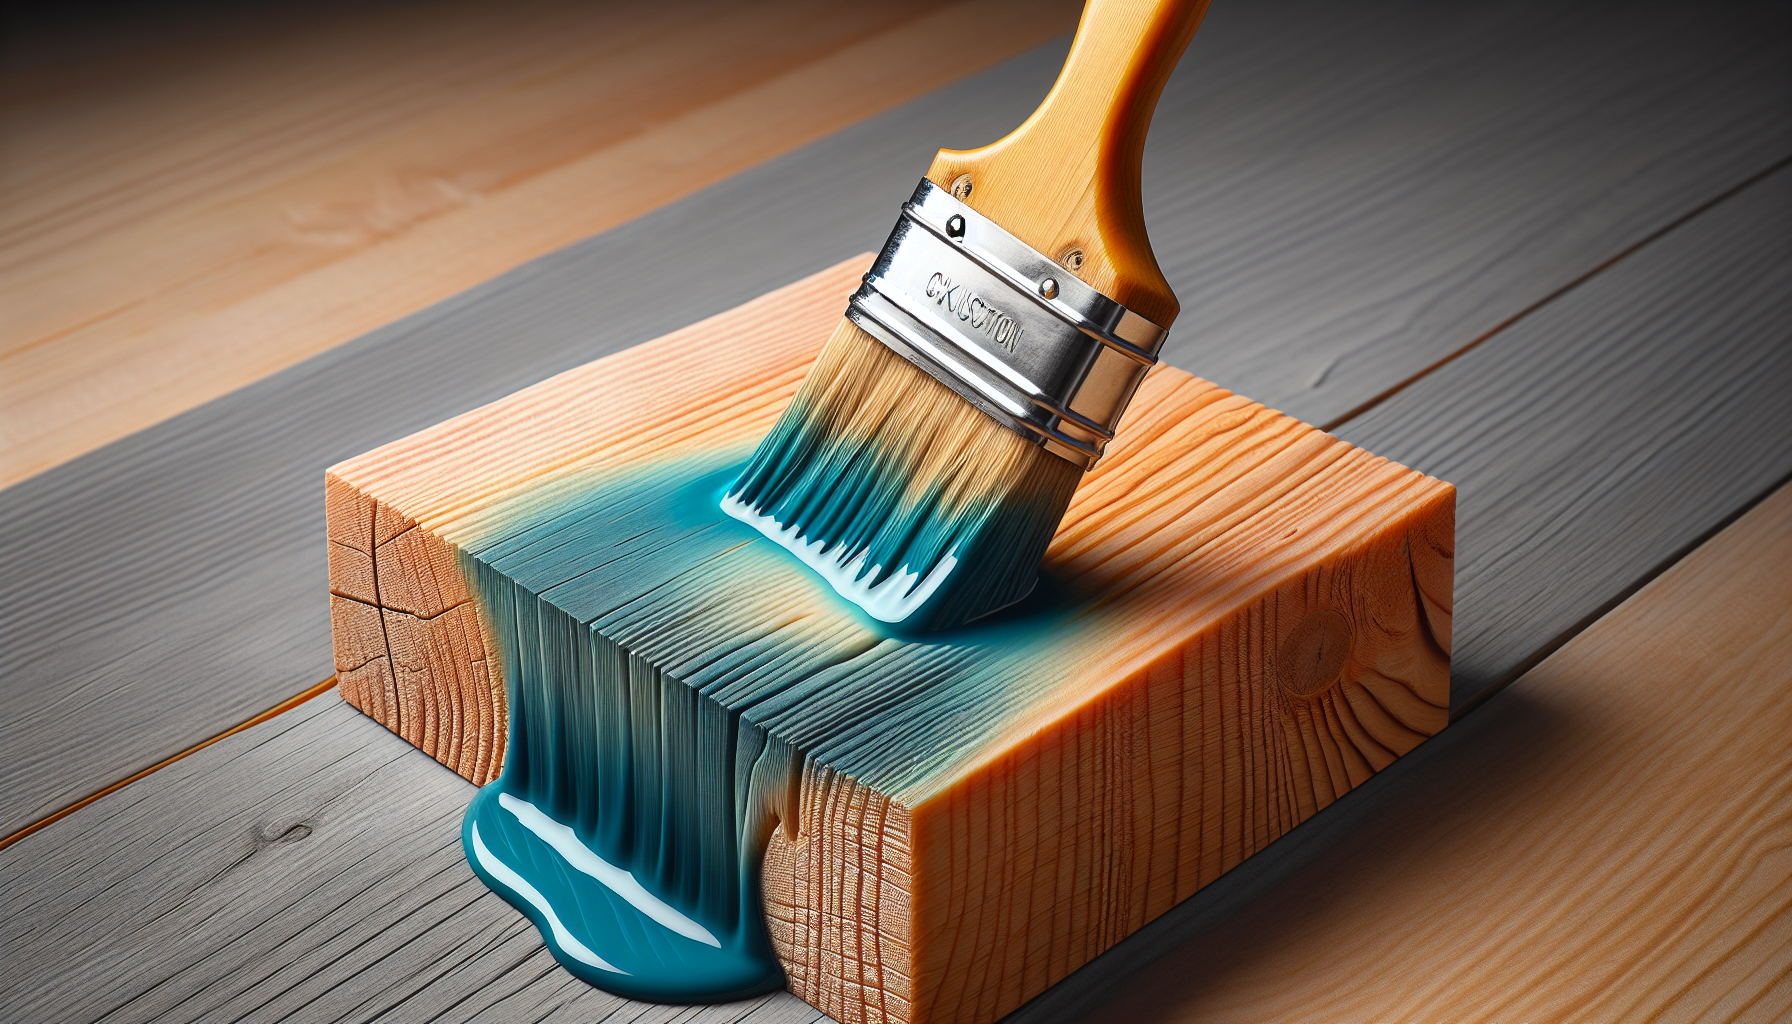
Mastering paint application techniques
Mastering paint application techniques is key to preventing common chalk paint mistakes. Practice using the brushes, rollers, or spray guns to achieve smooth and even strokes. Work in small sections, applying the paint in thin coats rather than thick layers. This will help prevent drips, brush or roller marks, and uneven coverage. Allow each coat to dry thoroughly before applying additional coats.
Testing on a sample or inconspicuous area
Before starting your project, it is always a good idea to test the chalk paint on a sample or inconspicuous area. This will allow you to assess the coverage, color, and overall finish of the paint before committing to the entire piece. It will also give you the opportunity to practice your paint application techniques and make any necessary adjustments.
Applying protective topcoats
To prevent chipping, peeling, or other finishing problems, it is important to apply a protective topcoat to your chalk paint project. A clear wax or a water-based polyurethane can help seal the paint and provide a durable and long-lasting finish. Apply the topcoat according to the manufacturer’s instructions, ensuring even coverage and proper drying time between coats.
Tools and Techniques for Fixing Mistakes
Sanding materials and techniques
When fixing chalk paint mistakes, sanding is often an essential step. Invest in good quality sanding materials, such as sandpaper or sanding blocks, that are suitable for the specific surface and desired level of sanding. Depending on the severity of the mistake, you may need to use fine or coarse grit sandpaper. Use a light touch and sand in a circular or back-and-forth motion to ensure an even and controlled sanding process.
Selecting appropriate paint additives
Paint additives can be helpful tools when fixing chalk paint mistakes. Choose additives or mediums that are specifically designed for chalk paint and can address the specific issue you are facing. For example, if you need to reduce brush or roller marks, opt for an additive like Floetrol. If you need to extend the drying time, consider using an extender or a retarder.
Using brushes, rollers, or spray guns
The choice of tools can greatly impact the outcome of your paint application. Select brushes, rollers, or spray guns that are designed for chalk paint and can help you achieve the desired finish. Brushes with synthetic bristles are often recommended for chalk paint projects as they tend to apply the paint smoothly and evenly. Use rollers with a short nap for larger areas, and adjust the spray gun settings according to the manufacturer’s instructions for optimal results.
Applying distressing techniques
If you are aiming for a distressed look with your chalk paint project, it is important to master the appropriate distressing techniques. Use sandpaper or sanding blocks to distress the painted surface, focusing on areas that would naturally experience wear and tear over time. Experiment with different levels of distressing to achieve the desired effect, and always seal the distressed areas with a protective topcoat to prevent further wear.
Repairing damaged or uneven surfaces
When fixing chalk paint mistakes on damaged or uneven surfaces, it may be necessary to repair or level the surface before proceeding. Fill any cracks, holes, or gaps with wood filler or putty, and sand them smooth once dry. For uneven surfaces, consider using a primer or a leveling compound to create a smooth and even base for the paint. Always follow the manufacturer’s instructions and allow sufficient drying time before applying the paint.
Minimizing bleed-through
To minimize the risk of bleed-through, it is important to address any underlying issues before painting. Seal or treat stains with an appropriate stain-blocking primer to prevent them from bleeding through the paint. If necessary, apply multiple coats of primer or opt for a primer with enhanced stain-blocking properties. By addressing the root cause of the bleed-through, you can minimize the risk of encountering this issue in your chalk paint projects.
Choosing effective topcoats
When fixing chalk paint mistakes, selecting the right topcoat is crucial for achieving a durable and long-lasting finish. Consider using a clear wax or a water-based polyurethane as a protective topcoat. Clear wax can provide a soft and matte finish, while water-based polyurethane offers a more durable and glossy finish. Choose a topcoat that is compatible with your paint and follow the manufacturer’s instructions for proper application and drying time.

Common Chalk Paint Mistakes and How to Fix Them
Uneven or patchy coverage
To fix uneven or patchy coverage, apply a second coat of chalk paint once the first coat is completely dry. Make sure to apply the paint evenly and use smooth strokes to achieve a more consistent and uniform finish. You can also dilute the paint with water to create a translucent effect that will help blend the uneven areas with the rest of the piece.
Visible brush or roller marks
To address visible brush or roller marks, lightly sand the affected areas to smooth out the imperfections. Clean the surface thoroughly to remove any dust or debris. Use a clean brush or roller to apply thin coats of paint, working in small sections. By applying multiple thin coats instead of one thick coat, you can achieve a smoother finish and minimize the visibility of brush or roller marks.
Drips and paint runs
If you encounter drips and paint runs, sand the affected areas lightly to remove the excess paint. Clean the surface to remove any dust or debris. Use a clean brush or roller to apply thin coats of paint, ensuring that each coat is evenly spread. By applying multiple thin coats instead of one thick coat, you can reduce the risk of drips and achieve a smoother finish.
Over-distressed or over-aged appearance
To address an over-distressed or over-aged appearance, add additional layers of paint in a color that matches or complements the existing finish. Focus on the over-distressed areas and build up the layers of paint gradually. By doing so, you can tone down the excessive distressing and create a more balanced and subtle look.
Stains or bleed-through
To fix stains or bleed-through, ensure that the surface is properly sealed or treated before applying the chalk paint. Use a stain-blocking primer to prevent the stains from bleeding through the paint. Apply multiple coats if necessary or opt for a primer with enhanced stain-blocking properties. If the issue persists, consider using a different type of paint that is better suited for preventing bleed-through.
Chipping or peeling paint
When dealing with chipping or peeling paint, lightly sand the affected areas to remove any loose or chipped paint. Clean the surface to remove any dust or debris. Use a bonding primer to promote better adhesion, and then repaint with your chosen chalk paint color. Applying a protective topcoat after the paint has dried will help prevent future chipping or peeling.
Cracking or flaking
To address cracking or flaking, sand the affected areas to remove any loose or chipped paint. Fill any cracks or gaps with wood filler or putty, and then sand the repaired areas until smooth. Apply a primer to seal the surface and promote adhesion. Repaint with your chosen chalk paint color, ensuring even coverage. Applying a protective topcoat after the paint has dried will help prevent further cracking or flaking.
Advanced Techniques for Fixing Chalk Paint Mistakes
Color blending and layering
Once you have mastered the basics of fixing chalk paint mistakes, you can explore advanced techniques such as color blending and layering. Blending different colors together can create a unique and customized look. Layering multiple coats of paint in different shades can add depth and dimension to the piece. Experiment with different techniques and color combinations to achieve stunning and one-of-a-kind finishes.
Creating textured or weathered finishes
If you want to add texture or create a weathered look to your chalk paint project, there are various techniques you can use. Dry brushing involves applying a small amount of paint to a dry brush and lightly brushing it over the surface, leaving behind subtle streaks or textures. Distressing with sandpaper or sanding blocks can also create a worn and weathered appearance. Explore different techniques and textures to achieve the desired effect.
Repairing intricate or detailed pieces
Fixing chalk paint mistakes on intricate or detailed pieces can be challenging but rewarding. Use small brushes or angled brushes to reach tight corners and intricate areas. Take your time and work in small sections to ensure even coverage and avoid drips. Sand any imperfections gently to maintain the intricate details. Patience and attention to detail are key when working on complex pieces.
Matching or recreating finishes
If you need to match or recreate an existing finish, there are techniques you can use to achieve a similar look with chalk paint. Color matching involves blending different shades of chalk paint to create a custom color that matches the desired finish. Layering different colors and applying different techniques, such as distressing or waxing, can help recreate specific finishes, such as antique or vintage looks. Experiment with different colors, techniques, and finishes to achieve the desired results.
Seeking Professional Help
When to consider professional assistance
While many chalk paint mistakes can be easily fixed with the right tools and techniques, there may be instances where professional assistance is warranted. If you are facing complex issues that require specialized knowledge or equipment, it may be beneficial to seek the help of professionals. Additionally, if you are working on valuable or sentimental pieces, professional restoration experts can ensure that the project is handled with utmost care and expertise.
Finding reputable furniture or paint restoration experts
When searching for reputable furniture or paint restoration experts, it is important to do thorough research. Seek recommendations from friends, family, or online communities who have had positive experiences with professionals in your area. Read reviews and testimonials, and check the credentials and experience of the professionals you are considering. Ask for before and after photos of their previous work to assess the quality of their craftsmanship. Take your time and choose professionals who have a proven track record in successfully restoring and refinishing furniture.
Providing necessary information to professionals
When consulting with professionals regarding chalk paint mistakes, it is crucial to provide them with all the necessary information. Be specific about the issues you are facing and the desired outcome. Share any relevant details about the piece, such as its age, condition, and previous treatments or finishes. Providing clear and accurate information will help professionals assess the project, provide appropriate solutions, and deliver the desired results.
Additional Tips and Tricks
Avoiding common mistakes in the first place
The best way to fix chalk paint mistakes is to avoid them in the first place. Taking the time to properly prepare the surface, use high-quality paint and materials, and practice paint application techniques can help minimize the risk of encountering common mistakes. Research and educate yourself on proper techniques, and take advantage of resources and tutorials available online or through workshops to enhance your skills and knowledge.
Utilizing chalk paint to its fullest potential
Chalk paint offers a wide range of possibilities for creativity and expression. Experiment with different techniques, finishes, and color combinations to explore the full potential of chalk paint. Embrace the versatility of the medium and use it to transform and revitalize furniture and decorative items. Allow yourself to think outside the box and incorporate chalk paint into various projects, such as wall art, home decor, or even outdoor furniture.
Experimenting and embracing imperfections
One of the beautiful aspects of working with chalk paint is its forgiving nature. Embrace imperfections and use them to your advantage. Experiment with different techniques and finishes, and don’t be afraid to step out of your comfort zone. Mistakes can often lead to unexpected and unique results, so don’t be discouraged if things don’t go according to plan. Learn from the process and allow yourself to grow as an artist and craftsman.
Learning from mistakes and gaining confidence
Fixing chalk paint mistakes is an opportunity for growth and learning. Each mistake presents a chance to refine your skills and enhance your knowledge. Take the time to analyze the cause of the mistake and understand how to prevent it in the future. With each successful correction, your confidence will grow, and you will become more adept at recognizing and rectifying chalk paint mistakes. Embrace the journey and enjoy the process of continuous improvement.
Conclusion
It is crucial to identify and address chalk paint mistakes to achieve the desired finish and ensure the longevity of your projects. By understanding common mistakes and their causes, you can effectively troubleshoot and rectify the issues. Solutions such as light sanding and repainting, using paint additives or mediums, correcting uneven coverage, addressing drips and brush marks, dealing with excessive distressing, resolving bleed-through, fixing chipping or peeling paint, and handling cracking or flaking can help you restore and improve the overall appearance of your chalk paint projects. Additionally, by following preventive measures, utilizing the right tools and techniques for fixing mistakes, and seeking professional help when necessary, you can prevent and rectify common chalk paint mistakes effectively. Remember to embrace experimentation, learn from mistakes, and gain confidence as you master the art of working with chalk paint. By employing the tips and tricks provided, you can ensure a successful and satisfying experience in your future chalk paint endeavors.