In the world of DIY paint projects, chalk paint has gained popularity for its matte finish and vintage appeal. However, one common challenge that arises when working with chalk paint is the presence of brush strokes on the surface. These visible strokes can detract from the desired smooth and flawless look. Fortunately, there are simple techniques that can help you eliminate brush strokes and achieve a professional finish. By following these expert tips and tricks, you will soon learn how to flawlessly transform your chalk paint projects into stunning, brush-free masterpieces.

Choosing the Right Brush
When it comes to achieving a smooth and flawless finish in your painting project, choosing the right brush is crucial. There are different types of brushes available in the market, each suitable for various surfaces and techniques. It is essential to select a brush that is appropriate for your specific needs.
Types of brushes
There are primarily two types of brushes commonly used in painting projects: natural bristle brushes and synthetic bristle brushes. Natural bristle brushes, typically made from animal hair, are ideal for oil-based paints, varnishes, and stains. On the other hand, synthetic bristle brushes, made from nylon or polyester, are better suited for water-based paints such as latex or acrylic.
Bristle types
Apart from the brush type, you also need to consider the bristle type. Brushes with softer bristles are best for smooth surfaces, while stiffer bristles work well on textured surfaces. Natural bristles are generally softer and more flexible, allowing for smoother application, while synthetic bristles are stiffer and more appropriate for rougher surfaces.
Brush size
Choosing the right brush size is equally important. Larger brushes are suitable for covering large areas quickly, while smaller brushes offer more control and precision. Consider the size of the project and the surface you will be painting when selecting a brush size. It is worth noting that a brush with a tapered or angled tip can help you reach tight corners and edges more easily.
Preparing the Surface
Properly preparing the surface before painting is crucial to achieve a professional-looking finish. This step involves cleaning and sanding the surface to ensure it is free from dirt, debris, and imperfections.
Cleaning the surface
Before painting, it is important to clean the surface thoroughly. Use a mixture of mild soap and water to remove any dirt, grease, or grime. Rinse the surface with clean water and allow it to dry completely. Cleaning ensures that the paint will adhere well to the surface and prevents any unwanted marks or streaks.
Sanding the surface
Sanding the surface is essential to create a smooth and even canvas for the paint. Use sandpaper with an appropriate grit for the surface you are working with. A higher grit number indicates a finer sandpaper, which is suitable for smoother surfaces. Gently sand the surface in a circular motion, removing any roughness or imperfections. Wipe away the dust produced during sanding to ensure a clean surface for painting.
Using Proper Techniques
Using proper techniques when applying paint can greatly enhance the overall appearance of your project. It is important to load the brush correctly, apply thin and even coats, and avoid excessive brushing.
Loading the brush correctly
To ensure even paint application, it is crucial to load the brush correctly. Dip the brush into the paint, evenly coating about one-third of the bristle length. Avoid overloading the brush, as this can lead to drips and uneven coverage. Gently tap the brush against the side of the paint container or tray to remove any excess paint.
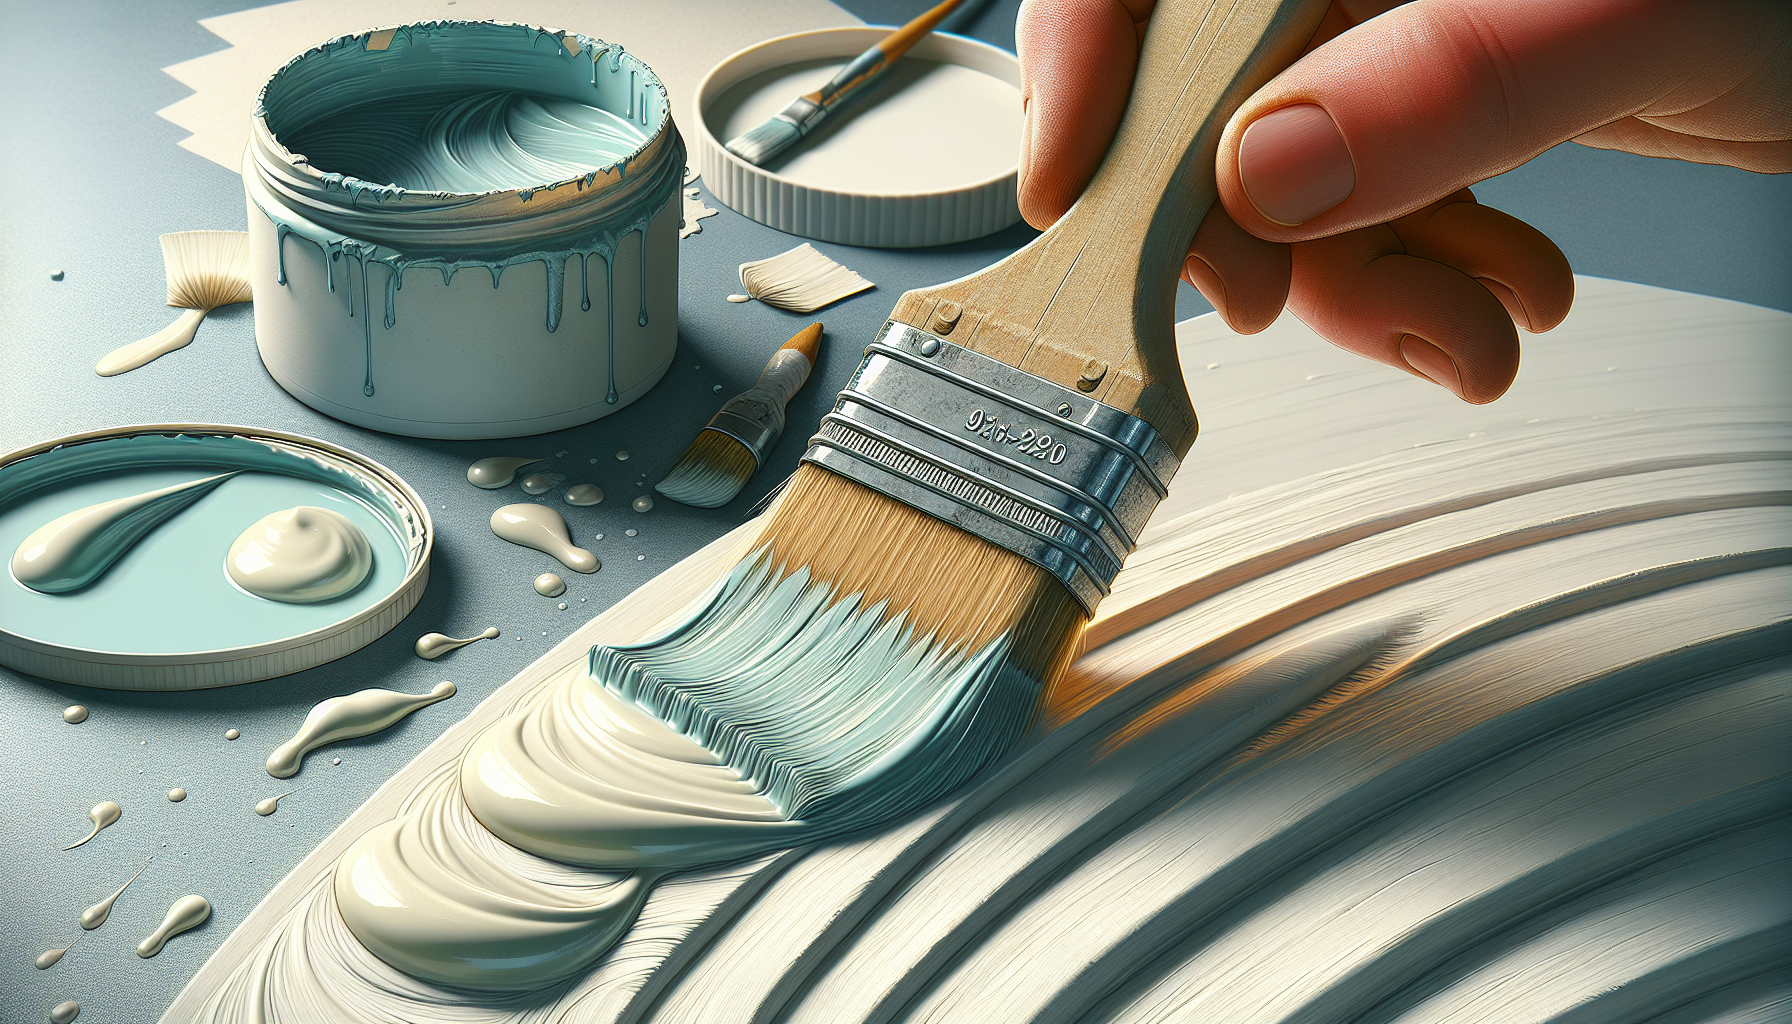
Applying thin and even coats
When applying paint, it is best to use thin and even coats rather than applying one heavy coat. This allows for better control, reduces the chance of brush strokes, and ensures proper drying. Start with a light application, and if needed, apply additional coats for better coverage. This technique helps achieve a smoother and more professional finish.
Avoiding excessive brushing
Excessive brushing can result in brush strokes, streaks, and uneven application of paint. To avoid this, work in one direction, using long, smooth strokes. Apply gentle and consistent pressure to the brush to achieve an even flow of paint. When transitioning to the next section, slightly overlap the previous stroke to maintain a seamless appearance.
Mixing the Paint Properly
Before applying the paint, it is important to mix it properly to ensure consistent color and texture throughout your project. Improperly mixed paint can result in inconsistencies and may require additional touch-ups.
Using the right consistency
The consistency of the paint plays a key role in achieving a smooth finish. Different painting techniques and surfaces may require slightly different consistencies. If the paint seems too thick, you can add a small amount of water or a paint conditioner to thin it out. Conversely, if the paint appears too thin, you can add a small amount of paint thinner or adjust the stirring technique.
Stirring thoroughly
To ensure an even distribution of pigments and achieve a consistent color, it is important to stir the paint thoroughly. Use a stir stick or a stirring tool to mix the paint. Start from the bottom of the container and work your way up, ensuring that all the pigments are well-mixed. Avoid vigorous stirring, as it can introduce air bubbles into the paint.
Correcting over-thinned or under-thinned paint
If you accidentally over-thin or under-thin the paint, there are ways to correct it. If the paint is over-thinned, allow it to sit for a while to let the excess moisture evaporate. If the paint is under-thinned, add small amounts of water or a paint conditioner and stir again. It is important to make adjustments gradually to avoid overcompensating.

Applying the Paint Correctly
When it comes to applying the paint, using the right techniques can make a significant difference in the final result. Working in small sections, using long, smooth strokes, and avoiding excessive pressure are key to achieving a professional finish.
Working in small sections
To maintain control and ensure even coverage, it is recommended to work in small sections. Start from one corner or edge and gradually move across the surface. This prevents the paint from drying too quickly before you can blend it properly or avoid creating visible lines when overlapping. Dividing the project into manageable sections also allows you to maintain a steady pace and achieve consistent results.
Using long, smooth strokes
Using long, smooth strokes helps to minimize brush marks and create a seamless finish. Start from one end of the section and glide the brush smoothly across the surface. Avoid stopping in the middle of a stroke, as it can create visible lines. If necessary, slightly overlap each stroke to blend the paint and maintain a uniform appearance.
Avoiding excessive pressure
Applying excessive pressure on the brush can result in uneven application and visible brush marks. Apply gentle and consistent pressure to allow the paint to flow smoothly and evenly. Let the brush do the work and avoid pressing down excessively. If you notice any brush marks, use lighter strokes or a dry brushing technique to minimize their visibility.
Using a Sprayer or Roller
In addition to brushing, using a sprayer or roller can be an alternative method for applying paint. Both techniques offer different advantages and yield unique finishes.
Spraying the paint
Using a sprayer can be an efficient way to apply paint, especially on larger surfaces. It allows for a more uniform coverage and can help achieve a smoother finish. Ensure that you have proper ventilation and follow the manufacturer’s instructions for the specific sprayer you are using. Adjust the spray pattern and pressure as needed to achieve the desired result.
Rolling the paint
Rollers are commonly used for larger areas and can provide quick and consistent coverage. Use a roller with the appropriate nap length for the surface you are painting. Start by applying paint in a “W” pattern and then use vertical and horizontal strokes to evenly distribute the paint. Be cautious not to apply excessive pressure, as it can result in paint splatters or an uneven finish.
Using a Dry Brushing Technique
The dry brushing technique can be employed to achieve a textured or distressed look, especially when working with chalk paint. This technique involves using a dry brush and minimal paint.
Applying paint lightly with a dry brush
Dip the brush lightly into the paint and then remove most of the paint by brushing it off on a paper towel or cloth. The goal is to have very little paint on the brush. Apply the paint in a light, feathery motion, allowing the texture of the brush bristles to create subtle variations and visual interest. This technique is particularly effective for achieving a vintage or aged appearance.
Blending brush strokes
Blending brush strokes is essential when using the dry brushing technique. By slightly overlapping each brush stroke, you can create a more cohesive look and avoid any harsh lines or visible edges. Take your time and work in small sections, gradually building up the desired texture and tone.
Building up layers gradually
To achieve a layered effect, it is recommended to build up the paint gradually with multiple coats. Allow each layer to dry before applying the next one. By layering the paint in this manner, you can create depth and dimension, enhancing the overall visual appeal of your project.
Sanding Between Coats
If you are applying multiple coats of paint, sanding between coats can help achieve a smooth and flawless finish. This step helps to remove any imperfections and provides better adhesion for subsequent coats.
Choosing the right grit
Selecting the right grit sandpaper is crucial when sanding between coats. Generally, a finer grit sandpaper, such as 220-grit or higher, is suitable for sanding between paint coats. Avoid using sandpaper that is too coarse, as it can scratch the previous coat or remove too much paint. The goal is to lightly scuff the surface, not strip away the paint.
Sanding technique
Gently sand the surface using light pressure and even strokes. Sand in the direction of the grain or pattern to avoid creating visible scratches. Pay attention to any rough areas or brush strokes, and sand them until they are smooth and blended with the rest of the surface. Be careful not to oversand, as it can remove too much paint and require additional touch-ups.
Wiping away dust
After sanding, it is important to wipe away any dust or debris created during the process. Use a clean, dry cloth or a tack cloth to ensure the surface is free from particles that may interfere with the next coat of paint. A clean surface ensures better paint adhesion and a more professional-looking finish.
Using a Topcoat
Applying a topcoat is a great way to protect your painted surface, enhance its durability, and achieve a desired sheen. A topcoat adds an extra layer of protection and can help seal in the paint, preventing it from chipping or scratching easily.
The purpose of a topcoat
A topcoat serves several purposes. It provides protection against daily wear and tear, including scratches, stains, and fading. It also adds a sheen or finish that can enhance the overall appearance of the paint. Additionally, a topcoat can make the painted surface easier to clean and maintain in the long run.
Applying a topcoat
Before applying the topcoat, ensure that the painted surface is clean and dry. Follow the manufacturer’s instructions regarding application and drying times. Use a brush or a foam roller to apply the topcoat in long, even strokes. Maintain a consistent pace to avoid creating visible brush or roller marks. Apply thin coats, allowing each coat to dry completely before applying the next one.
Buffing the surface
After the topcoat has dried, you may choose to buff the surface to achieve a smoother and more polished look. Use a fine-grit sandpaper or a buffing pad to gently rub the surface in a circular motion. This process helps to eliminate any minor imperfections and create a silky smooth finish. Be cautious not to oversand or apply excessive pressure, as it may damage the topcoat.
Fixing Brush Strokes After Drying
Even with the best techniques, brush strokes may still be visible after the paint has dried. However, there are methods to rectify this and create a smoother, more uniform finish.
Sanding the surface lightly
If brush strokes are noticeable after the paint has dried, lightly sanding the surface can help minimize their appearance. Use a fine-grit sandpaper, such as 400-grit or higher, and gently sand the area with light pressure. Be cautious not to oversand or remove too much paint. The goal is to create a smooth texture while keeping the integrity of the painted surface intact.
Applying additional paint
Applying additional paint over the areas with visible brush strokes can help conceal them. Use a smaller brush to carefully touch up the affected areas, ensuring that the paint is evenly distributed. Allow the touch-up paint to dry completely before assessing if further attempts are needed. Layering the paint in this manner can help blend the brush strokes and create a more seamless appearance.
Using a brush softener or conditioner
A brush softener or conditioner can aid in softening and blending brush strokes after the paint has dried. Apply a small amount of the softener to the bristles of the brush and lightly brush over the affected areas. This can help smooth out any rigid brush strokes and create a more delicate finish. Be sure to follow the manufacturer’s instructions for the specific product you are using.
By following the proper techniques and taking the necessary steps to fix visible brush strokes, you can achieve a professional-looking finish in your painting projects. Remember to choose the right brush, prepare the surface adequately, mix the paint properly, apply it correctly, and consider alternative methods such as using a sprayer or roller. Sanding between coats, applying a topcoat, and addressing brush strokes after drying are all essential aspects to ensure that your finished project looks flawless and refined. With practice and attention to detail, you can master the art of paint application and achieve outstanding results.