What is the secret to perfectly drying an acrylic pour painting to ensure vibrant results and prevent unwanted flaws? Drying an acrylic pour painting can be as much of an art form as the painting process itself. Mastering this crucial step is essential to achieving a brilliant finish that maintains the vibrancy and intricacy of your artwork. In this article, you’ll gain a comprehensive understanding of the drying process, as well as tips and insights that will elevate your acrylic pour paintings to a professional standard.

Understanding the Basics of Acrylic Pour Painting
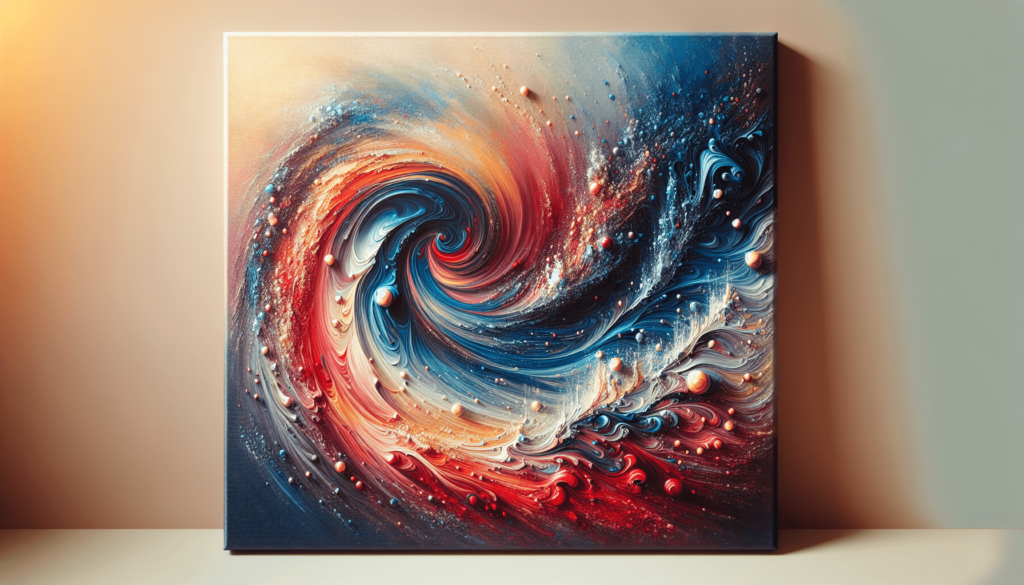
Acrylic pour painting is a fascinating form of abstract art that involves mixing paint with a medium and pouring it onto a canvas to create organic, flowing patterns and designs. The unique aspect of this technique is the randomness and fluidity of each pour, making no two artworks alike. However, despite its appearance as a simple process, maintaining consistency and achieving high-quality results require understanding and control, especially during the drying stage.
Materials Used in Acrylic Pour Painting
Before delving into the drying process, it’s essential to familiarize yourself with the materials typically used in acrylic pour painting. These include:
| Material | Description |
|---|---|
| Acrylic Paint | The primary medium, available in various colors and viscosities. |
| Pouring Medium | Mixed with acrylic paint to increase fluidity without compromising pigment integrity. |
| Silicone Oil (optional) | Added for creating cells and unique effects within the paint. |
| Canvas or Surface | The base on which the painting is performed, could be canvas, wood, or even ceramic panels. |
| Level | Used to ensure the surface is perfectly flat for even drying. |
| Gloves and Apron | Protective clothing to maintain cleanliness. |
| Mixing Cups and Stirrers | Used for preparing paint mixtures. |
Understanding your materials forms the backbone of preparing and executing a successful acrylic pour.
Preparing for the Drying Process
Preparation is a vital precursor to effective drying. Ensuring that you prepare adequately not only affects drying time but also influences the overall appearance of your painting.
Ensuring a Level Surface
A crucial consideration is to ensure that your canvas or surface is on a level plane. An uneven surface can result in pooled paint that distorts your intended design. To address this, using a level before, during, and after your pour is essential.
Managing Environmental Factors
Environmental conditions play a significant role in the drying process. Factors like temperature, humidity, airflow, and dust control are all important. Ensure the room is at a stable temperature, ideally between 65-75°F (18-24°C), and maintain moderate humidity levels. Be aware of airflow; too much can risk accelerating the drying unevenly, while too little might cause prolonged drying.
Preparing the Painting Area
Before beginning your pour, lay out a drop cloth or newspaper to protect surfaces and prepare a covered area where the painting can dry undisturbed. Raise your canvas slightly off the ground using props like painter’s triangles or cup holders, allowing airflow beneath the work.
The Drying Stage
The drying stage is where your artwork begins to set and develop its final characteristics. Proper drying ensures that colors are vivid, the surface is smooth, and neither cracks nor warps are present.
Initial Drying Phase
The initial drying phase occurs immediately after the pour. At this stage, it’s critical to leave the painting undisturbed to prevent any unintentional alterations to the design. Depending on factors such as paint thickness and environmental conditions, this can take several hours to a day. During this phase, a protective cover over the painting can help in preventing dust or debris from settling on the wet surface.
Full Curing Time
Acrylic paints are water-based; thus, their drying and curing involve the evaporation of water. Although the upper layer might feel dry to the touch after 48-72 hours, the full curing process typically spans 4-7 days, during which time the paint hardens and adheres fully to the canvas. During this period, avoid any attempts at moving or further varnishing your artwork.
Troubleshooting Common Drying Problems
It’s normal to encounter issues while drying your acrylic pour painting. Understanding common problems and their solutions is vital for long-term success.
Cracking
Cracking occurs when the top layer of the paint dries faster than the layer beneath it. This can happen due to high temperatures, excessive paint thickness, or poor quality pouring medium. To solve this, ensure an even paint layer across the canvas and maintain a stable temperature during drying.
Bubbling
Bubbles might appear if air gets trapped under the paint during the mixing process or if the drying process occurs too quickly. Gently torching the surface right after pouring can release air bubbles. If persistent, adjust the pouring medium’s viscosity and mixing technique.
Uneven Surface or Warp
An uneven surface might result if the paint shifts during drying due to an unlevel canvas or if the paint mixture was improperly balanced. Resolving this requires careful planning at the preparation stage and vigilant monitoring to ensure stability.

Final Steps and Curing
Once your acrylic pour painting has dried, consider additional steps to ensure its longevity and visual appeal.
Varnishing
Varnishing your finished painting provides a level of protection against dust and UV rays and can enhance the colors. Use a varnish specifically designed for acrylic paintings, and choose between glossy, satin, or matte finishes depending on your preference.
Final Curing Display
After the full curing and optional varnishing, your acrylic pour painting is ready for display. Ensure the display area has controlled environmental conditions to preserve the painting for years to come.
Conclusion
Achieving the perfect dry for your acrylic pour painting involves understanding and controlling several key variables — from initial preparation to the drying environment and beyond. Implement these best practices to not only dry your paintings efficiently but to do so in a manner that enhances their beauty and durability. Mastery of the drying process is where your patience and attention to detail will truly pay off, ensuring that every pour can be appreciated at its best potential.


