Have you ever wanted to create striking marbled designs on nails, paper, or ceramics right at home?
How To Do Water Marbling At Home (Step-by-Step Tutorial)
This step-by-step tutorial guides you through water marbling techniques you can perform in your kitchen or a small dedicated area. You will learn the materials, preparation, basic steps, pattern variations, troubleshooting, and finishing methods so you achieve consistent results.
What is water marbling?
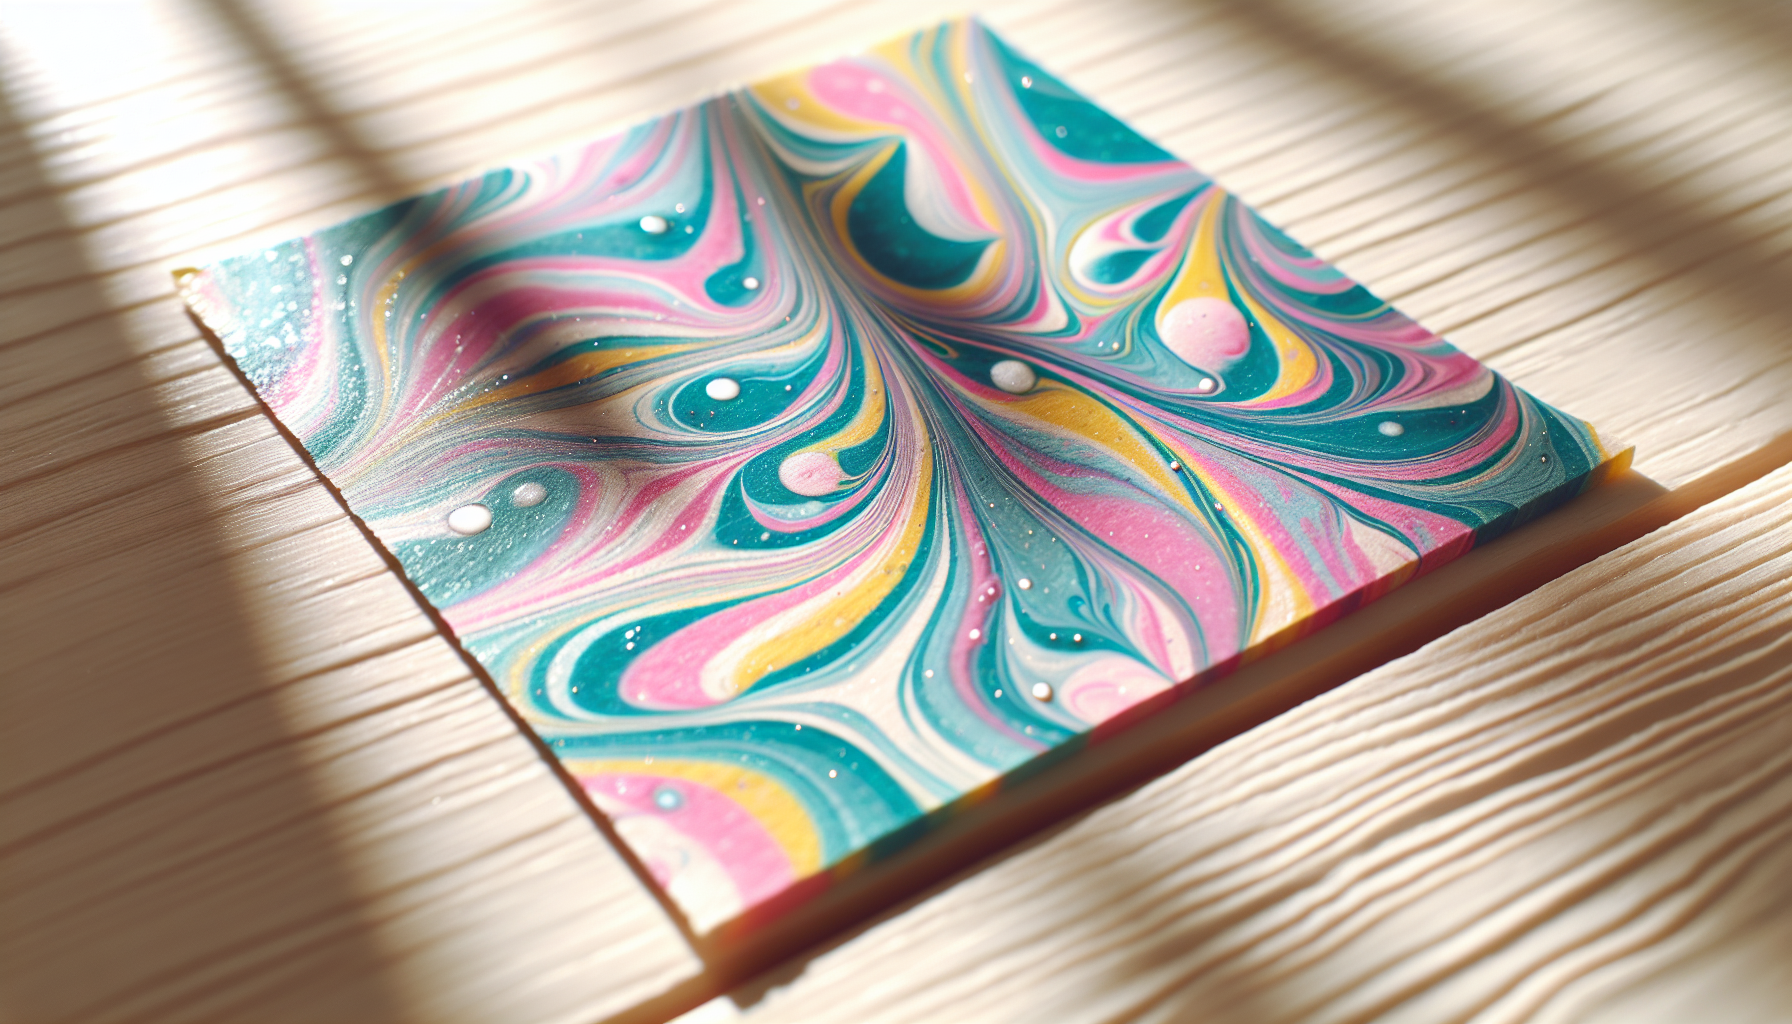
Water marbling is a surface-decoration technique that uses floating paints or nail polishes on water to create intricate, swirling, and organic patterns. You will transfer these patterns onto a substrate—most commonly nail tips, paper, or ceramics—by gently dipping the object through the paint film.
Why try water marbling at home?
You can produce professional-looking, custom designs with relatively inexpensive materials and minimal equipment. The learning curve is modest, and with practice you will gain control over pattern complexity and color interactions. This method is also fast once you are comfortable with the basics.
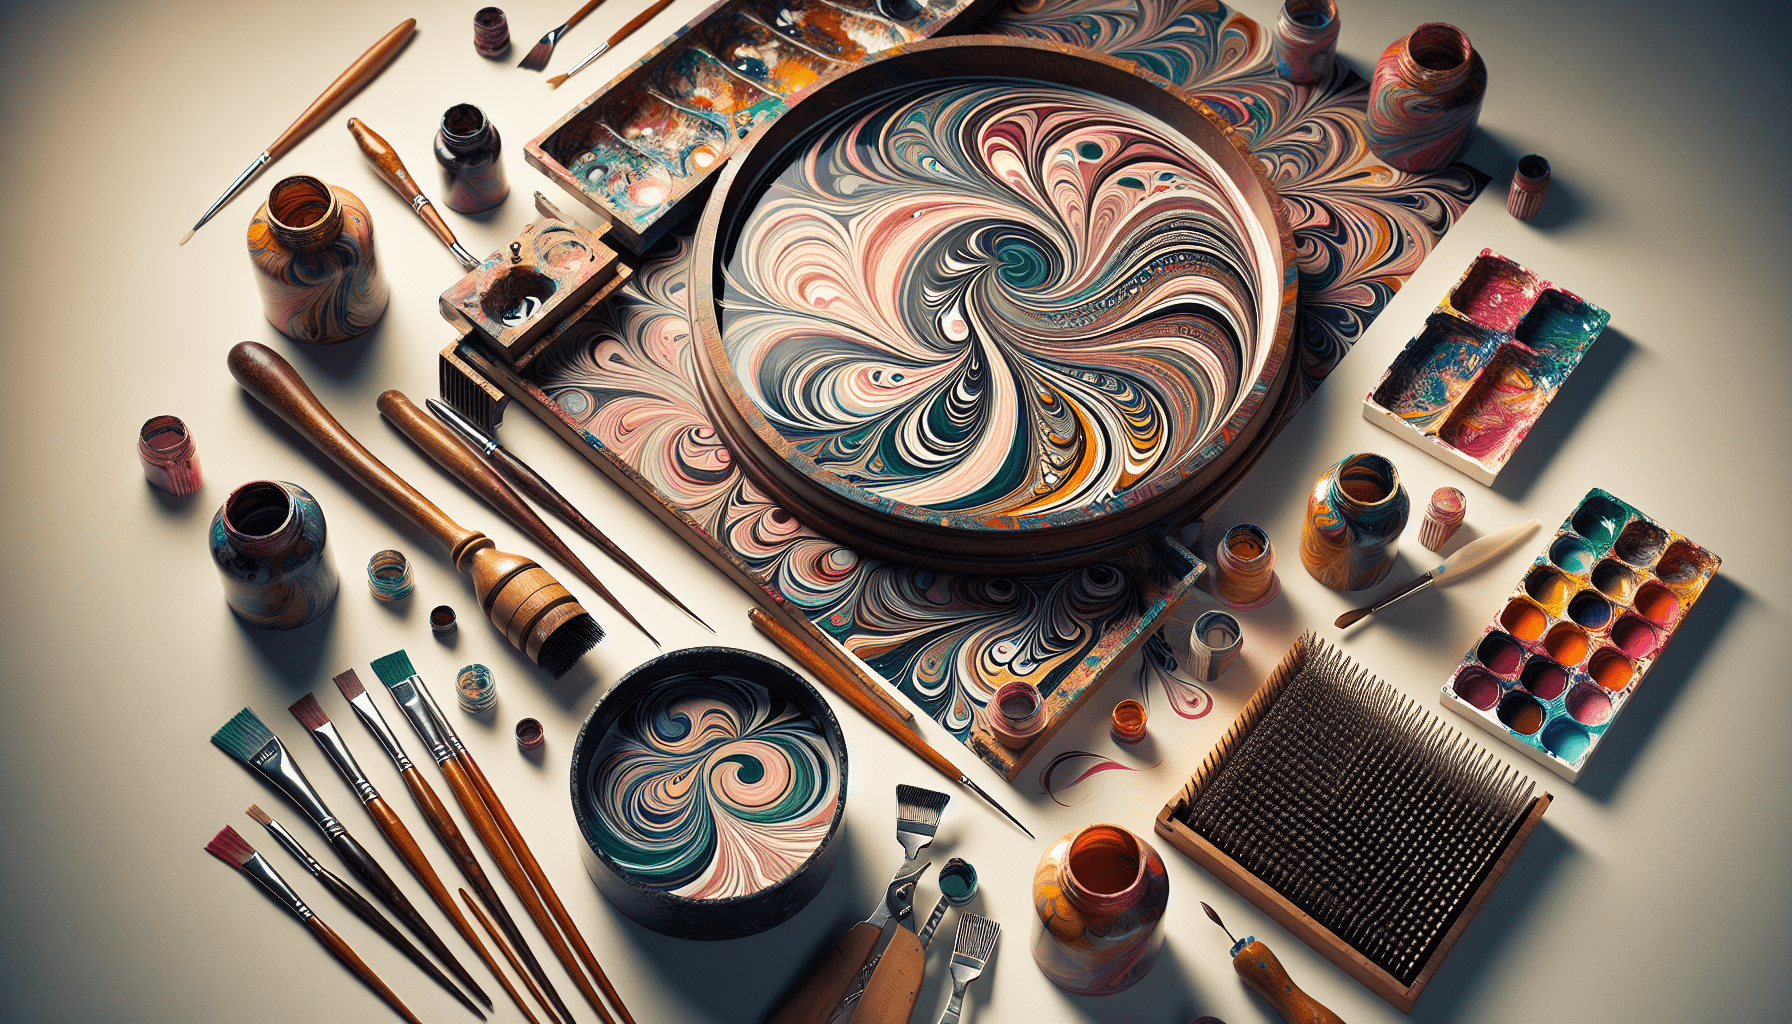
Materials and tools you will need
Below is a table that lists essential and optional supplies. The table helps you compare items and choose what fits your needs and budget.
| Category | Essential items | Recommended optional items |
|---|---|---|
| Paints/Polishes | Water-based acrylic paints or fast-drying nail polishes (thin consistency) | Special marbling paints or water-mixable oil paints |
| Container | Shallow-wide, disposable glass or plastic tray (room-temperature water) | Disposable plastic cups for color drops |
| Stirring tools | Wooden toothpicks or thin metal needles | Fine-detail marbling stylus or dotting tools |
| Base coating | White or neutral base polish or gesso (for paper/ceramic) | Quick-dry base coat for nails |
| Sealant/Topcoat | Clear topcoat (nail lacquer or acrylic varnish) | UV gel topcoat (for nails) |
| Cleanup | Rubbing alcohol or acetone (nail-safe) and paper towels | Latex tape or petroleum jelly for skin protection |
| Workspace | Protective surface covering (paper towels, craft mat) | Small fan for gentle airflow control |
Choosing paints and polishes
Selecting the right paint or polish significantly affects your outcome. You should pick formulas that spread on water rather than sink or bead up.
- For nails, thin, quick-spread nail polishes work best because they float and expand.
- For paper and ceramics, water-based acrylics are versatile and can be thinned slightly with a little water for better spreading.
- Avoid heavy or gel-like paints; they tend to clump or sink.
Color selection matters too. You will get more striking results with high-contrast combinations and a mix of opaque and translucent colors. Start with a palette of three to five colors and expand as you gain confidence.
Preparing your workspace
Set up a clean, draft-free area with good lighting. You should cover the surface with disposable paper or a craft mat to protect it from spills.
- Place all materials within easy reach.
- Use a tray larger than the object you will dip to avoid accidental contact with the sides.
- Keep a bowl of warm water and paper towels for quick cleanup.
Good organization reduces mistakes and speeds up the process.
")
Preparing the substrate
Different substrates require different prep steps. Proper preparation ensures paint adherence and a smooth transfer.
- Nails: Clean and lightly buff the nail surface, push back cuticles, and apply a base coat. A white or light neutral base enhances color contrast.
- Paper: Use a smooth, heavyweight paper and pre-apply a thin layer of gesso or a quick-drying acrylic base for better adhesion.
- Ceramics and glass: Clean thoroughly with isopropyl alcohol, sand if necessary to increase tooth, and apply an appropriate primer or base coat.
You should allow the base coat to dry partially until it is tack-free but not fully cured, for best adhesion in some cases—especially with nails.
How water marbling works: basic science
The floating and spreading behavior of paints on water is influenced by surface tension and viscosity. You will manipulate these properties when you add drops of paint and use tools to pull patterns.
- Paint with lower surface tension spreads more readily.
- Small drops create ripples that expand outward; successive drops push earlier drops into rings.
- A fine tool can drag through the paint film to create feathered or comb-like patterns.
Understanding these principles helps you troubleshoot when drops don’t spread or patterns break apart.
Step-by-step basic water marbling technique
You will follow a systematic sequence from preparing the water to transferring the pattern. Each step is brief but precise.
-
Fill the tray with room-temperature, filtered water to a depth of about 1–1.5 inches (2.5–3.8 cm). Avoid very cold or hot water.
You want a calm surface with minimal movement. -
Organize your polish or paint drops in order of use.
Have the bottle or dropper close at hand so you can work quickly before the film starts to settle. -
Test a single drop on the water surface.
If it spreads into a thin ring, the product is suitable. If it beads up, try a different polish or thin the paint slightly. -
Create a bullseye by dropping alternating colors into the center.
Drop colors one at a time from about 1–2 cm above the surface. Each new drop should land in the center of the previous ring. -
Use a toothpick or stylus to draw a pattern.
Drag from the center outward or from edges toward the center to produce spokes, feathering, or wave patterns. -
Adjust pattern density by adding more drops or spacing them further apart.
More drops make denser rings; fewer drops keep the design airy. -
Prepare the substrate for dipping.
For nails, hold the finger at a slight angle; for paper or ceramics, use a slow, controlled motion. -
Dip the substrate through the paint film and then lift straight up.
For nails, dip so that the nail surface makes contact at a shallow angle; for flat objects, lay them gently onto the film and lift. -
Clean the surface before repeating.
Use a toothpick or cotton swab dipped in acetone or water to remove remaining paint film from the tray before creating a new pattern. -
Allow the marbled piece to dry thoroughly before sealing.
For nails, finish with a topcoat; for paper and ceramics, choose an appropriate varnish or kiln firing if applicable.
Variations by substrate
Different substrates require different handling and finishing. You should adapt your technique for the medium to improve durability and appearance.
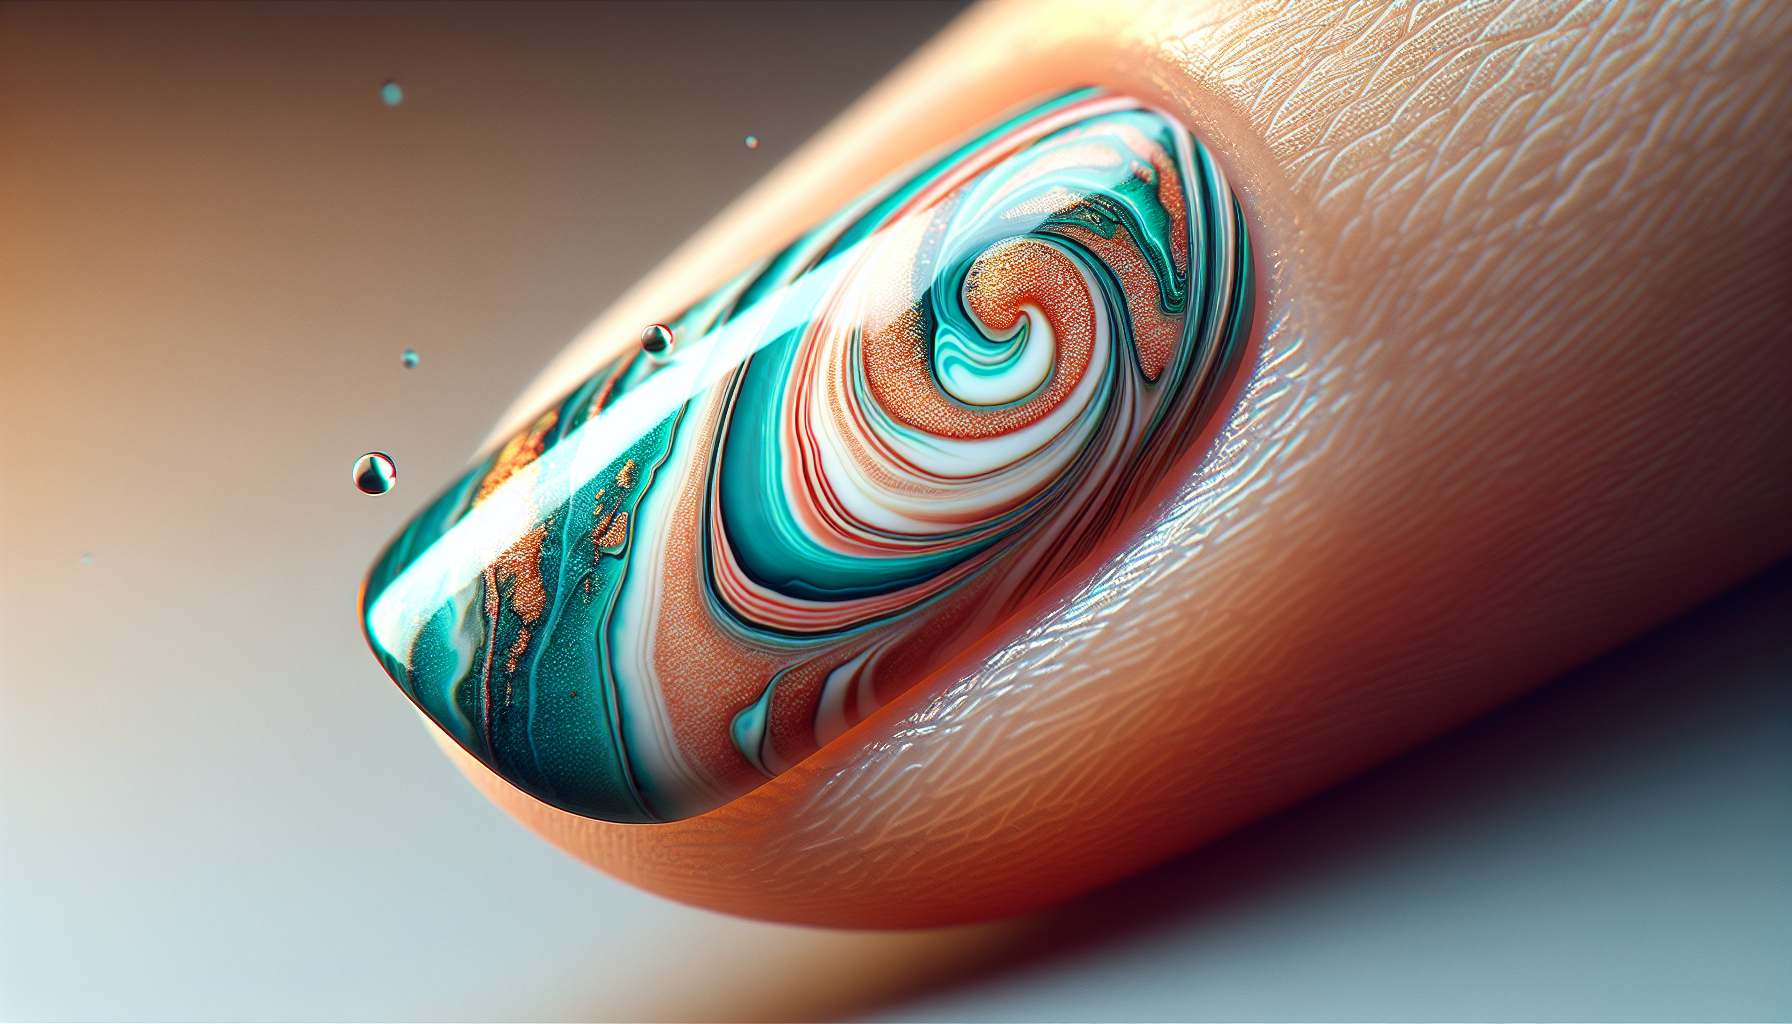
Nail marbling
Nail marbling requires speed and a steady hand. Use a white or light base for maximum contrast.
- Use fast-spreading polishes and do one nail at a time.
- Protect surrounding skin with latex barrier or petroleum jelly to simplify cleanup.
- Seal each nail with a topcoat as soon as the polish is dry to the touch.
Paper marbling
Paper allows larger, more detailed patterns but requires a thicker paint film for crisp transfer.
- Consider using a paper-sizing agent if you plan to make archival pieces.
- Lay the paper gently on the paint film; avoid shifting while lifting.
- After drying, press between flat boards to prevent warping.
Ceramics and glass
Marbling on ceramics and glass often needs high-temperature fixation or specific varnishes.
- Use paints formulated to adhere to nonporous surfaces.
- After marbling and drying, follow the paint manufacturer’s instructions for sealing or firing.
- Handle with care to avoid smudging before curing.
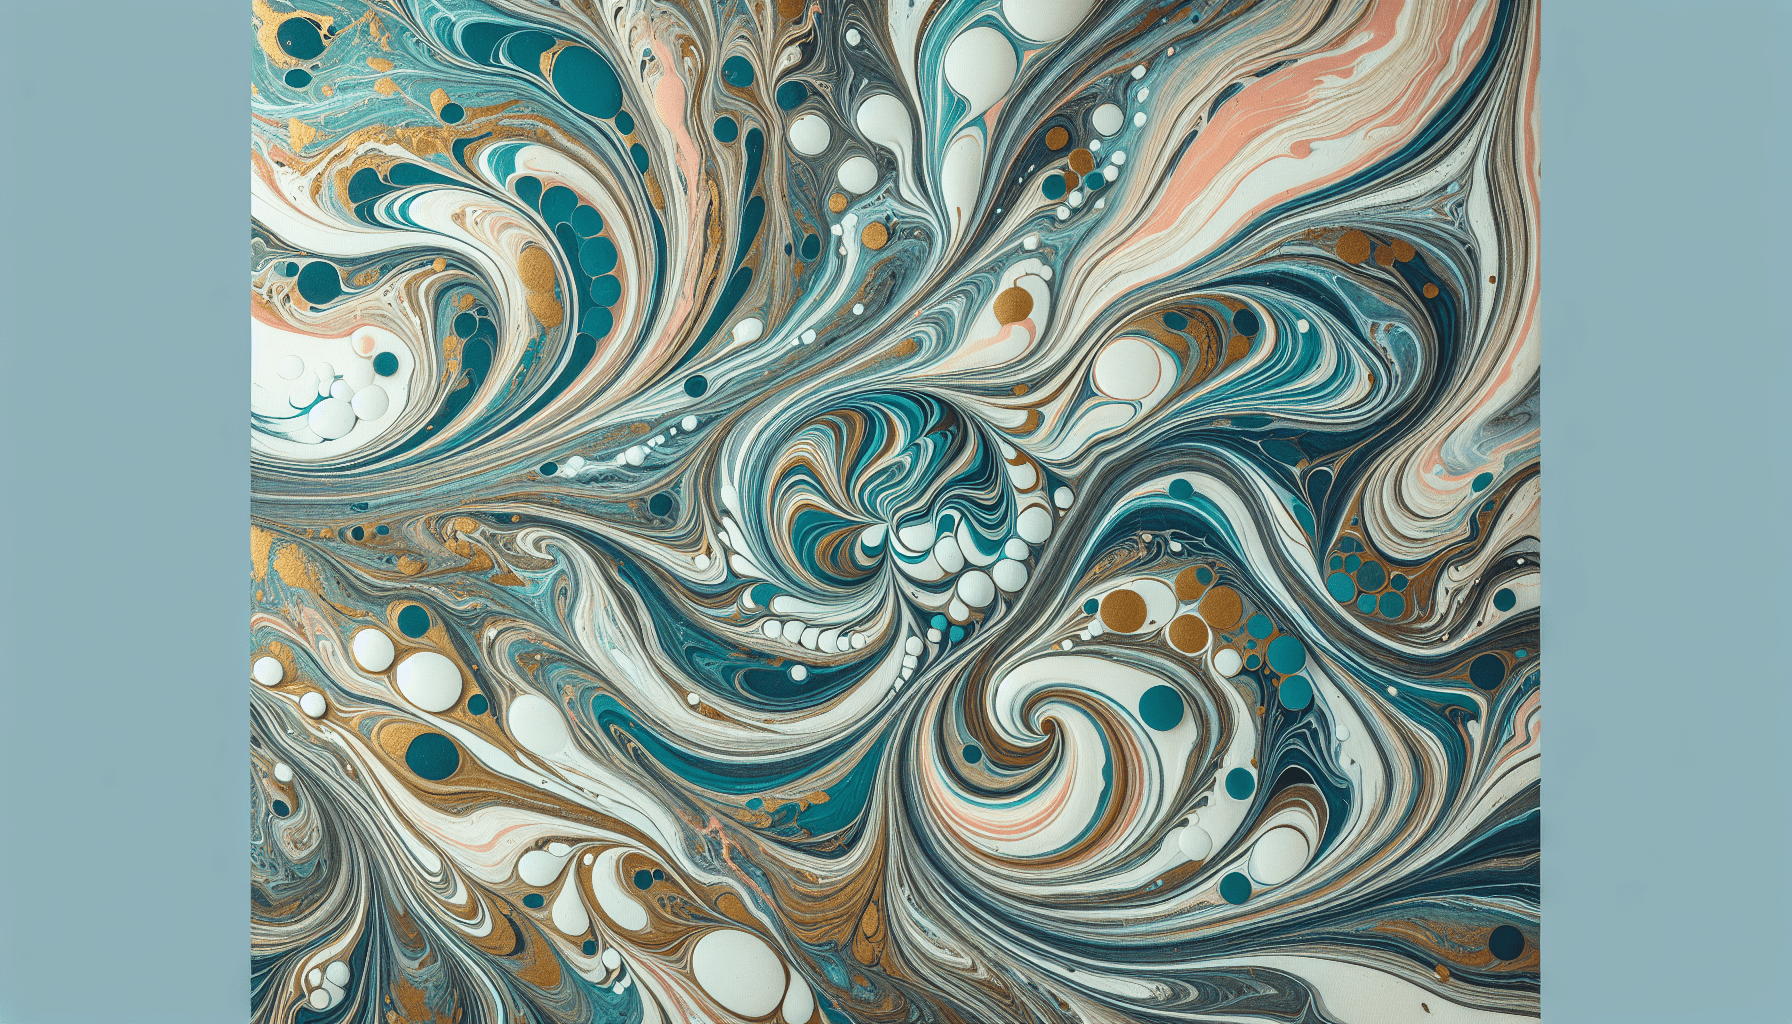
Pattern techniques
You will use several basic manipulations to create a wide range of patterns. Practice each to find the motion that suits you.
Bullseye
Create concentric rings by dropping paint into the same center point repeatedly. This is the foundation for many patterns.
- Use high-contrast colors for visual impact.
- The bullseye provides a base for dragging tools to create more complex motifs.
Spiderweb or spiral
After forming rings, use a stylus to draw from the center outward or around the rings to produce a web or spiral effect.
- Draw slowly and maintain consistent pressure to create even lines.
- For spiral effects, gently rotate the stylus while moving outward.
Stone or peacock
Form multiple small rings and then drag a stylus partially through each ring to mimic stone or feathers.
- Work quickly to maintain distinct ring edges.
- Alternate directions of your strokes to increase complexity.
Negative-space and masking
Leave intentional gaps by preventing paint from adhering to areas you want to remain base color.
- Use masking tape or temporary adhesives to block areas.
- Remove the mask carefully after sealing or once the paint has cured sufficiently.
Advanced tips for consistent results
Consistency comes from controlled variables and repeated practice. You should focus on these practical adjustments.
- Maintain consistent drop height between 1–2 cm to achieve uniform rings.
- Keep room temperature stable and avoid drafts that will disturb the paint film.
- Replace water regularly to prevent contamination and uneven spreading.
- Thin paints slightly with manufacturer-approved thinner when drops do not spread.
")
Troubleshooting table
Use this table to quickly diagnose common problems and implement fixes.
| Problem | Probable cause | Solution |
|---|---|---|
| Paint beads and doesn’t spread | High viscosity or incompatible formula | Use a thinner polish, choose water-based acrylics, or test a different brand |
| Rings collapse or smear | Too much room movement or incorrect dipping motion | Eliminate drafts, stabilize your hand, dip slowly and lift straight up |
| Colors mix into mud | Paint layers too wet or too many drops | Reduce drop count, let layers stabilize briefly before adding more |
| Pattern fragments when dipping | Surface tension disrupted by oils or debris | Clean hands/substrate, use fresh water, wipe container edges |
| Uneven transfer | Substrate not positioned properly or moved during lift | Lay flat and lift steadily; maintain consistent angle for nails |
| Poor adhesion or chipping | Inadequate base or topcoat | Apply proper primers/base coats and appropriate sealant |
Common mistakes and how you will fix them
Recognizing frequent errors helps you avoid wasted time and materials. You will correct these issues with small changes.
- Mistake: Working too slowly. Fix: Prepare all drops and tools before starting and work one item at a time.
- Mistake: Using very old polish. Fix: Use fresh, liquid-consistent polishes or thin older ones with approved thinner.
- Mistake: Not protecting skin during nail marbling. Fix: Apply barrier latex or petroleum jelly around the nail and clean immediately.
- Mistake: Overcrowding the tray. Fix: Work in smaller batches to maintain control and allow fresh water between attempts.
Drying, sealing, and finishing
The right finish increases durability and enhances color vibrancy. You will choose a finish based on substrate and intended use.
- Nails: Apply a high-quality clear topcoat or cured gel topcoat for longevity and shine.
- Paper: Use a spray varnish or archival acrylic varnish to protect the design.
- Ceramics: Follow paint manufacturer instructions—some require kiln firing for permanence, others cure with a specific topcoat.
Allow sufficient drying time—hours for simple nail lacquer, longer for thick acrylics or ceramic paints—before handling.
Cleanup and disposal
Proper cleanup keeps your workspace safe and prolongs material usability. You should follow local disposal regulations for paint products.
- Remove excess paint from the water surface with a toothpick and dispose of the water according to local guidelines if solvents are involved.
- Clean non-disposable tools with appropriate solvents; rinse acrylic-friendly tools with soap and water.
- Dispose of single-use containers and paper coverings in regular trash unless they are solvent-saturated—then follow hazardous waste disposal rules.
Safety and ventilation
You will work with solvents and fumes, so safety is important. Adequate ventilation and protective equipment reduce your exposure.
- Work in a well-ventilated area or use a small fan to move fumes away from you without creating drafts over the tray.
- Wear gloves if you plan repeated work to protect skin from acetone and other solvents.
- Keep materials away from children and pets. Store flammable substances away from heat sources.
Practice exercises to build skill
Practice specific motions to improve control and create predictable patterns. You should allocate short, focused sessions to develop muscle memory.
- Exercise 1: Create uniform bullseyes with three colors. Aim for consistent ring thickness.
- Exercise 2: Practice radial pulling—drag from center outward to form spokes.
- Exercise 3: Execute five successive marbling attempts, noting what changed each time and adjusting drop height or timing.
Document your results in a simple notebook to track which combinations and motions work best.
Troubleshooting and experimentation log (table)
Keeping a short log will accelerate your learning. Use the template below for each session.
| Date | Paints used | Water temp | Pattern attempted | Problem encountered | Adjustment for next time |
|---|---|---|---|---|---|
| Example | White/Black/Gold | 21°C | Spiderweb | Black sank slightly | Use faster-spreading black or thin slightly |
Creative applications and monetization
Once you have consistent results, you can apply water marbling to products and services. You should consider quality control and finishing to make items saleable.
- Customized nail services for clients with single-color accelerants or gel topcoat finishing.
- Handmade stationery or gift items marbled on paper and sealed for longevity.
- Ceramic or glassware with professional-grade sealants or firing for durability.
Price your work to include material costs, prep time, and the practice time you invested.
Frequently asked questions
Anticipating typical questions saves you time when problems arise. Here are concise answers to common concerns.
- How long does the paint film stay workable? Usually a few minutes; it depends on paint and room conditions.
- Can you reuse water? It is best to replace water after 3–4 attempts or when it becomes contaminated.
- What base color should you use? White or a light neutral base often yields the most vibrant contrasts.
- Can you combine nail polish and acrylic paint? You can, but test first. Compatibility varies and can affect spreading.
Final tips for consistent, professional results
Apply these final suggestions to elevate your work from experimental to reliable.
- Standardize your setup—same container, same water depth, same drop height.
- Maintain a small kit of preferred polishes or paints that you know behave well.
- Photograph successful results and annotate the settings to replicate them later.
- Start simple and gradually add complexity—complex patterns require more precise timing and motion control.
Conclusion
You now have a complete guide to performing water marbling at home, from materials and setup to advanced patterns and troubleshooting. With organized practice and attention to variables—paint viscosity, water surface quality, and dipping motion—you will produce consistent, high-quality marbled designs. Apply the techniques to nails, paper, and ceramics, and refine your process through careful logging and targeted exercises.