Have you ever wondered how to achieve the stunning, fluid patterns of marbling using oil paints? This question leads to an exploration of a captivating art form that combines both the unpredictable movement of liquid with the deliberate designs of the artist. Through the centuries, marbling has held a mystique for those who appreciate its organic and unique aesthetics, not only for its beauty but also for the depth and skill required to execute it proficiently.
This comprehensive guide will offer insights into the process of marbling with oil paints, helping you understand the nuances, materials, and techniques necessary to produce your own marbled artwork. Whether you are a beginner or an experienced artist exploring new techniques, mastering the art of marbling with oil paints can add a new dimension to your creations.
Understanding Marbling
Marbling is the art of creating colorful patterns by floating pigments on the surface of a liquid and then transferring these designs onto a substrate, such as paper or fabric. This ancient technique has been used across different cultures, most notably in Turkey, where it is known as Ebru. Understanding its history and variations enhances your appreciation and capability for creating marbled artworks.
Origins and History
Marbling can trace its origins back to the East, with varied techniques found in Japanese and Turkish cultures. This technique spread to Europe, where it was refined and ultimately appreciated for its intricate and beautiful patterns. Through historical context, we learn how marbling evolved into a decorative art form cherished in bookbinding, stationery, and textiles.
The Science Behind Marbling
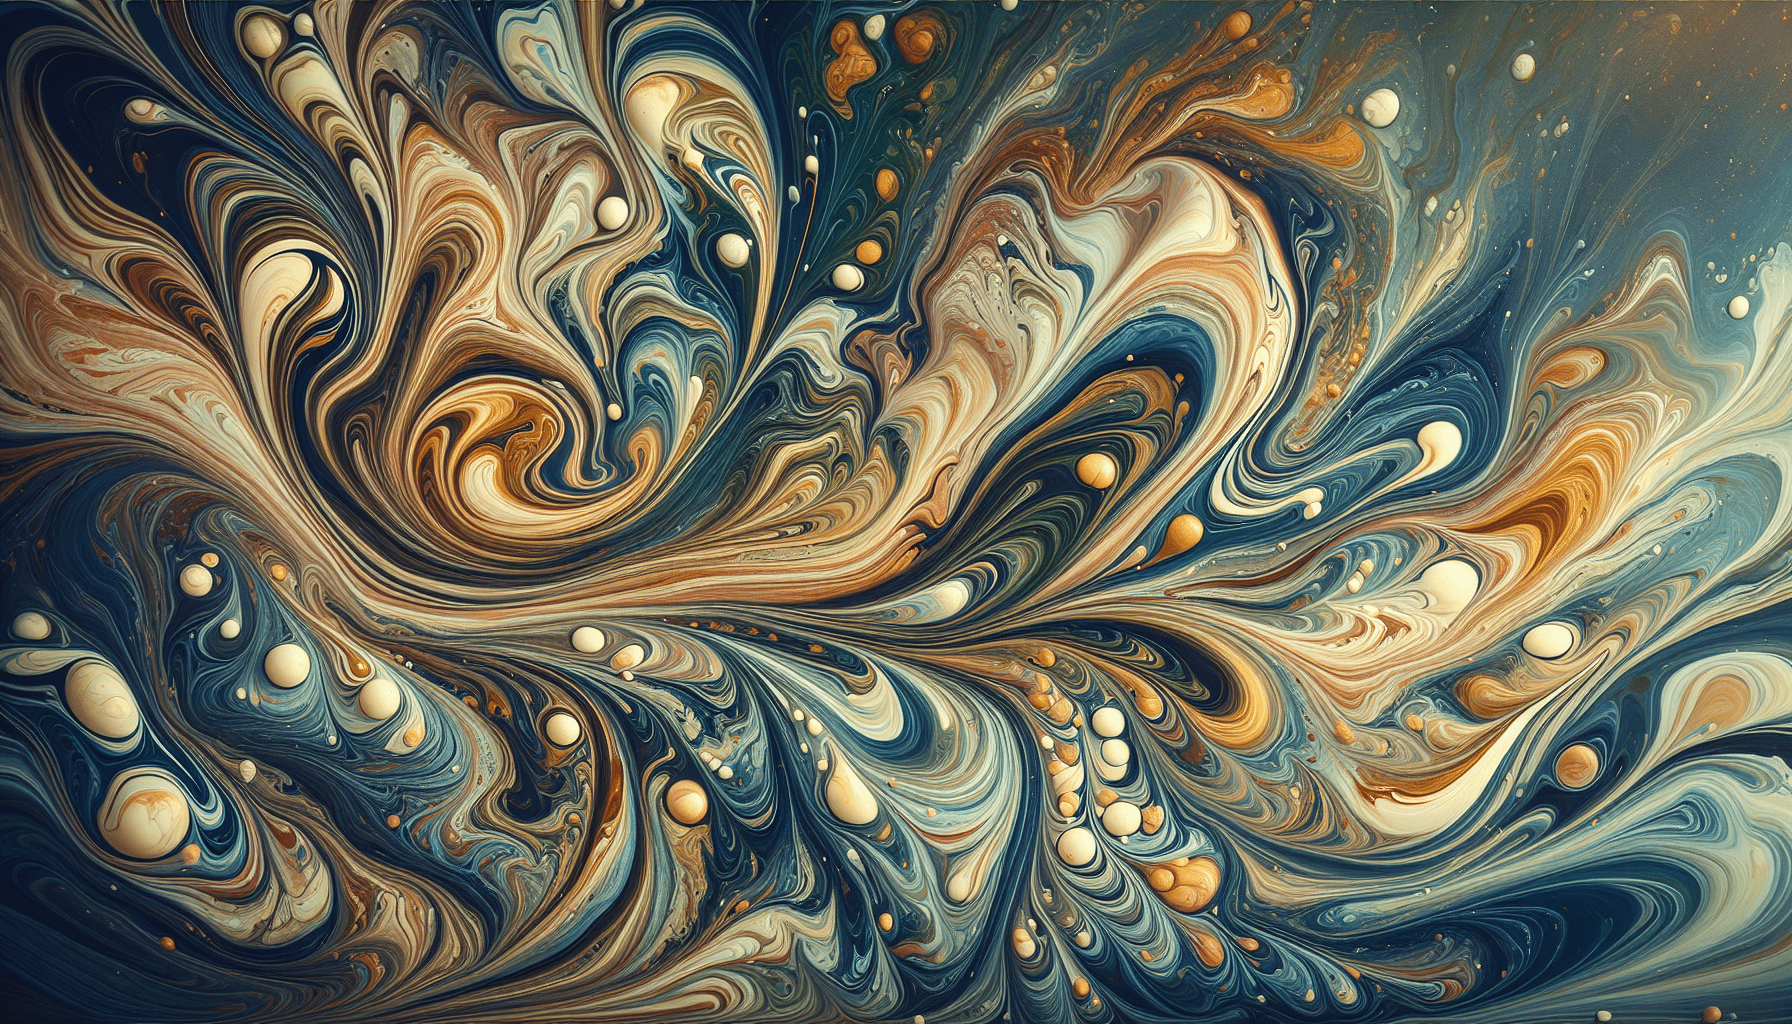
The art of marbling relies on the delicate balance of fluid dynamics and a series of chemical interactions. When oil paint is dropped on the surface of a thicker liquid, it floats due to its difference in density. Surface tension plays a vital role in forming patterns as the paint expands across the medium.
Materials Required for Marbling
Gathering all necessary materials will set you up for success in marbling. The quality and type of materials directly impact the results, so it is crucial to understand their roles and interactions.
Paints and Inks
The primary agent in marbling is the paint or ink. In oil marbling, selecting the right type of oil paint is crucial. You will want paints that are highly pigmented but thin enough to float and spread on the water surface.
- Oil Paints: Choose professional-grade oil paints for consistent and vibrant results.
- Additives: You may need to add thinners to modify the viscosity of your paints to suit marbling.
| Material | Purpose |
|---|---|
| Oil Paints | Provides color and forms the base of the designs |
| Paint Thinners | Adjust the consistency of the oil paints |
Marbling Medium
You need a solution that acts as a base for your pigments, allowing them to float and form designs. This is often a thickened aqueous solution.
- Carrageenan or Methyl Cellulose: These substances dissolve in water to create the marbling medium, providing the necessary density for floating pigments.
Tools and Equipment
Ensure you have a well-organized workspace with all essential tools available:
- Marbling Tray: A container that holds your medium.
- Brushes and Droppers: For applying paint onto the surface of your medium.
- Combs and Sticks: Manipulating patterns requires careful tools that allow subtle adjustments.

Preparing Your Work Area
Creating a conducive environment is pivotal in facilitating the marbling process. A tidy, organized work area helps minimize mistakes and makes it easier to achieve desired effects.
Selecting a Workspace
Choose a workspace that offers ample space, is well-lit, and has good ventilation. Oil paints often release fumes, so airflow is vital.
Setting Up Your Marbling Area
Place your marbling tray securely and ensure all materials are within easy reach. Protect surfaces with plastic sheets or newspapers to avoid staining and damage.
Safety Considerations
Safety is paramount when working with oil paints and marbling mediums. Always wear gloves and a mask, especially in a closed environment. Ensure that your workspace is child-proof if necessary.
The Marbling Process
Marbling is a systematic process, each step critical in achieving the perfect balance between chaos and control. By following these stages, you can create beautiful marbled designs with oil paints.
Preparing Your Marbling Medium
Mix your chosen thickening agent (such as carrageenan or methyl cellulose) with water according to the instructions. Let it rest until it reaches the desired consistency.
Mixing Your Paints
Test your paints by mixing in small amounts of thinner to adjust their consistency. They should be fluid enough to spread without sinking, yet thick enough to retain vibrant color.
Creating Your Design
With your medium ready and paints adjusted, begin by dropping colors gently onto the marbling surface. Use tools such as combs or sticks to manipulate the spots and create intricate patterns.
Transferring the Marble Design
Place your substrate carefully onto the surface of the marbling medium. Allow it to settle momentarily before lifting gently to transfer the design. Dry the artwork in a dust-free environment.

Techniques and Tips for Effective Marbling
While marbling can seem straightforward, mastering it involves specific techniques and tips to improve the quality and consistency of your marbled patterns.
Achieving Balanced Colors
To avoid muddiness and ensure distinct patterns, use paints that complement each other. Balance light and dark shades to create depth in your design.
Developing Unique Patterns
Experimentation is the key to developing unique marbling patterns. Play with various tools and techniques, such as using different comb sizes, to discover effects that suit your style.
Troubleshooting Common Problems
Marbling can present challenges. If your colors sink, they may be too heavy or the medium too thin. Adjust accordingly until the paints spread smoothly across the surface.
Creative Applications of Marbling
Marbling’s versatility lends itself to numerous creative applications, enhancing both form and function in art and everyday items.
Marbling on Different Surfaces
Explore marbling on various substrates such as paper, fabric, and even wood. Each surface reacts differently, offering unique textures and visual effects.
Marbling in Interior Design
Incorporate marbled designs into interior decorations and accessories like lampshades and textiles for an elegant, personalized touch.
Maintaining and Preserving Your Artwork
Once your masterpiece is complete, proper care will ensure it remains vibrant and intact for years to come.
Protection and Finishing
Seal the artwork with a clear varnish or fixative to protect it from dust and environmental damages. Ensure the sealer is compatible with oil-based paints.
Display and Storage
Store marbled pieces flat and away from direct sunlight to prevent fading. Framing marbled art can further protect and enhance its beauty.
Conclusion
Embarking on the journey of marbling with oil paints is an exploration of color, chemistry, and creativity. With an understanding of the materials, process, and techniques, you can produce stunning marbled works that express your artistic vision. Whether for personal satisfaction or to decorate your home, mastering marbling can bring an exquisite touch of individuality and elegance to your artistic endeavors. Through continuous practice, you will refine your skills and enjoy the endless possibilities this timeless art form offers.

