Have you ever admired the intricate and exquisite designs of marbled nails and wondered how you could achieve this effect yourself? Marbling on nails is an art form that combines creativity with technique, allowing you to create mesmerizing patterns that resemble luxurious marble surfaces. Whether you’re a professional nail artist looking to expand your skills or a nail enthusiast eager to try something new, mastering the art of marbling can elevate your nail game to a whole new level.

Understanding Nail Marbling
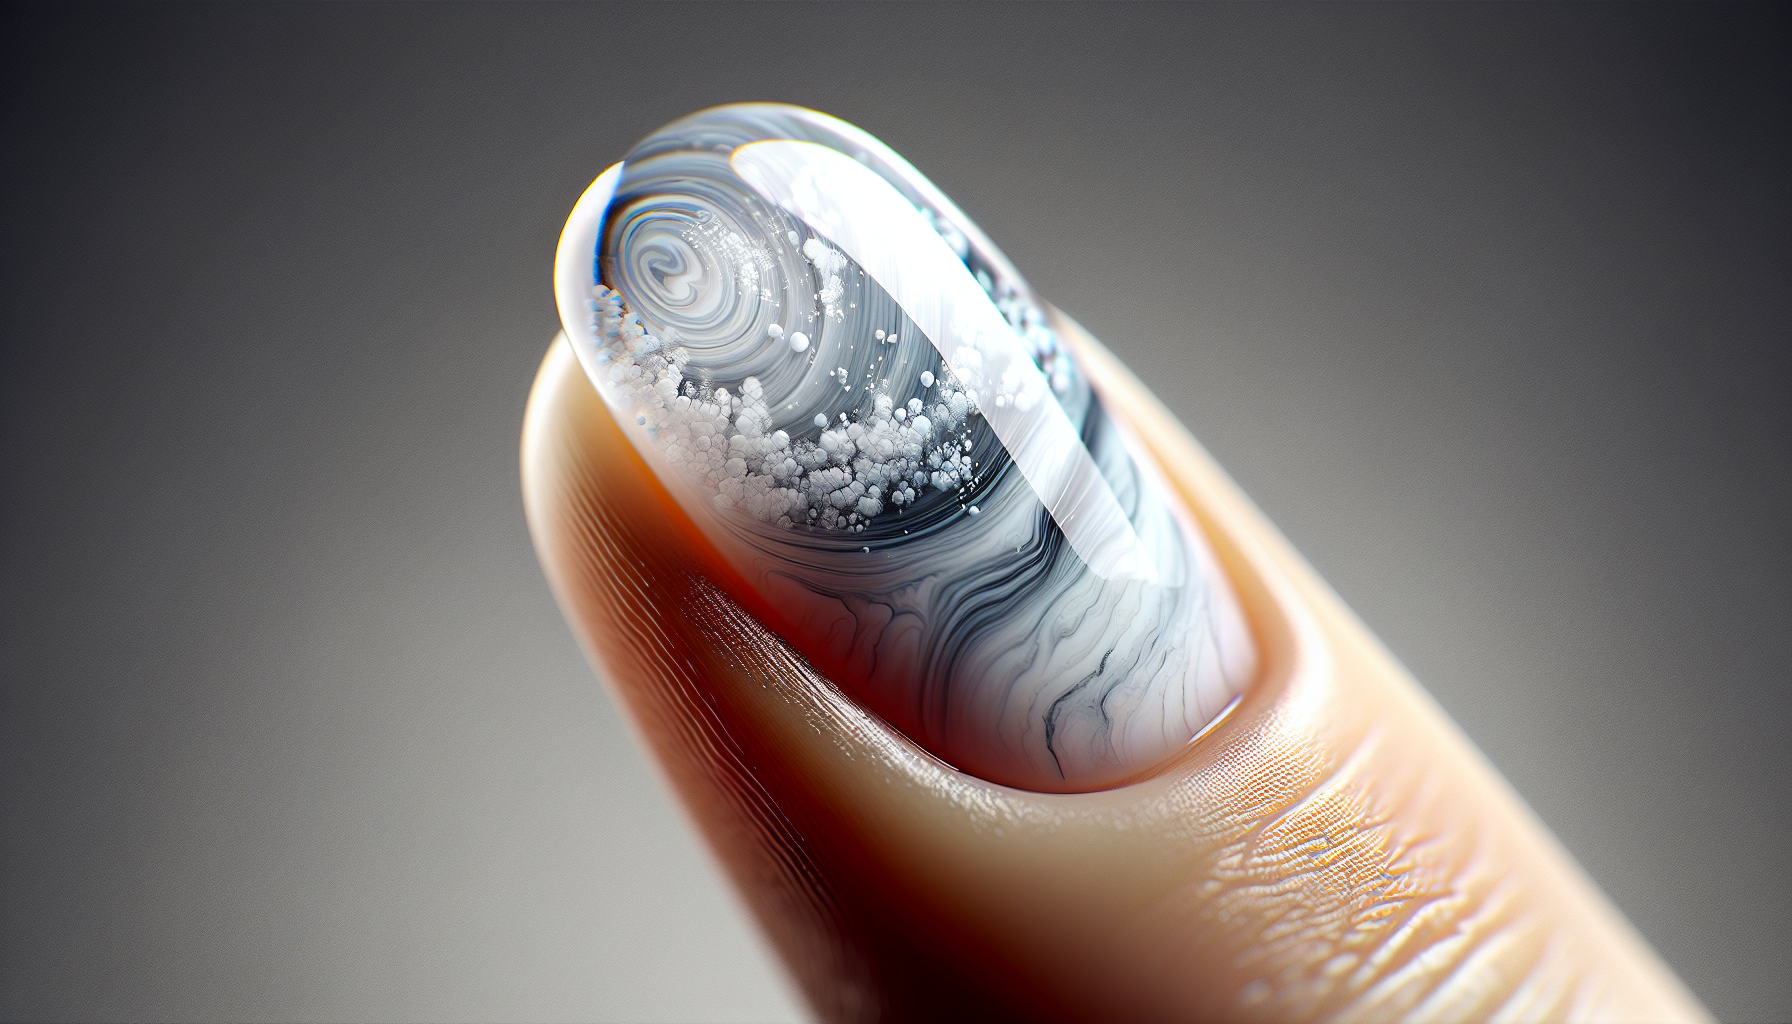
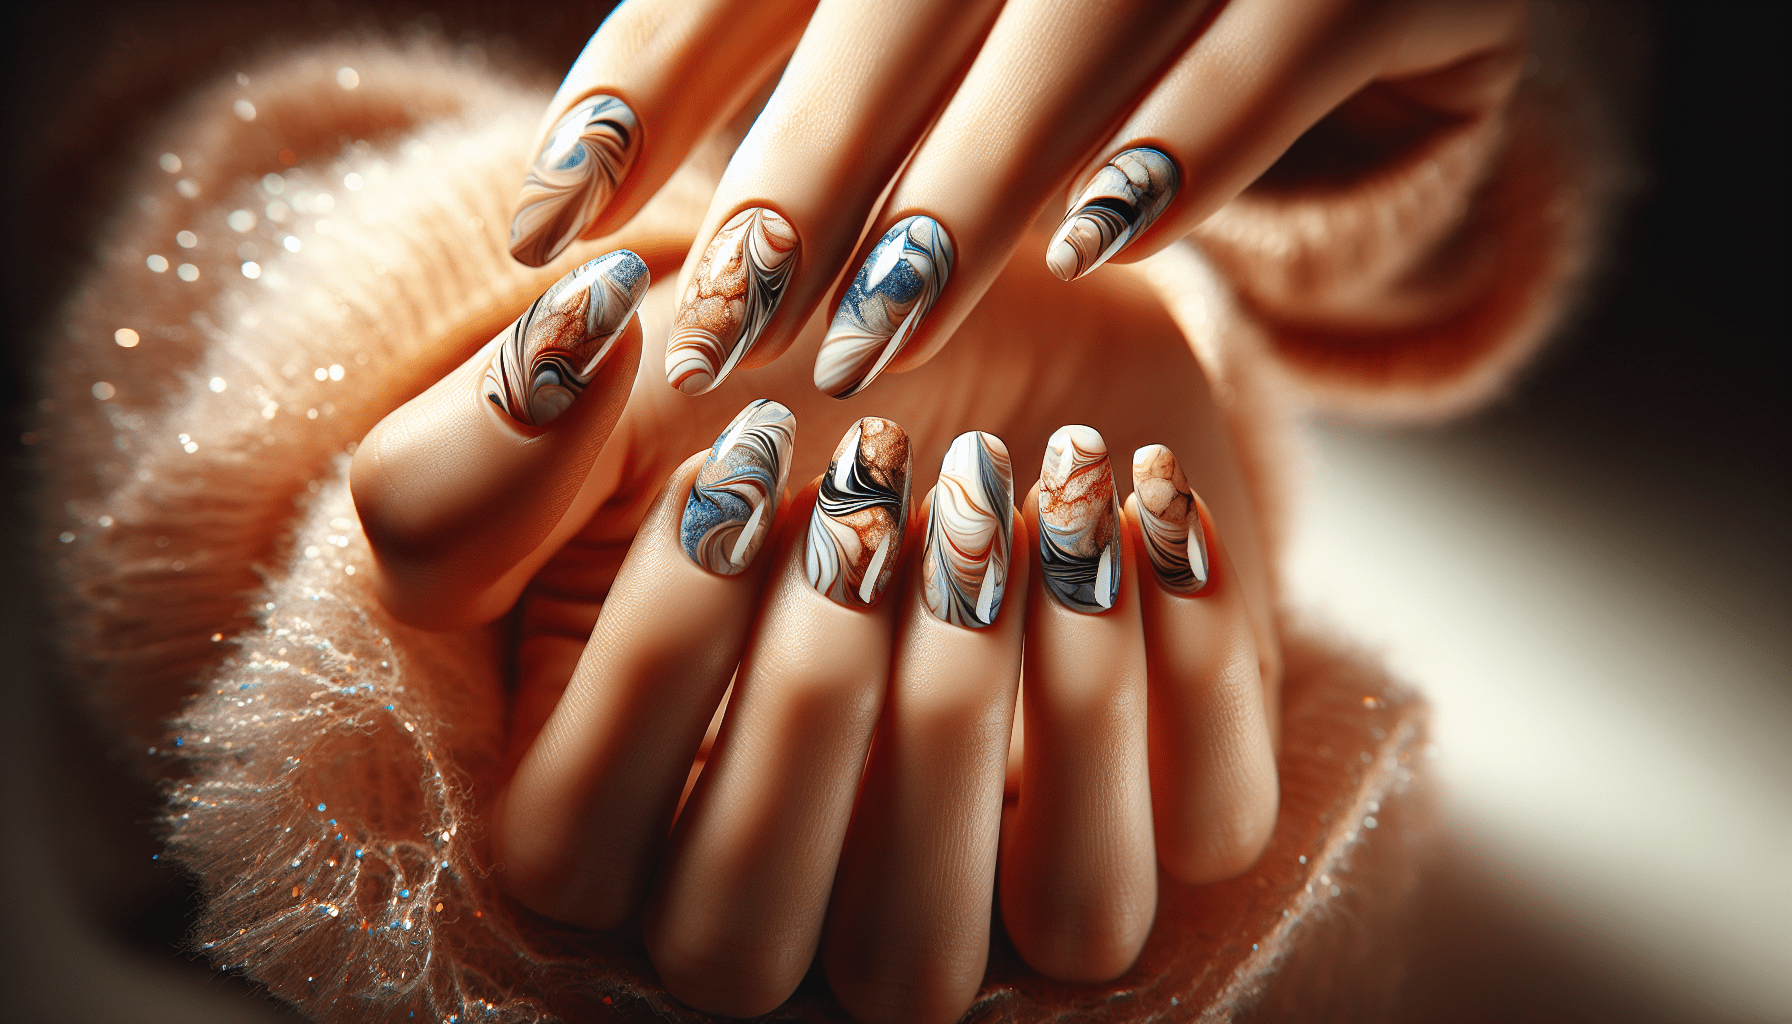
Nail marbling is a decorative technique that involves creating swirling patterns by blending different nail polish colors on your nails. This method draws inspiration from marble stone and often involves a fluid, free-form design that is unique to each nail. Unlike traditional nail painting, marbling requires a bit more control and understanding of how colors interact with each other in a fluid medium.
History and Origins
The concept of marbling has roots in traditional arts, where it has been used for centuries in bookbinding and paper arts. Nail marbling borrows from these ancient techniques to bring a modern twist to nail artistry, showcasing stunning visuals that can vary from intricate swirls to more abstract forms.
Why Choose Marbling?
Marbling offers a unique aesthetic that is both sophisticated and versatile. It allows you to experiment with color combinations and designs to suit different occasions or moods. The results can range from subtle elegance to bold expressions, making it a favored technique among nail enthusiasts.
The Basics of Nail Marbling
To achieve a successful marbled nail design, you need to start with the basics of preparation and understanding the materials involved. Getting these initial steps right ensures a smoother creative process and a more polished outcome.
Materials Required
To begin your marbling journey, it’s essential to gather the right tools and materials. Here’s a list of what you’ll need:
| Material | Purpose |
|---|---|
| Base coat | Protects your nails and provides a smooth working surface |
| Nail polish | Different colors are essential for the marbled effect |
| Top coat | Seals and provides a long-lasting finish |
| Dotting tool or needle | Creates the marbling design |
| Cup of water | Used for water marbling technique |
| Tape or cuticle oil | Protects the skin around your nails |
| Cotton swabs | Helpful for cleaning edges |
| Nail polish remover | For correcting mistakes and removing polish |
Preparing Your Nails
Preparation is key to ensuring your marbling efforts result in a high-quality finish. Start by removing any old polish and washing your hands thoroughly. Trim, file, and shape your nails as desired. Apply cuticle oil or tape around your nails to protect your skin from excess polish during the marbling process.
Choosing the Right Polish
Selecting the appropriate nail polish is crucial for a successful marble effect. Consider the color combination carefully, keeping in mind that marbling often looks more vibrant with contrasting shades. Opt for polishes with similar formulas for better blending and consider using a mix of matte and glossy finishes for added texture.
Techniques for Marbling on Nails
Several techniques can be used to create marbled nails, each offering a unique style and level of complexity. Let’s explore the most popular methods.
Water Marbling
Water marbling is a well-known technique that involves dropping nail polish onto the surface of water and creating a design by swirling the colors with a tool. The nail is then dipped into the water to transfer the design onto the nail surface.
Steps for Water Marbling:
- Prepare the Workspace: Use tape or apply cuticle oil around your nails to prevent messy edges.
- Fill a Cup with Water: Ensure the water is room temperature, as cold or hot water can affect the polish spread.
- Drop Polish into the Water: Choose your colors and start by adding a drop of a base color in the center. Continue with alternating colors.
- Create the Pattern: Use a dotting tool or a thin needle to carefully swirl the colors to create your desired pattern.
- Dip Your Nail: Gently place your nail flat against the design in the water.
- Clean Excess Polish: Use a cotton swab to remove any remaining polish from the water surface.
- Remove Tape/Cuticle Oil: Take it off to reveal clean edges around your marbled design.
Dry Marbling
This technique involves mixing the colors directly on the nail surface before they dry, using tools such as a brush, toothpick, or needle to create the marbled effect. Dry marbling is often quicker and less messy compared to water marbling.
Steps for Dry Marbling:
- Apply Base Coat and Base Color: Prepare your nail with a clear base coat followed by your chosen background color.
- Add Droplets: While the polish is still wet, add small droplets of your chosen marbling colors.
- Create Design: Use a needle or fine brush to drag the colors to form a swirling pattern.
- Allow to Dry: Give the design time to dry thoroughly before applying a top coat.
Needle or Brush Marbling
In this technique, the marble effect is created using a needle or a small brush. Unlike water marbling, this method allows for more control over the design.
Steps for Needle or Brush Marbling:
- Prepare Base Polish: Like other processes, apply a base coat followed by a coat of base color.
- Apply Color: Add small amounts of different colors onto the wet base.
- Use Needle/Brush: Drag the needle or brush through the colors to create fine lines and swirls.
- Let it Dry and Seal: Once satisfied, give it time to dry and finish with a top coat.
Designing Unique Marbles Patterns
Creating distinctive marbled designs depends largely on your creativity and understanding of how colors blend. Here are some tips for developing your unique style.
Experiment with Colors
- Contrast is Key: Use contrasting colors to make the marble effect more defined and eye-catching.
- Theme-Based Selection: Choose colors that match a specific theme or season, like pastels for spring or deep, rich tones for fall.
Experiment with Different Designs
- Classic Swirls: Stick to traditional marble swirls using water marbling or needle techniques.
- Geometric Patterns: Incorporate lines and shapes by manipulating the polish in strategic ways.
- Textured Layers: Add texture with glitter or matte finishes for an eclectic look.

Troubleshooting Common Issues
Even with the best preparation, marbling can sometimes be challenging. Here’s how to address some common problems.
Polish Not Spreading
If the polish isn’t spreading well in the water, it might be too thick. Thin the polish slightly with a few drops of nail polish thinner before attempting again.
Colors Blending Too Much
To prevent colors from turning muddy, work swiftly and use colors that complement each other naturally. Also, avoid over-mixing the colors.
Design Not Transferring
Ensure you’re using room-temperature water for the best results. If the design isn’t transferring, the polish might be too dry; try working faster.
Maintaining Your Marbled Nails
After spending time creating your beautiful marbled designs, it’s important to maintain them for lasting beauty.
Apply the Top Coat Properly
A top coat not only gives a glossy finish but also protects the marble effect from chipping. Apply it generously and evenly to all nails.
Regular Touch-Ups
Expect some wear over time, especially if you use your hands frequently. Keep the design fresh with regular touch-ups, focusing on the edges and tips.
Protect Your Nails
Maintain your marbled nails by moisturizing your hands regularly and wearing gloves during activities that could chip your polish, like cleaning or gardening.
Adding Personal Touches
Beyond the basic techniques, there are numerous ways to enhance your marbled nails with personal touches.
Incorporate Nail Art Accessories
Consider adding rhinestones, stickers, or even holographic strips for added flair and dimension.
Metallic Accents
Metallic accents, either as polish or foils, can elevate the luxury feel of marbled nails and bring a new level of sophistication to your designs.
Seasonal Variations
Adjust your color scheme to match the changing seasons, or create thematic marbles for holidays and special occasions for a personal touch.
Practicing Patience
Marbling can require a bit of trial and error. Be patient with yourself as you learn and improve your technique. Each attempt adds to your experience and confidence, allowing you to refine your style over time.
Learning from Mistakes
Every mistake is a learning opportunity. If a design doesn’t turn out as planned, consider what changes could improve its execution next time. Sometimes unexpected results provide inspiration for new styles.
Keep Practicing
Regular practice helps develop a consistent hand, a keen eye for design, and an understanding of how different polishes work together. Set aside time to practice regularly and enjoy the process of crafting something uniquely yours.
Conclusion
Marbling on nails is a captivating way to express your creativity, combining color theory with artful precision to create stunning nail designs. Whether using water, dry, or tool techniques, each method offers a unique opportunity to explore new artistic horizons. With the knowledge and skills gained, you can tailor each design to reflect your personal style, mood, or the season. Patience and practice are essential components of mastering marbling, along with a willingness to experiment and learn from each attempt. Dive into the world of nail marbling and discover the endless possibilities awaiting at your fingertips.